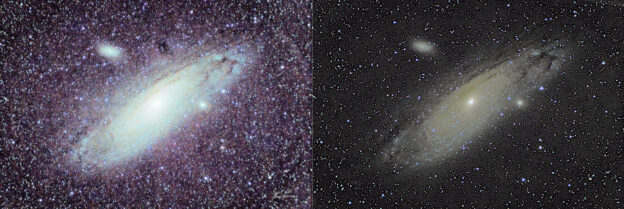
Astrophotography, the art of capturing the beauty of the night sky, has become increasingly popular in recent years. With the advancement of technology and the availability of high-quality cameras, it’s now possible for amateur astronomers to take stunning images of celestial objects. However, one of the biggest challenges in astrophotography is noise reduction. Noise, also known as grain or digital noise, can ruin an otherwise perfect image. In this article, we’ll explore the technique of stacking images for noise reduction in astrophotography, and provide a complete guide on how to do it.
What is Noise in Astrophotography?
Noise in astrophotography refers to the random fluctuations in pixel values that can occur due to various factors such as thermal noise, readout noise, and photon noise. These fluctuations can result in a grainy or speckled appearance in the image, which can be distracting and reduce the overall quality of the photo. Noise is more pronounced in low-light conditions, which is often the case in astrophotography.
What is Image Stacking?
Image stacking, also known as image integration or co-addition, is a technique used to reduce noise in astrophotography. The basic idea is to take multiple images of the same object, and then combine them into a single image. By doing so, the noise in each individual image is averaged out, resulting in a smoother and more detailed final image.
How Does Image Stacking Work?
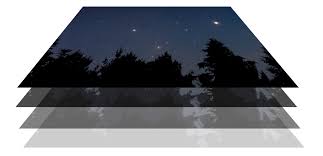
When you take multiple images of the same object, the noise in each image is random and uncorrelated. By combining these images, the noise is averaged out, and the signal (the actual image data) is reinforced. This is because the noise in each image is likely to be in a different location, so when you add the images together, the noise cancels out, leaving a smoother and more detailed image.
Benefits of Image Stacking
Image stacking has several benefits in astrophotography:
- Noise Reduction: The most obvious benefit of image stacking is noise reduction. By combining multiple images, you can significantly reduce the noise in the final image.
- Improved Detail: Image stacking can also reveal more detail in the image, as the signal is reinforced and the noise is reduced.
- Increased Dynamic Range: Image stacking can also increase the dynamic range of the image, allowing you to capture a wider range of tonal values.
- Improved Colour Accuracy: By combining multiple images, you can also improve the colour accuracy of the final image.
Softwares for Image Stacking
There are several software programs available for image stacking in astrophotography. Some popular options include:
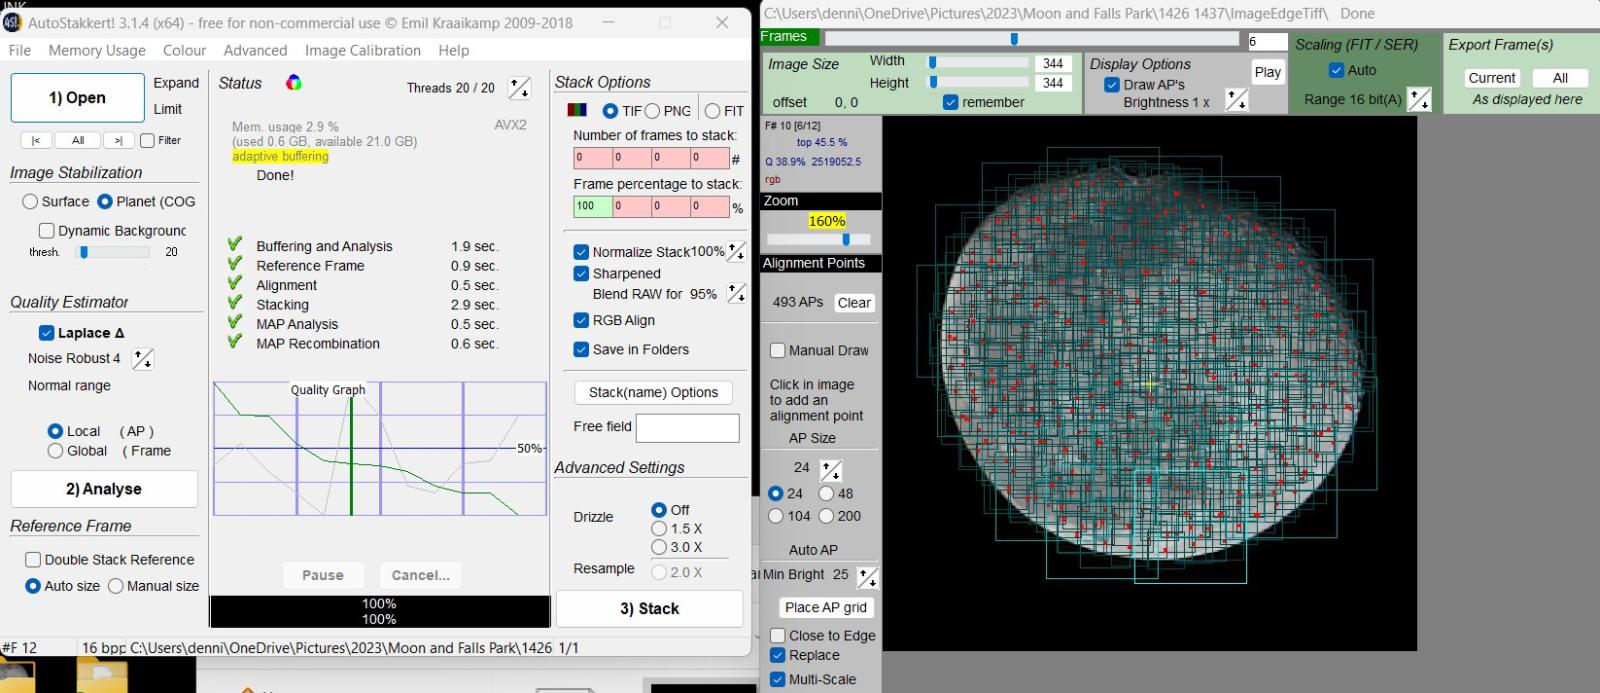
- Autostakkert: A free and open-source software program specifically designed for image stacking in astrophotography.
- StarStax: A free software program that allows you to stack images and also includes features such as image alignment and calibration.
- Adobe Photoshop: A popular image editing software that includes features such as image stacking and noise reduction.
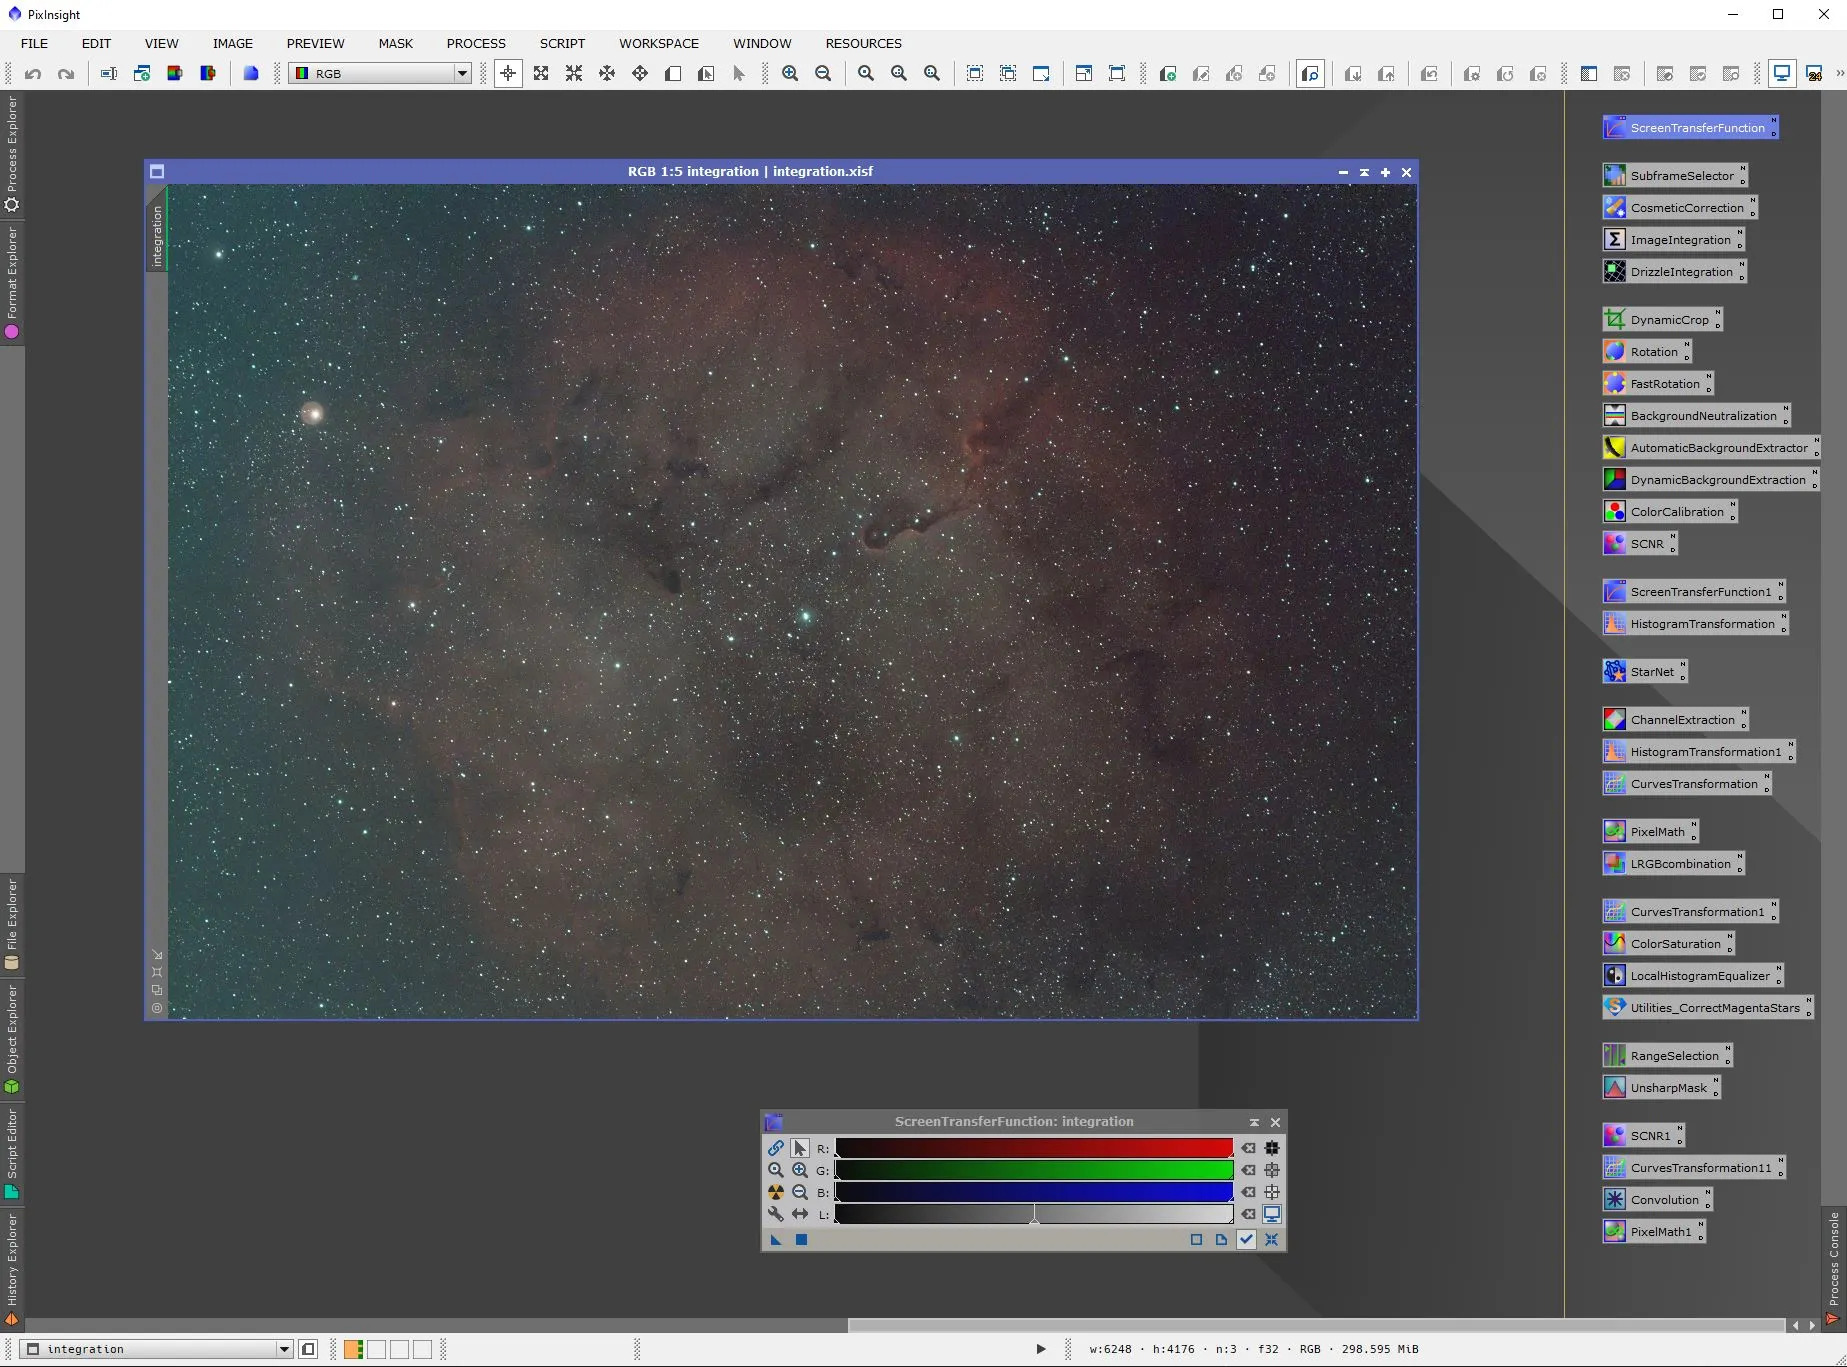
- PixInsight: A powerful image processing software that includes features such as image stacking, noise reduction, and colour correction.
Step-by-Step Guide to Image Stacking
Here’s a step-by-step guide to image stacking in astrophotography:
- Take Multiple Images: Take multiple images of the same object, using the same camera settings and exposure time.
- Align the Images: Use software such as Autostakkert or StarStax to align the images, ensuring that the stars and other features are in the same location in each image.
- Calibrate the Images: Calibrate the images to remove any bias or dark current noise.
- Stack the Images: Use software such as Autostakkert or StarStax to stack the images, combining them into a single image.
- Adjust the Settings: Adjust the settings in the software to optimise the stacking process, such as the number of images to stack and the alignment method.
- Save the Final Image: Save the final stacked image, which should be smoother and more detailed than the individual images.
Tips and Tricks
Here are some tips and tricks to keep in mind when image stacking in astrophotography:
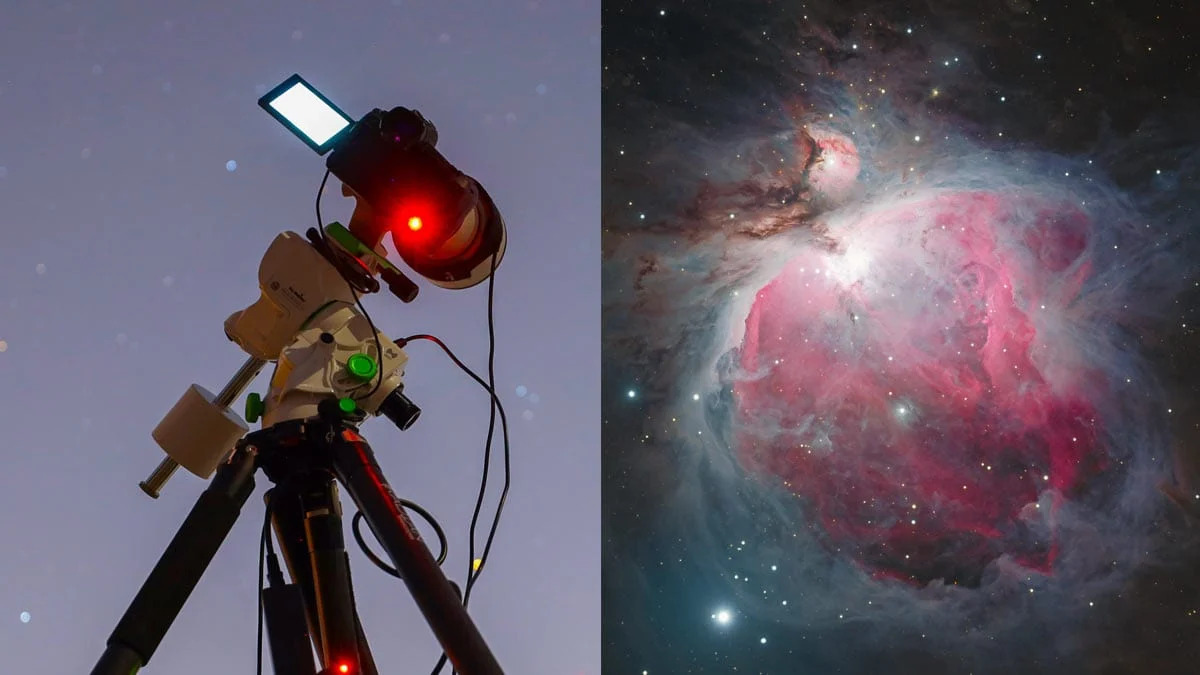
- Use a Tripod: Use a tripod to ensure that the camera is stable and doesn’t move between shots.
- Use a Remote Shutter Release: Use a remote shutter release or the camera’s self-timer to avoid camera shake.
- Take Multiple Images: Take multiple images to ensure that you have enough data to stack.
- Use the same Camera Settings: Use the same camera settings and exposure time for each image.
- Monitor the Weather: Monitor the weather and avoid taking images during periods of high wind or cloud cover.
Conclusion
In conclusion, image stacking is a powerful technique that allows astrophotographers to significantly reduce noise and enhance the quality of their celestial images. By combining multiple exposures, photographers can achieve smoother details, improved dynamic range, and more accurate colours, ultimately bringing out the true beauty of the night sky. With the availability of user-friendly stacking software and the right approach, even amateur astronomers can capture breathtaking images of the cosmos. Whether you’re photographing distant galaxies or the Milky Way, mastering image stacking can take your astrophotography to the next level.
Featured Image by: Kevin Francis
