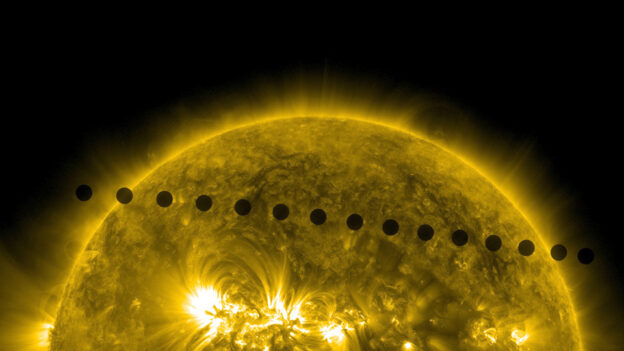
Astrophotography has long been a fascinating field, allowing us to capture the beauty and wonder of the night sky. One technique that has gained popularity in recent years is time-lapse astrophotography, which involves taking a series of photographs at regular intervals to create a stunning visual representation of the motion of celestial objects. In this article, we will explore the world of time-lapse astrophotography, its techniques, and the breathtaking results it can produce.
What is Time-Lapse Astrophotography?
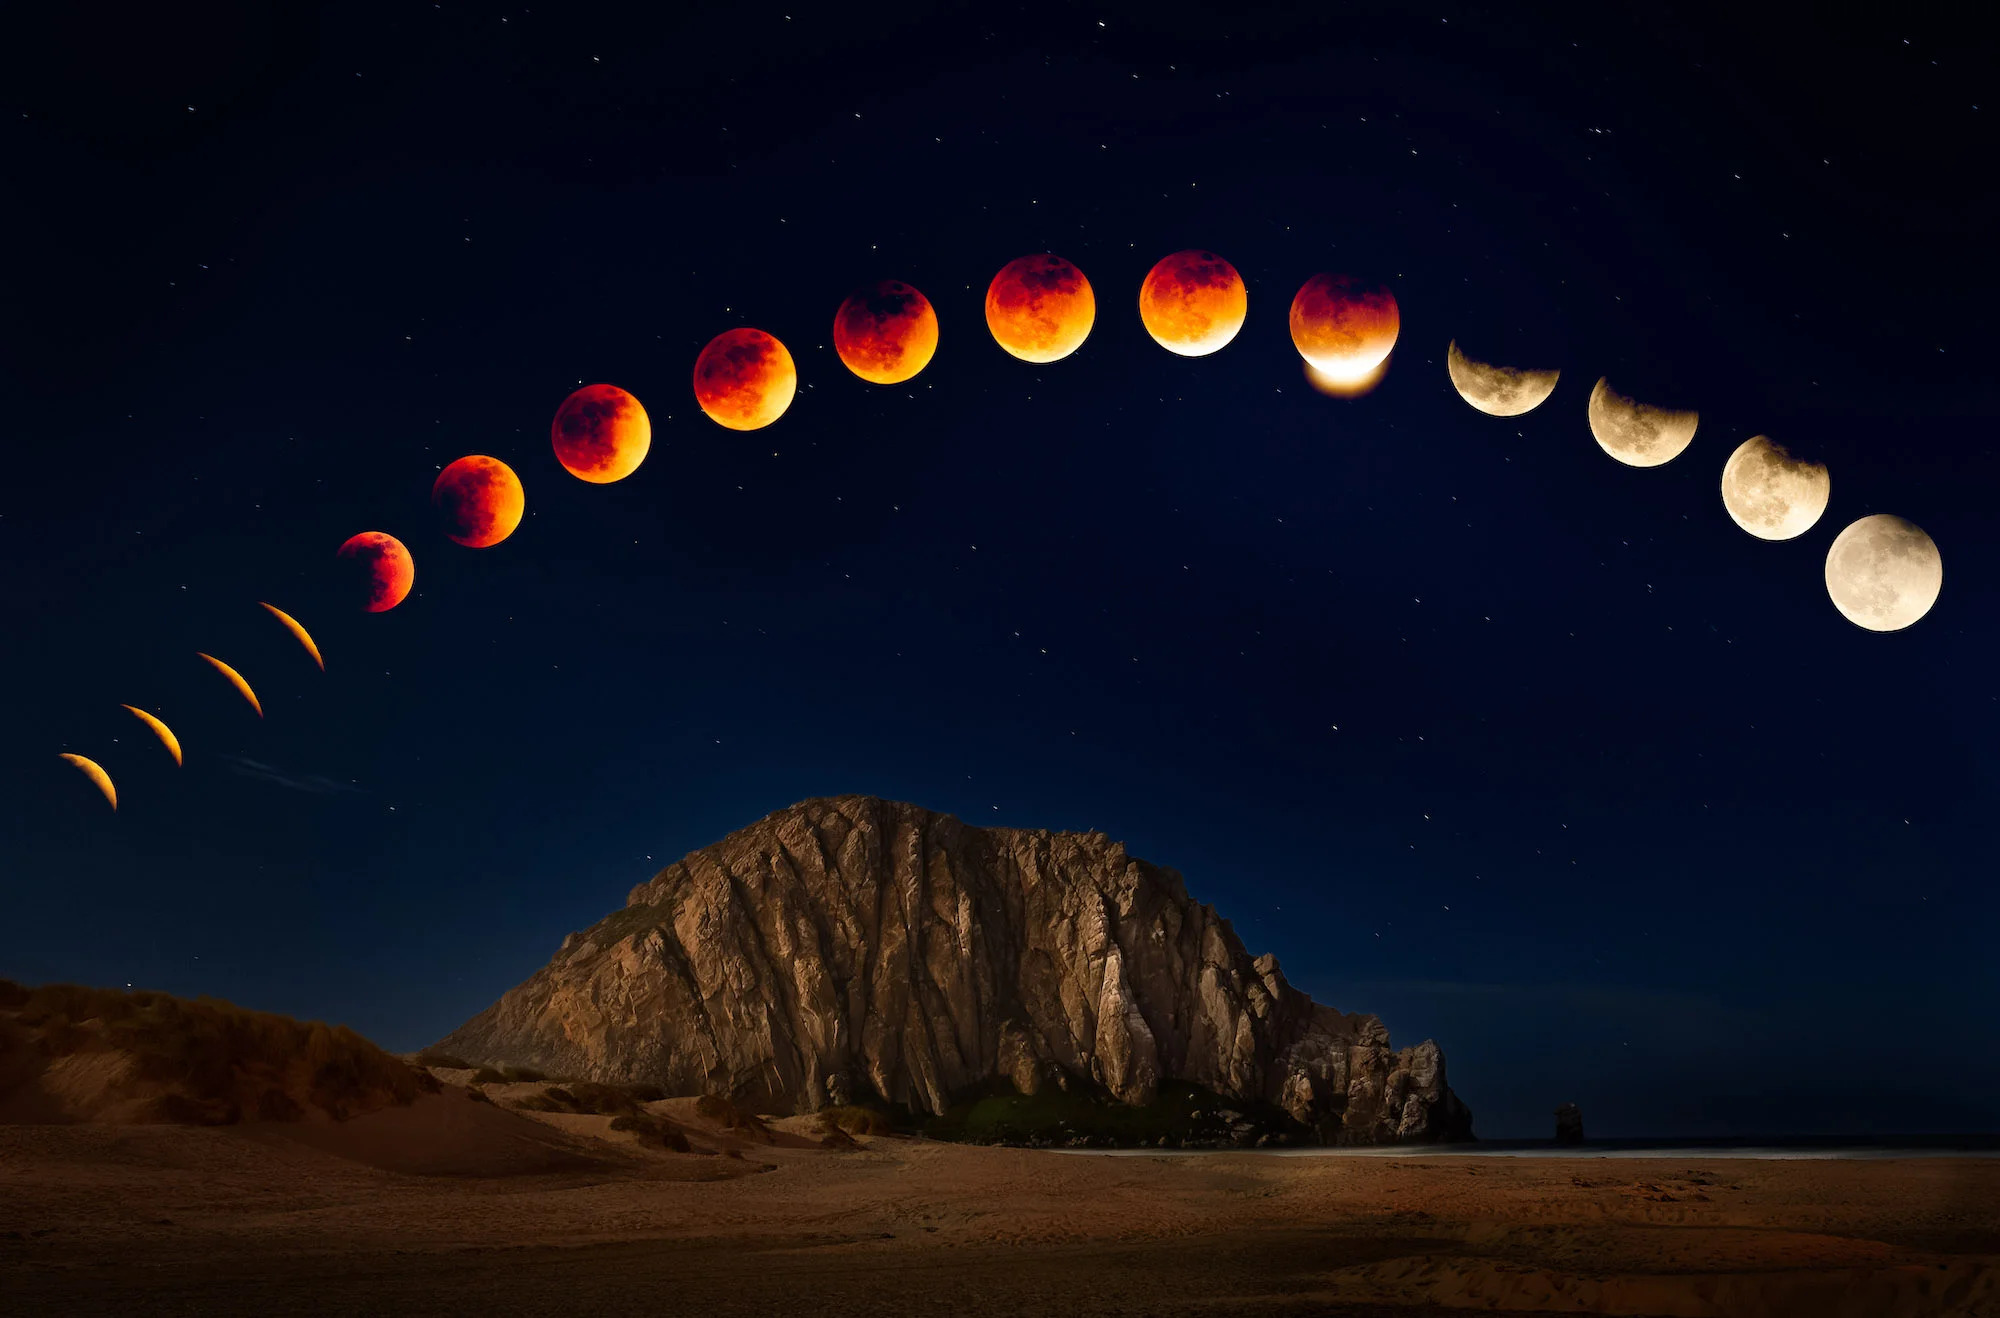
Time-lapse astrophotography is a technique that involves taking a series of photographs of the night sky at regular intervals, usually ranging from a few seconds to several minutes. These images are then combined to create a time-lapse video or animation, showcasing the motion of celestial objects such as stars, planets, and galaxies. This technique allows photographers to capture the dynamic movement of the universe, revealing patterns and phenomena that would be difficult to observe with the naked eye. Time-lapse sequences can display star trails, the rotation of the Milky Way, or the transit of planets in a visually captivating way.
Equipment and Techniques
To capture stunning time-lapse astrophotography images, you will need a few essential pieces of equipment:
1. Camera: A DSLR or mirrorless camera is ideal for time-lapse astrophotography because most of them come with an intervalometer built-in. Look for a camera with good low-light performance and the ability to shoot in RAW format. RAW files preserve maximum detail, which is crucial for post-processing.
2. Tripod: A sturdy tripod is essential for keeping your camera stable and preventing camera shake. Stability is critical, especially for long exposure shots.
3. Intervalometer: An intervalometer is a device that allows you to set a specific interval between shots. You can also use a camera’s built-in interval shooting mode or a smartphone app if your camera supports wireless control.
4. Wide-angle lens: A wide-angle lens (between 10-24mm) is ideal for capturing the vast expanse of the night sky. Lenses with a wide aperture (f/2.8 or lower) are particularly useful for gathering more light in low-light conditions.
5. Remote shutter release: A remote shutter release or camera timer helps to prevent camera shake and ensures that your shots are taken at precise intervals.
Techniques for capturing Time Lapses
When it comes to techniques, there are a few key considerations:
- Shoot in RAW: Shooting in RAW format gives you more flexibility when editing your images. This flexibility is vital when enhancing details, adjusting exposure, or correcting colour balance during post-processing.
- Use a low ISO: Keep your ISO as low as possible (preferably 800 or lower) to minimise noise and digital artifacts. However, in particularly dark conditions, a higher ISO may be necessary.
- Focus on infinity: Make sure to focus your lens on infinity to ensure that your stars and other celestial objects are sharp and clear. Many lenses have a focus mark for infinity, but it’s a good idea to fine-tune using your camera’s live view.
- Golden hour preparation: While time-lapses are typically shot at night, setting up during the golden hour (just before sunset or sunrise) allows you to capture smooth transitions between light and darkness.
- Shoot for sufficient time: The length of your time-lapse sequence will depend on your subject. For example, capturing star trails may require several hours of continuous shooting, while the motion of planets or meteors might only need an hour.
Tips and Tricks for Better Results
To take your time-lapse astrophotography to the next level, consider the following tips and tricks:
- Plan your shoot: Research celestial events you want to capture, such as planetary alignments, meteor showers, or the movement of the Milky Way. Use astronomy apps or websites like Stellarium, SkySafari, or Star Walk to predict the timing and location of these events.
- Use a star tracker: A star tracker is a motorised device that compensates for the Earth’s rotation, allowing for sharper images of celestial objects. While star trackers are often used for still astrophotography, they can also enhance time-lapse sequences.
- Minimise light pollution: Urban areas with high levels of light pollution can obscure the night sky. Travel to darker locations, such as rural areas or designated dark-sky parks, for clearer views. Light pollution filters can also be helpful.
- Experiment with intervals: The interval between shots determines the speed of motion in your time-lapse. Shorter intervals (e.g., 2-5 seconds) work well for fast-moving objects like meteors, while longer intervals (e.g., 20-60 seconds) are better for slower celestial phenomena.
- Incorporate foreground elements: Including terrestrial features like mountains, trees, or buildings can add depth and context to your time-lapse, creating a more visually compelling composition.
- Backup your data: Time-lapse photography involves capturing hundreds or even thousands of images. Use high-capacity memory cards and ensure you have sufficient storage to avoid interruptions.
- Post-processing: Use software like Adobe Lightroom, Photoshop, or specialised time-lapse programmess like LRTimelapse to enhance your images. Adjust exposure, contrast, and colour grading to highlight the beauty of the celestial events.
Examples of Time-Lapse Astrophotography
Time-lapse astrophotography offers endless creative possibilities. Here are some common themes and examples:
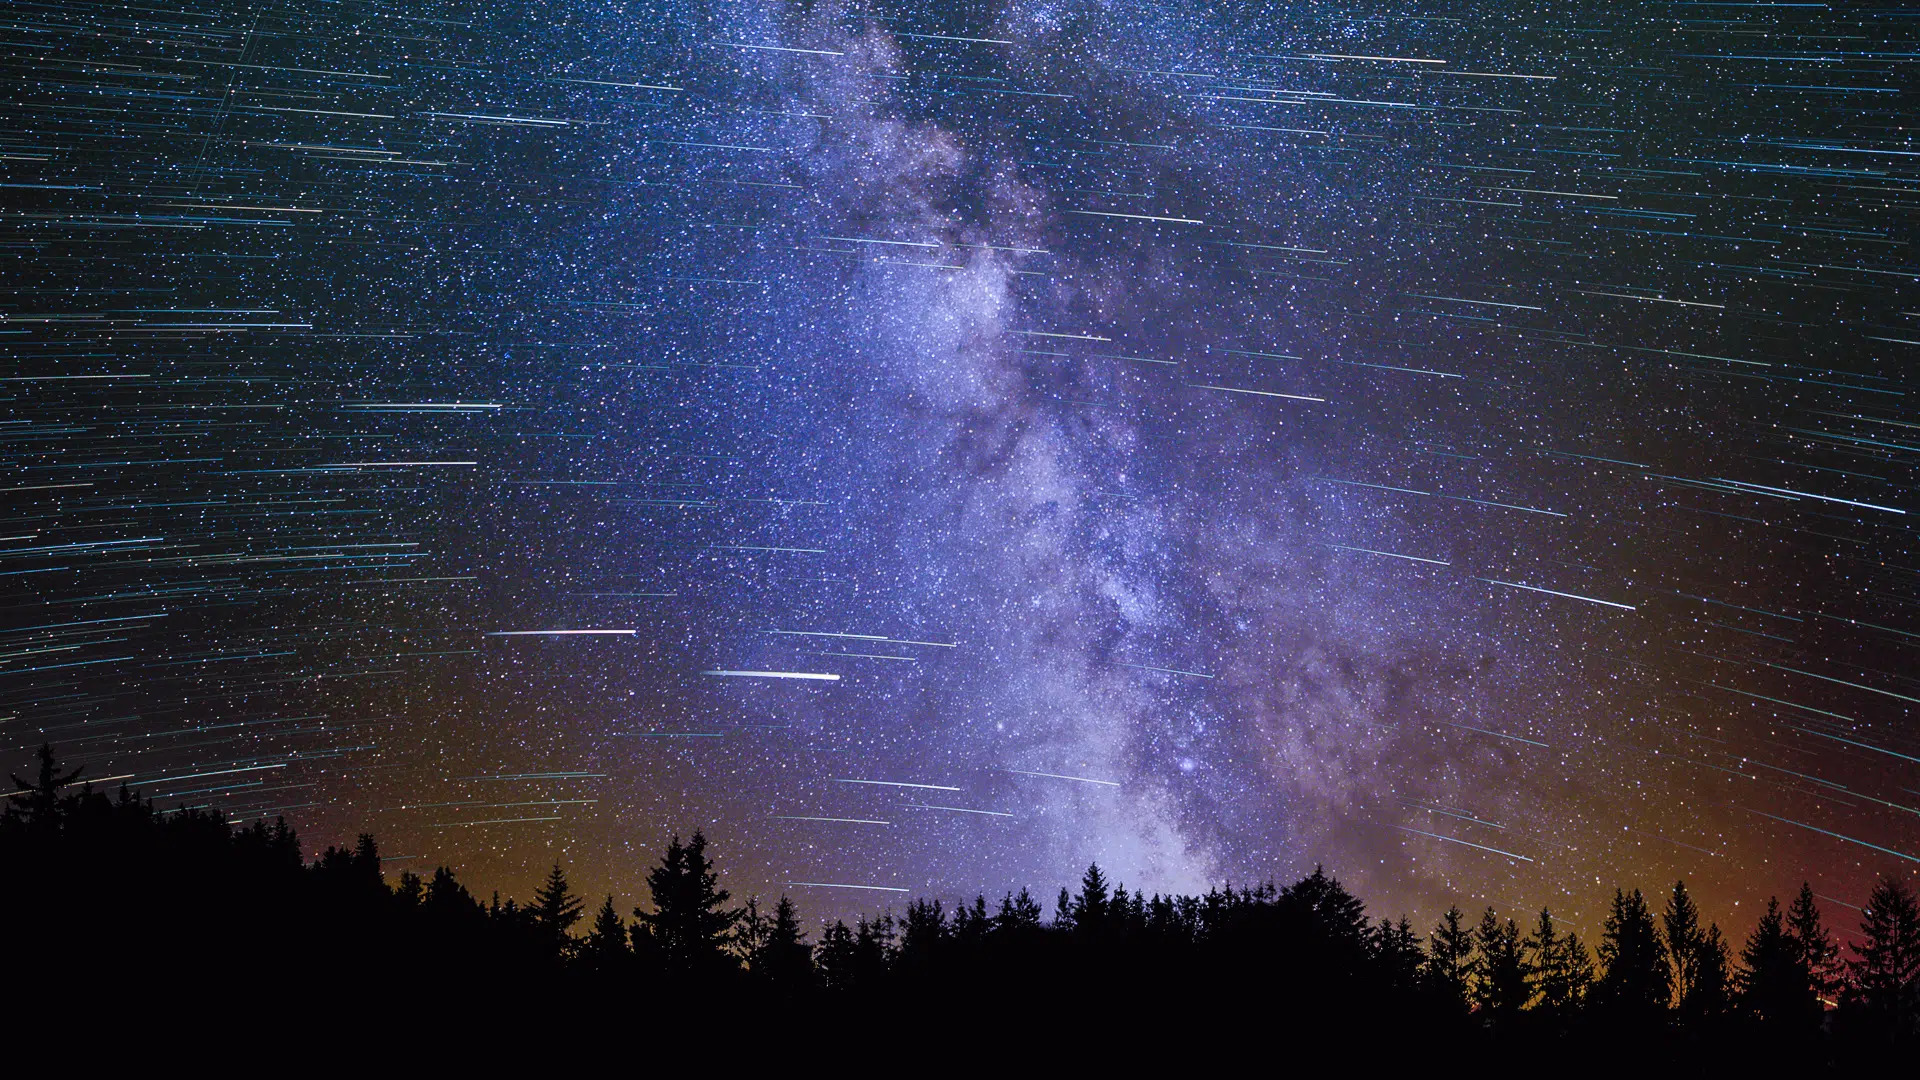
- Star Trails: By keeping your camera stationary, you can capture the circular motion of stars as they revolve around the celestial poles. Star trails reveal the Earth’s rotation in a mesmerising way.
- Milky Way Motion: Tracking the Milky Way’s movement across the sky creates a sense of grandeur, showcasing its vivid colours and intricate structure.
- Planetary Transits: Capture the subtle motion of planets like Jupiter and Saturn as they move against the backdrop of stars.
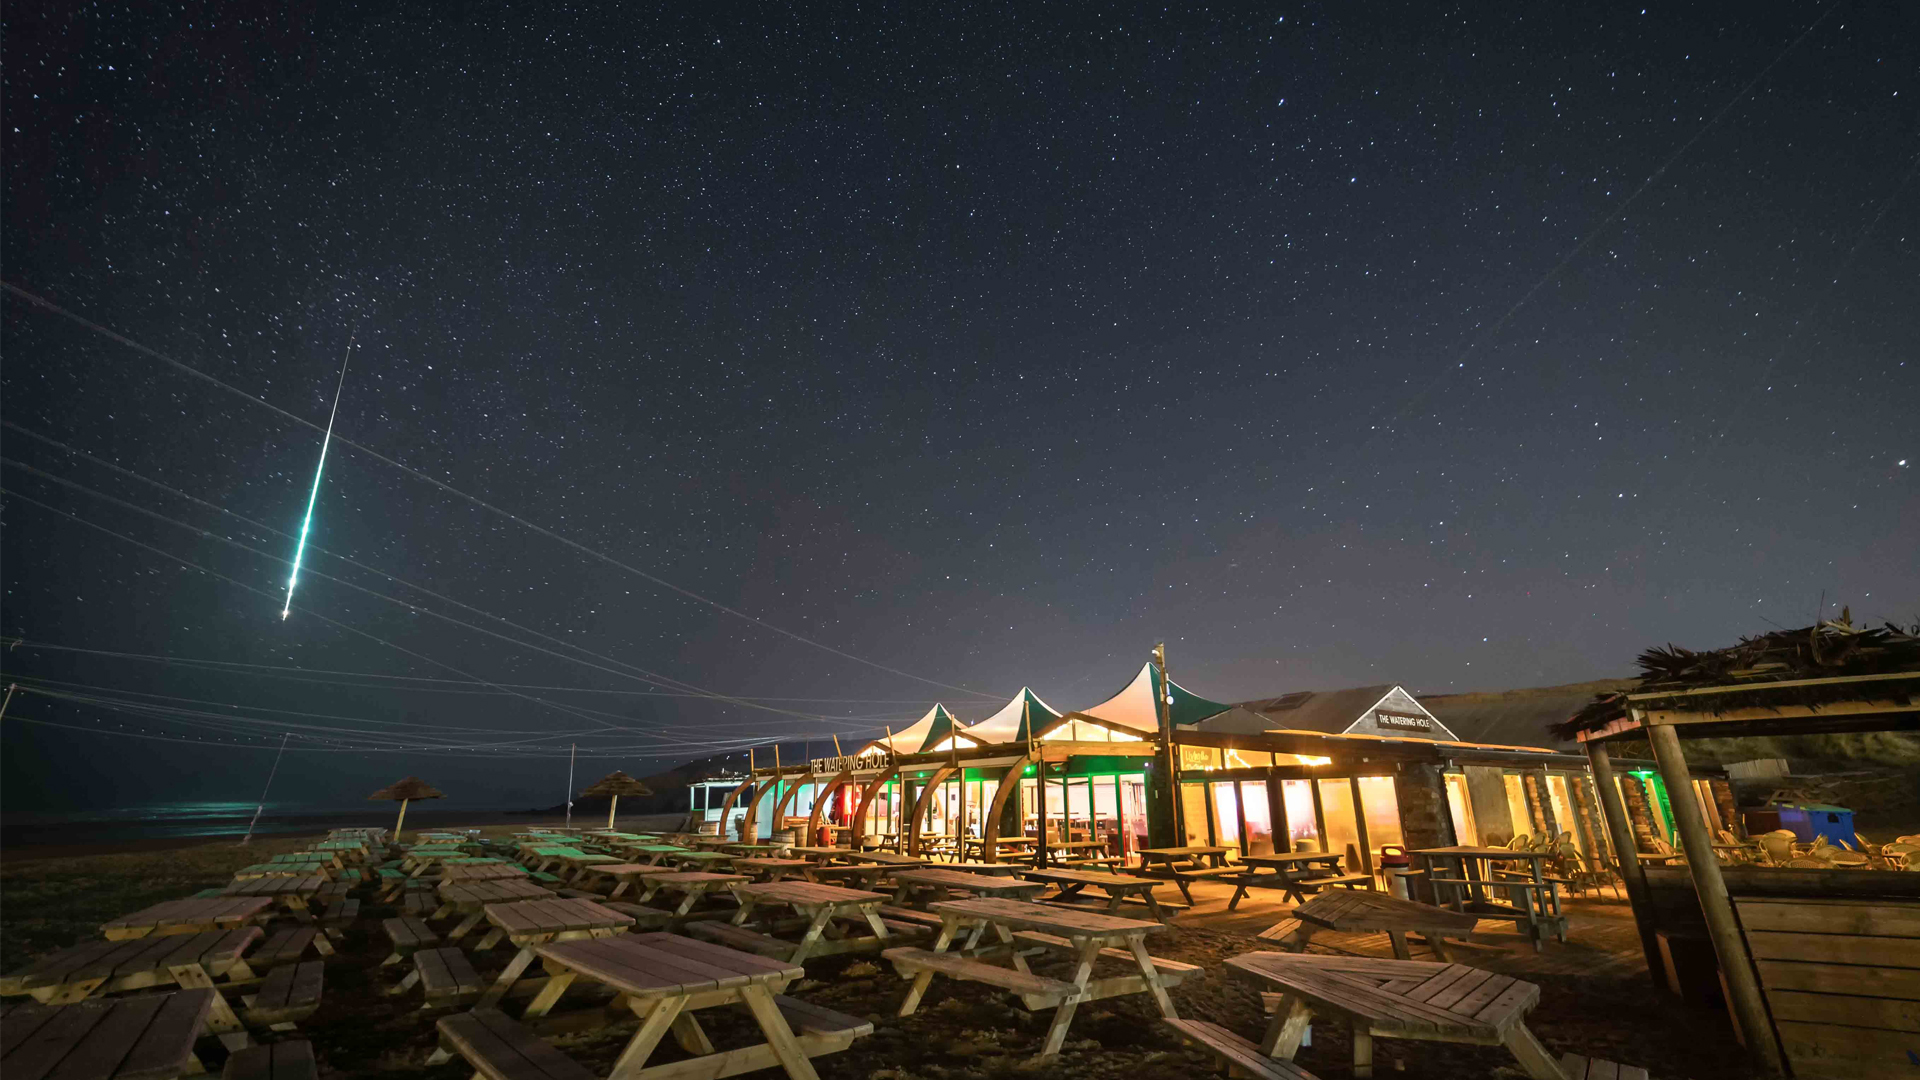
- Meteor Showers: Events like the Perseids or Geminids provide opportunities to capture streaks of light as meteors burn up in Earth’s atmosphere.
- Auroras: The northern and southern lights provide an incredible display of shifting colours and shapes, making for dramatic time-lapse sequences.
- Eclipses: Lunar and solar eclipses, though rare, offer unique opportunities to capture time-lapse sequences of these awe-inspiring events.
Challenges and How to Overcome Them
Time-lapse astrophotography is not without its challenges, but with preparation, you can overcome these obstacles:
- Weather: Cloudy or inclement weather can ruin a shoot. Check weather forecasts in advance and have a backup plan.
- Battery life: Long shoots can drain your camera’s battery. Bring extra batteries or use an external power source to keep your camera running.
- Lens fogging: In humid conditions, your lens may fog up during the night. Use a lens warmer or anti-fog solutions to prevent this issue.
- Noise: Long exposures and high ISO settings can introduce noise into your images. Reduce noise during post-processing and consider stacking techniques to improve image quality.
Conclusion
Time-lapse astrophotography is a captivating way to document the beauty and motion of the night sky. With the right equipment, techniques, and planning, you can create stunning sequences that reveal the dynamic nature of our universe. Whether you’re capturing star trails, planetary alignments, or the mesmerising dance of the aurora borealis, time-lapse photography offers endless opportunities for creativity and exploration. So grab your gear, head to a dark-sky location, and let the wonders of the cosmos unfold before your lens.
Cover Photo Credits: NASA JPL
