There is a profound, almost dizzying irony in pointing a high-tech digital sensor at a 4,000-year-old stone circle to capture light that has been traveling through the vacuum of space for millions or billions of years. When we practice astrophotography at historical sites, we aren’t just taking a “pretty picture”. We are performing a feat of cosmic archaeology. We are aligning three distinct timelines: the deep time of the universe, the ancient history of human civilization, and the fleeting millisecond of the camera’s shutter click.
For the modern photographer, these sites offer more than just a foreground; they provide a tether to our ancestors who looked at the same constellations—albeit in slightly different positions—to navigate, harvest, and worship.
The Philosophy of the Frame
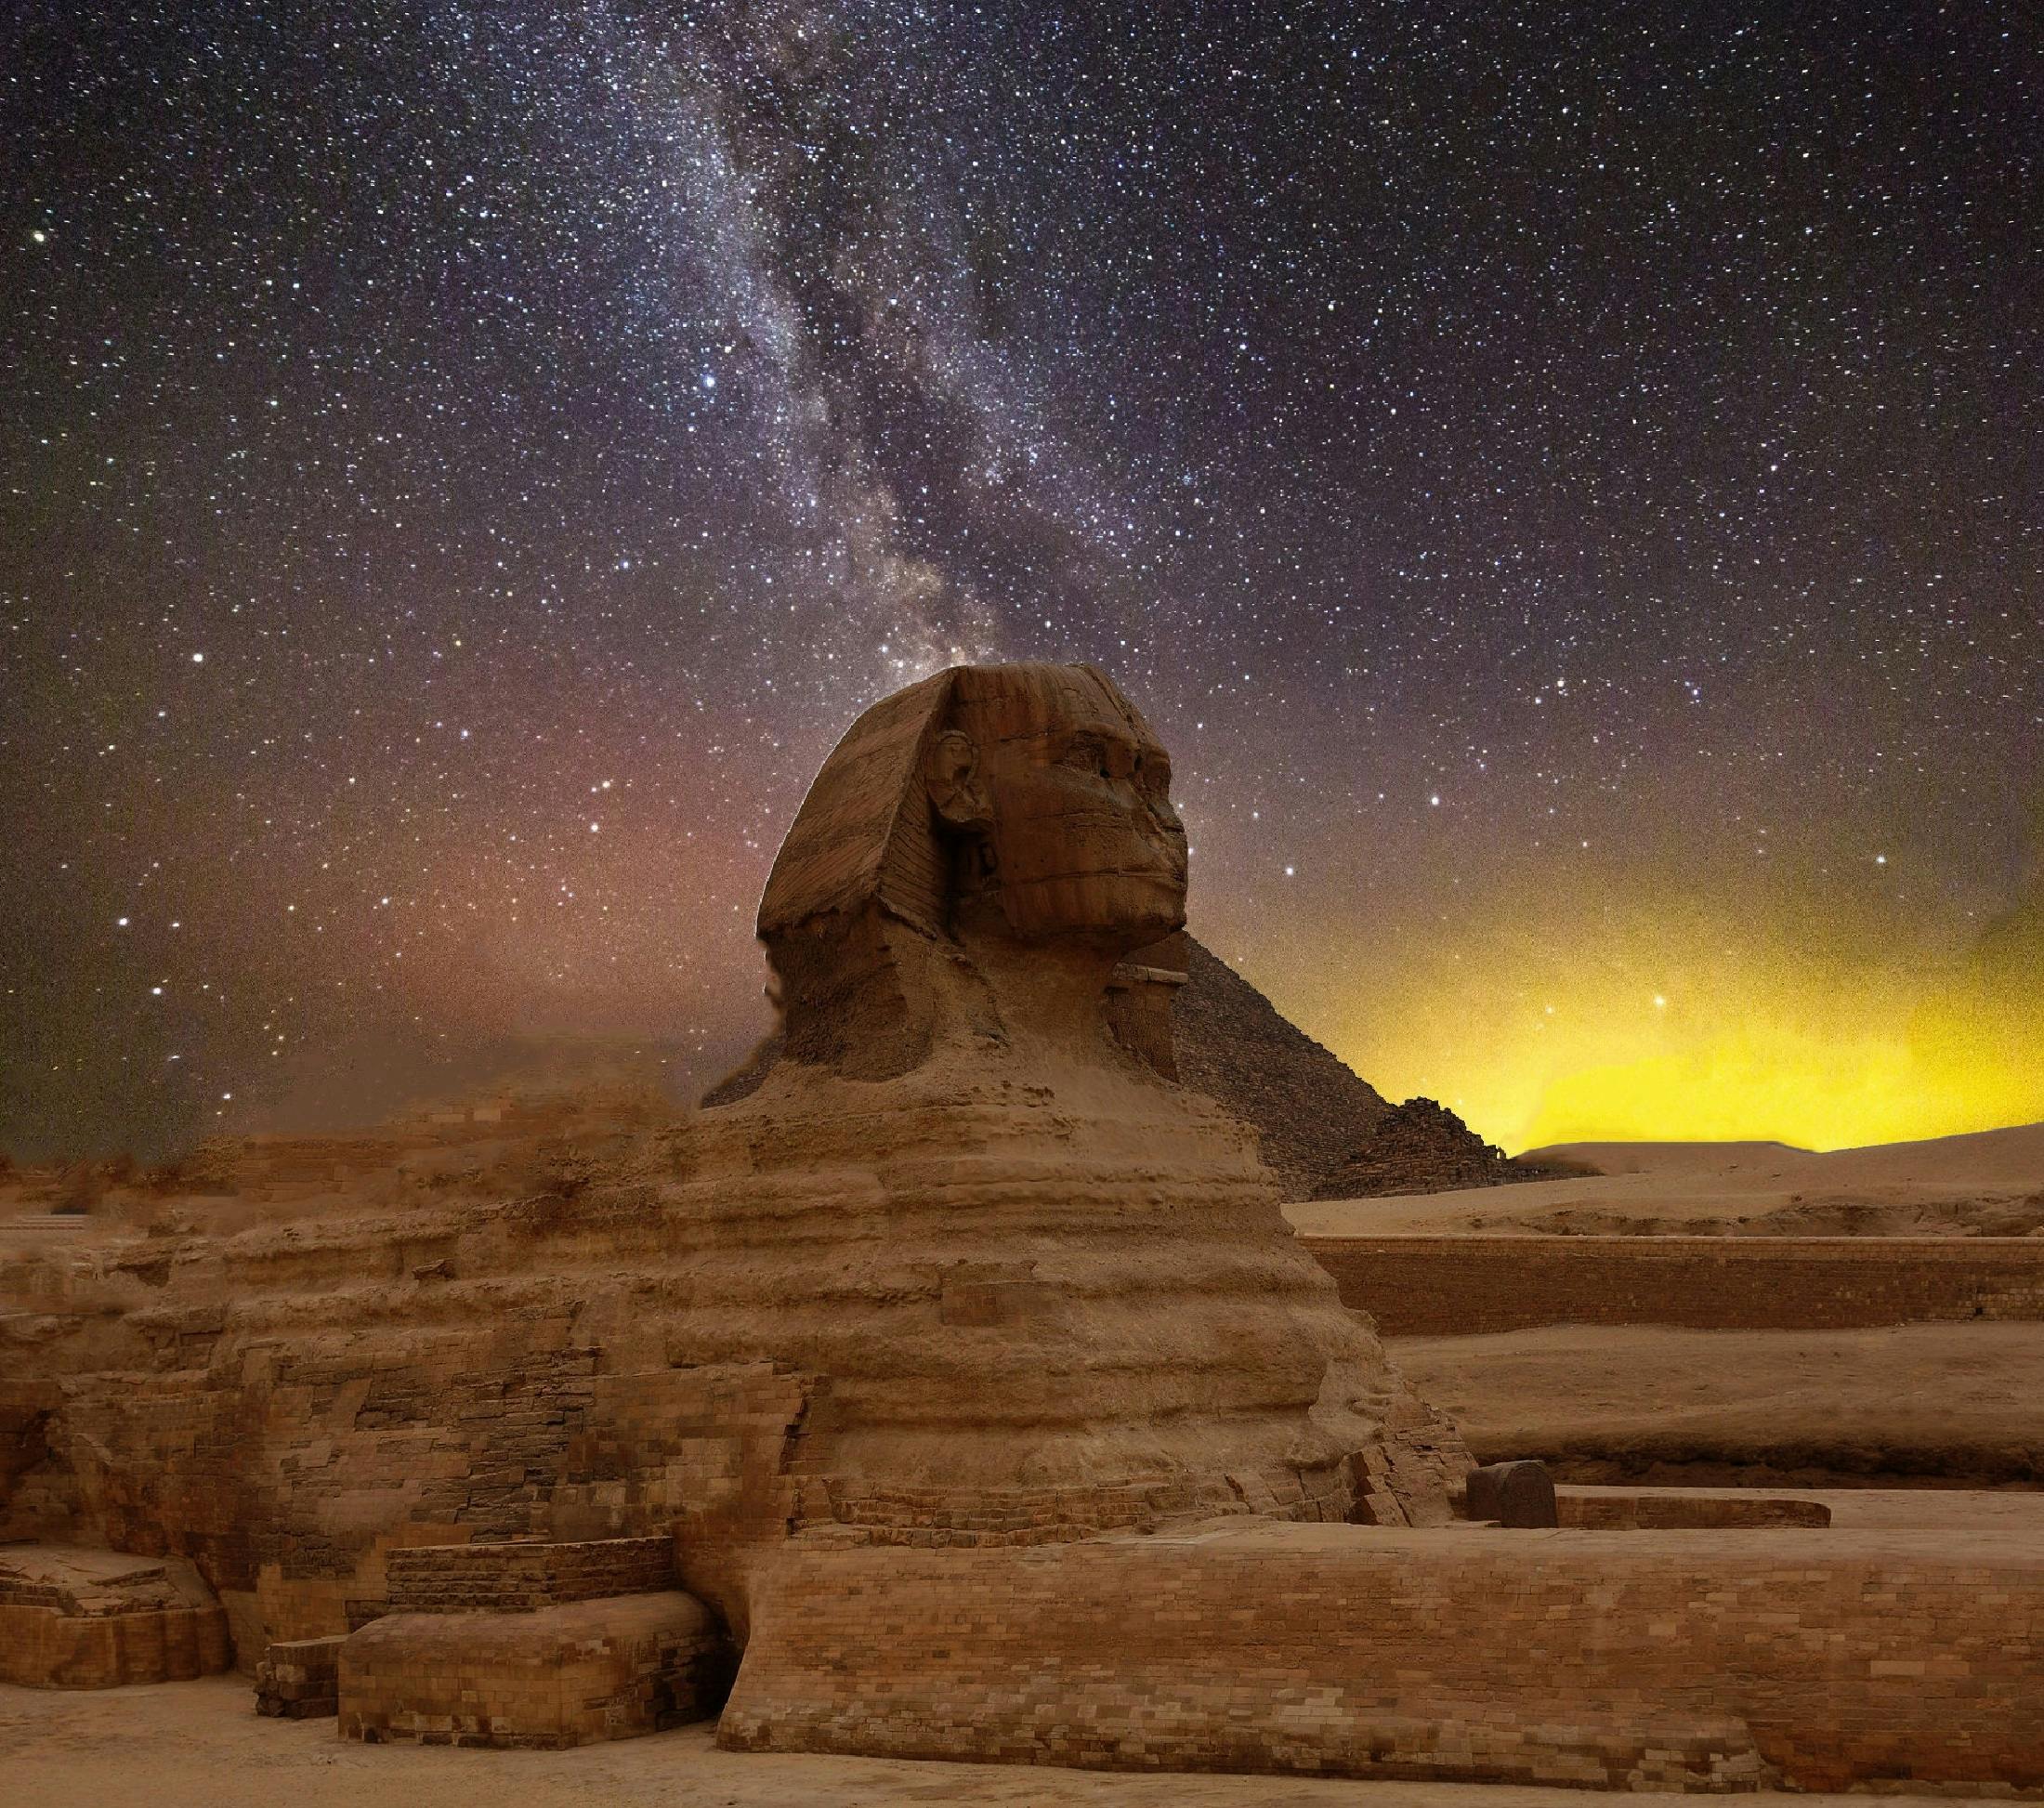
Why go to the trouble of hauling thirty pounds of gear to a remote ruin in the middle of the night? Because a photo of the Milky Way over an empty field is a science experiment, but a photo of the Milky Way over the Great Sphinx of Giza is a narrative.
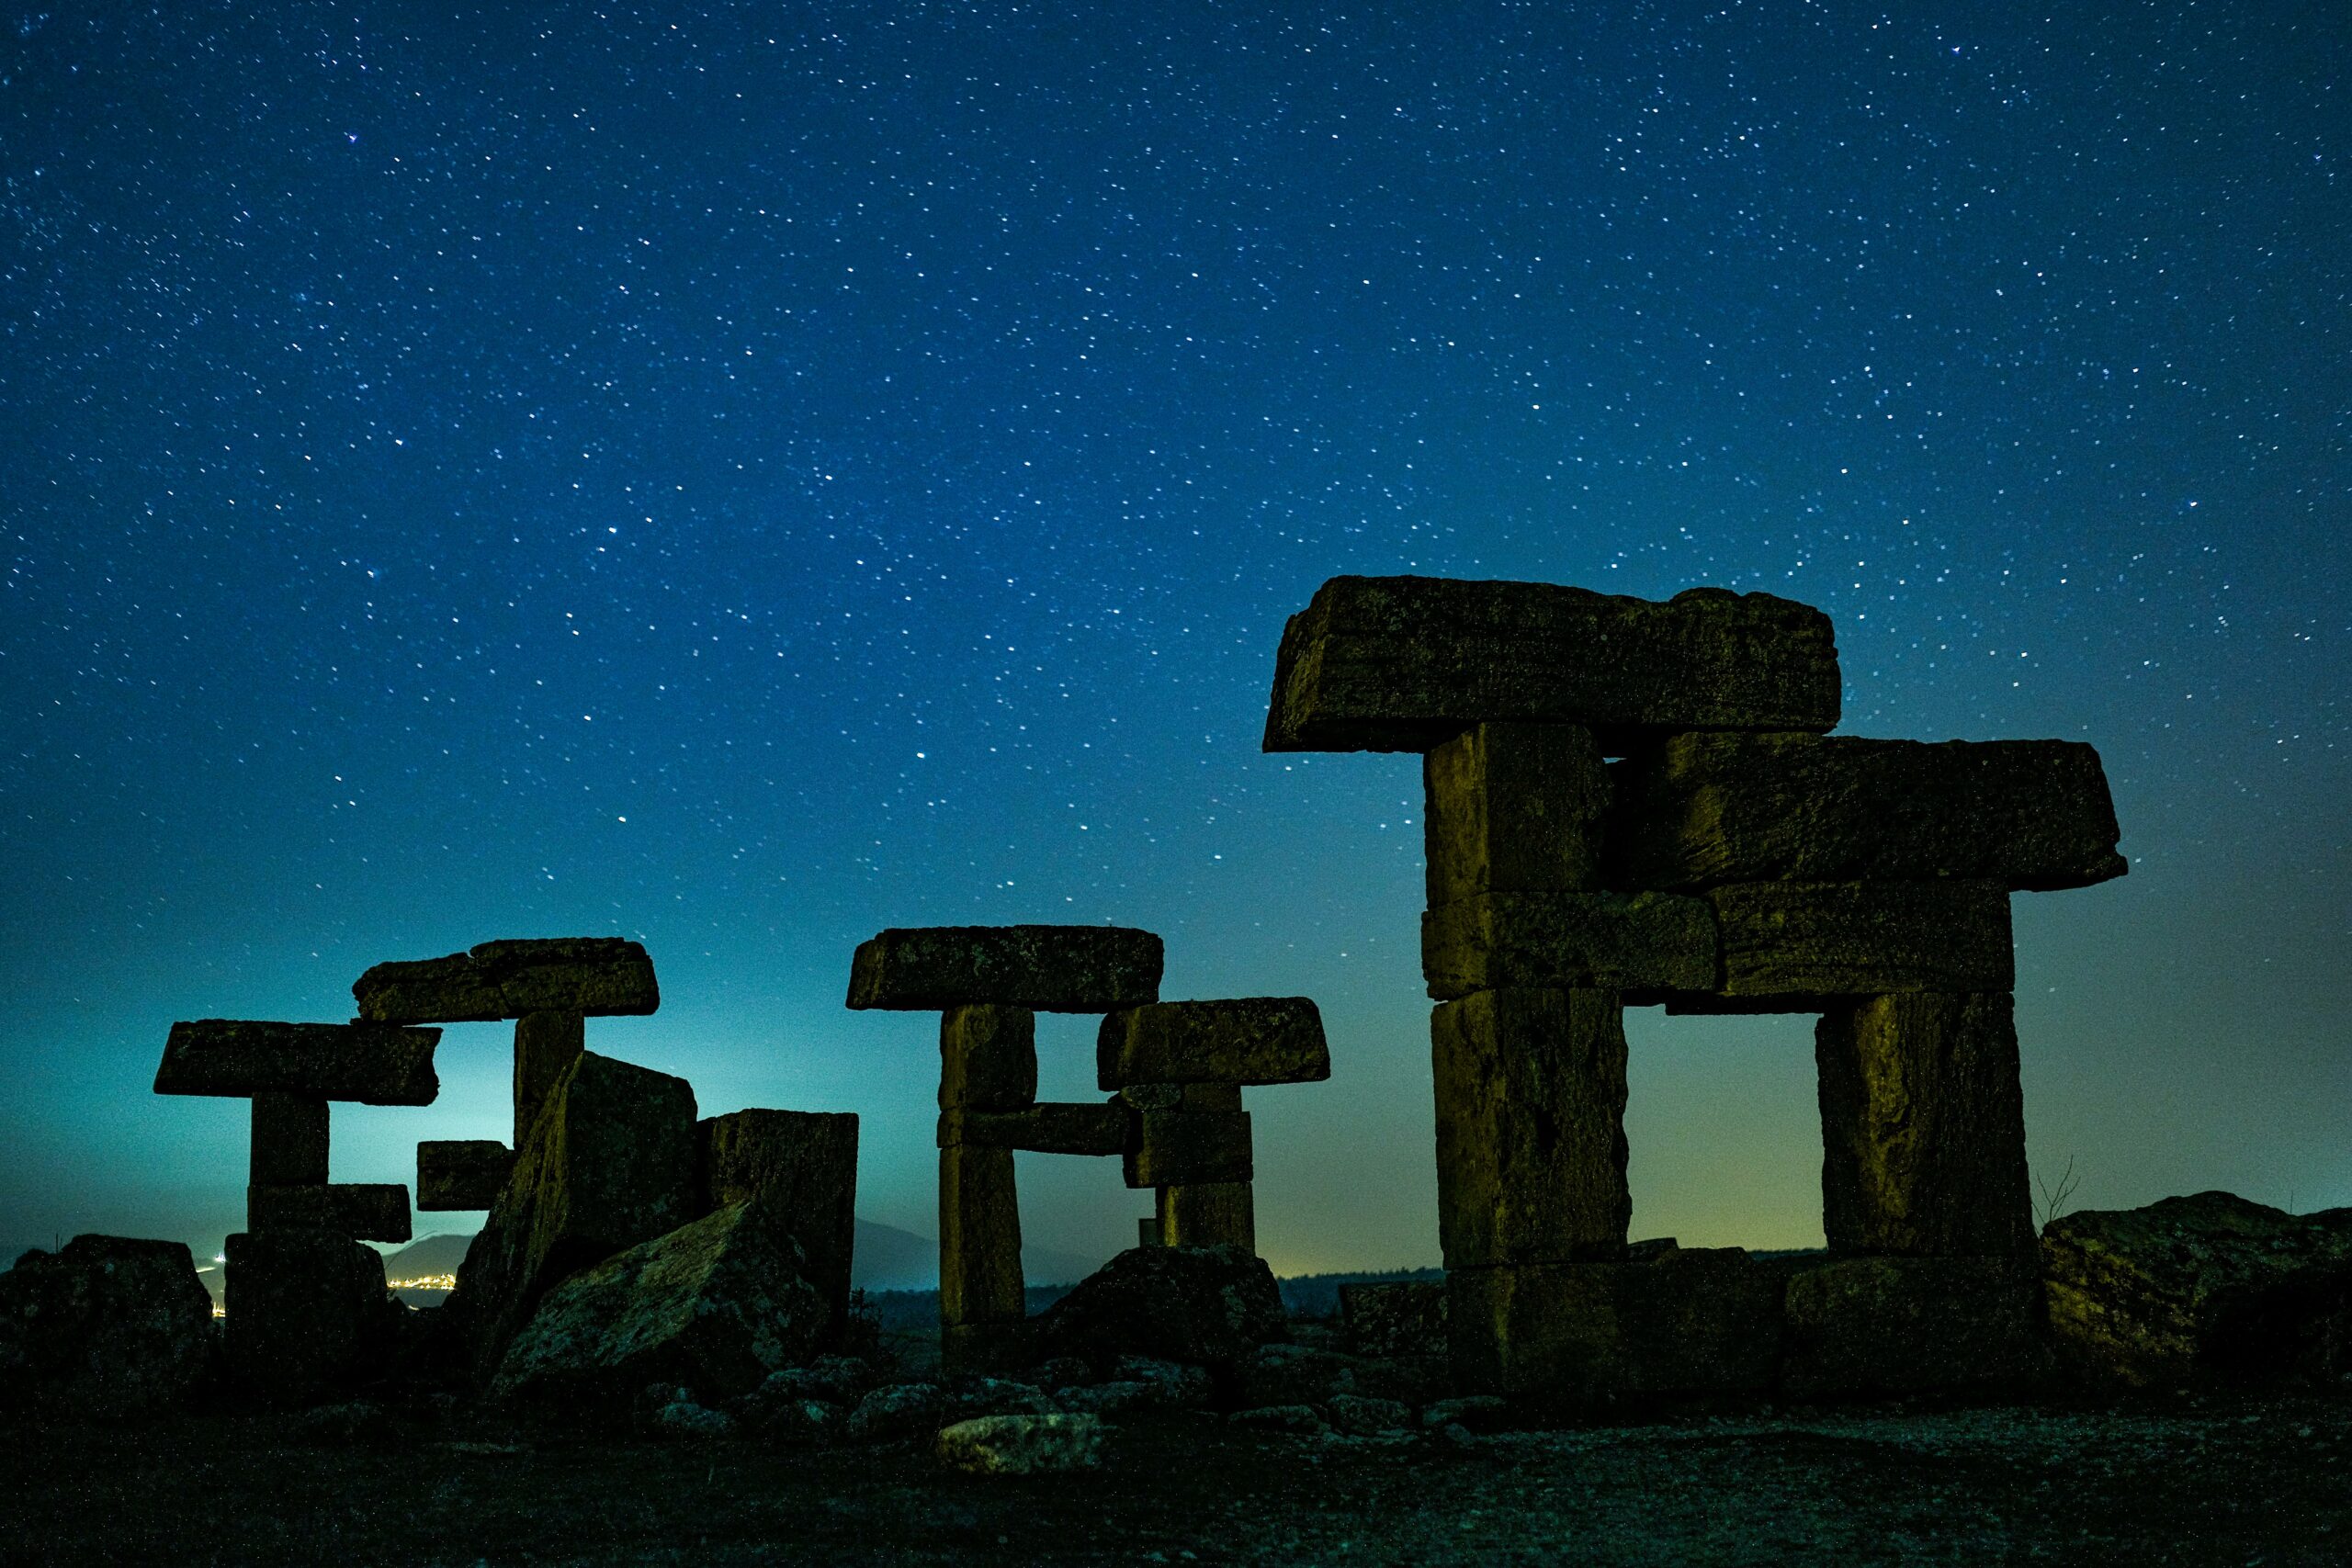
Historical sites provide scale and context. They remind us that while empires crumble and languages fade, the celestial dance remains the one constant. It’s a humbling reminder that we are part of a long continuum of sky-watchers. Plus, let’s be honest: a crumbling Roman aqueduct just looks significantly cooler under a canopy of stars than your backyard fence.
Technical Foundations: The Gear and the Math
Astrophotography is one of the few niches where “spraying and praying” will leave you with nothing but a black screen and a cold cup of coffee. You need a specific toolkit to bridge the gap between the dark earth and the bright stars.
The “Rule of 500”
To avoid “star trailing” (where the stars look like little sausages instead of points of light), photographers use the Rule of 500. This formula helps you calculate the maximum shutter speed before the Earth’s rotation becomes visible in your frame.
If you are using a 20mm lens on a full-frame camera (crop factor of 1), your max exposure is 25 seconds. Any longer, and those stars start to smear.
Planning: The Digital Scout
You cannot simply show up at Stonehenge and hope for the best (mostly because security will tackle you, but also because of the weather). Success in this field is 80% planning and 20% execution.
Light Pollution Maps: Use tools like Dark Site Finder to ensure the ruins aren’t drowned out by the orange glow of a nearby city.
Celestial Alignment: Apps like PhotoPills or Stellarium allow you to use Augmented Reality (AR) to see exactly where the Milky Way core or the Moon will rise relative to the monument.
Permits and Legality: This is a candid peer advice: Do not trespass. Many historical sites are protected UNESCO heritage zones. Shooting at night often requires special permission, a paid guide, or attending “Star Parties” organised by the site’s conservators.
Iconic Locations and Their Challenges
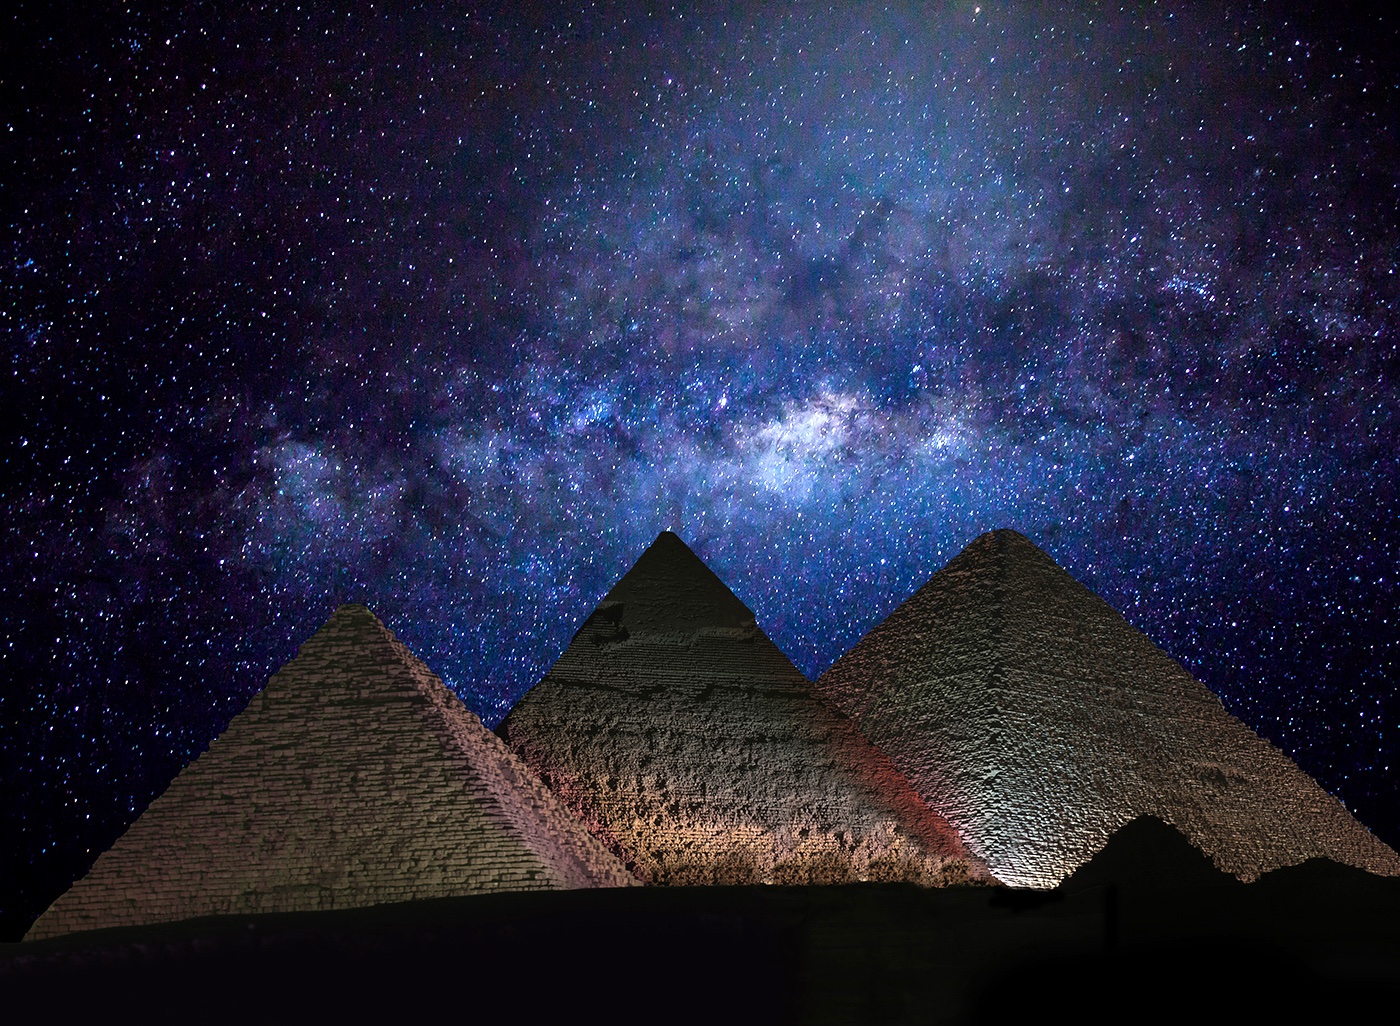
1. The Pyramids of Giza, Egypt
The ultimate prize. The challenge here isn’t just the desert heat; it’s the haze and the light pollution from nearby Cairo. To get a clear shot, photographers often have to use light pollution filters or wait for specific atmospheric conditions that clear the dust.
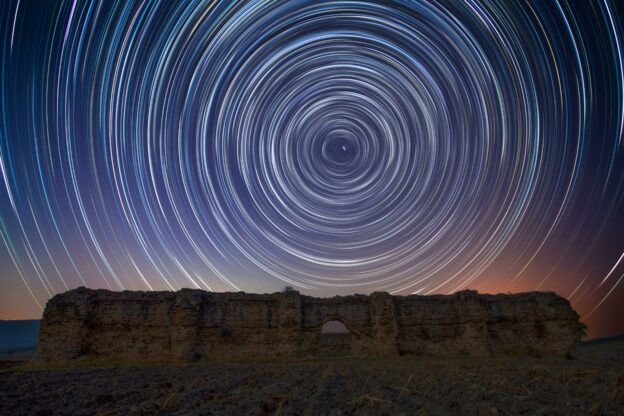
2. Stonehenge, United Kingdom
Stonehenge is notoriously difficult to access at night. However, the alignment of the stones with the solstices makes it a masterclass in archaeoastronomy. Capturing the North Star (Polaris) centered over a trilithon creates a “star trail” image that feels like a portal through time.
3. Moai of Easter Island (Rapa Nui)
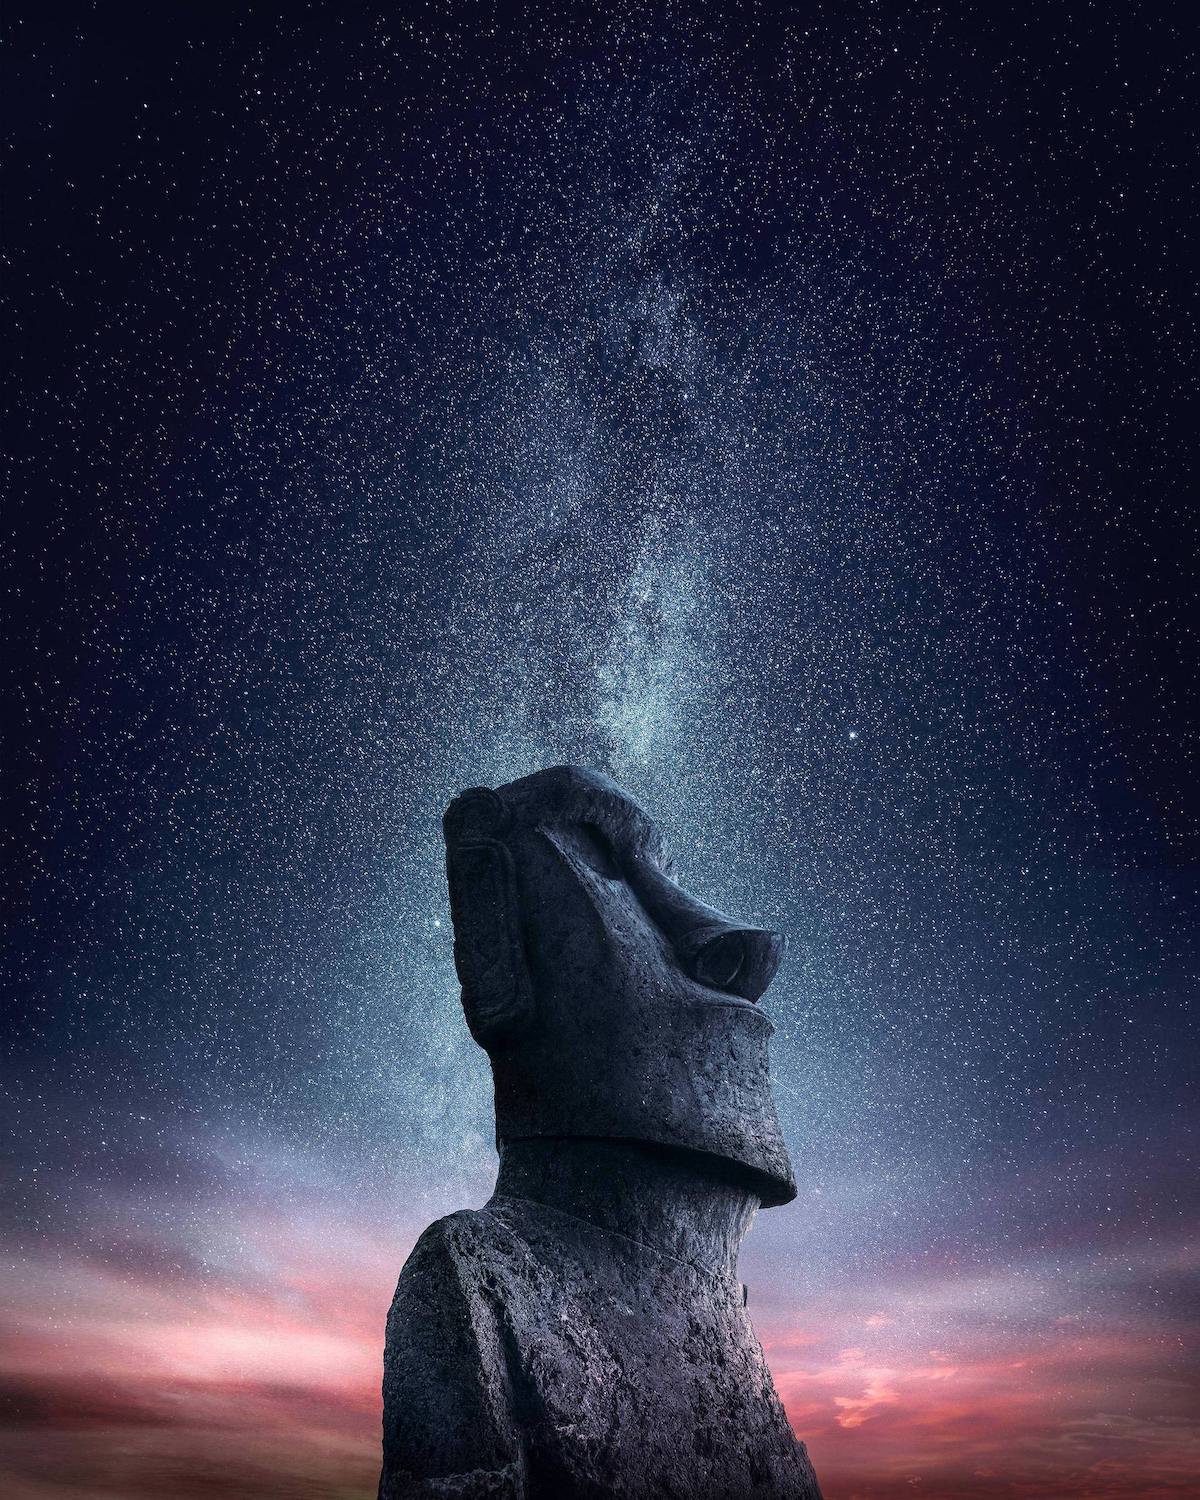
Remote, dark, and haunting. The Moai statues offer a vertical element that perfectly complements the vertical band of the Milky Way. Because there is almost zero light pollution, you can capture the “Airglow”—a faint emission of light from the Earth’s atmosphere—that adds eerie greens and reds to your sky.
Note: When shooting at these sites, “Light Painting” (using a flashlight to illuminate the ruins) is a controversial subject. Many purists prefer using “Low Level Lighting” (LLL) or simply mask in a separate foreground exposure taken during blue hour to maintain a natural, moonlit look. You may go either way depending on the level of effort you wish to put in.
The Art of Post-Processing
The raw file coming out of your camera will likely look flat and underwhelming. The magic happens in the digital darkroom.
Stacking: Taking 10–20 identical shots and using software (like Sequator or Starry Landscape Stacker) to average out the digital noise. This makes the “sky” look silky smooth while keeping the “ruins” sharp.
Colour Balance: Ancient stones often look best with a slightly warmer tone, while the night sky usually benefits from a cooler, deeper blue. Learning to mask these two areas separately is the hallmark of a pro.
Enhancing the Nebula: Use “Dehaze” and “Clarity” sparingly on the Milky Way core to bring out the dust lanes without making the stars look like neon glitter.
Ethics: Respecting the Ancestors
Beyond the technicalities of sensors and shutters, night photography is an exercise in quiet endurance. It demands a brand of discipline that extends far beyond your gear; it is the persistence to stand in the cold for hours, waiting for a single cloud gap that may never come. We don’t just capture these scenes; we enter into a silent contract with the environment.
Leave No Trace
This philosophy is our primary directive. As temporary guests in these spaces, we must treat the landscape with profound reverence. Scaling ancient masonry or fragile rock faces for a “hero angle” is more than just reckless; it is a betrayal of the site’s history. True creative mastery is found in discovering a compelling perspective within the boundaries of respect, ensuring the location remains pristine for those who follow.
The Responsibility of Light
In a world of long exposures, our light is our footprint. While high-powered lasers are useful tools for celestial navigation, they can be remarkably intrusive. A single stray beam can ruin a fellow photographer’s twenty-minute exposure or, more critically, interfere with established flight paths—which if we might add, may land you in jail. We must manage our light with extreme caution, prioritising the “dark sky” experience for both the lens and the community.
Honouring the Midnight Sanctuary
There is a spiritual stillness that settles over a site at 3:00 AM. When the world is asleep, these locations offer a rare, raw atmosphere. Honour this by moving with intention and keeping your voice to a whisper. By embracing the silence, you aren’t just being a polite observer; you are allowing yourself to connect with the site’s true character. This connection often results in work that feels grounded, timeless, and deeply resonant.
Conclusion
Astrophotography at historical sites is more than a technical challenge; it is an act of preservation. By capturing these monuments against the backdrop of the cosmos, we document their survival through the ages. We see the handiwork of humans who are long gone, framed by the light of stars that might no longer exist. It is the ultimate long-exposure—a snapshot of our place in the universe.
