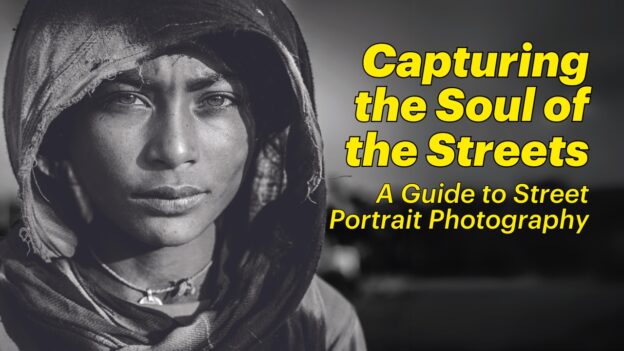
In the dynamic world of photography, street portrait photography stands out as a fascinating and immersive genre. It’s an art form that captures life in its most candid and raw form, portraying the essence of humanity against the backdrop of the bustling streets. This guide is meticulously crafted for both beginner and intermediate photographers who aspire to delve into the captivating world of street portrait photography. Here, we will explore a myriad of tips and tricks that will not only elevate your photography skills, but also enhance your understanding and appreciation of this profound art form.
Understanding Street Portrait Photography
Street portrait photography is more than just taking pictures of people on the streets. It’s about storytelling, capturing emotions, and depicting the vibrant tapestry of urban life through the lens of your camera. Unlike staged portraits, street portraits are spontaneous and authentic, offering a glimpse into the soul of society.
1. Mastering the technical basics
Before diving into the streets, it’s crucial to have a firm grasp of your camera’s settings and the basics of photography. Understanding exposure, aperture, shutter speed, and ISO will allow you to adapt quickly to varying lighting conditions and capture sharp, well-exposed images. Practice shooting in manual mode to gain full control over your photographs.
2. The right gear for the job
While the best camera is the one you have with you, certain gear can make street portrait photography more effective. A versatile lens, such as a 50mm or 35mm prime lens, is ideal for capturing the essence of street life without being too intrusive. These lenses also offer excellent image quality and the ability to shoot in low light conditions. Additionally, a camera with a silent shutter mode can be invaluable for taking candid shots without drawing attention.
3. Building a connection
One of the most significant aspects of street portrait photography is the connection between the photographer and the subject. Whenever possible, engage with your subjects before taking their photograph. A simple smile, nod, or a few words can go a long way in making them feel comfortable and more open to being photographed. This connection often translates into more natural and expressive portraits.
4. The art of composition
Composition plays a pivotal role in the impact of a street portrait. Be mindful of the background and surroundings to avoid clutter that can detract from the subject. Utilise compositional techniques such as the rule of thirds, leading lines, and framing to create more engaging and balanced images. Always be on the lookout for interesting juxtapositions and contrasts that can add depth to your portraits.

5. Capturing emotions and stories
The heart of street portrait photography lies in its ability to convey emotions and stories. Strive to capture the expressions, gestures, and interactions that reveal your subject’s personality and mood. Be patient and observant, waiting for those fleeting moments that can transform a simple photo into a powerful narrative.
6. Lighting is key
Natural light is a street photographer’s best friend. The golden hours, early in the morning and late in the afternoon, offer soft, flattering light that can enhance the mood of your portraits. However, don’t shy away from the challenges of harsh midday light or the dramatic shadows it can create. Experiment with different lighting conditions to discover unique perspectives and moods.
7. The importance of ethics and respect
Respect and ethics should be the foundation of your street photography practice. Always consider the dignity and privacy of the people you photograph. If someone indicates that they do not wish to be photographed, respect their wishes. Be aware of cultural sensitivities and legal restrictions, especially when travelling to new places.
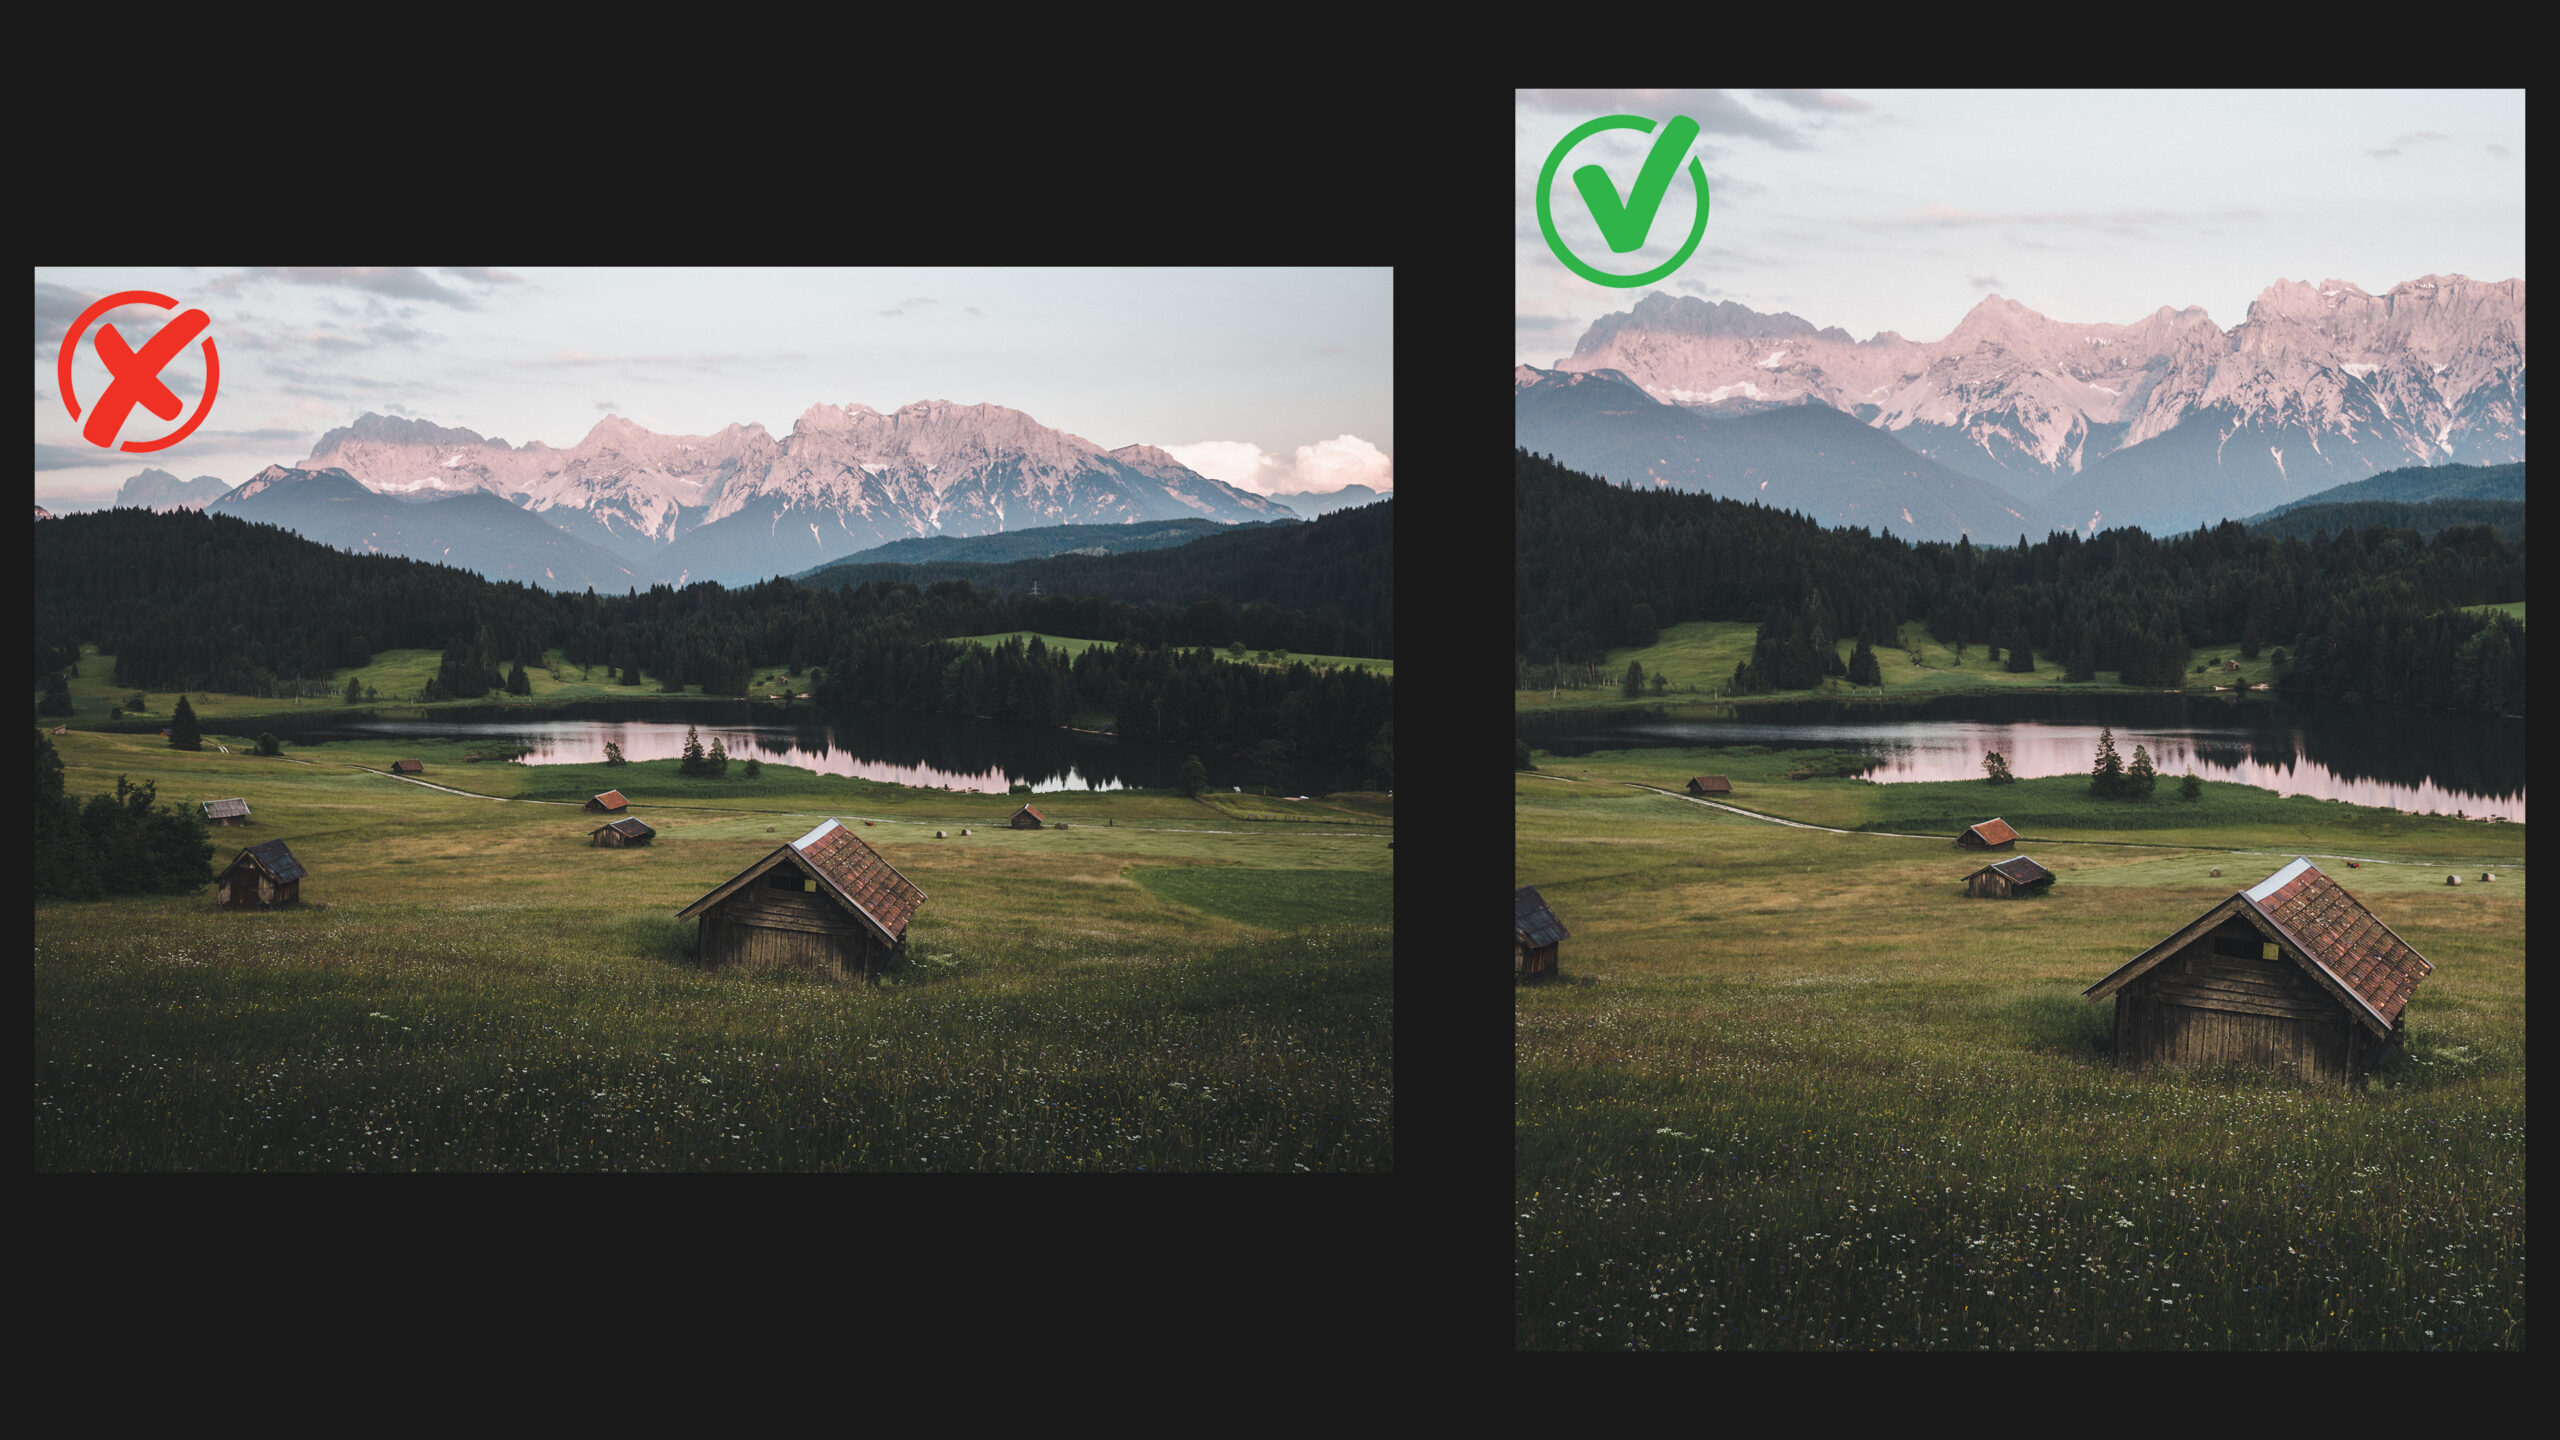
8. Post-processing techniques
Post-processing is an essential step in realising your vision for a street portrait. Adjusting exposure, contrast, and colour can help to bring out the best in your images. However, strive to keep edits minimal to preserve the authenticity of the moment. Software like Adobe Lightroom and Photoshop offers powerful tools for refining your photos while maintaining their natural feel.

9. Continuously learning and evolving
Street portrait photography is a journey of continuous learning and growth. Seek inspiration from the work of renowned street photographers, participate in workshops, and immerse yourself in photography books and magazines. Most importantly, practice relentlessly. The more you shoot, the more your skills and unique style will develop.
10. Sharing your work
Sharing your photographs with the world is not only rewarding, but also an excellent way to receive feedback and gain exposure. Utilise social media platforms, photography forums, and exhibitions to showcase your work. Engaging with the photography community can provide valuable insights, inspire new ideas, and open doors to exciting opportunities.
11. Embrace spontaneity
Street photography thrives on spontaneity. While it’s good to have a plan or a concept in mind, be open to the unexpected. Sometimes, the most compelling images are born from unplanned moments. Let the rhythm of the streets guide you, and be ready to capture whatever comes your way.
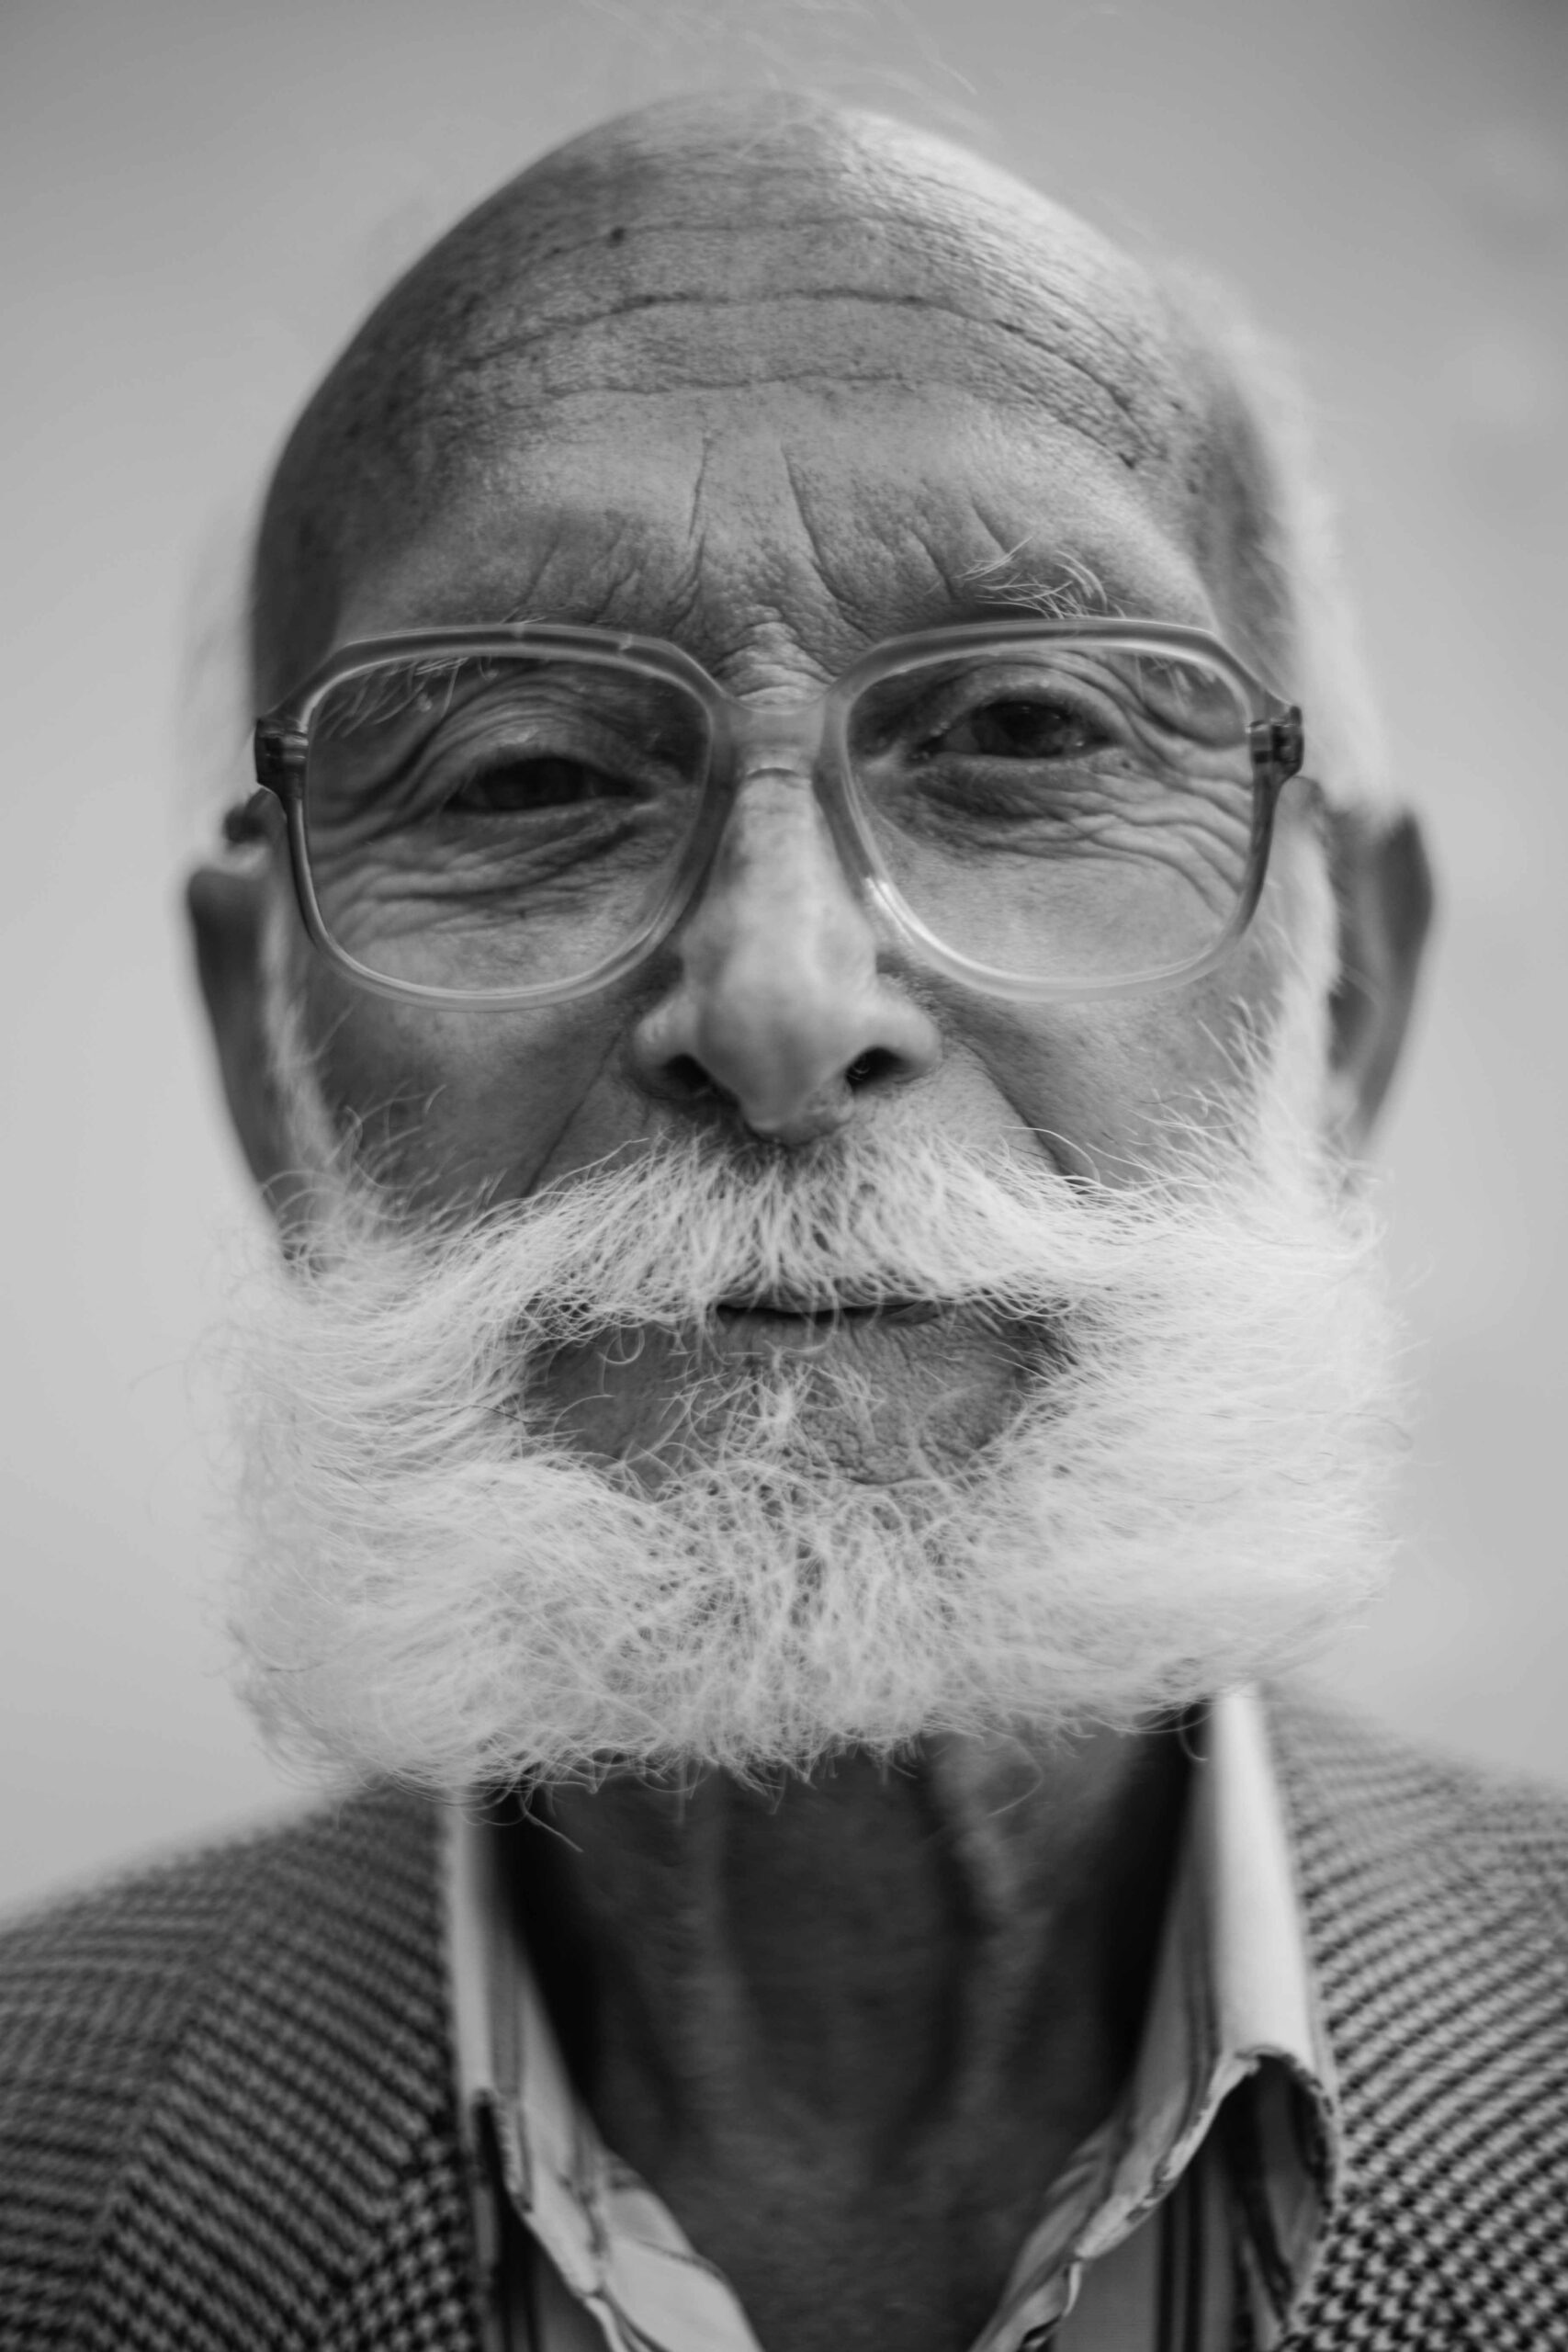
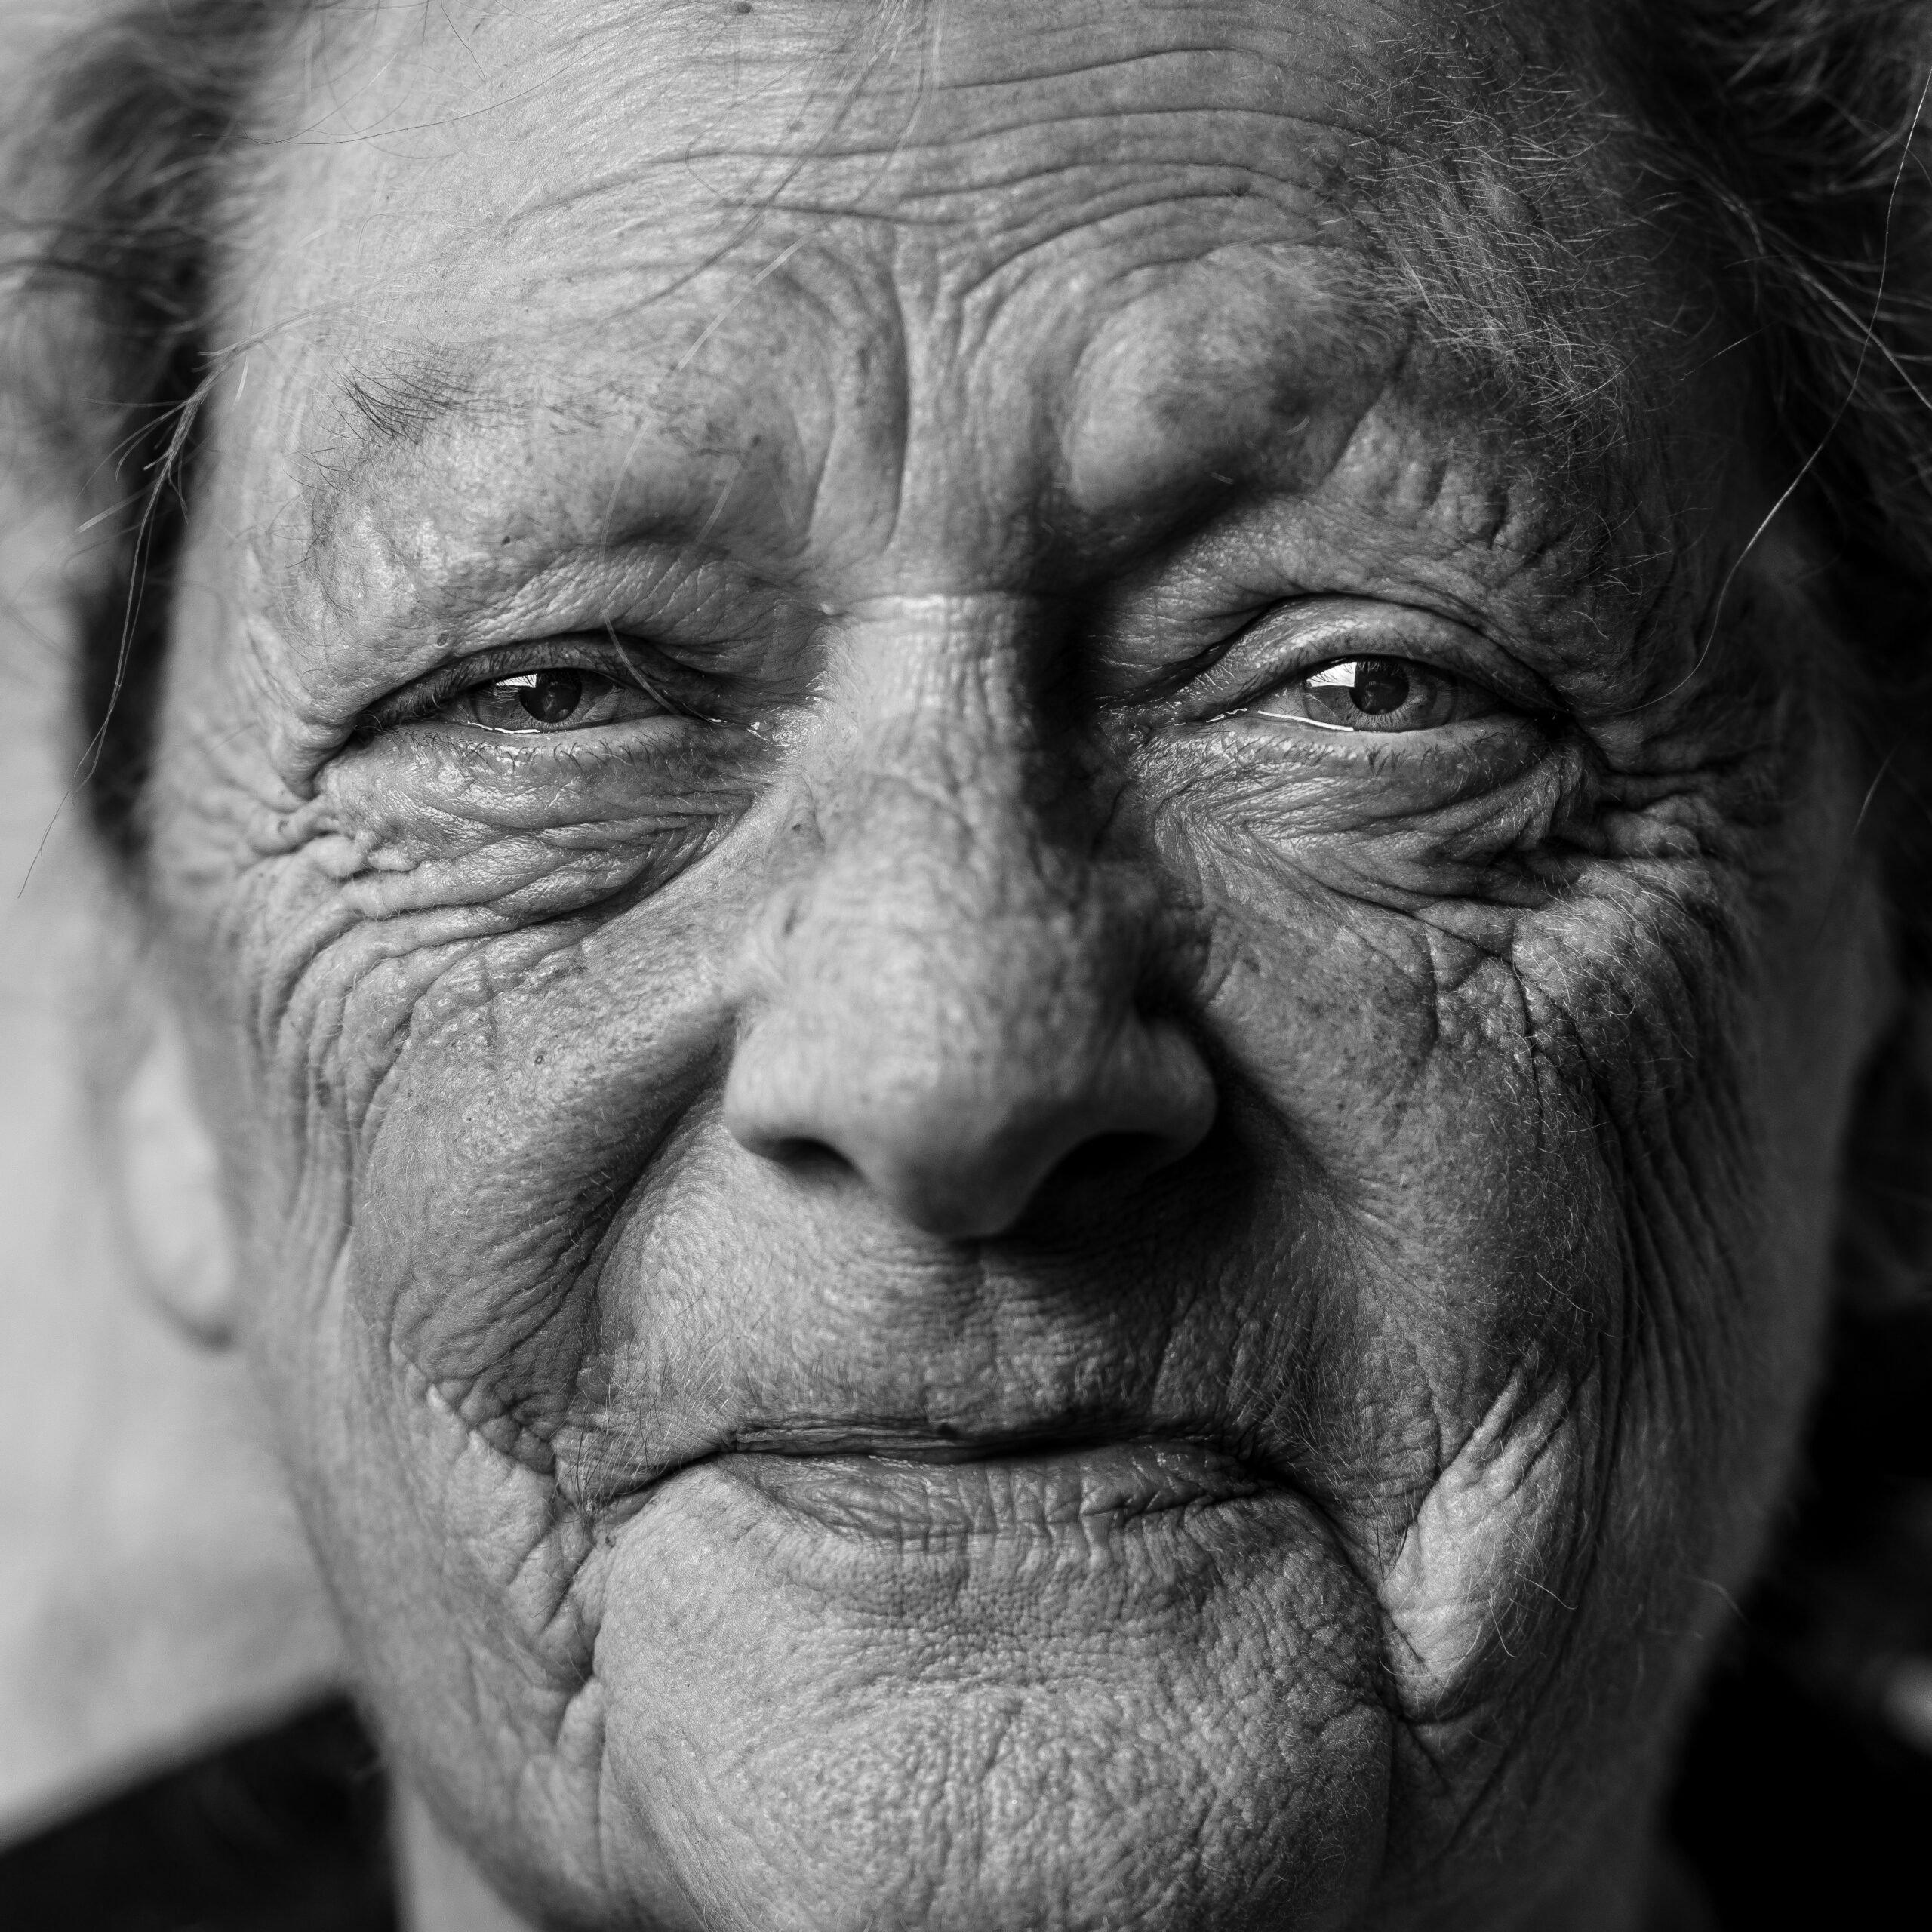
12. Focus on the eyes
In portrait photography, the eyes often hold the most emotion and can draw viewers into the photo. When possible, focus on the eyes of your subject to create a powerful connection between the viewer and the photograph. This simple technique can dramatically increase the impact of your portraits.

13. Experiment with perspectives
Don’t be afraid to experiment with different shooting angles and perspectives. Crouch down, climb up, or shoot from the hip to find unique vantage points that offer fresh takes on everyday scenes. Changing your perspective can also make your subjects feel more at ease, capturing them in a more natural state.
14. Utilise reflections and silhouettes
Reflections in windows, mirrors, and puddles can provide a creative and often abstract dimension to your street portraits. Similarly, silhouettes can create mystery and drama, adding another layer to the narrative of your image. These techniques can help your work stand out and evoke stronger emotional responses.
15. The decisive moment
Henri Cartier-Bresson, a pioneer in street photography, introduced the concept of the “decisive moment”. This is the idea that there exists a perfect instant to capture an image that encapsulates the essence of a scene. Cultivate patience and keen observation to recognise and capture these fleeting moments.

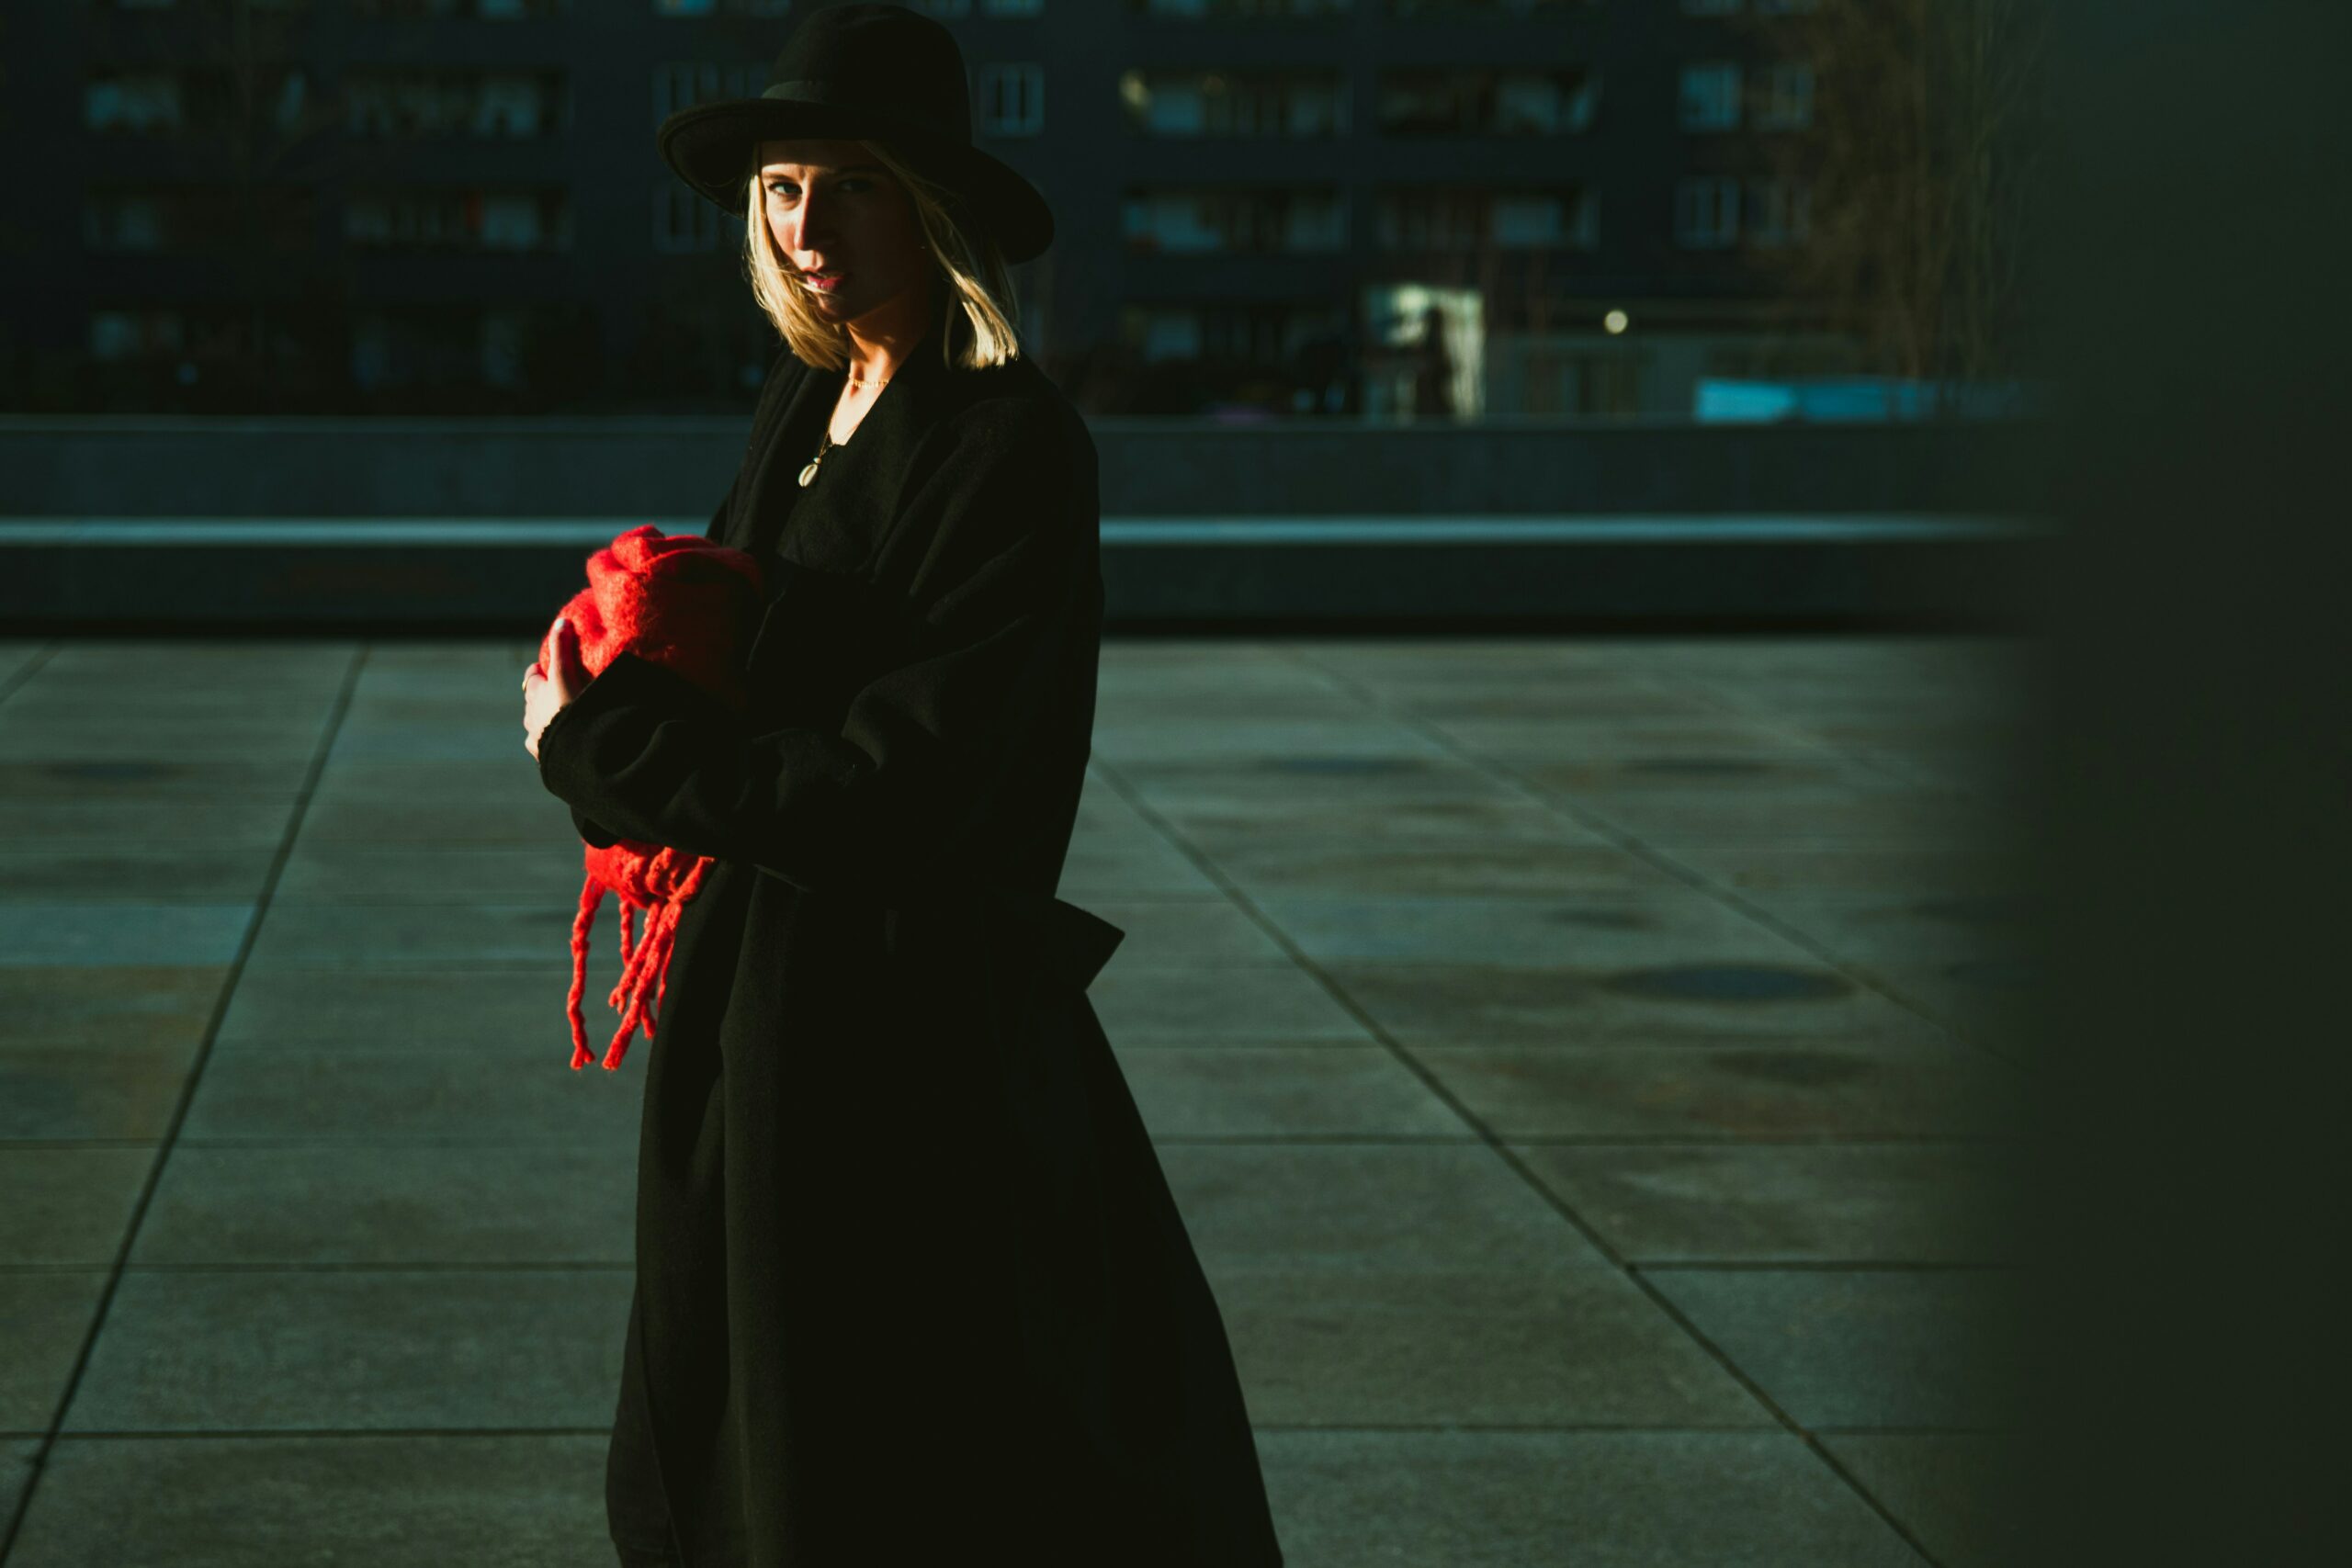
16. Understand the power of colour
Colour can significantly affect the mood and feel of a photograph. Warm colours can evoke feelings of happiness and comfort, while cool colours can convey melancholy or calm. Pay attention to the colours in your scene and consider how they contribute to the story you’re trying to tell.
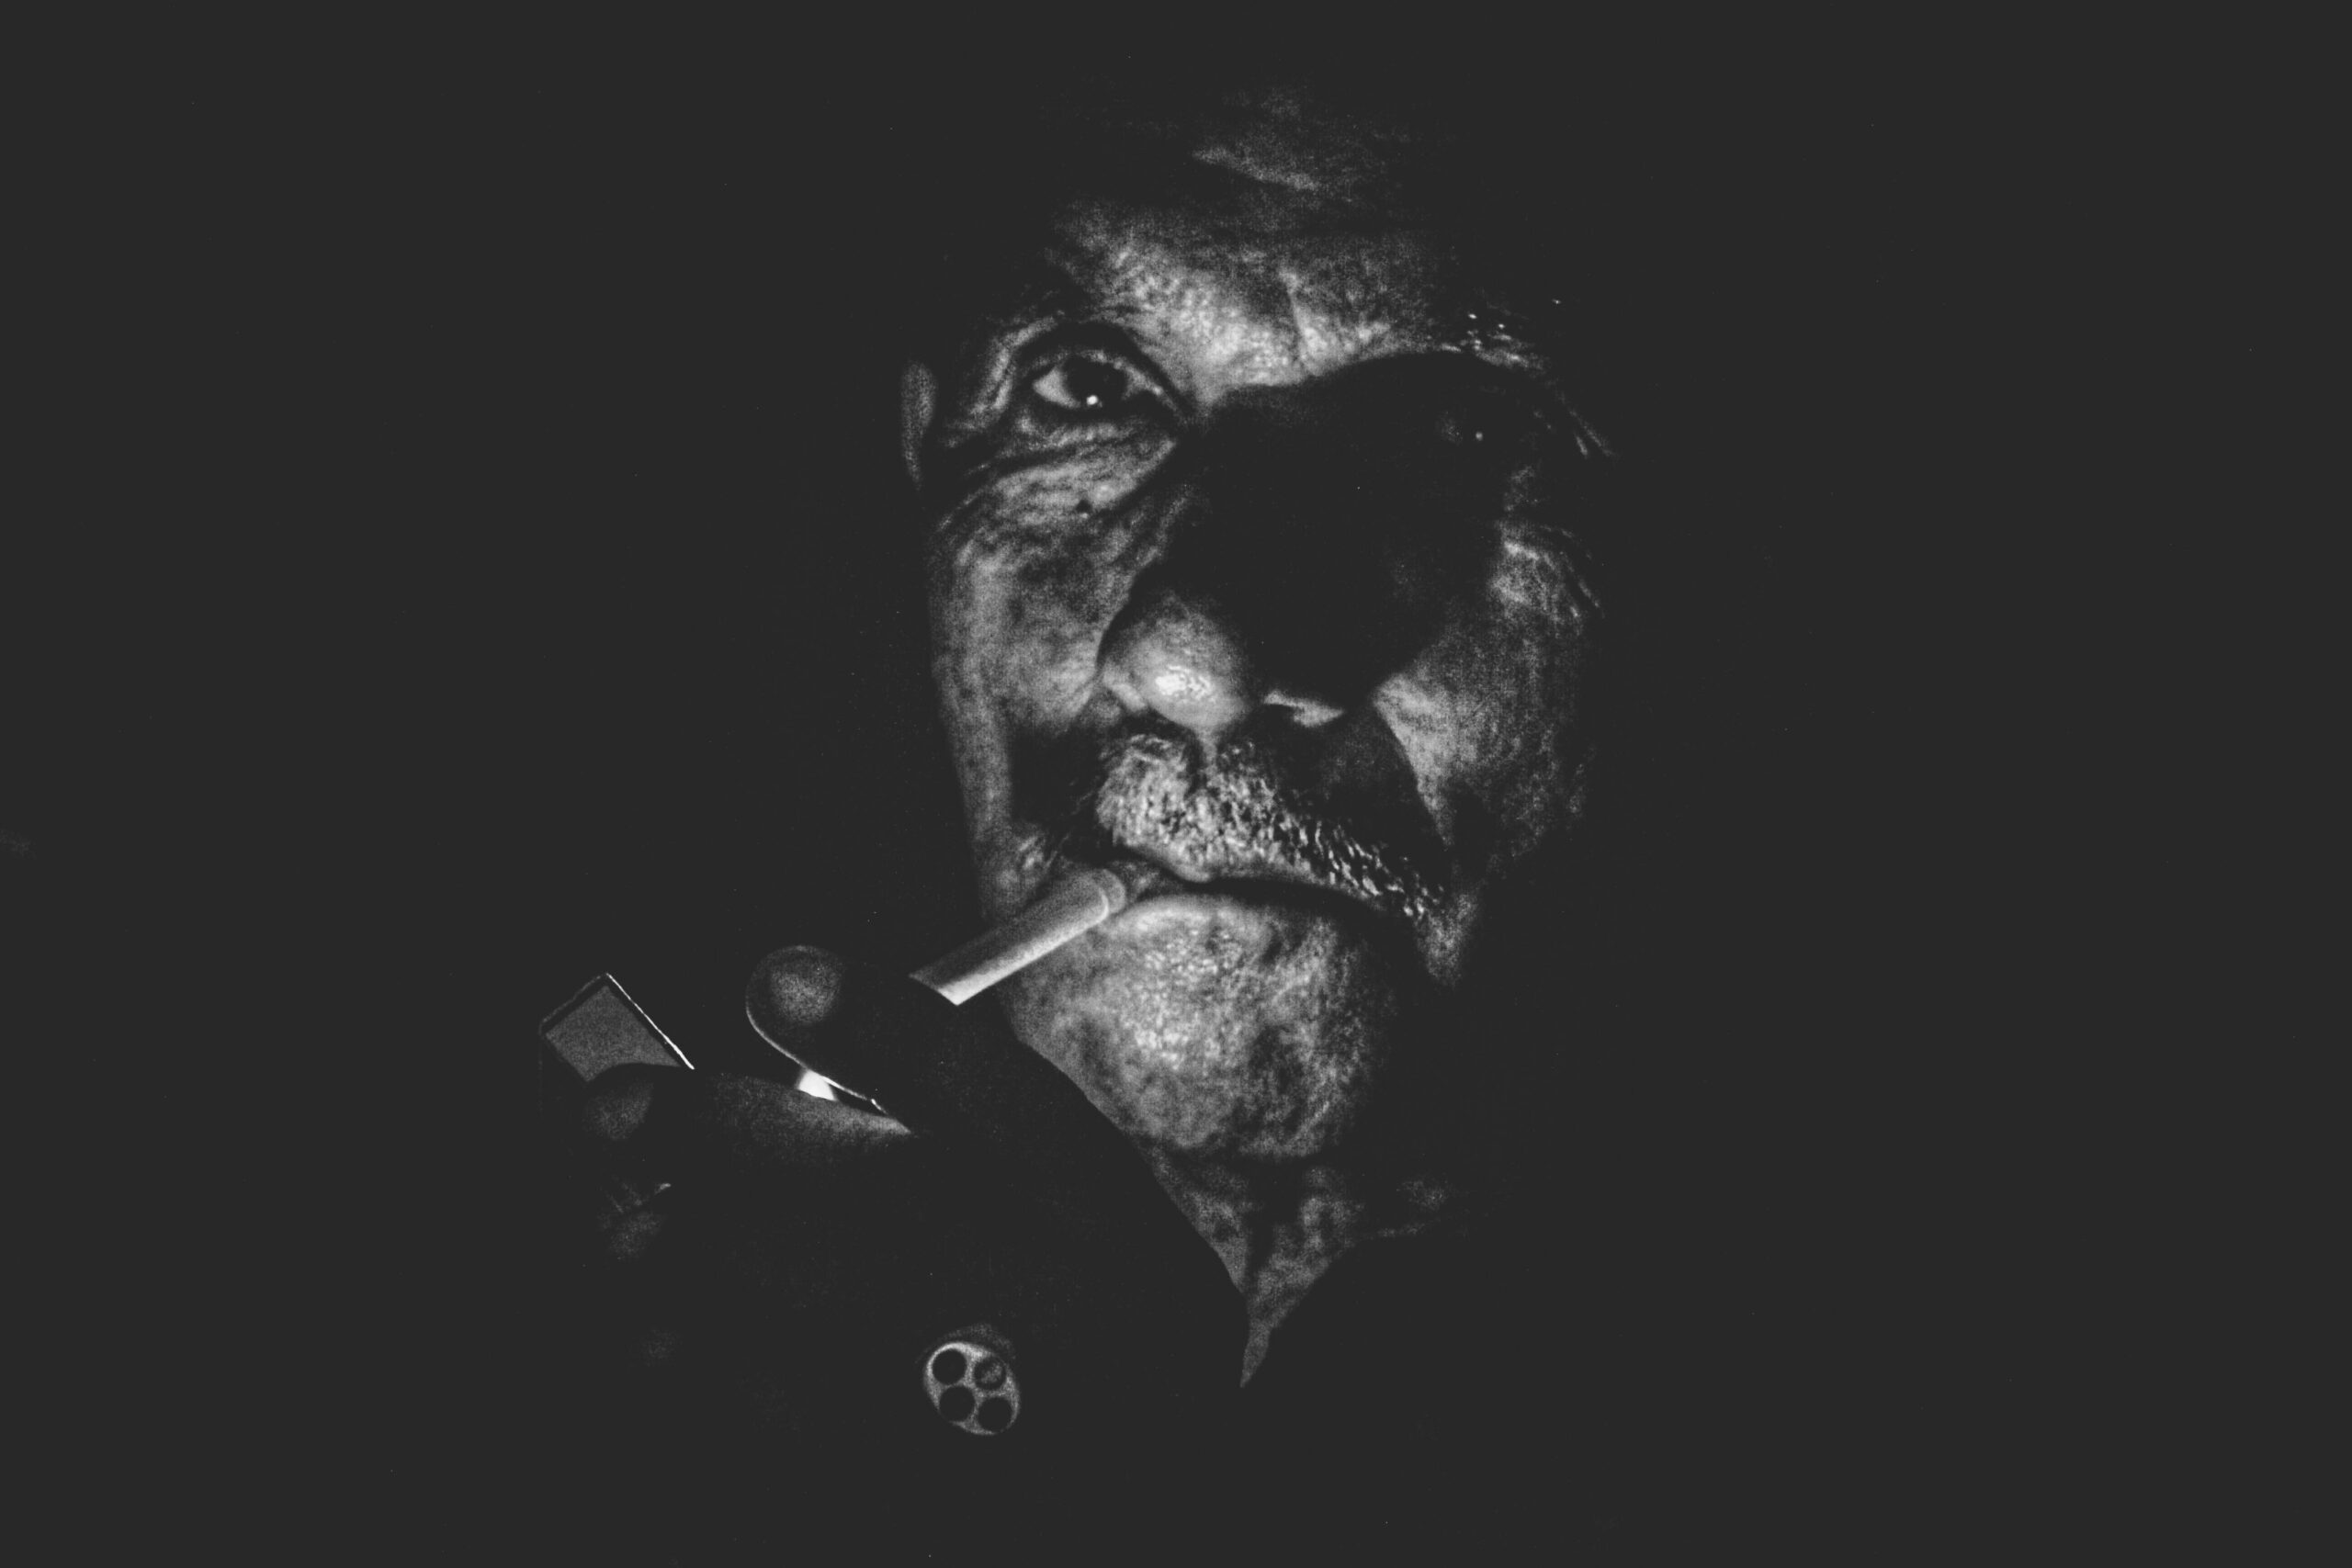
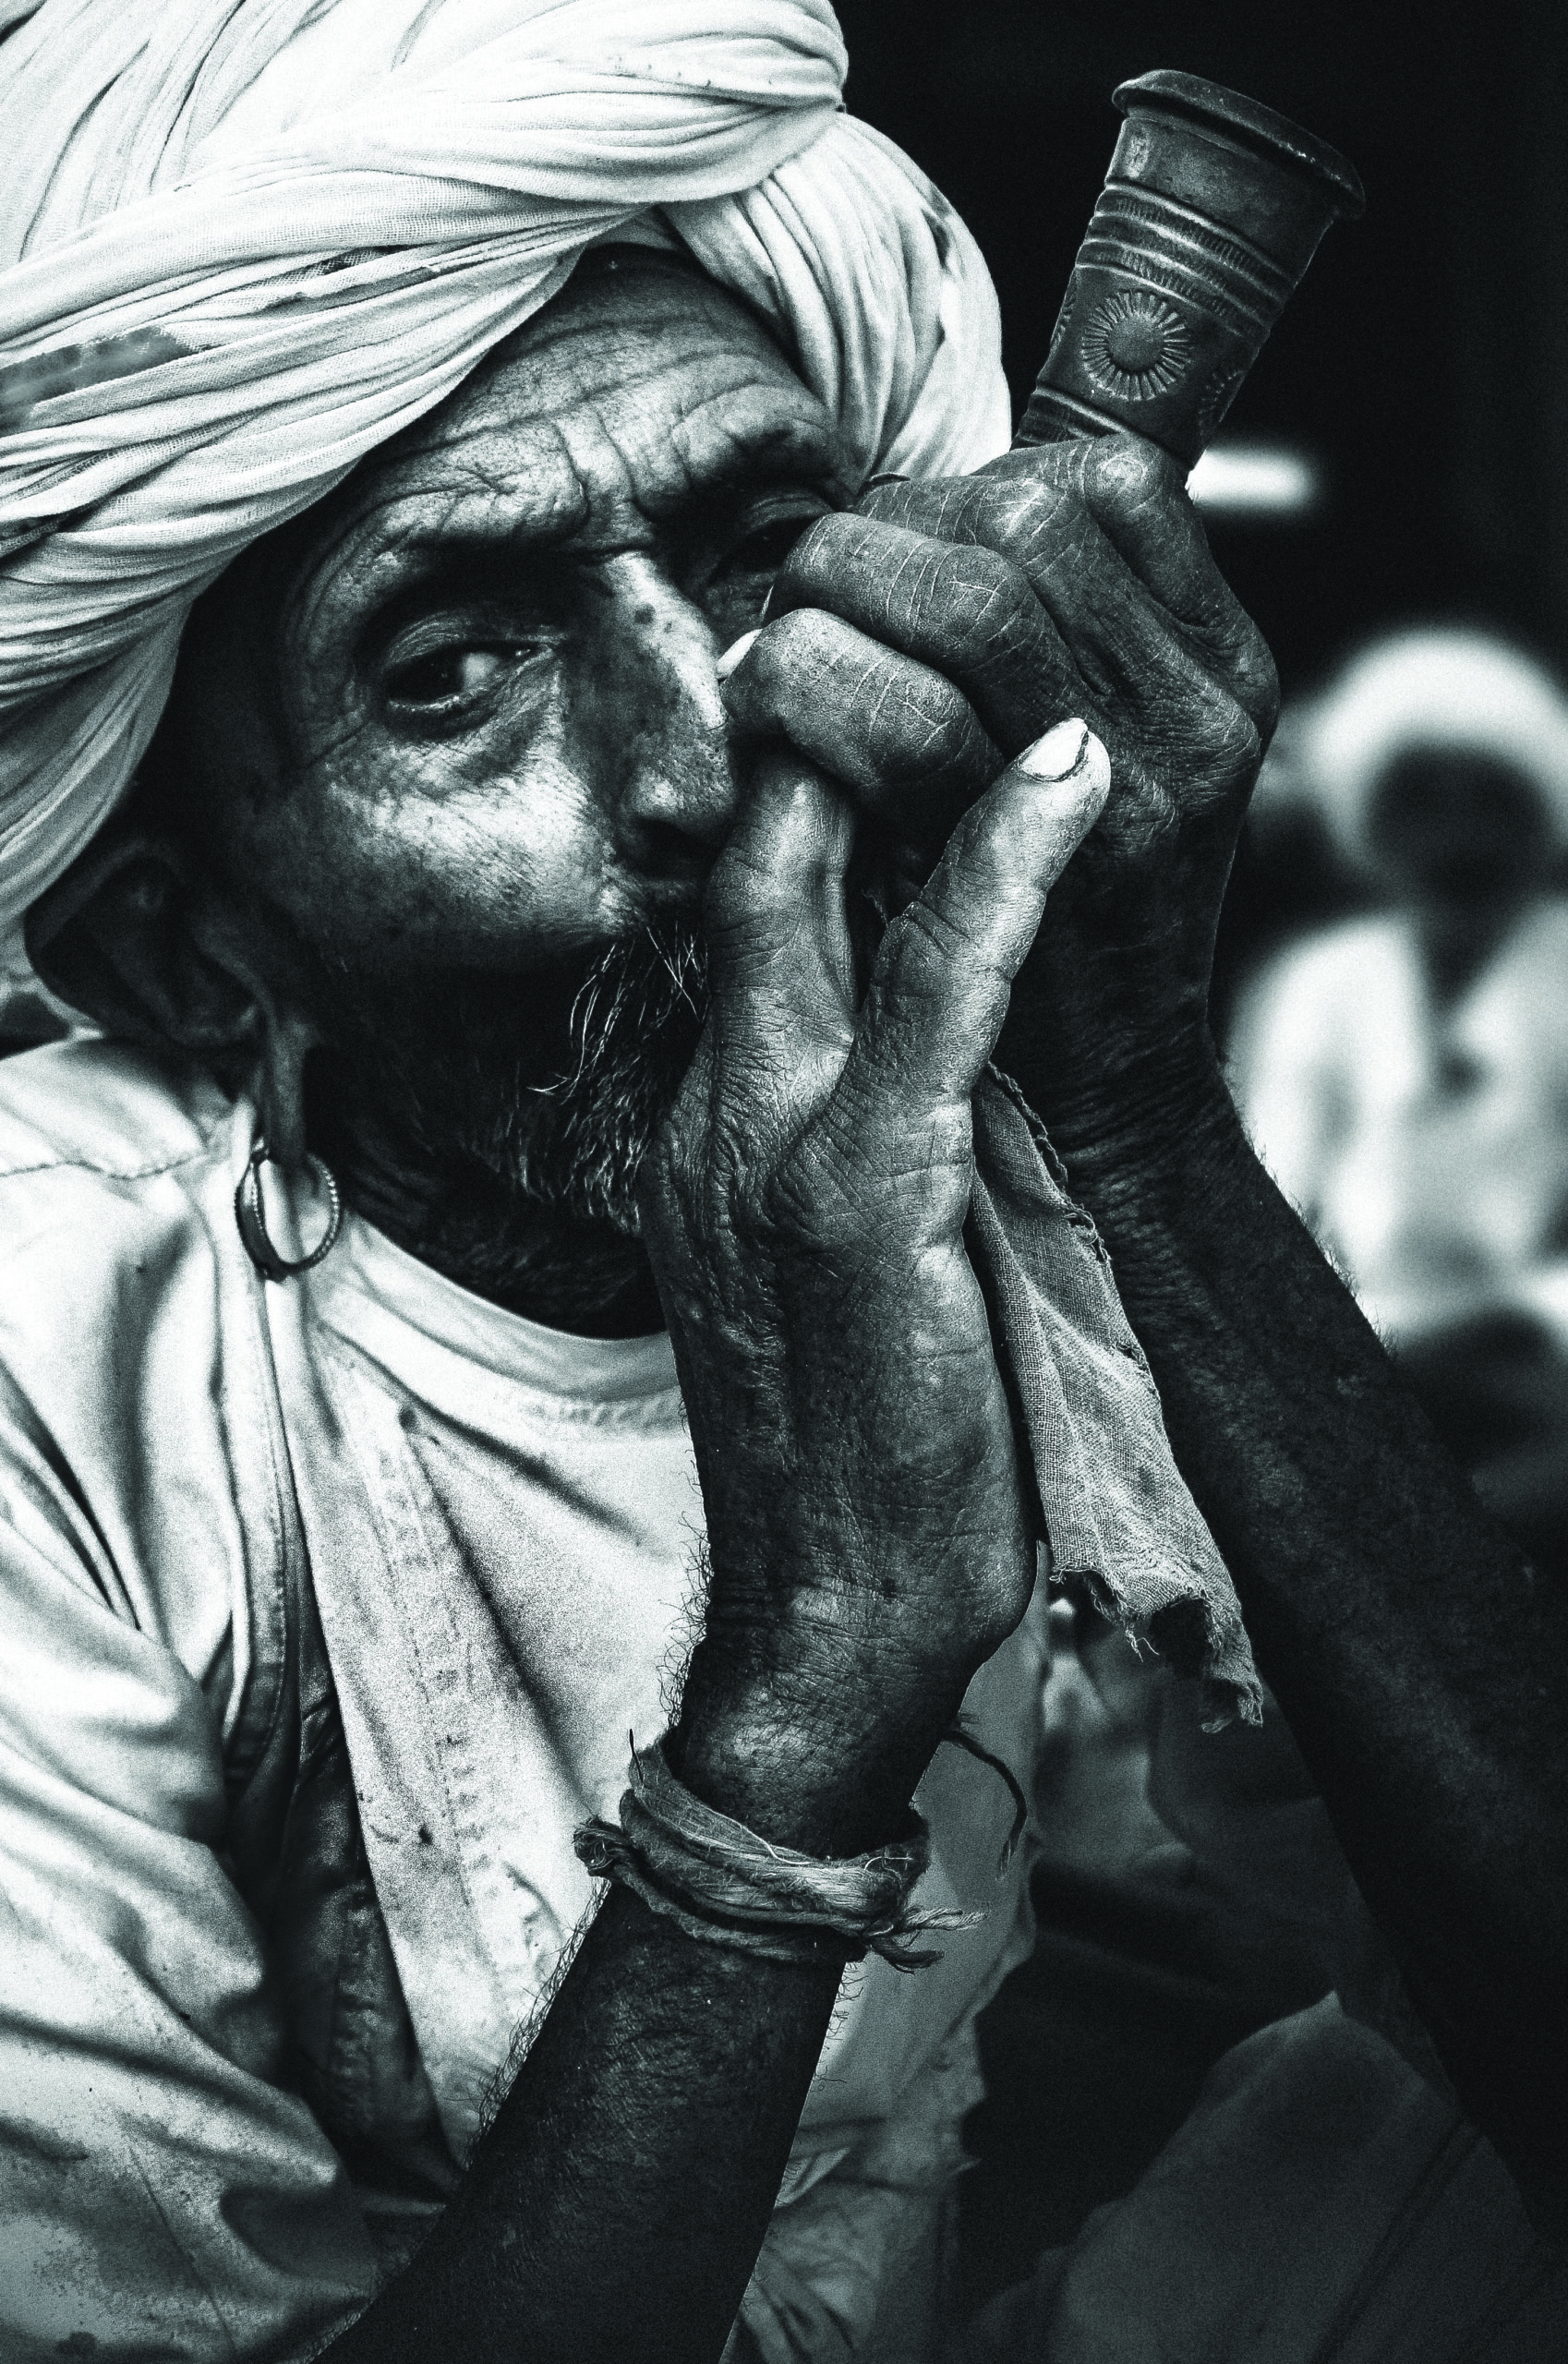
17. The role of Black and White
Black and White photography can strip away distractions and focus the viewer’s attention on the subject, textures, and composition. It can also lend a timeless quality to your images. Experiment with black and white conversions in post-processing to see how it changes the mood and impact of your portraits.
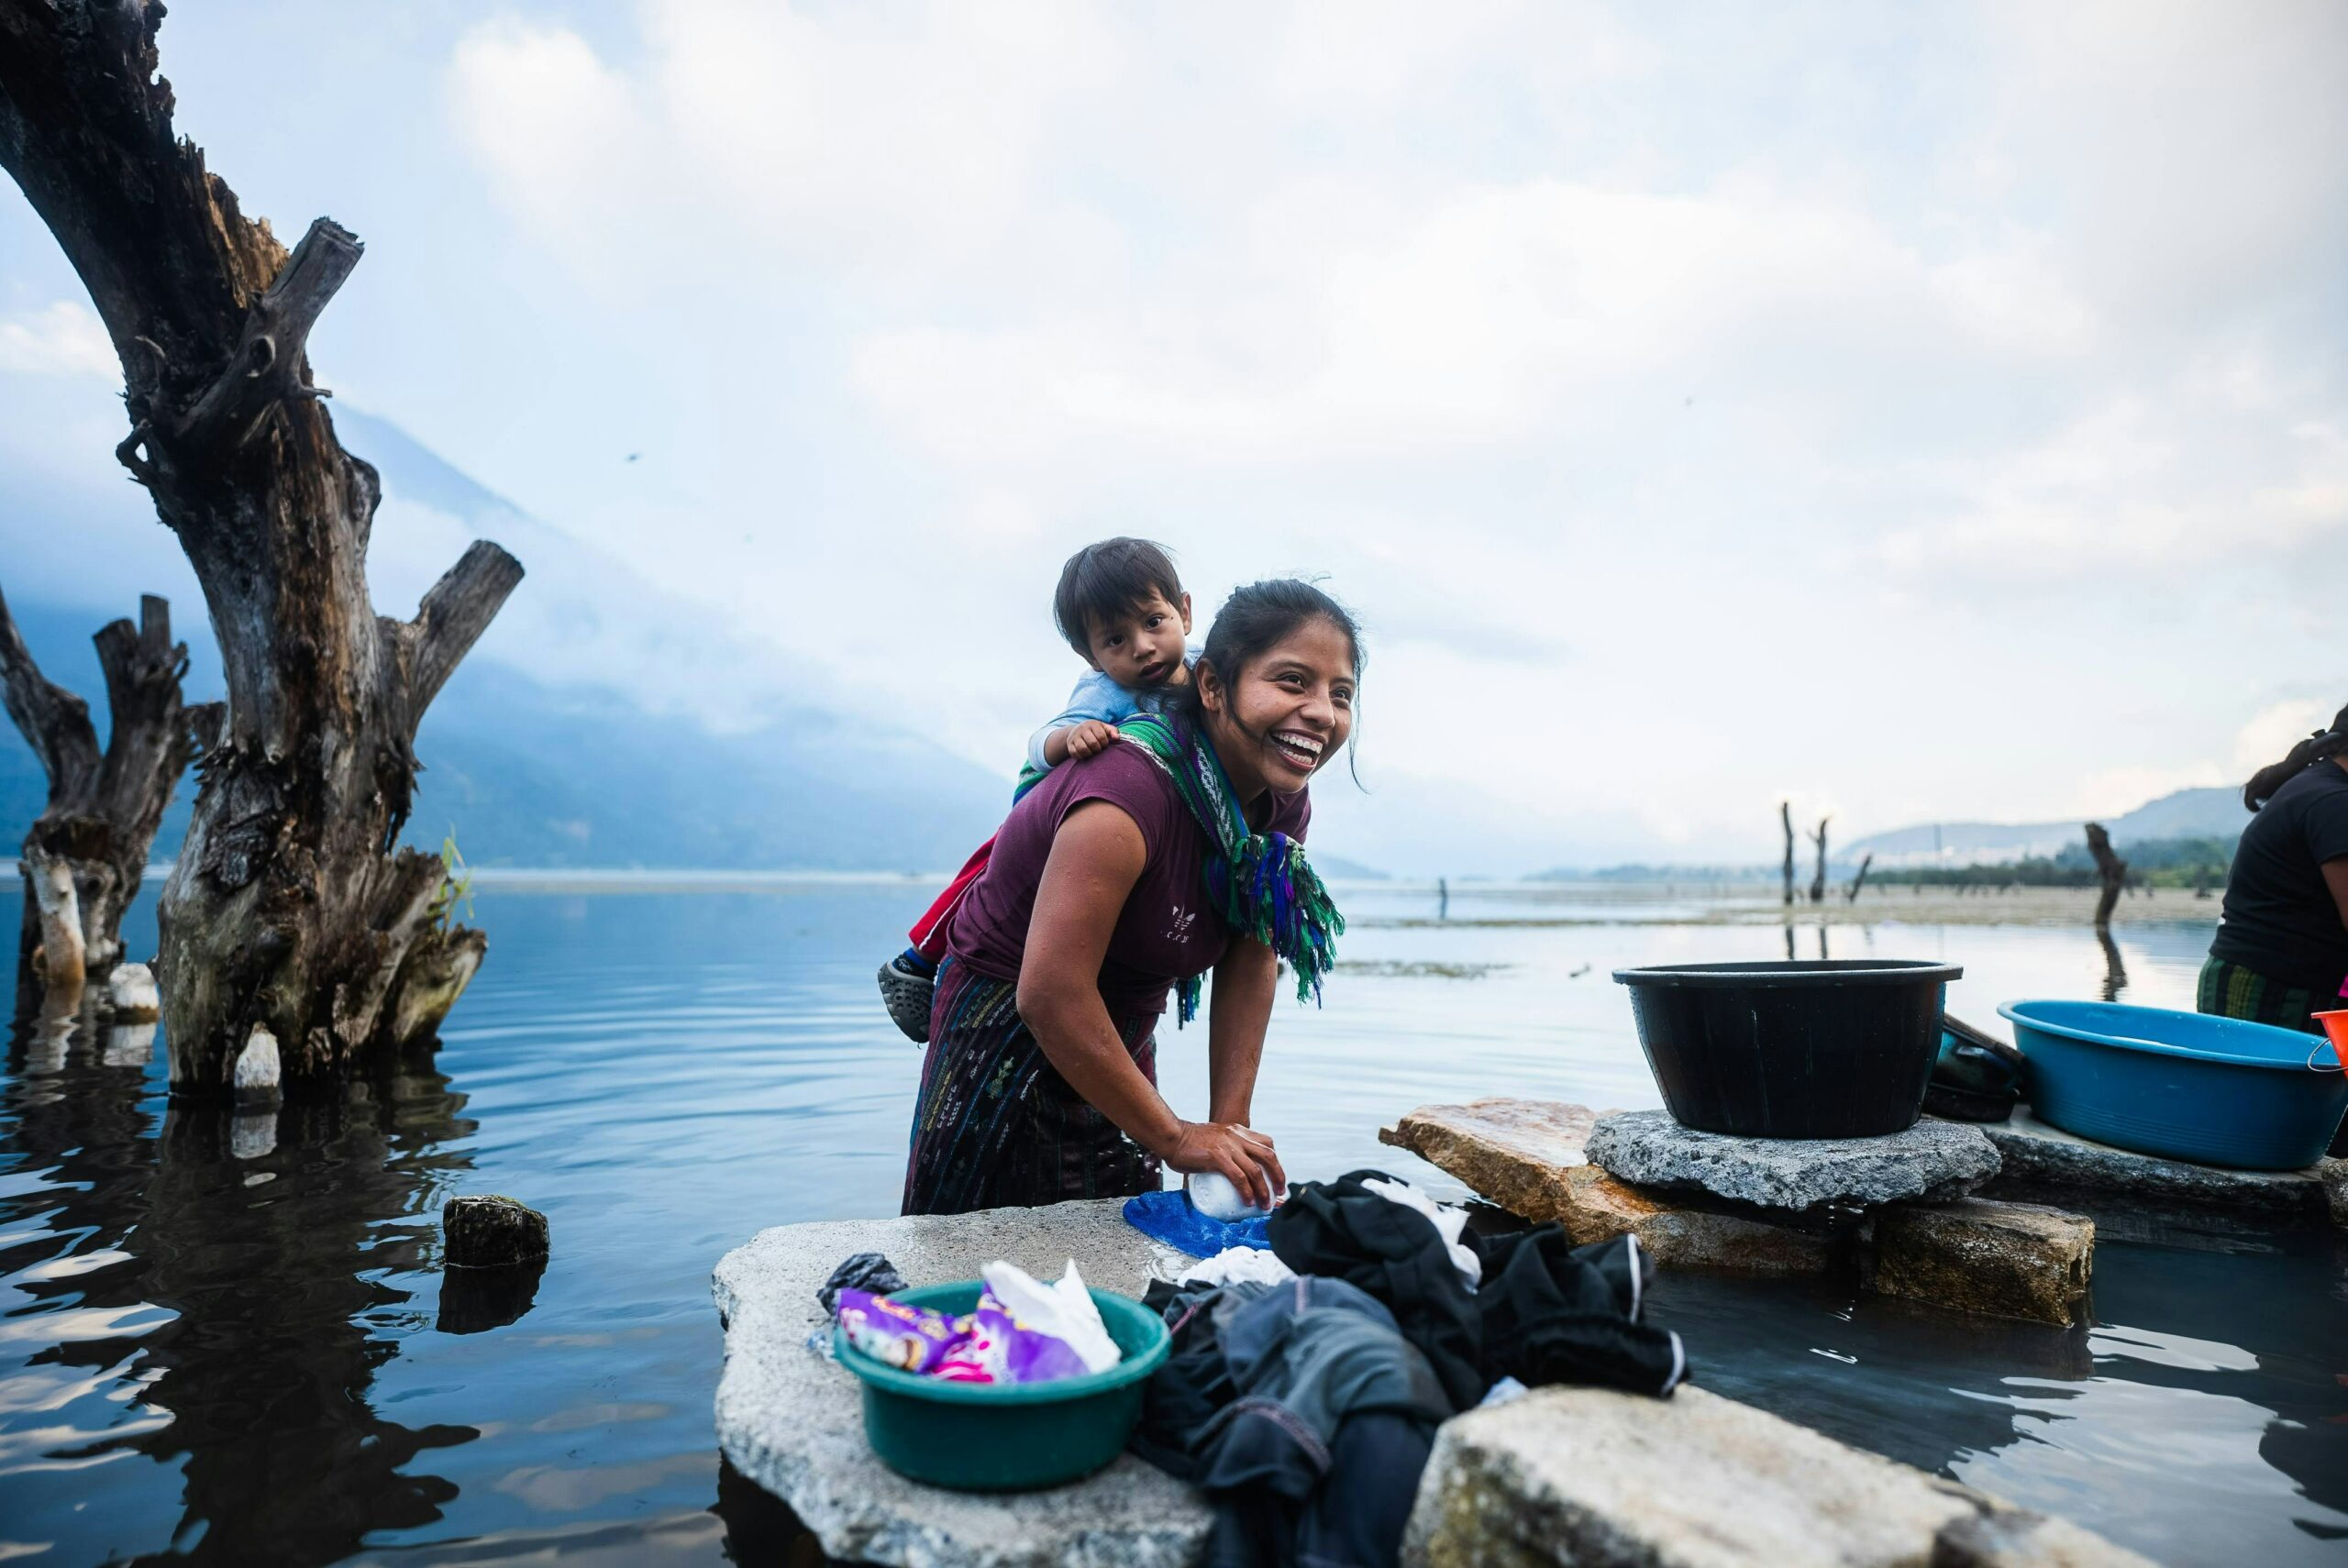
18. Capture the environment
While the focus of portrait photography is often on the individual, the environment can play a crucial role in telling a richer story. Include elements of the surroundings to provide context and depth to your images. This approach can help convey more about the subject’s life and the essence of the location.
19. Learn from critique
Be open to critique from fellow photographers and enthusiasts. Constructive feedback can provide new perspectives on your work and highlight areas for improvement. Learning from critique is essential for growth and development in your photographic journey.
20. Document your progress
Keep a record of your work and review it periodically. This will not only show you how much you’ve grown, but also help you identify consistent themes and subjects in your photography. Understanding your own progress and interests can guide your future development and refine your personal style.
Embarking on your journey
With these additional insights, your toolkit for street portrait photography is now richer and more diverse. Remember, the essence of street photography lies in capturing the beauty of everyday life, the unguarded moments that reveal the depth of human emotion and connection. Each point in this expanded guide is designed to encourage you to explore, experiment, and express your unique vision through the lens of your camera. The streets are a canvas, and you, the photographer, are the artist. Embrace each opportunity, learn from every shot, and continue to share the world through your eyes. The journey of street portrait photography is endless, filled with growth, discovery, and boundless creativity.
– Sanchit Mishra


.jpg)
.jpg)
.jpg)
.jpg)
.jpg)
.jpg)
.jpg)
.jpg)
.jpg)


.jpg)

.jpg)