Astrophotography, the captivating art of capturing the night sky’s breathtaking beauty, can be a challenging yet rewarding hobby. With the increasing accessibility of high-quality cameras and technology, more enthusiasts are venturing into this fascinating field. However, as with any form of photography, there are common pitfalls that can compromise the quality of your images. In this article, we will delve into the most common mistakes in astrophotography and provide valuable tips on how to avoid them, ensuring that you capture the celestial wonders with precision and clarity.
1. The importance of Planning and Research
One of the most critical errors in astrophotography is the lack of planning and research. Before embarking on a shoot, it is essential to research the optimal locations, timing, and equipment required for the shoot. Failure to plan can result in missed opportunities, poor image quality, and wasted time. To avoid this mistake, utilise online resources, such as planetarium software or mobile apps, to plan your shoot and ensure that you are at the right location at the right time. This meticulous planning will enable you to capture the celestial events, such as planetary alignments, meteor showers, or lunar eclipses, with precision and clarity.
2. The role of Equipment in Astrophotography
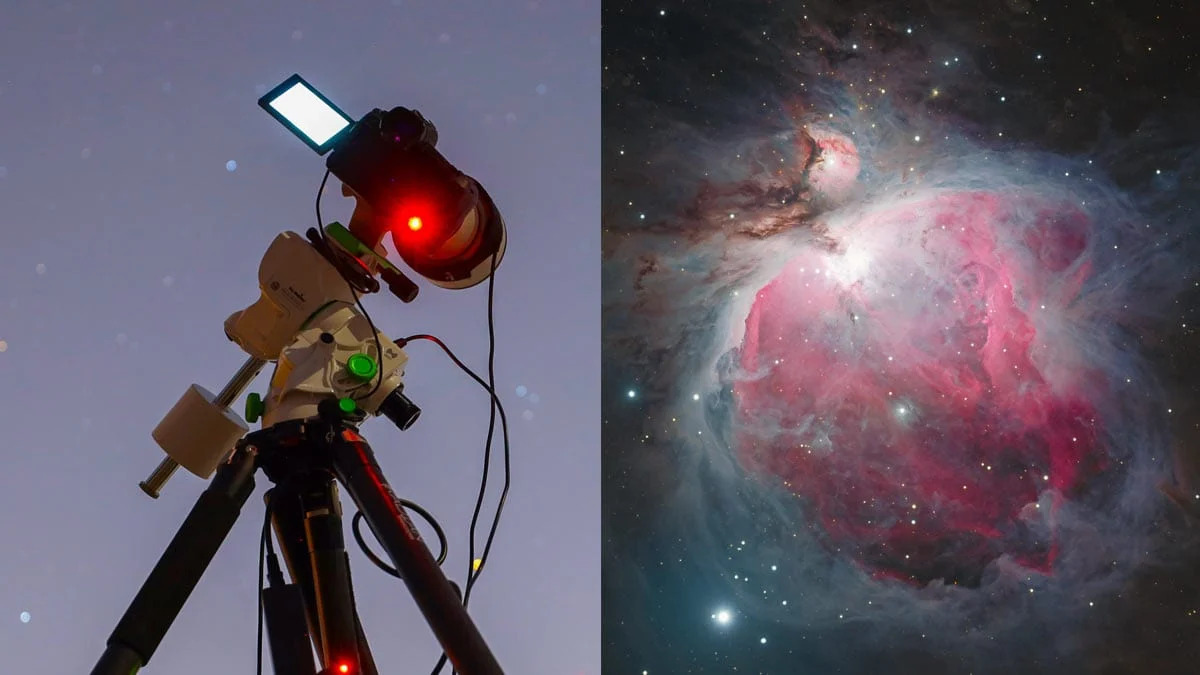
Using inadequate equipment is another common mistake in astrophotography. A good camera, lens, and tripod are essential for capturing high-quality images of the night sky. A camera with a small sensor, limited ISO range, or inadequate autofocus can result in poor image quality. Similarly, a lens with a narrow aperture or wrong focal length can limit your ability to capture the vast expanse of the night sky. To avoid this mistake, invest in a camera body with the capabilities you require and lenses that are meant for those specific purposes (deep sky, night landscapes, etc.). And when you have the budget for it, consider using a telescope or astrograph for more advanced astrophotography.
3. Mastering Camera Settings
Incorrect camera settings can also compromise the quality of your astrophotography images. Common mistakes include using too high or too low ISO, incorrect white balance (doesn’t matter for RAW shooting), forgetting to shoot in RAW, and inadequate exposure compensation. To avoid this mistake, it is essential to understand your camera’s settings and how they affect your images. Use the camera’s manual mode to control exposure, ISO, and white balance, and experiment with different settings to find what works best for your shot. Create a checklist so you won’t forget what to do and in which order.
4. Achieving Sharp Focus and Accurate Tracking
Poor focus and tracking are critical mistakes in astrophotography, as they can result in blurry or distorted images. To avoid this mistake, use the camera’s live view or focus peaking feature to ensure accurate focus, and use a remote shutter release or timer to minimise camera shake. For tracking, use a star tracker or equatorial mount to follow the movement of the stars, and adjust the tracking speed and direction to match the celestial object’s movement.
5. Minimising Light Pollution and Atmospheric Interference
Light pollution and atmospheric interference can significantly degrade the quality of your astrophotography images. Light pollution from urban areas can overwhelm the faint light of celestial objects, while atmospheric interference, such as haze or clouds, can distort or block the view. To avoid this mistake, shoot from dark locations with minimal light pollution, and use a light pollution filter or image processing techniques to minimise the effects of light pollution. For atmospheric interference, shoot during periods of good weather, and use image processing techniques to remove haze or clouds from your images.
6. The Art of Post-Processing
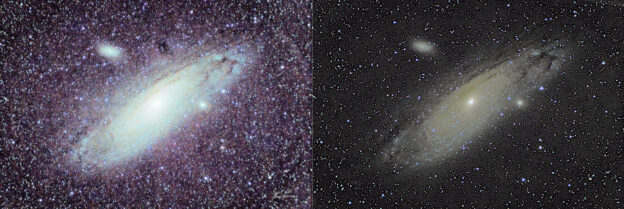
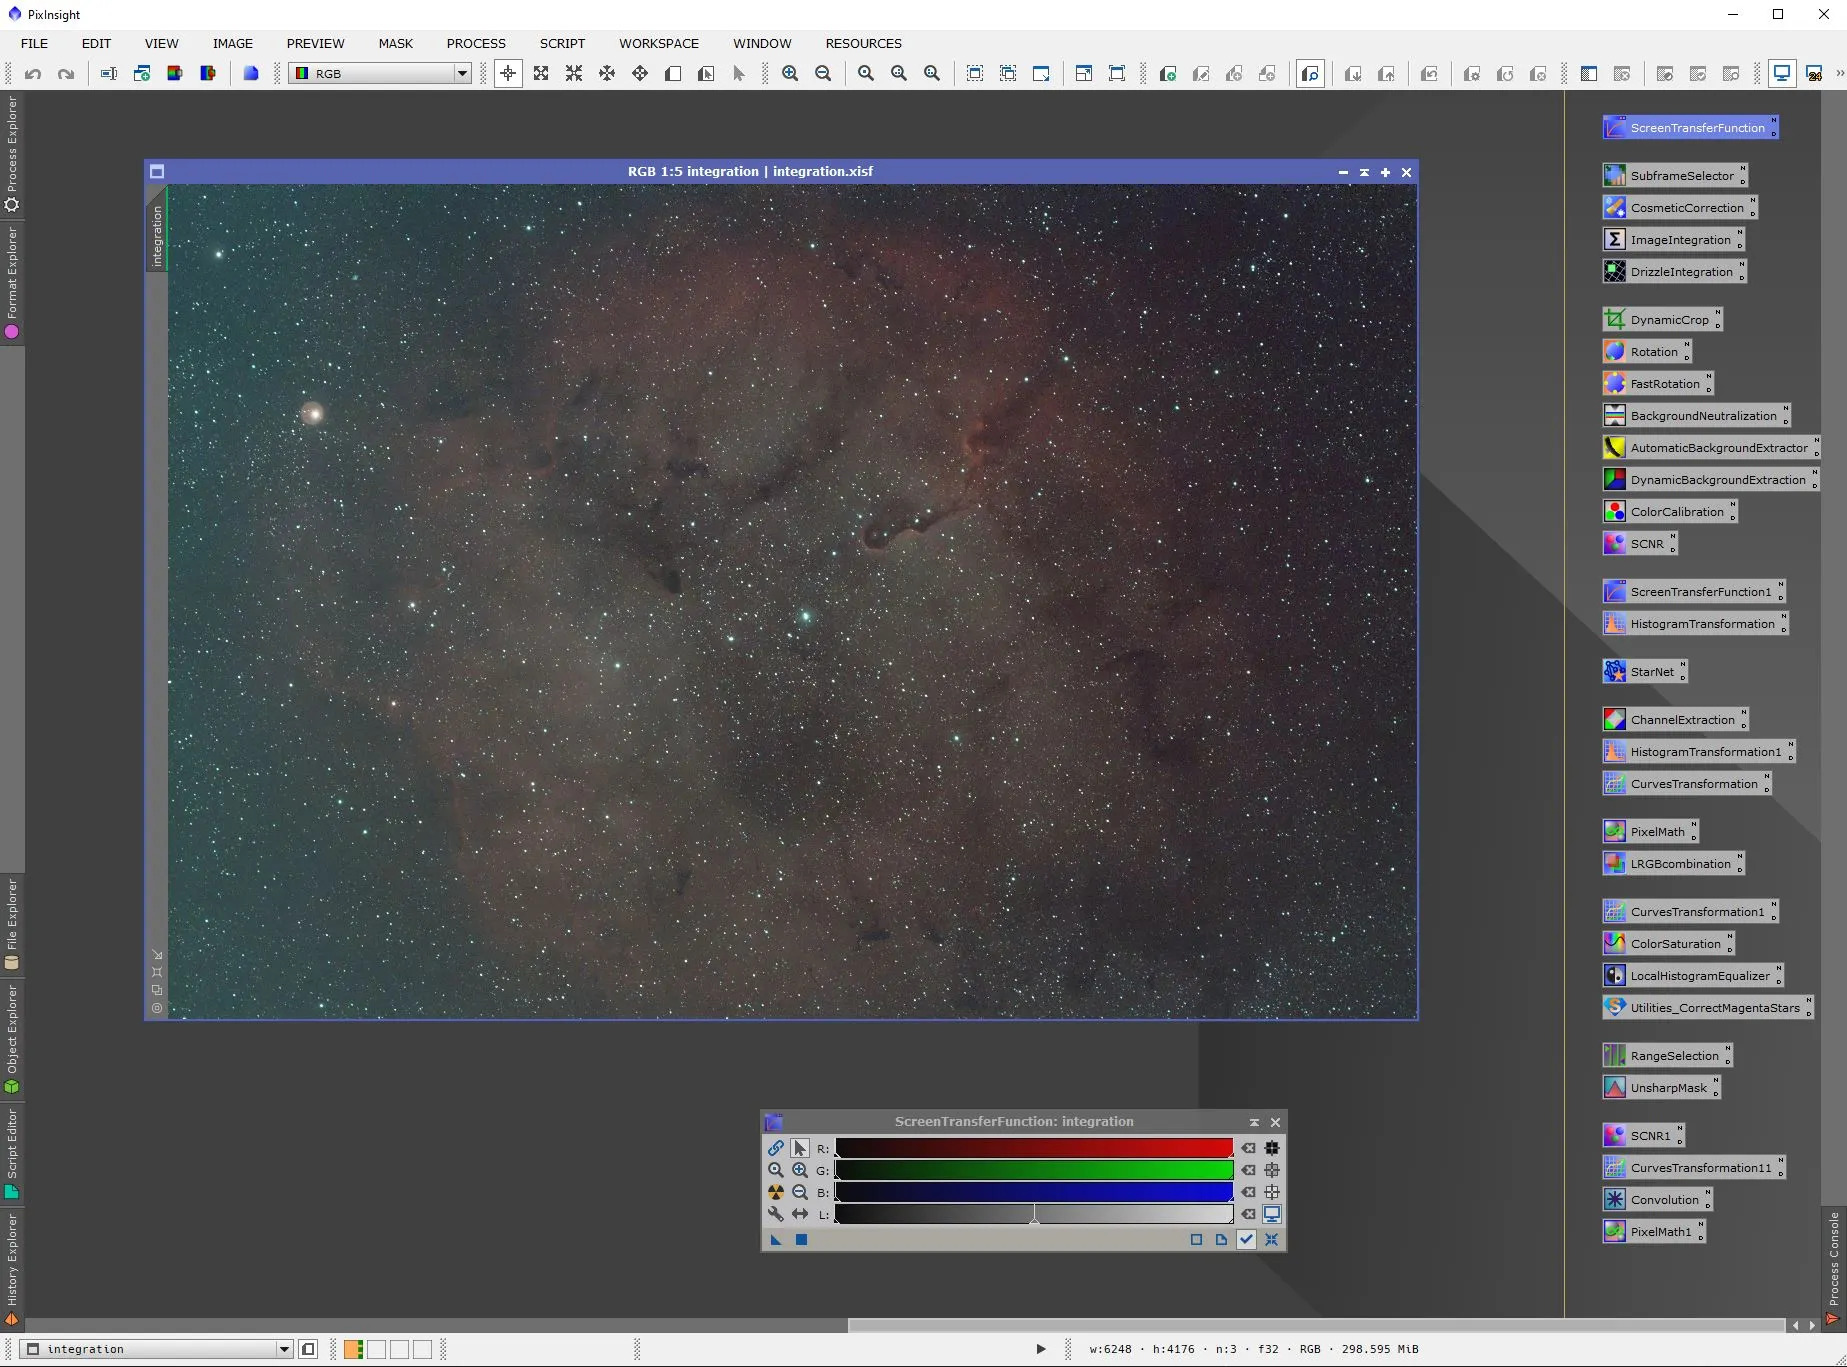
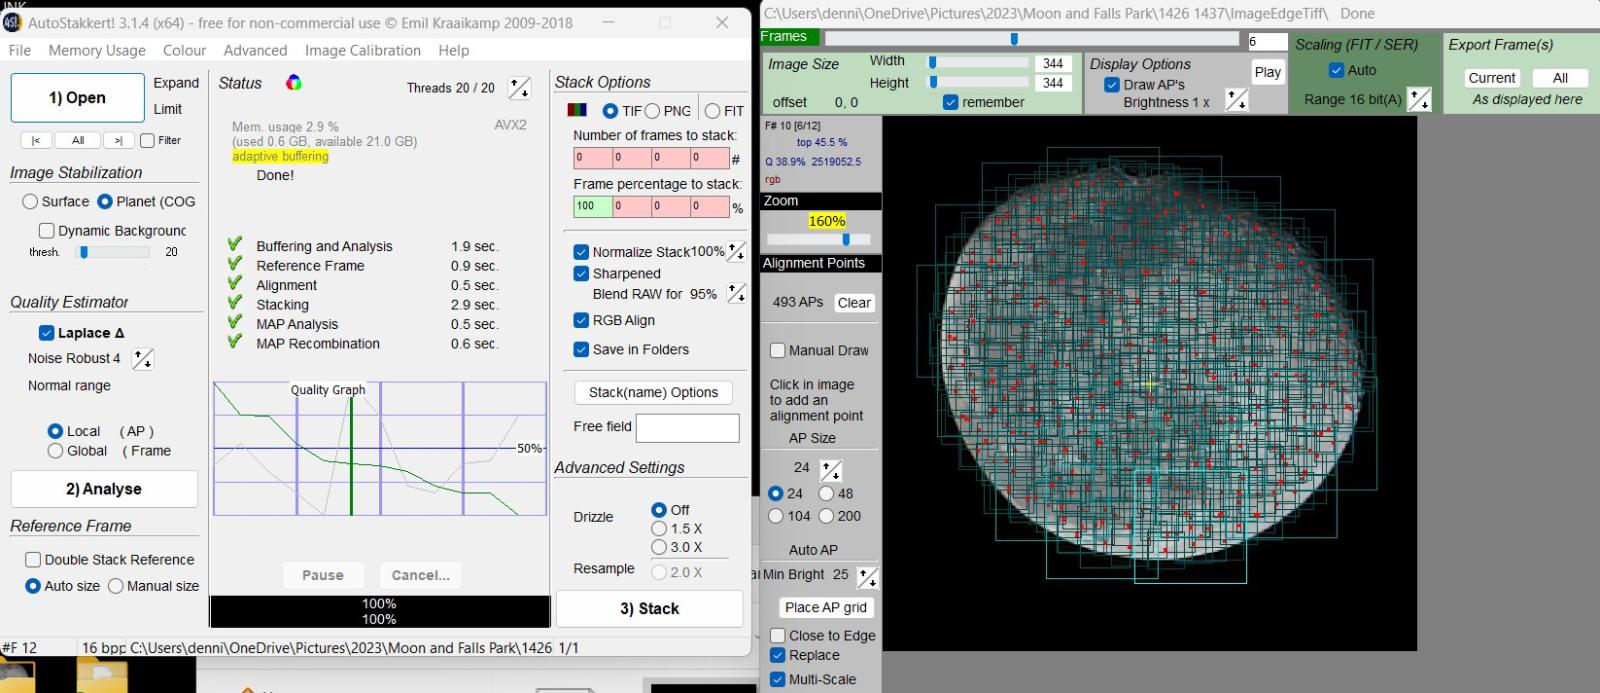
Overprocessing and excessive noise reduction are common mistakes in astrophotography post-processing. Overprocessing can result in unnatural colours, excessive contrast, or loss of detail, while excessive noise reduction can remove important details or introduce artifacts. To avoid this mistake, use image processing software, such as Adobe Lightroom or Photoshop, to adjust exposure, contrast, and colour balance, and use noise reduction techniques, such as wavelet denoising or median filtering, to minimise noise while preserving detail. This careful post-processing will enable you to capture the celestial wonders with precision and clarity.
7. The importance of Patience and Practice
Finally, lack of patience and practice is a common mistake in astrophotography. Astrophotography requires time, effort, and practice to master, and rushing into a shoot without proper preparation and experience can result in poor image quality. To avoid this mistake, start with simple shots, such as capturing the moon or a bright planet, and gradually move on to more challenging subjects, such as deep-sky objects or astronomical events. Practice regularly, and be patient with yourself as you develop your skills and techniques. This patience and practice will enable you to capture the celestial wonders with precision and clarity.
Conclusion
In conclusion, astrophotography is a complex and nuanced art form that requires a deep understanding of the technical and creative aspects of photography, as well as a passion for the night sky. By avoiding common mistakes such as insufficient planning, inadequate equipment, incorrect camera settings, poor focus and tracking, light pollution and atmospheric interference, overprocessing, and lack of patience and practice, astrophotographers can capture stunning images of the celestial world. With dedication and persistence, anyone can master the skills and techniques necessary to produce breathtaking astrophotography images. Whether you’re a seasoned photographer or just starting out, the rewards of astrophotography are well worth the effort, offering a unique perspective on the universe and our place within it. As you continue to explore the wonders of the night sky, remember to stay curious, keep learning, and always strive to push the boundaries of what is possible with your camera and your imagination. With these principles in mind, you’ll be well on your way to capturing the beauty and majesty of the cosmos, and sharing it with the world.