Tag Archives: Deep Sky Photography

How to capture Deep-Space Objects with Breathtaking Landscapes

For decades, astrophotography was split into two camps. On one side, you had the landscape photographers capturing the Milky Way arching over a lonely pine tree with a wide-angle lens. On the other hand, you had the deep-space specialists – the “faint photon hunters” – who used massive telescopes to track nebulae and galaxies from their backyards. But recently, a new discipline has emerged that bridges the two: The Deepscape.

A deepscape is a photograph that pairs a distant, high-detail deep-space object (DSO) – like the Orion Nebula, the Andromeda Galaxy, or the Pleiades – with a terrestrial foreground. It is the “final boss” of night photography. It requires the precision of an astronomer and the eye of a landscape artist.  

Here is your comprehensive guide to capturing the universe without losing the Earth.

1. The Gear: Moving Beyond the Tripod

When you’re shooting at 14mm, the Earth’s rotation is a minor nuisance. When you’re zooming into a nebula at 200mm or 400mm, the Earth’s rotation is a violent blur. To bridge this gap, your gear list needs an upgrade.

The Equatorial Mount

This is the most critical piece of kit. An equatorial mount (or star tracker) compensates for the Earth’s rotation by moving the camera at the exact same speed as the stars. Without this, your stars will trail in seconds.

The Lens Choice

Forget the wide-angle glass. For deepscapes, you want telephoto lenses.

-> 70-200mm: Perfect for large targets like the Orion Molecular Cloud or the Andromeda Galaxy.

-> 300-500mm: Ideal for smaller nebulae or “compressing” the moon/planets against distant mountains.

The Camera

While a standard DSLR or mirrorless camera works, astromodified cameras are the gold standard. These have the internal IR-cut filter removed to allow the deep red light of Hydrogen-alpha (H\alpha)—the stuff nebulae are made of—to reach the sensor.

Photo: Matteo Strassera

2. The Planning: Aligning the Heavens

You can’t just show up and hope for the best. Deepscapes require “celestial alignment”. You need to know exactly where a galaxy will set behind a specific mountain peak.

Essential Tools

PhotoPills or Stellarium: These apps allow you to simulate the night sky at any date and location. You can use the “Night Augmented Reality” mode to see exactly where the Lagoon Nebula will be at 3:00 AM.  

The Bortle Scale: You need dark skies. Aim for a Bortle 1-3 location. In a Bortle 8 city, the faint dust of a nebula will be drowned out by the orange glow of streetlights.

The Moon Phase

Unlike wide-field photography where a little moonlight can illuminate the landscape, deep-space objects are easily washed out. Schedule your shoot during the New Moon phase or after the moon has set.

3. The Technical Execution: A Tale of Two Exposures

Because you are using a tracker, you face a physical paradox: if the camera moves to follow the stars, the ground will be blurred. If the camera stays still for the ground, the stars will trail.

The solution? The Composite Method.

Step A: The Sky Frames (Tracked)

Once your mount is polar-aligned, take multiple long exposures of your chosen DSO.

Settings: f/2.8 or f/4, ISO 800-1600, and exposure times of 60–120 seconds.

Stacking: Don’t just take one photo. Take 20 or 30. By “stacking” these images in software, you improve the Signal-to-Noise Ratio (SNR).

You’ll have to try this multiple times in order to find the perfect exposure balance and optimise SNR.

Step B: The Foreground Frames (Untracked)

Turn off your tracker. You need a rock-solid, sharp landscape.

Blue Hour Secret: The best deepscapes often use foregrounds shot during “Blue Hour” (just after sunset or before sunrise). This allows you to capture detail, texture, and colour in the landscape that is impossible to get in pitch blackness.

Long Exposure: If you must shoot at night, take a 5–10 minute exposure at a lower ISO to keep the foreground clean.

Having experience with landscape photography helps a bunch here, and you can practise this a bunch in daylight.

4. The Challenges of Long Focal Lengths

As you increase your focal length, two enemies emerge: Atmospheric Turbulence and Flexure.

Seeing Conditions: On hot nights, the heat rising from the ground creates “shimmering” (atmospheric seeing). This ruins deep-space detail. Aim for cold, stable nights. You can mitigate this by researching the place and weather conditions to make sure the temperature is low and winds are calm.

Wind: At 400mm, a light breeze acts like an earthquake. Use a heavy-duty tripod and hang your gear bag from the centre column for stability.

5. Post-Processing: Bringing the Nebula to Life

This is where the magic (and the hard work) happens. You will likely use software like Adobe Photoshop, PixInsight, or DeepSkyStacker.

The Masking Process

You must carefully mask the tracked sky and blend it with the static foreground. The goal is “believable transitions”. If you see a hard, glowing line around the mountain, the illusion is broken. Use a soft brush and match the colour temperature of the sky’s glow to the light hitting the landscape.

Colour Balancing

Deep space isn’t just black. It’s filled with colourful gases.

Oxygen III: Blue/Green

Hydrogen Alpha: Deep Red  

Sulfur II: Deep Orange/Red

Avoid over-saturating. The most breathtaking deepscapes feel like a window into a reality we can’t see with the naked eye, rather than a neon light show.

6. The Ethics of “Faking It”

There is a healthy debate in the community about deepscapes. Is it “real”?

The Rule of Realism: Most pro photographers insist that the DSO must have actually been in that position at that time. Taking a photo of the Andromeda Galaxy in the North and pasting it over a South-facing mountain is generally considered a “digital art piece” rather than a photograph.

The Focal Length Match: Ensure your foreground and sky are shot at the same focal length. If you shoot a mountain at 35mm and a nebula at 400mm and combine them, the scale will look “uncanny” and wrong to the human eye.

Final Say

Capturing a deepscape is an exercise in patience. It is a hobby of failures—forgotten batteries, foggy lenses, and alignment errors—which is bread & butter for landscape and astrophotography—and the only thing you can do to avoid mishaps is practice.

But when you finally align your tracker, wait out the cold, and see the spiral arms of a galaxy hovering over a familiar mountain range, the perspective shift is profound. You aren’t just taking a picture of a rock; you’re capturing the Earth’s place in an infinite, glowing neighbourhood, now frozen in time.

Stacking Images for Noise Reduction in Astrophotography: A Complete Guide

Image Stacking – Astrobackyard.com

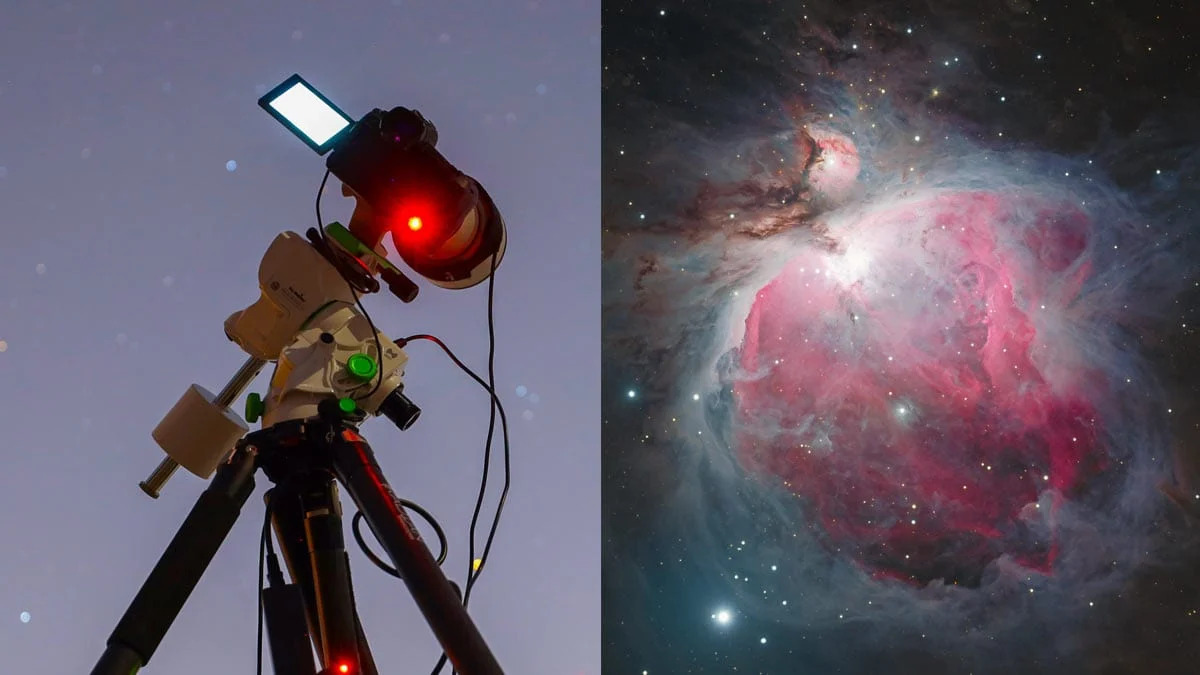
Astrophotography, the art of capturing the beauty of the night sky, has become increasingly popular in recent years. With the advancement of technology and the availability of high-quality cameras, it’s now possible for amateur astronomers to take stunning images of celestial objects. However, one of the biggest challenges in astrophotography is noise reduction. Noise, also known as grain or digital noise, can ruin an otherwise perfect image. In this article, we’ll explore the technique of stacking images for noise reduction in astrophotography, and provide a complete guide on how to do it.

What is Noise in Astrophotography?

Noise in astrophotography refers to the random fluctuations in pixel values that can occur due to various factors such as thermal noise, readout noise, and photon noise. These fluctuations can result in a grainy or speckled appearance in the image, which can be distracting and reduce the overall quality of the photo. Noise is more pronounced in low-light conditions, which is often the case in astrophotography.

What is Image Stacking?

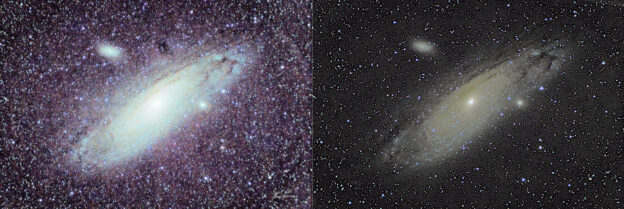
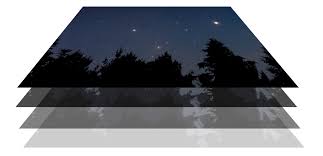
Image stacking, also known as image integration or co-addition, is a technique used to reduce noise in astrophotography. The basic idea is to take multiple images of the same object, and then combine them into a single image. By doing so, the noise in each individual image is averaged out, resulting in a smoother and more detailed final image.

How Does Image Stacking Work?

PixInsight UI

When you take multiple images of the same object, the noise in each image is random and uncorrelated. By combining these images, the noise is averaged out, and the signal (the actual image data) is reinforced. This is because the noise in each image is likely to be in a different location, so when you add the images together, the noise cancels out, leaving a smoother and more detailed image.

Benefits of Image Stacking

Image stacking has several benefits in astrophotography:

  • Noise Reduction: The most obvious benefit of image stacking is noise reduction. By combining multiple images, you can significantly reduce the noise in the final image.
  • Improved Detail: Image stacking can also reveal more detail in the image, as the signal is reinforced and the noise is reduced.
  • Increased Dynamic Range: Image stacking can also increase the dynamic range of the image, allowing you to capture a wider range of tonal values.
  • Improved Colour Accuracy: By combining multiple images, you can also improve the colour accuracy of the final image.

Softwares for Image Stacking

There are several software programs available for image stacking in astrophotography. Some popular options include:

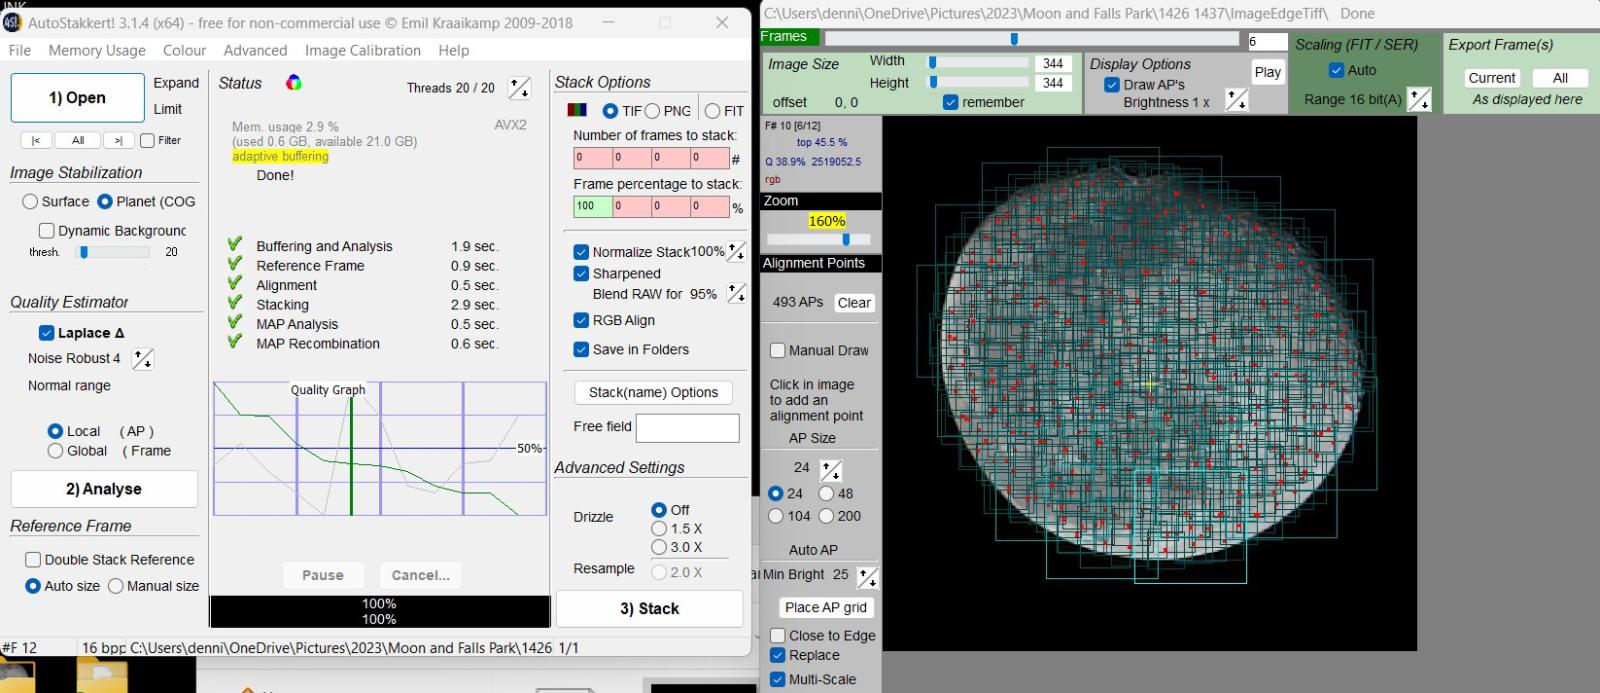
  • Autostakkert: A free and open-source software program specifically designed for image stacking in astrophotography.
  • StarStax: A free software program that allows you to stack images and also includes features such as image alignment and calibration.
  • Adobe Photoshop: A popular image editing software that includes features such as image stacking and noise reduction.
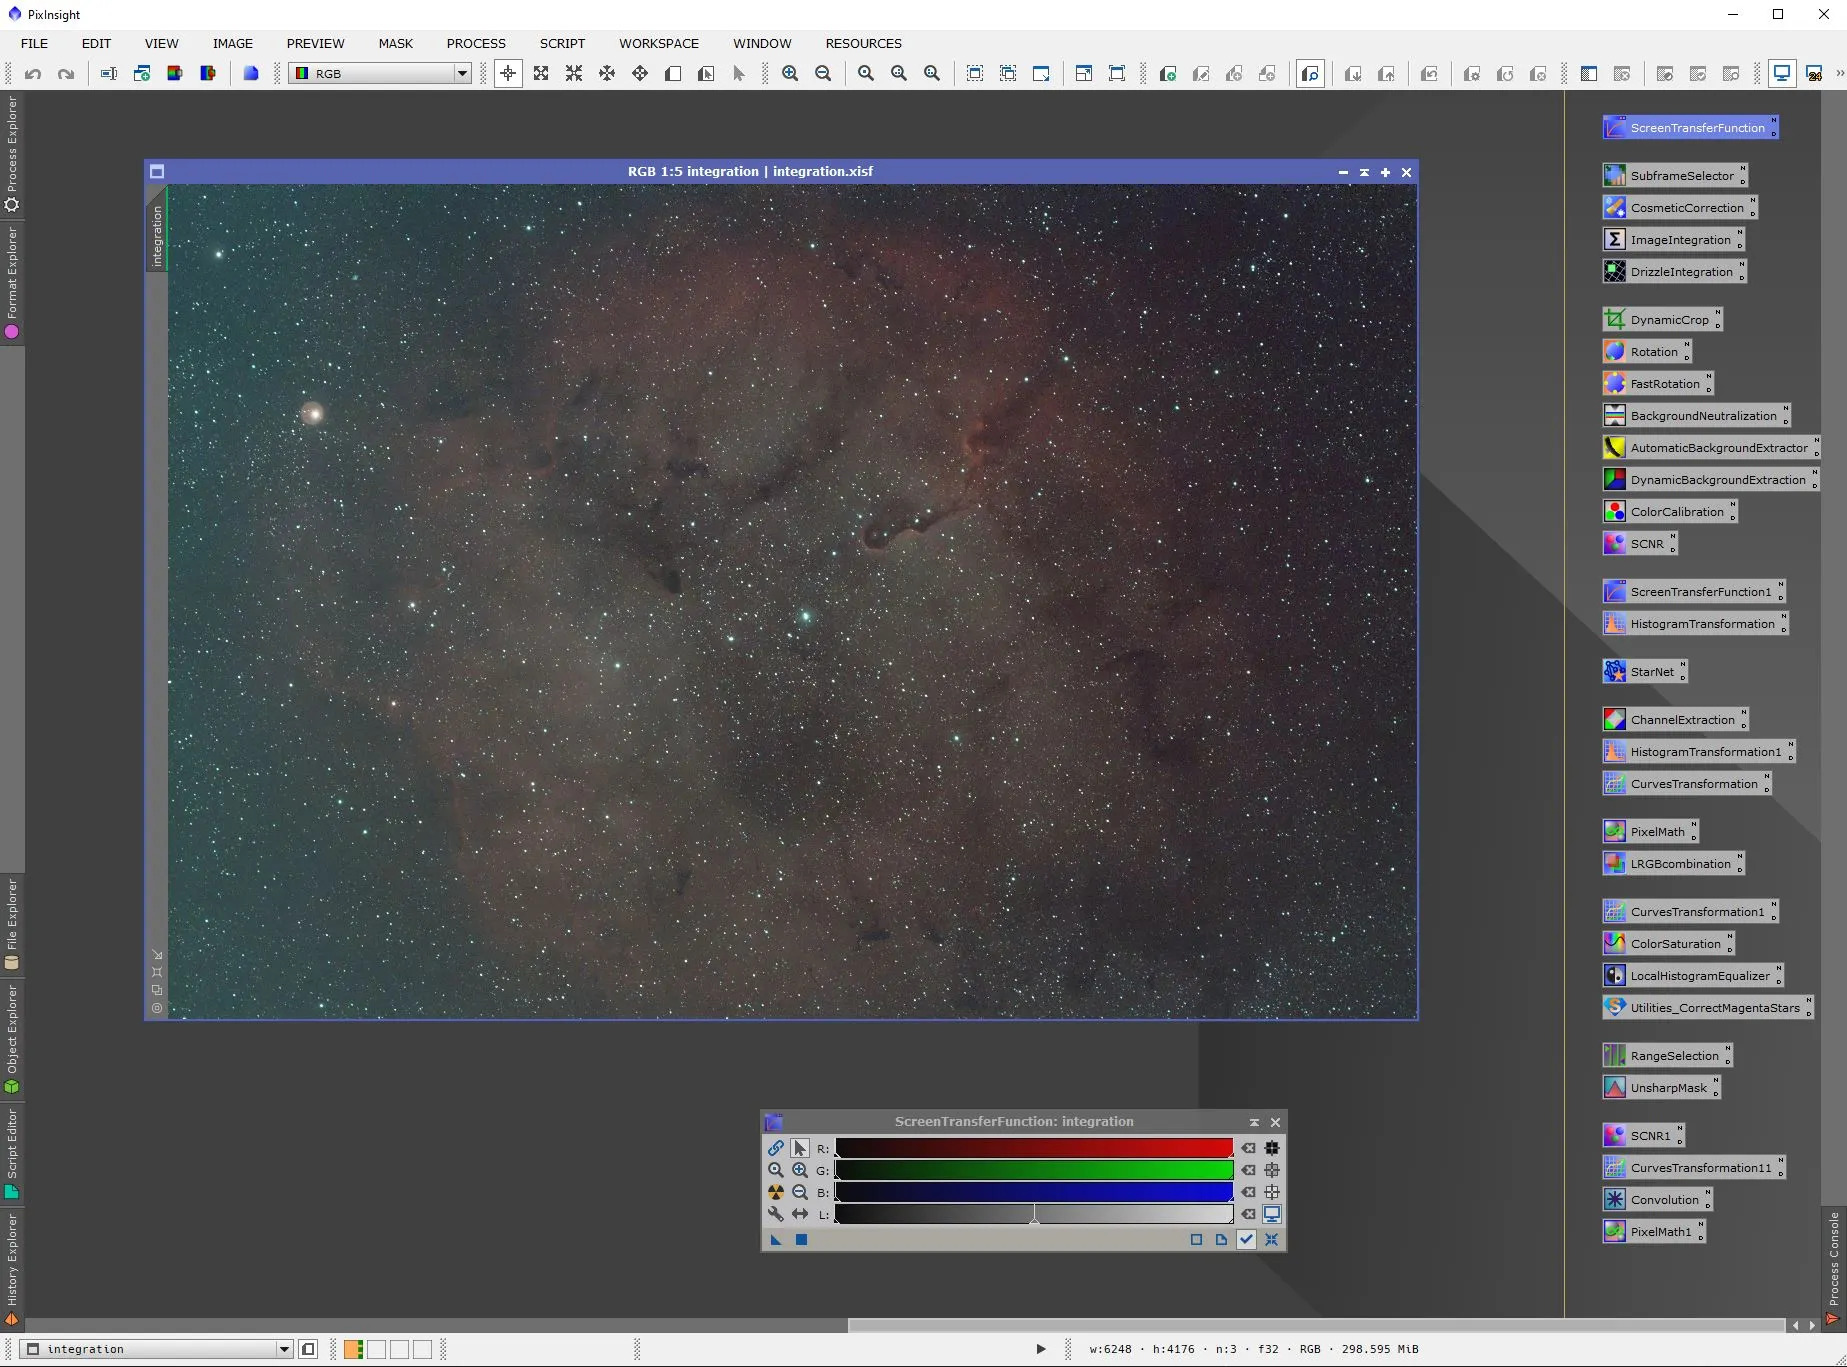
  • PixInsight: A powerful image processing software that includes features such as image stacking, noise reduction, and colour correction.
Open Source Stacking Software

Step-by-Step Guide to Image Stacking

Here’s a step-by-step guide to image stacking in astrophotography:

  • Take Multiple Images: Take multiple images of the same object, using the same camera settings and exposure time.
  • Align the Images: Use software such as Autostakkert or StarStax to align the images, ensuring that the stars and other features are in the same location in each image.
  • Calibrate the Images: Calibrate the images to remove any bias or dark current noise.
  • Stack the Images: Use software such as Autostakkert or StarStax to stack the images, combining them into a single image.
  • Adjust the Settings: Adjust the settings in the software to optimise the stacking process, such as the number of images to stack and the alignment method.
  • Save the Final Image: Save the final stacked image, which should be smoother and more detailed than the individual images.

Tips and Tricks

Here are some tips and tricks to keep in mind when image stacking in astrophotography:

Shooting the images – Astrobackyard.com
  • Use a Tripod: Use a tripod to ensure that the camera is stable and doesn’t move between shots.
  • Use a Remote Shutter Release: Use a remote shutter release or the camera’s self-timer to avoid camera shake.
  • Take Multiple Images: Take multiple images to ensure that you have enough data to stack.
  • Use the same Camera Settings: Use the same camera settings and exposure time for each image.
  • Monitor the Weather: Monitor the weather and avoid taking images during periods of high wind or cloud cover.

Conclusion

In conclusion, image stacking is a powerful technique that allows astrophotographers to significantly reduce noise and enhance the quality of their celestial images. By combining multiple exposures, photographers can achieve smoother details, improved dynamic range, and more accurate colours, ultimately bringing out the true beauty of the night sky. With the availability of user-friendly stacking software and the right approach, even amateur astronomers can capture breathtaking images of the cosmos. Whether you’re photographing distant galaxies or the Milky Way, mastering image stacking can take your astrophotography to the next level.

Featured Image by: Kevin Francis