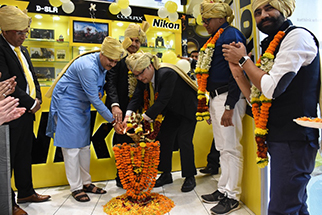
First organised about 18 years ago in
1999, Asian Photography Awards have come a long way and become one of
the most important events in the industry’s calendar. Being one of
the most awaited and prestigious awards in this industry, the idea is
to recognise and appreciate the excellence of the photography
industry and its individuals who either work behind the cameras or
simply create them! The objective is to honour the best products and services of the
industry, featuring different set of parameters for judgement in each category.
Here is the lowdown of awards this year!
PRODUCT CATEGORY
Every year our awards are based on the
product shootouts, reviews and comparisons that we conduct throughout
the year in order to help our readers make an informed decision about
investing in new photography gears and accessories. Driven by
performance and quality, we at Asian Photography believe in putting
products against each other. So who are the winners this year?
Awards in the Media Storage Category
BEST SECURE DIGITAL (SD) MEMORY CARD
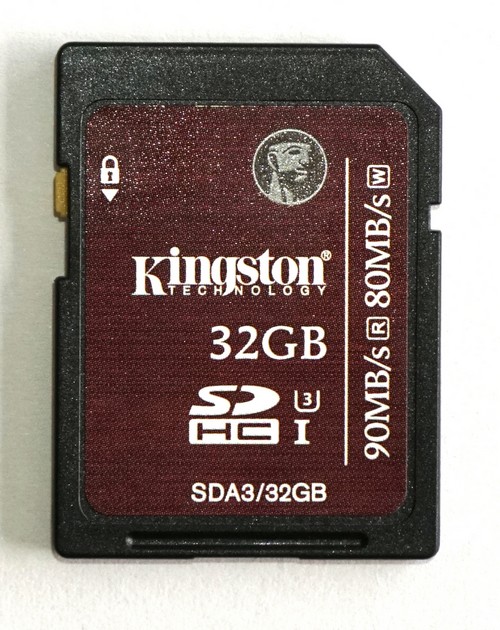
Winner: Kingston SDHC UHS-I 32GB
The Kingston consistently performed toe
to toe in every test. It tied with the Transcend in the Crystal Disk
Mark test and fared quite well in the folder transfer test. The
Kingston SDHC UHS-I 32GB Card aced the in camera test with 1.73 shots
per second exceeding its competitors’ performance significantly.
The card comes with a lifetime warranty and is priced at ₹1699 which
is significantly lesser than the Transcend. If you are looking for a
quality product with a consistent performance at a reasonable price
the Kingston SDHC UHS-I 32GB Card, the winner of this year’s secure
digital (SD) memory card shootout, most certainly is the way to go.
BEST MICRO SD CARD
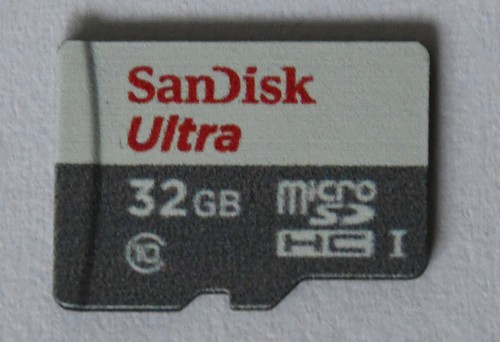
Winner: SanDisk
Ultra 32GB microSDHC UHS-I
In the Crystal Disk Mark test, SanDisk
had a better read speed of 34.82MB/s, but a lower write speed of
17.99 MB/s. In the folder transfer test, SanDisk had a slower read
time of 87.48 seconds, however, had a faster write time at 71.07
seconds. In the in-camera performance test SanDisk card recorded
4.36fps. performing decently in almost all parameters, and retailing
at a low price of ₹750, SanDisk Ultra 32GB microSDHC UHS-I is this
year’s MicroSD card shootout winner.
BEST CF CARD

Winner: SanDisk Extreme
CompactFlash 64GB
The SanDisk card performed consistently
throughout the shootout. In the CDM test, SanDisk CF Extreme Pro
aced, with read speed of 34.91MB/s and the write speed of 27.23MB/s.
In the Folder Transfer test, SanDisk had the best write speed at
48.44 seconds, but a slower the read speed of 30.94 seconds than
Kingston. In the in-camera performance test, SanDisk scored 2fps. At
the price range of ₹4800, SanDisk is definitely a strong contender
and wins the shootout.
Awards in the Printing Category
BEST ALL-IN-ONE PRINTER
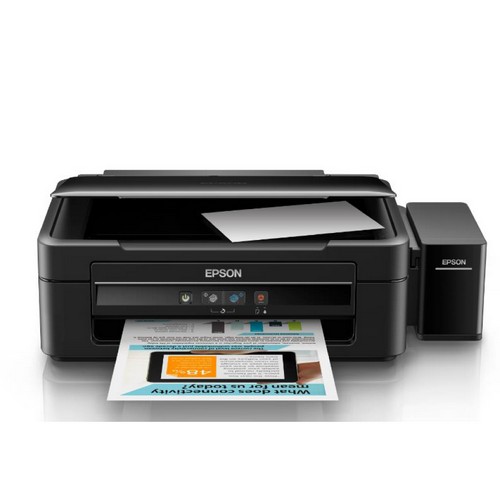
Winner: Epson
L360
The EPSON L360, performed well in most
categories with good quality prints, but in some tests took longer
time than the Canon PIXMA G3000. However, Epson’s output in most
tests was better than the Canon printer, and with a price tag of ₹11,599, it costs less than the Canon G3000 as well, making it the
winner of the All-In-One Printer Shootout this year.
Awards in the Rechargeable Battery
Category
BEST AA RECHARGEABLE BATTERY
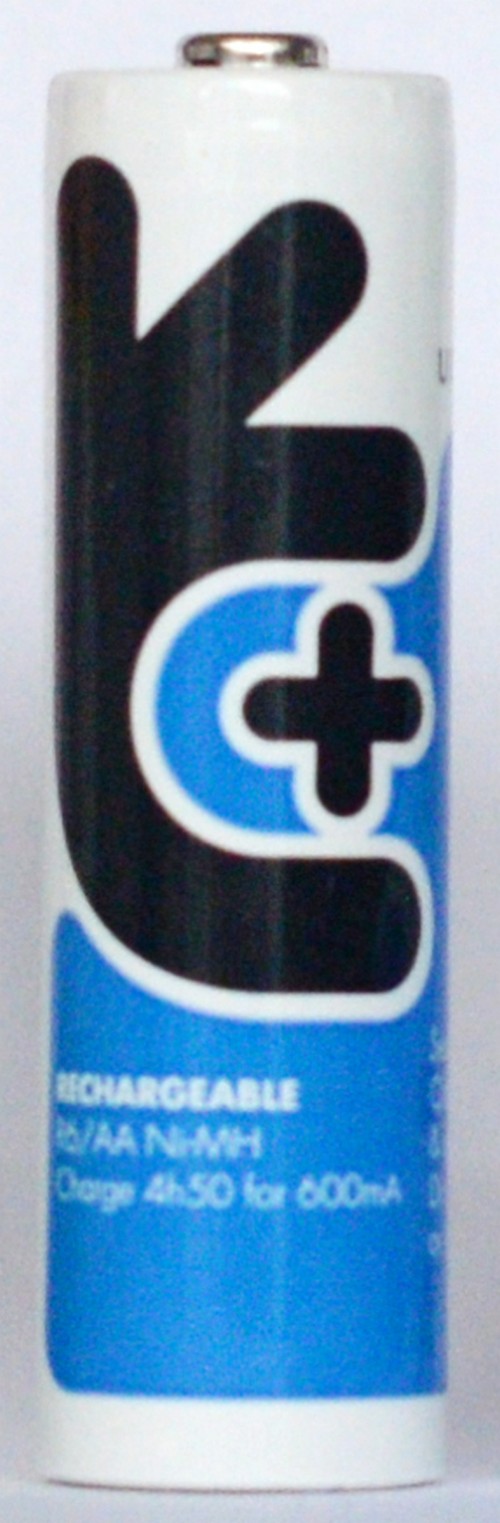
Winner:
Uniross 2700mAh Rechargeable
The Uniross 2700mAh Rechargeable
performed better all throughout the shootout. Though the counts of
the flashes fired were less than the GP batteries but more than what
the Envie could deliver, the consistency of the Uniross batteries
between the flashes fired after the heat up have been steadier. The
price also being about the same, the charge time taken by these
batteries is a little lesser, which is 8 hours and 25 minutes. So
taking into consideration the charging time and the consistency of
the fl ashes fired; the Uniross performs slightly better than the
competition. The shootout this year was extremely close and with a
price of ₹900 for four batteries, the Uniross rechargeable wins this
year’s AA battery shootout.
Awards in the Lens Category
BEST ALL-IN-ONE LENS

Winner: Tamron
18-200 AF18-200mm F/3.5-6.3 DiII VC
The Tamron lens, priced significantly
lesser than the Tamron lens at ₹17,900, was quite well built. While
we would’ve liked the focussing ring to be a little wider and have
more resistance the lens was very easy and comfortable to use. The
colour output of the lens was superior to its competitor and produced
least distortion. The Tamron beat it’s competitor in the chromatic
aberration department as well as produced better colours hands down,
thus making the Tamron 18-200 AF 18-200mm F/3.5-6.3 DiII VC lens this
year’s winner for the All-in-one lens shootout.
BEST FIXED FOCAL LENGTH LENS
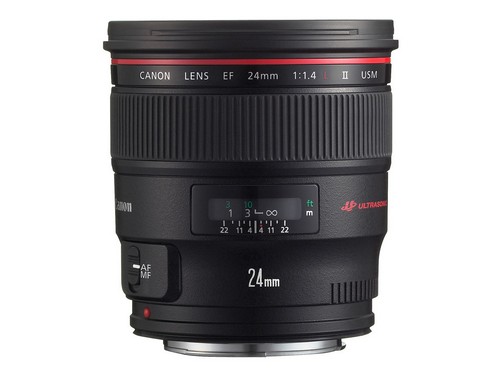
Winner:
Canon 24mm f/1.4L II USM
The Canon 24mm f/1.4L II USM is a
balanced lens with a good build quality and great photo output
quality. The lens even though a little bigger, is fast to focus and
comfortable to use. Even though it lost to the Sony in chromatic
aberration test it faired well in the other tests. The Canon, priced
at ₹1,12,995 is reasonably priced, given the quality of optics used
in them. Keeping in mind the minimum f-number on the lens being 1.4
the lens will be substantially more useful in low light situations.
The Canon 24mm f/1.4L II USM also has better and more believable
colours which one would expect from such a lens. Overall the lens
performed really well compared to the Sony’s overall performance,
thus making it this month’s winner in the fixed focal length
category.
BEST DSLR KIT LENS
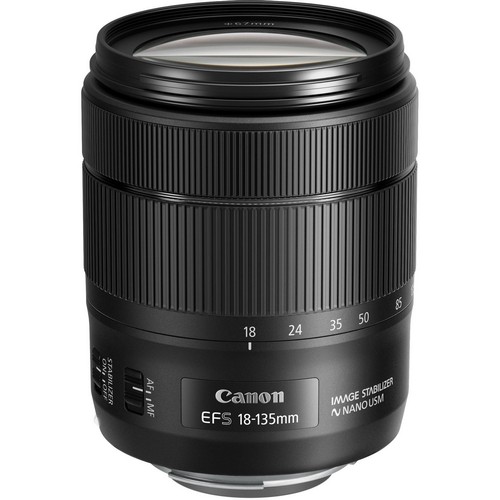
Winner: Canon EF-S
18-135mm f/ 3.5-5.6 IS USM
Priced at ₹37,995, Canon EF-S 18-135mm
f/ 3.5-5.6 IS USM looks very good in terms of construction and
optics. The buttons, focus and zoom rings are very smooth to operate
and the focussing was quick and precise. Works well with a newer body
and delivers good quality images. However, the colours produced are
somewhat fl at but nothing to be very worried about. The distortion
and chromatic aberration was decent and it exhibited the least amount
of both. Canon wins the shootout this year.
Awards in the Photo-Imaging Category
BEST INNOVATION IN DSLR/ MIRRORLESS
CAMERA TECHNOLOGY
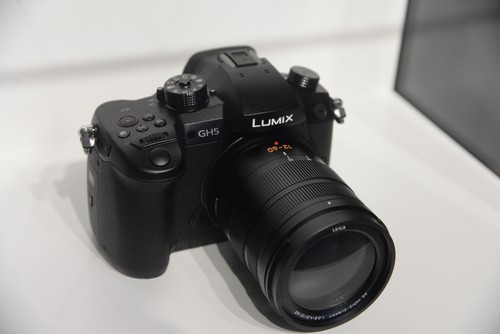
Winner: Panasonic GH5
Panasonic, who have been known for it’s
innovation, produced the Lumix DC-GH5 which boasts of being the first
mirrorless single-lens camera in the world with 4K/60p, 4:2:2 10bit
recording. The camera can also take 4K-quality still photos
(approximately eight megapixels) at up to 60 frames per second, and
it can handle 6K images (approximately 18 megapixels) at up to 30
frames per second. The 20.3 Megapixel camera also has a Venus Engine
processor and has features like 5-Axis Dual IS2, free angle touch
screen, double SD card slot etc. The Dual I.S.2 5-axis stabilization
system can coordinate the correction functions of the camera and the
lens, while advances in DFD technology have greatly improved the
autofocus field recognition capabilities. Awards 2017
BEST ENTRY LEVEL DSLR
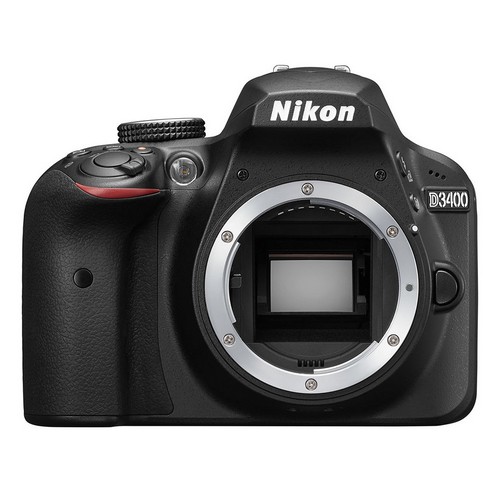
Winner: Nikon
D3400
It is a tough decision for people who
buy their first DSLR, especially beginners who would stick to a brand
after they have purchased their first DSLR. Since one has or plans to
invest in the same brand eco-system, it is advisable to stick to a
brand which you have been using or are probably going to use. Both
the Canon 1300D and the Nikon D3400 are great entry level cameras,
although the Nikon D3400 had a slight edge over the Canon when it
comes to ISO performance and image quality at high ISOs. The Nikon
D3400 comes for ₹31,450 (body only) and the Canon 1300D comes with a
kit lens (18-55mm) and is priced at ₹29,995 which is lower than the
Nikon. If you want image quality and slightly better performance like
faster burst mode, go for the Nikon D3400.
BEST SEMI-PROFESSIONAL DSLR

Winner:
Canon EOS 7D Mark II
The Canon 7D Mark II is a steady
performer and the image quality is superior to most of the cameras
that are trying to match up with it now. It’s image quality was
fairly balanced, and it performed really well in the ISO performance
as well. The Canon 7D mark II costs ₹128,795 for the body only which
is on the higher side but for a camera that is marked by its
performance, and hence is a pretty good deal, thus making the Canon
win the shootout.
BEST PROFESSIONAL DSLR CAMERA
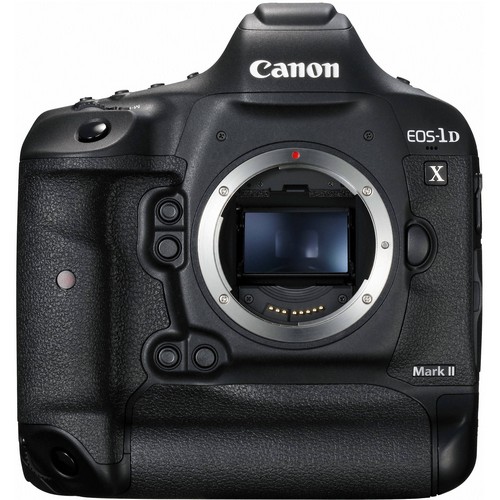
Winner:
Canon 1DX Mark II
The Canon 1DX Mark II comes with a
C-Fast card slot and a CF card slot and is priced at ₹4,55,995. The
performance of the camera is impressive and the burst mode is
brilliant. The image quality and ISO performance which is delivered
proves its performance. Although the Canon is slightly higher in
price for body-only, the Canon 1DX Mark II proves to be the winner of
this professional DSLR shootout.
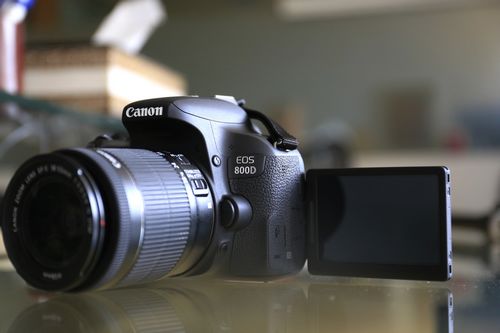
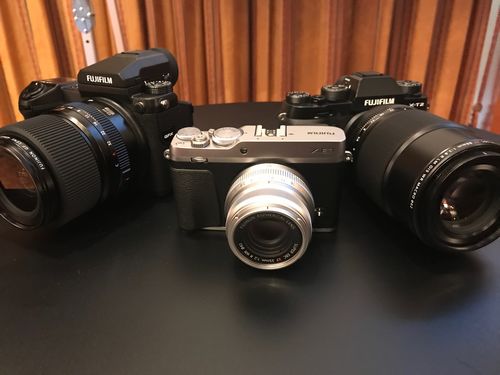
BEST MIRRORLESS CAMERA
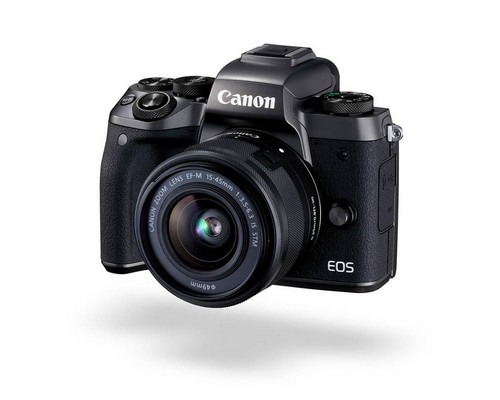
Winner: Canon
EOS M5
The Canon M5 was underexposed a little
for portraits and the skin tones accuracy was average. However, the
Canon impressed in low-light and with its colour reproduction which
was the closest to the real life situation of the scene itself. The
ISO was decent in daylight and usable enough for night time shooting.
Priced at ₹81,995 (with 15-45mm IS STM kit lens) it is higher than
both the Fujifi lm and the Sony but you also get a kit-lens bundled
to start off with. The overall performance of the Canon is impressive
and so the Canon M5 wins the mirrorless camera shootout this year.
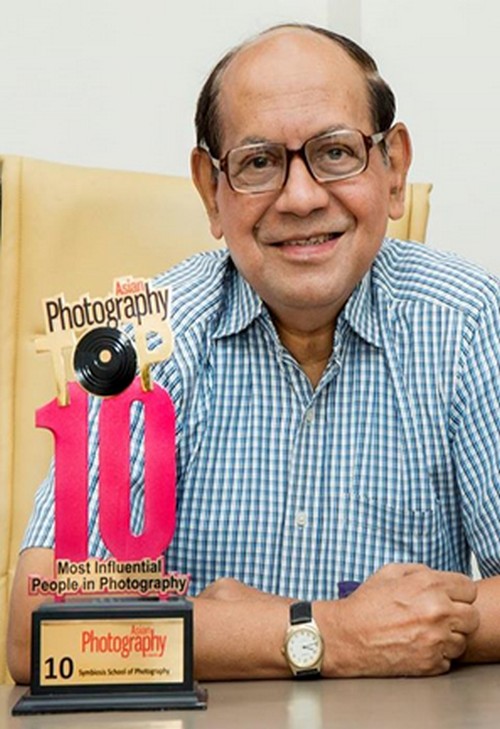
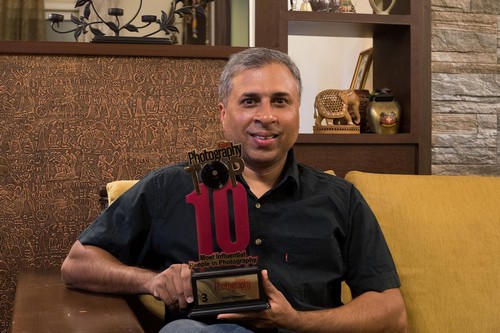
Photographer of the Year
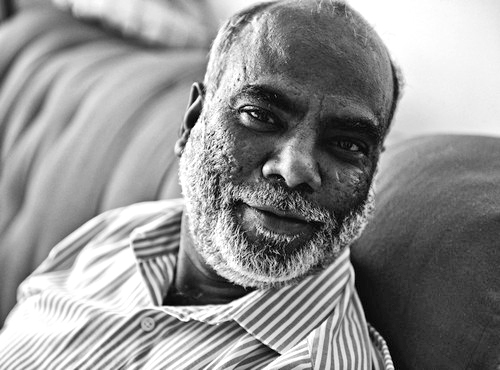
Winner: Sudharak Olwe
Hailing from Akola district in
Maharashtra, and overcoming poverty, Sudharak Olwe has been
documenting stories around India since 1988. With a career spanning
nearly three decades, Olwe’s lens has captured the grittiest of
stories that narrate accounts of resilience, courage and change. His
ground-breaking series on the Mumbai’s conservancy workers exposes
their inhumane working conditions, whereas his Kamathipura series
with the sex workers reveals the city’s dark underbelly. His
empathetic approach is what is unique in bringing out emotions
through photographs. In 2016, he was awarded the Padmi Shri award,
one of India’s highest civilian honours, for his work. Olwe’s
work has been featured and exhibited in Mumbai, Los Angeles, Dhaka,
Amsterdam, Kassel and Malmo.


.jpg)


.jpg)