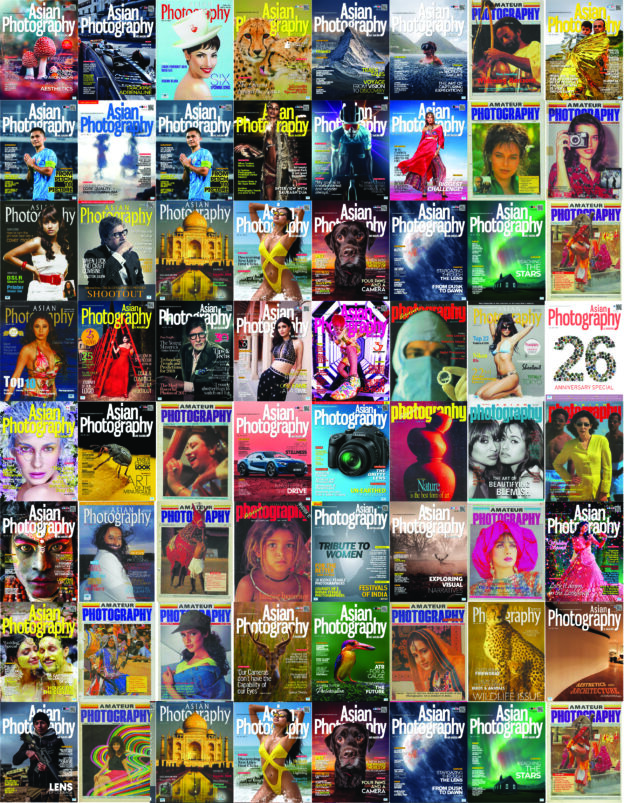
Every legacy has humble beginnings, and as Asian Photography turns 38, it feels only right to pause and look back at the covers that quietly, consistently documented the journey of photography in India. What began as a modest publication—priced at just ₹7 in its infancy—has over nearly four decades grown into a living archive of an industry in constant motion.
These covers are iconic not merely because they belong to a brand we have built and nurtured, but because they chronicle photography itself: its technologies, its aesthetics, its debates, and its people. From the early days of film and darkrooms, through the turbulence of analogue versus digital, to the modern marvels of mirrorless systems and AI-led imaging, Asian Photography has watched, questioned, celebrated, and sometimes challenged the industry as it evolved.
Very few publications can claim to have documented the journey of Indian photography in both words and pictures the way Asian Photography has over the last 38 years. These covers are not just visual markers—they are timestamps of ambition, experimentation, and belief in the power of the image.
Sit back and enjoy the ride as Bhavya Desai takes you through a curated walk through some of those moments.
November & December 1989
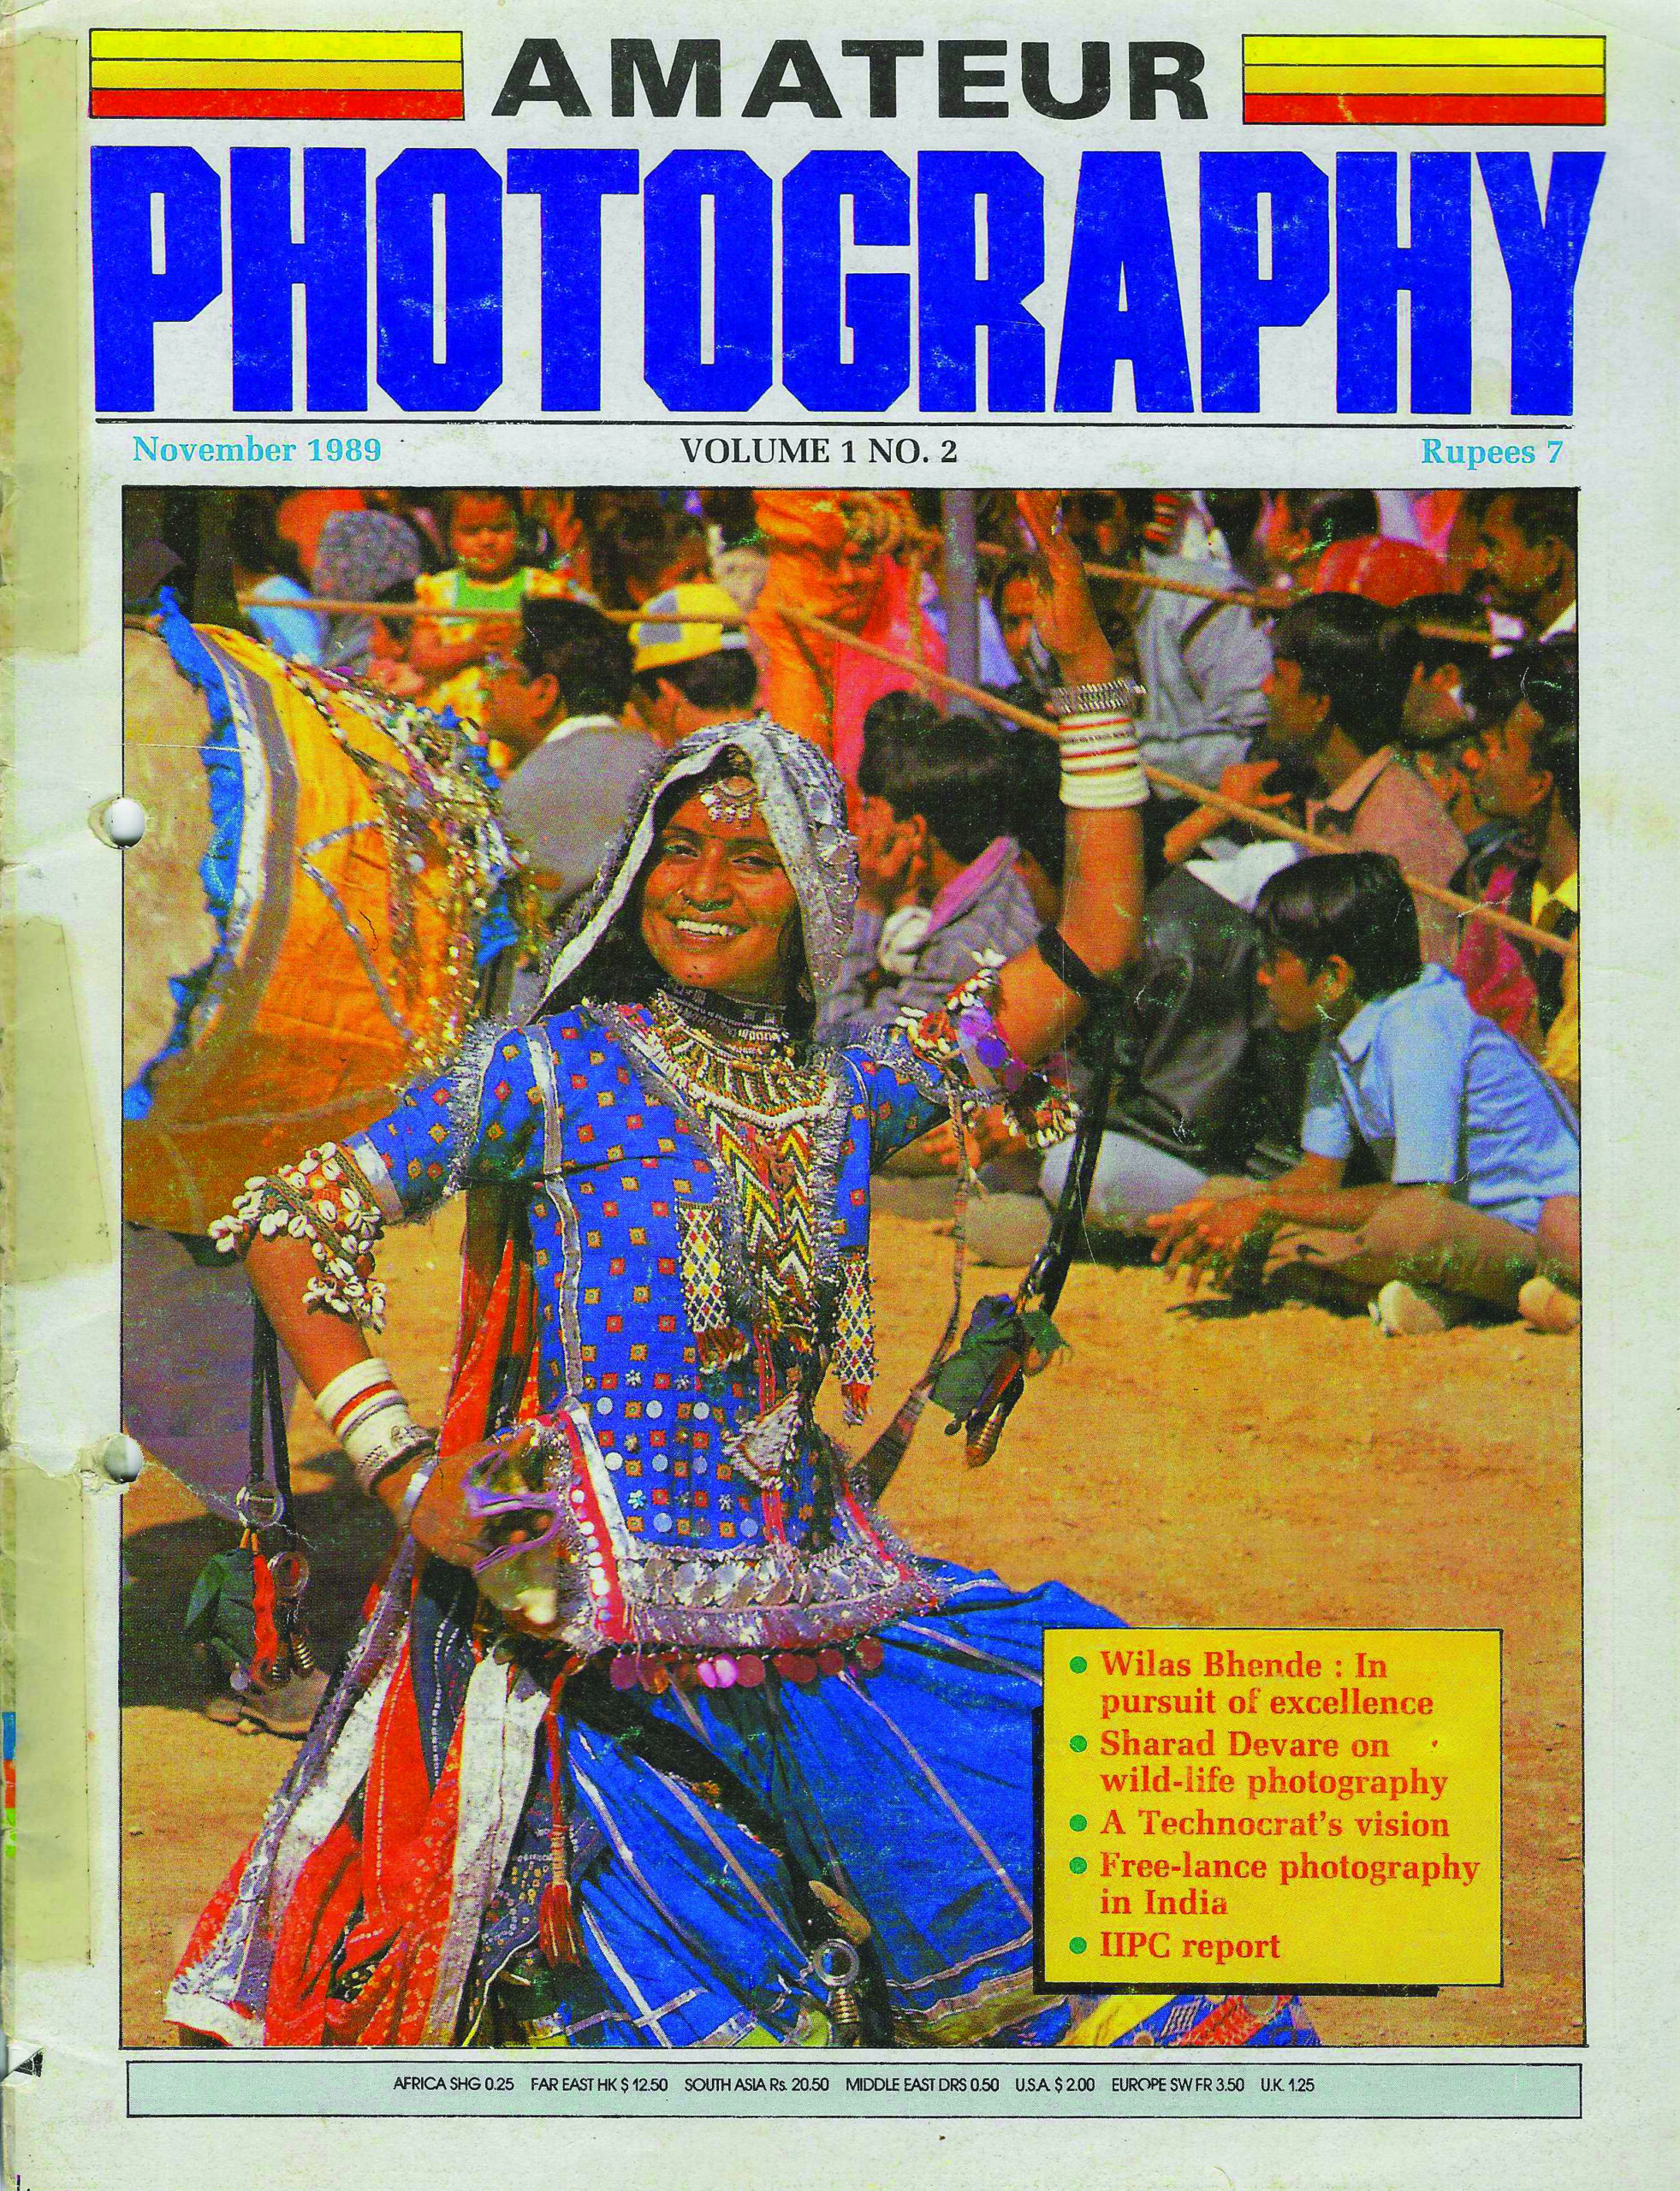
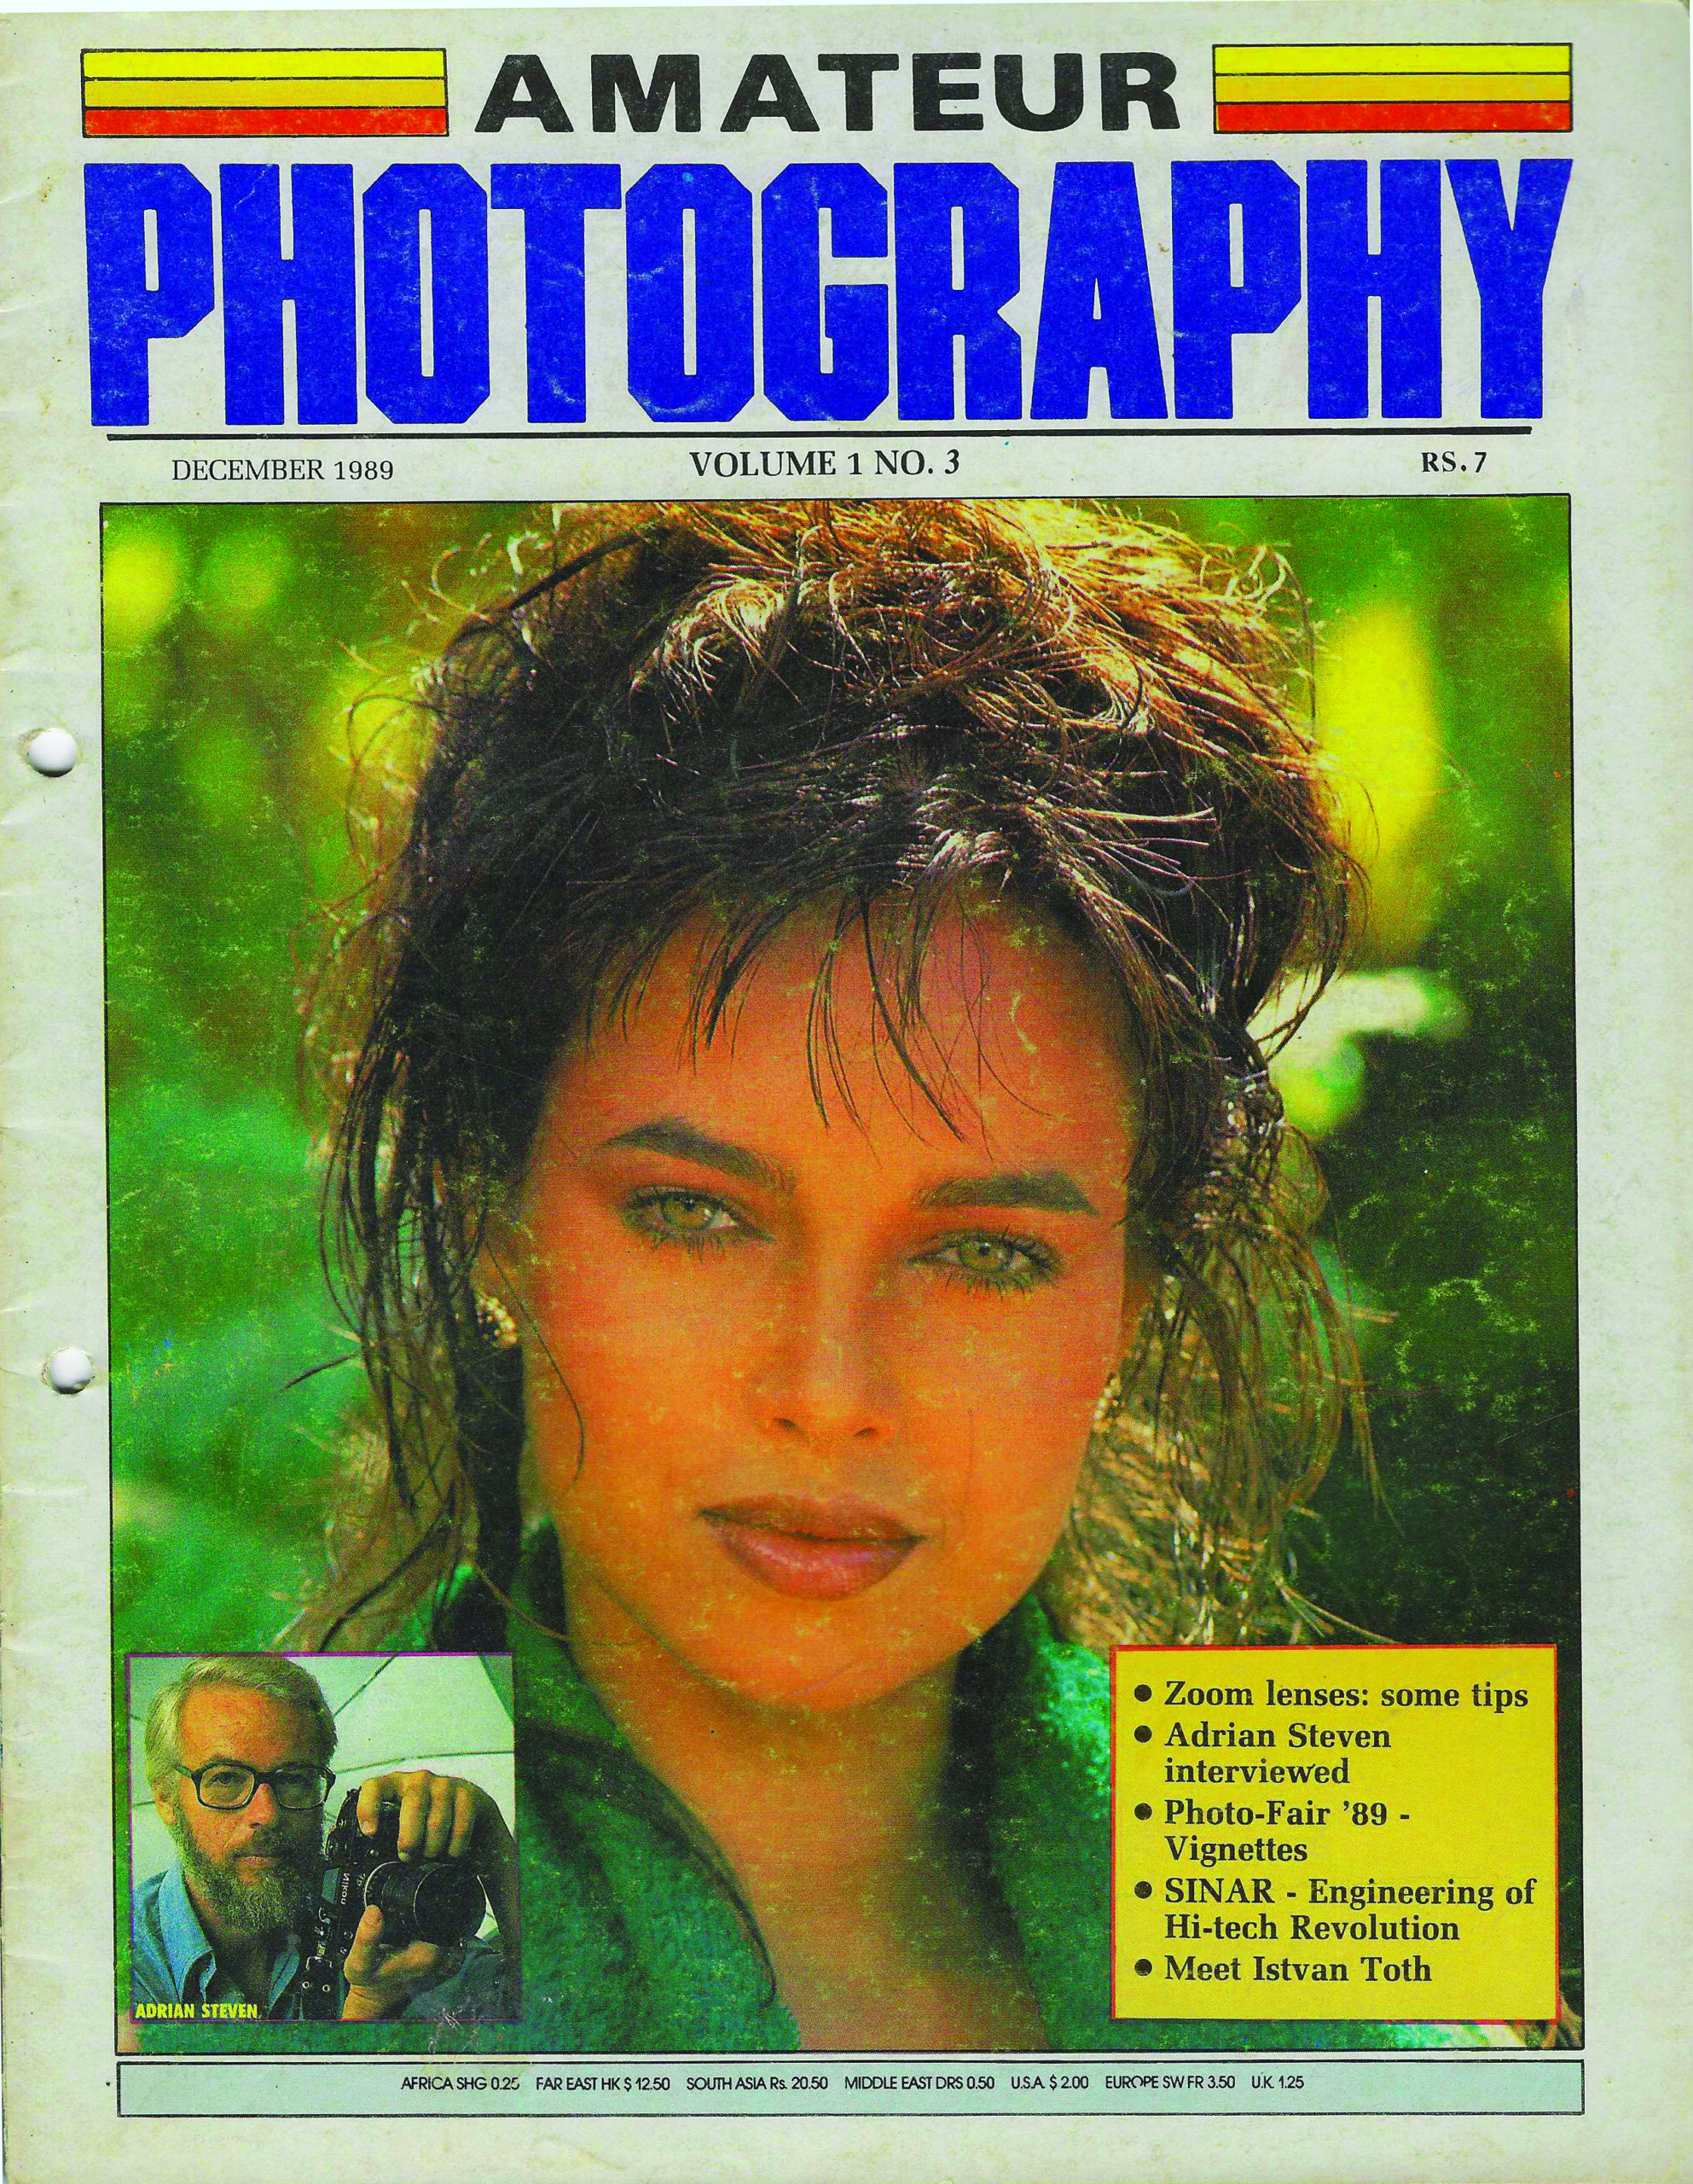
These were the 2nd and 3rd issues of the magazine—then known as Amateur Photography, long before it evolved into Asian Photography. Priced at a modest ₹7, the magazine was still finding its voice, its audience, and its place in the ecosystem.
This issue featured an interview with Adrian Steven, a well-known photographer of the time, along with highlights from Photofair 1989—an event that would later evolve into CEIF. In hindsight, these pages feel foundational. They capture a time when photography in India was driven by passion more than profession, and when the seeds of an industry were just being sown.
February 1990
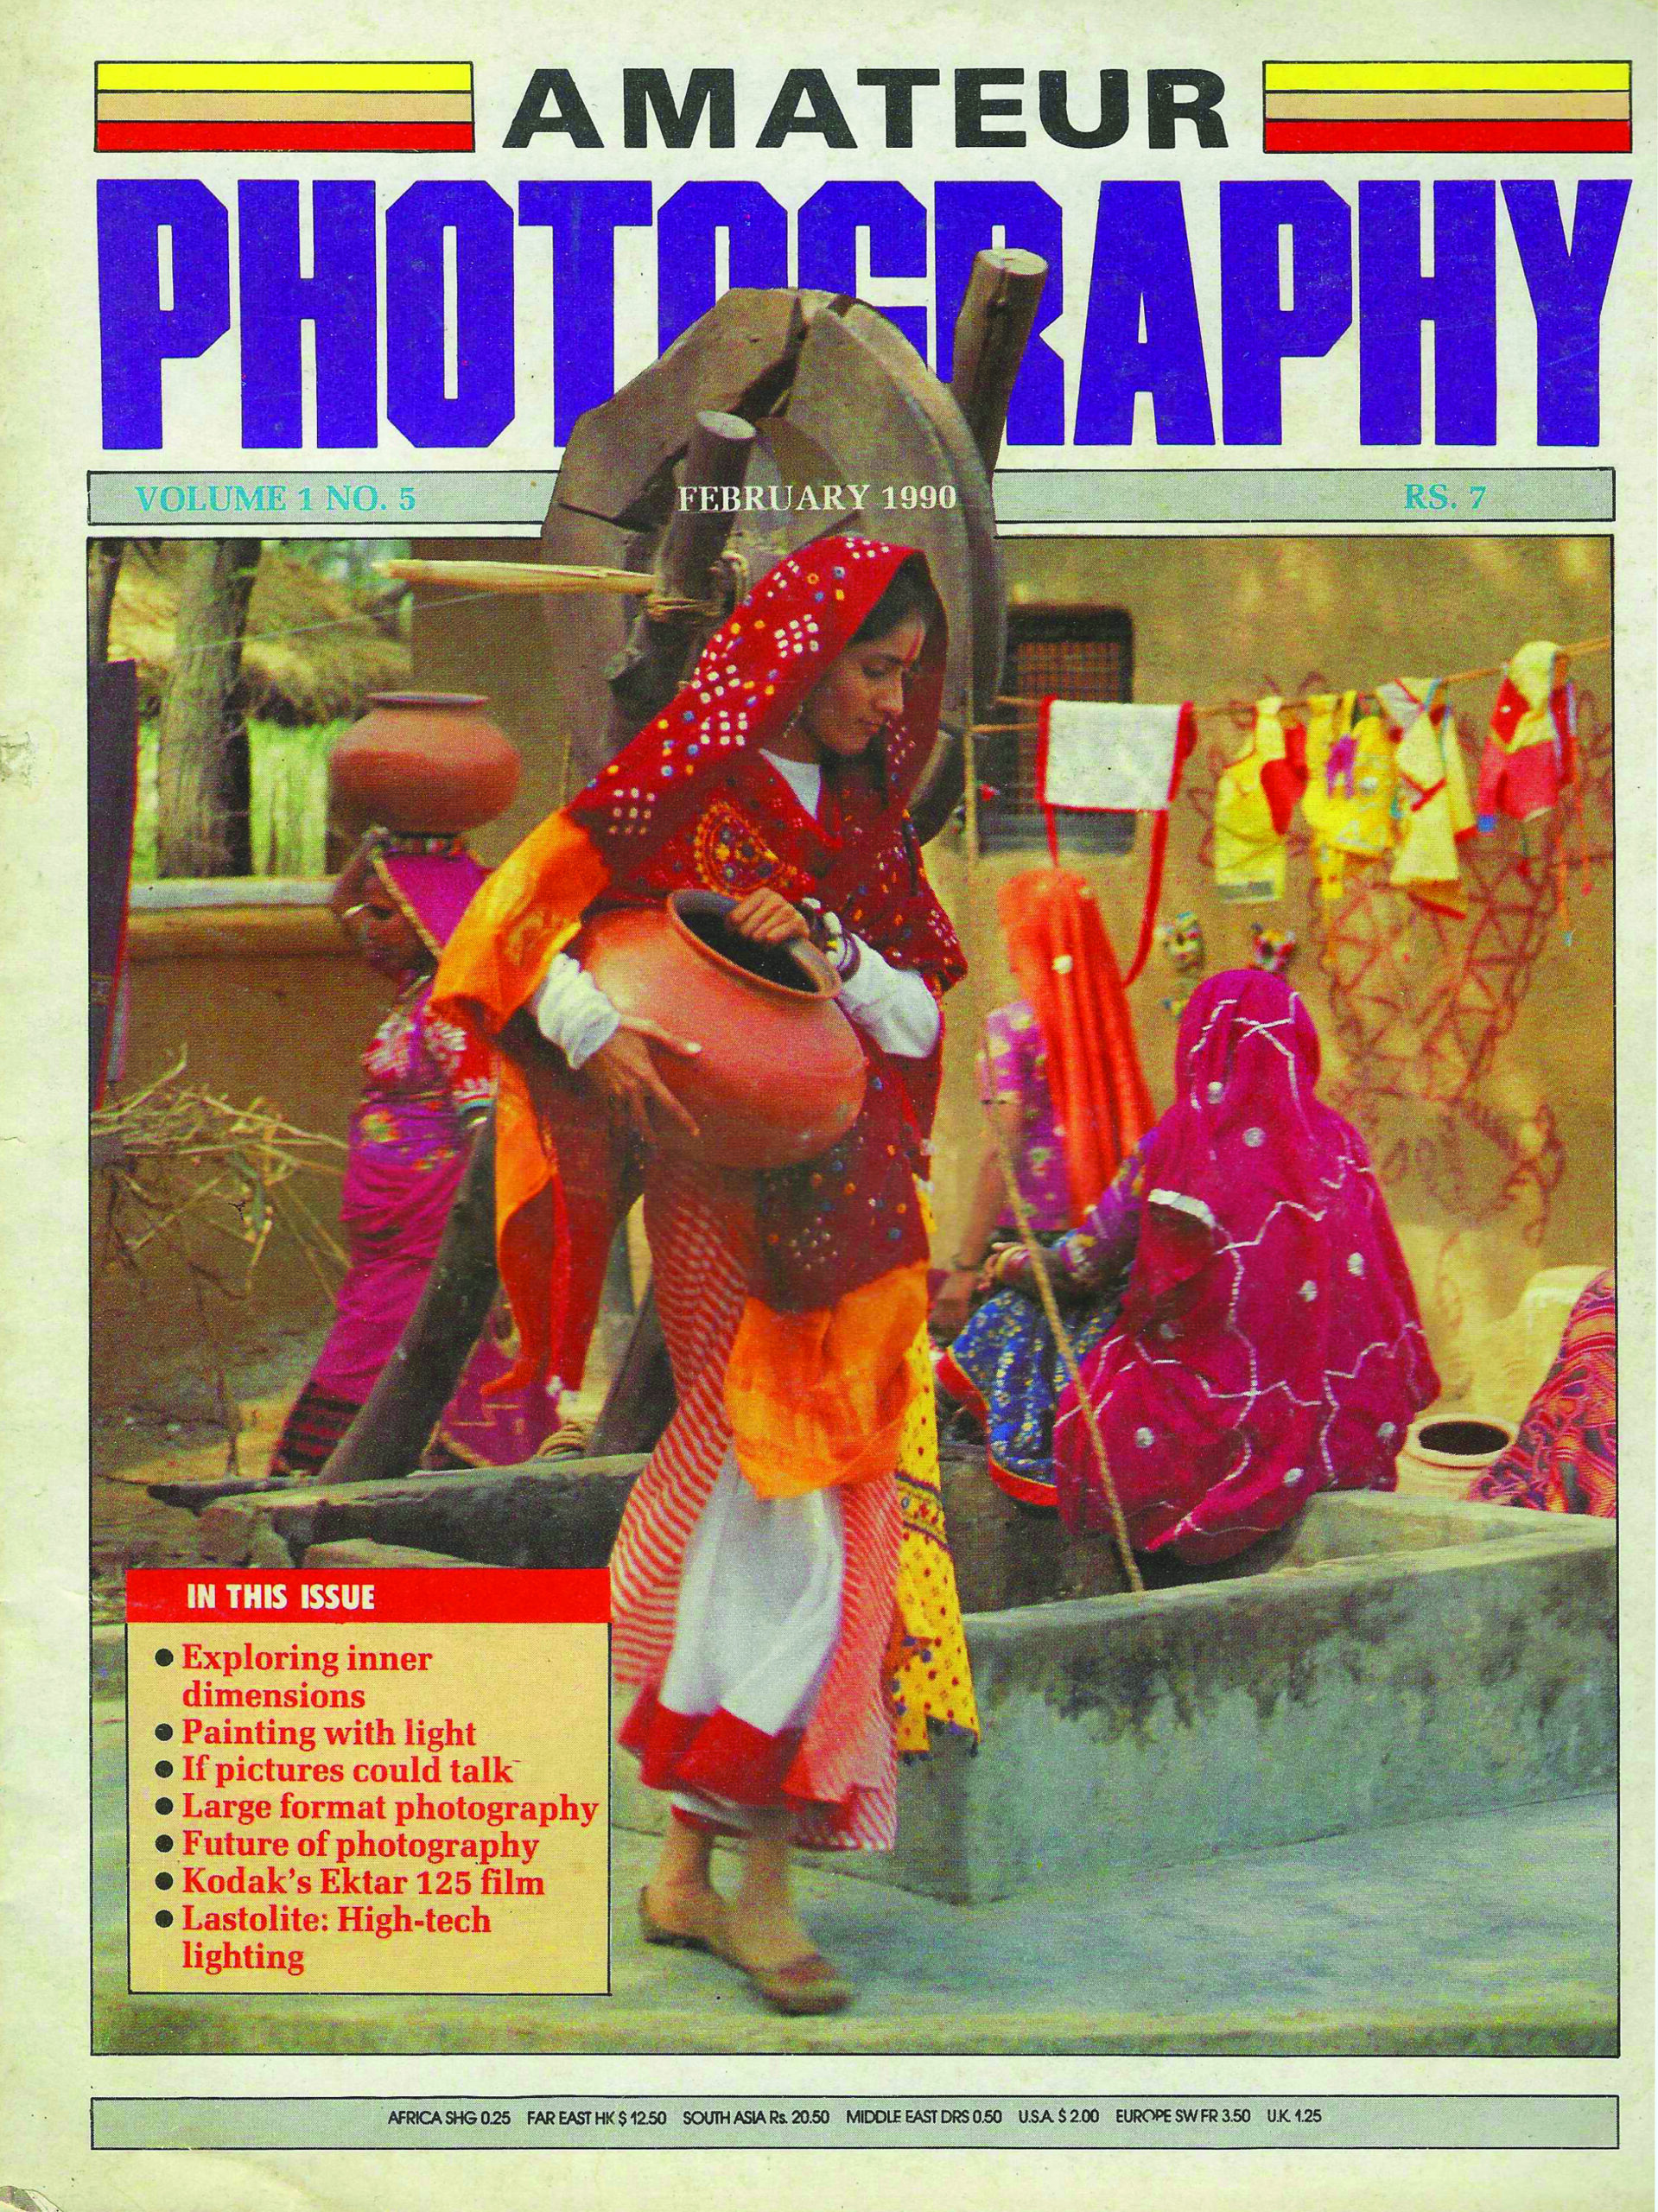
This era was dominated by large-format printers, film giants like Kodak and an unquestioned belief in chemical photography. Few could have imagined that many of these iconic companies would eventually shut shop or reinvent themselves entirely.
Looking back, this cover stands as a reminder of how permanent the present often feels—until it isn’t.
March 1990
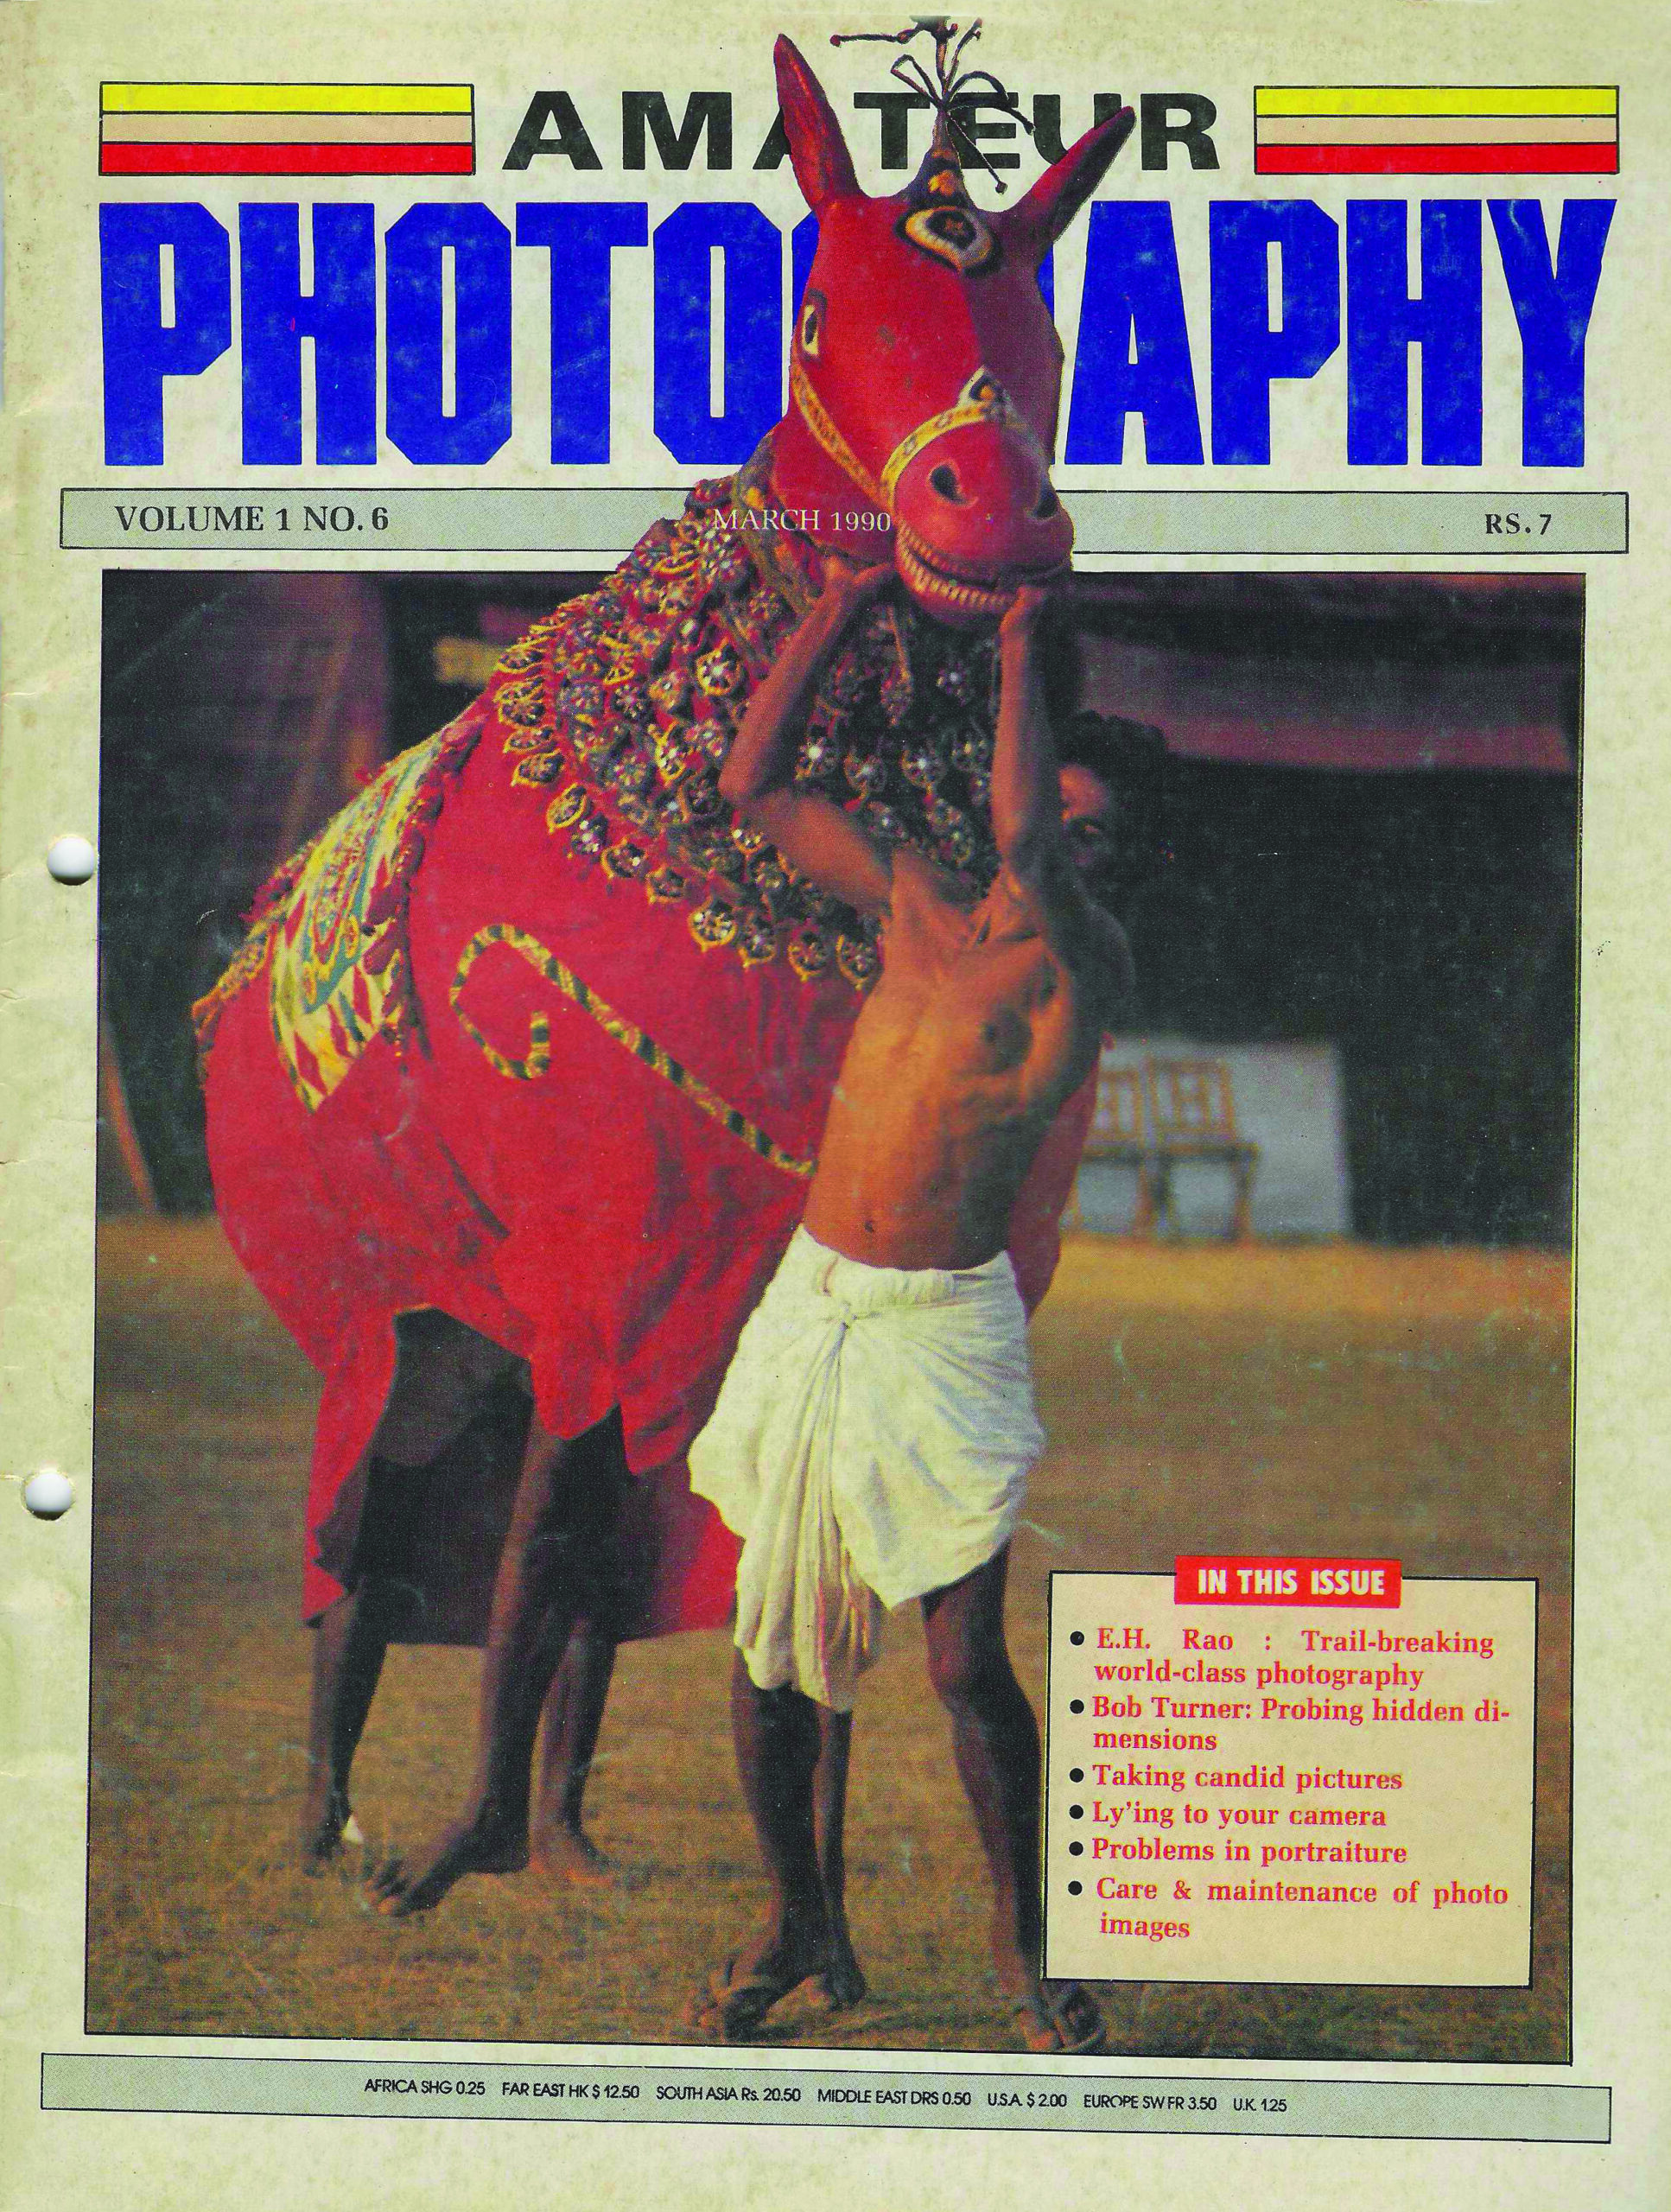
This issue represents continuity in the magazine’s formative phase, reflecting a period when Asian Photography was steadily finding its editorial footing and visual language. The striking red of the horse matching the text colour on the cover—displays our editorial footing for the years to come.
April 1990
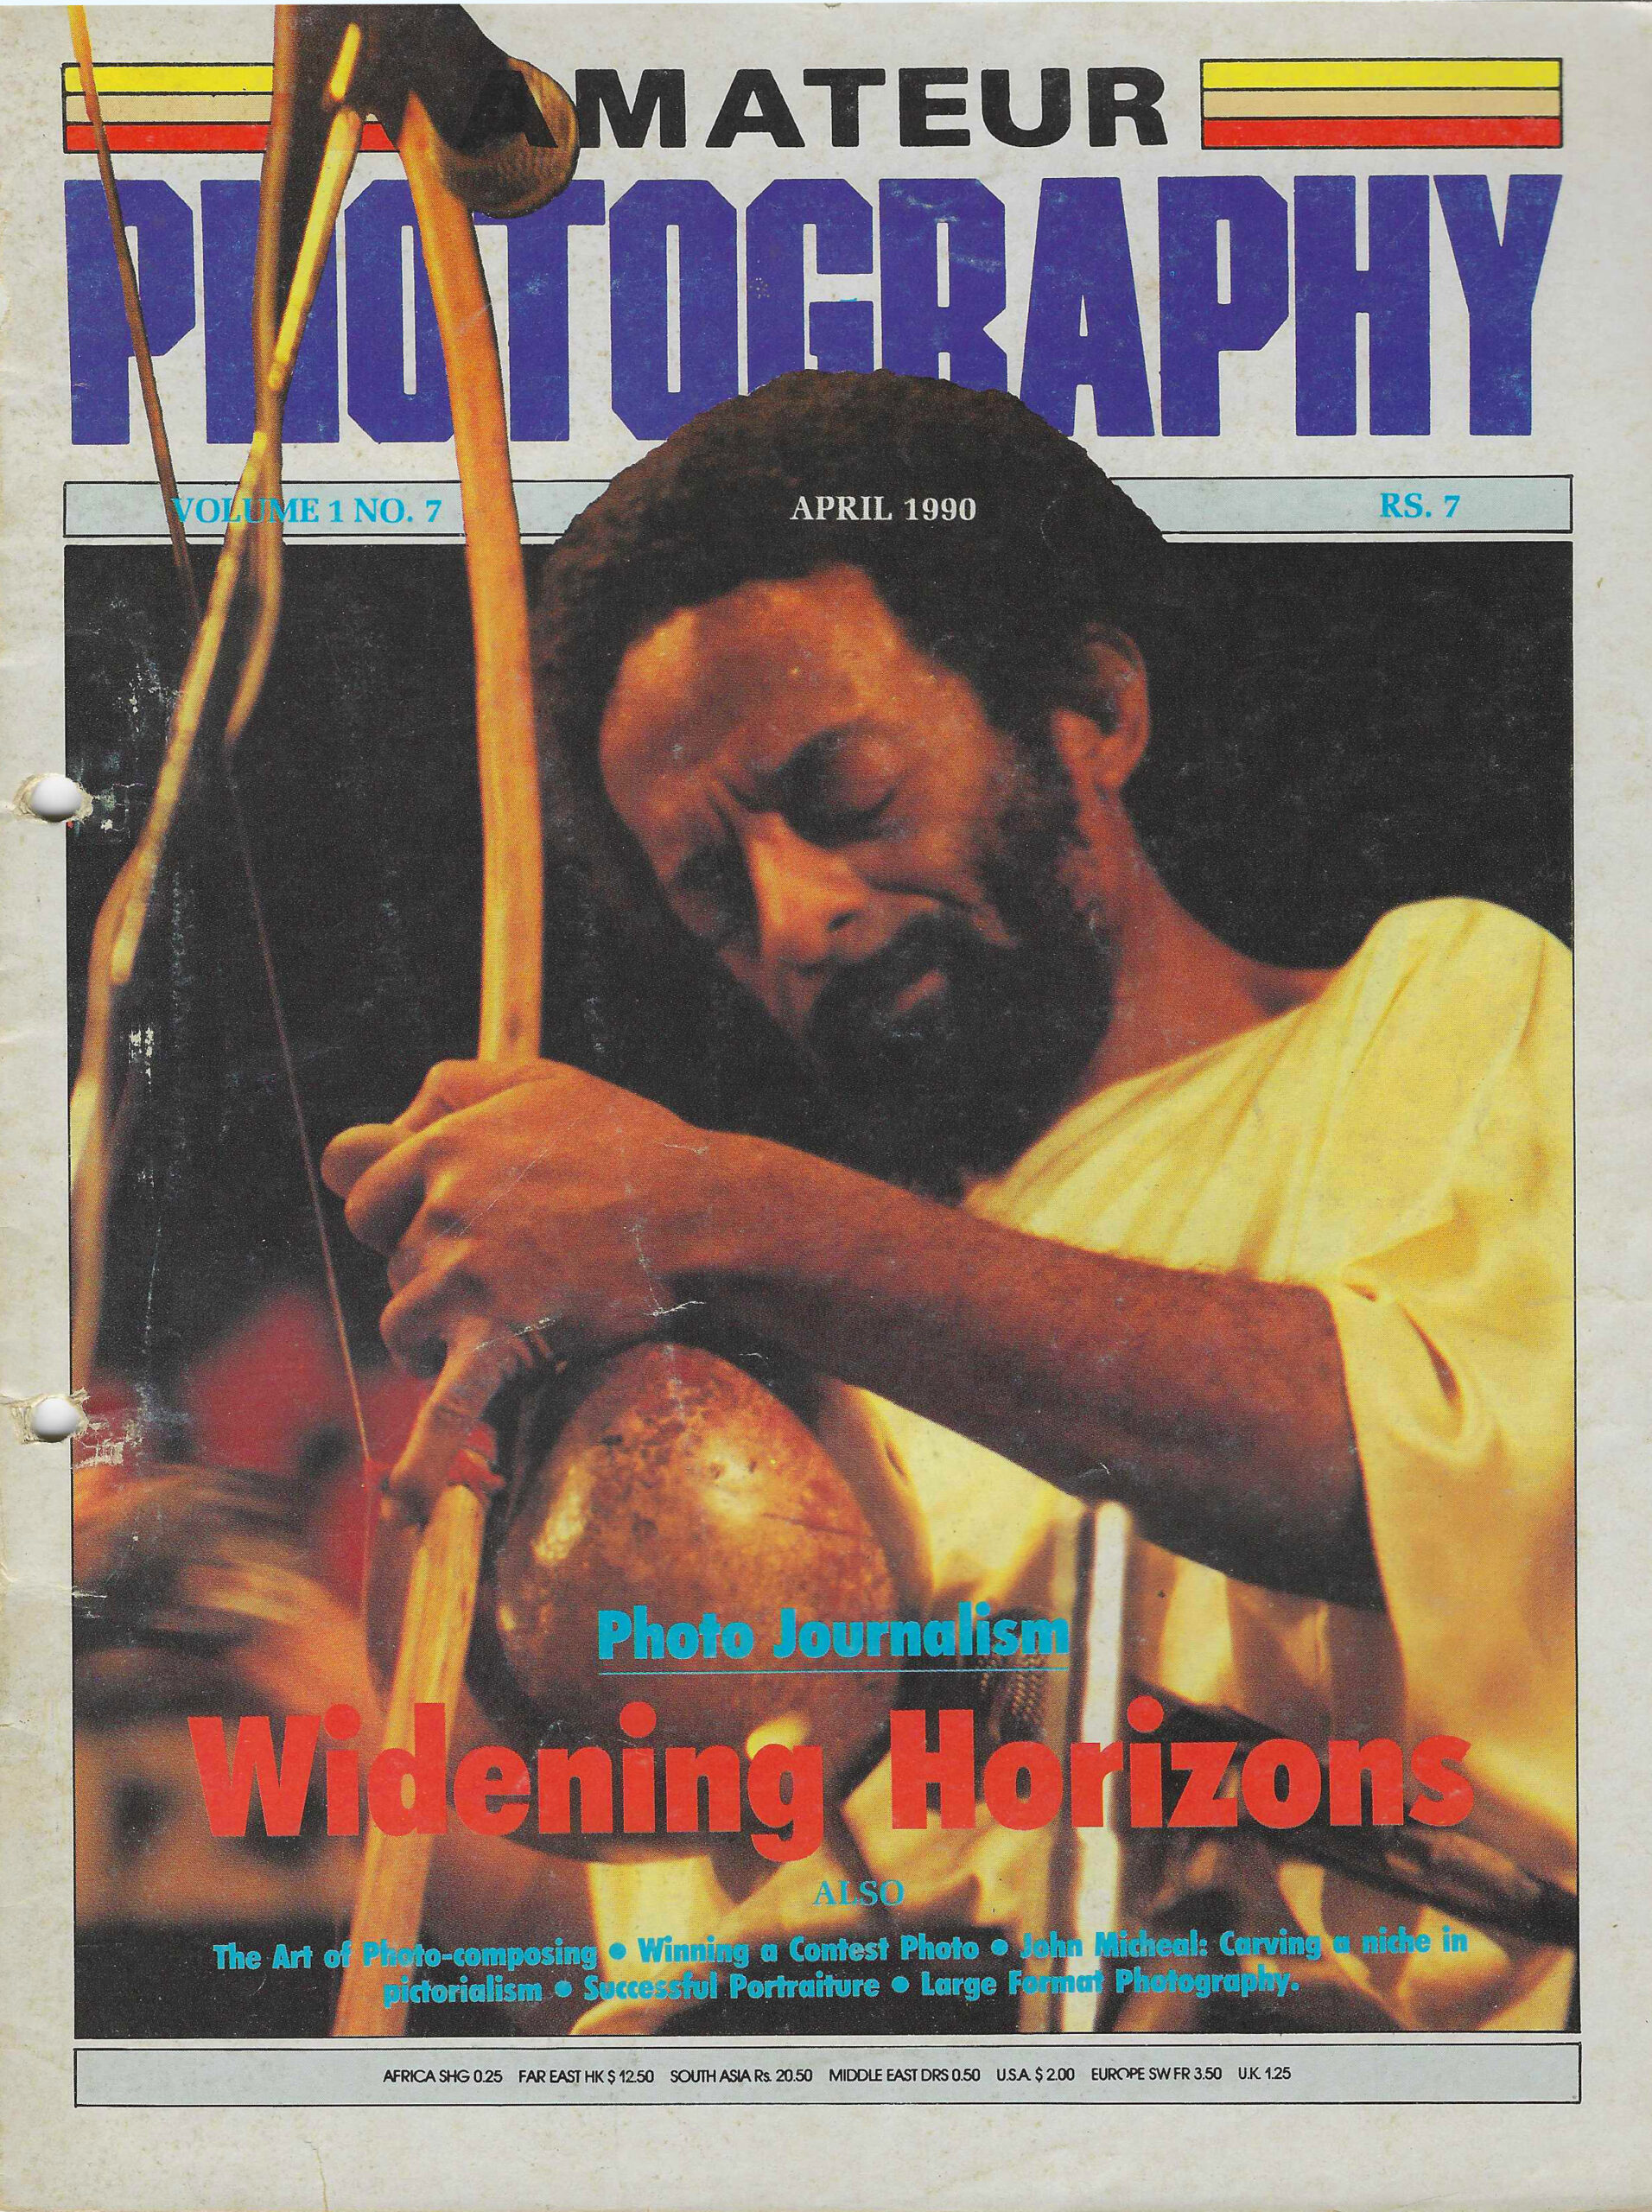
Barely Vol. 1, No. 7, yet this issue marked an important editorial milestone—it was the magazine’s first focused foray into photojournalism. Still early in its journey, the magazine made a decisive editorial move—turning its lens toward photojournalism. This issue marked an important shift: Photography was no longer just about form and technique, but about relevance, reportage, and responsibility.
It was an early sign of the magazine’s willingness to look beyond aesthetics and engage with the real world.
May 1990
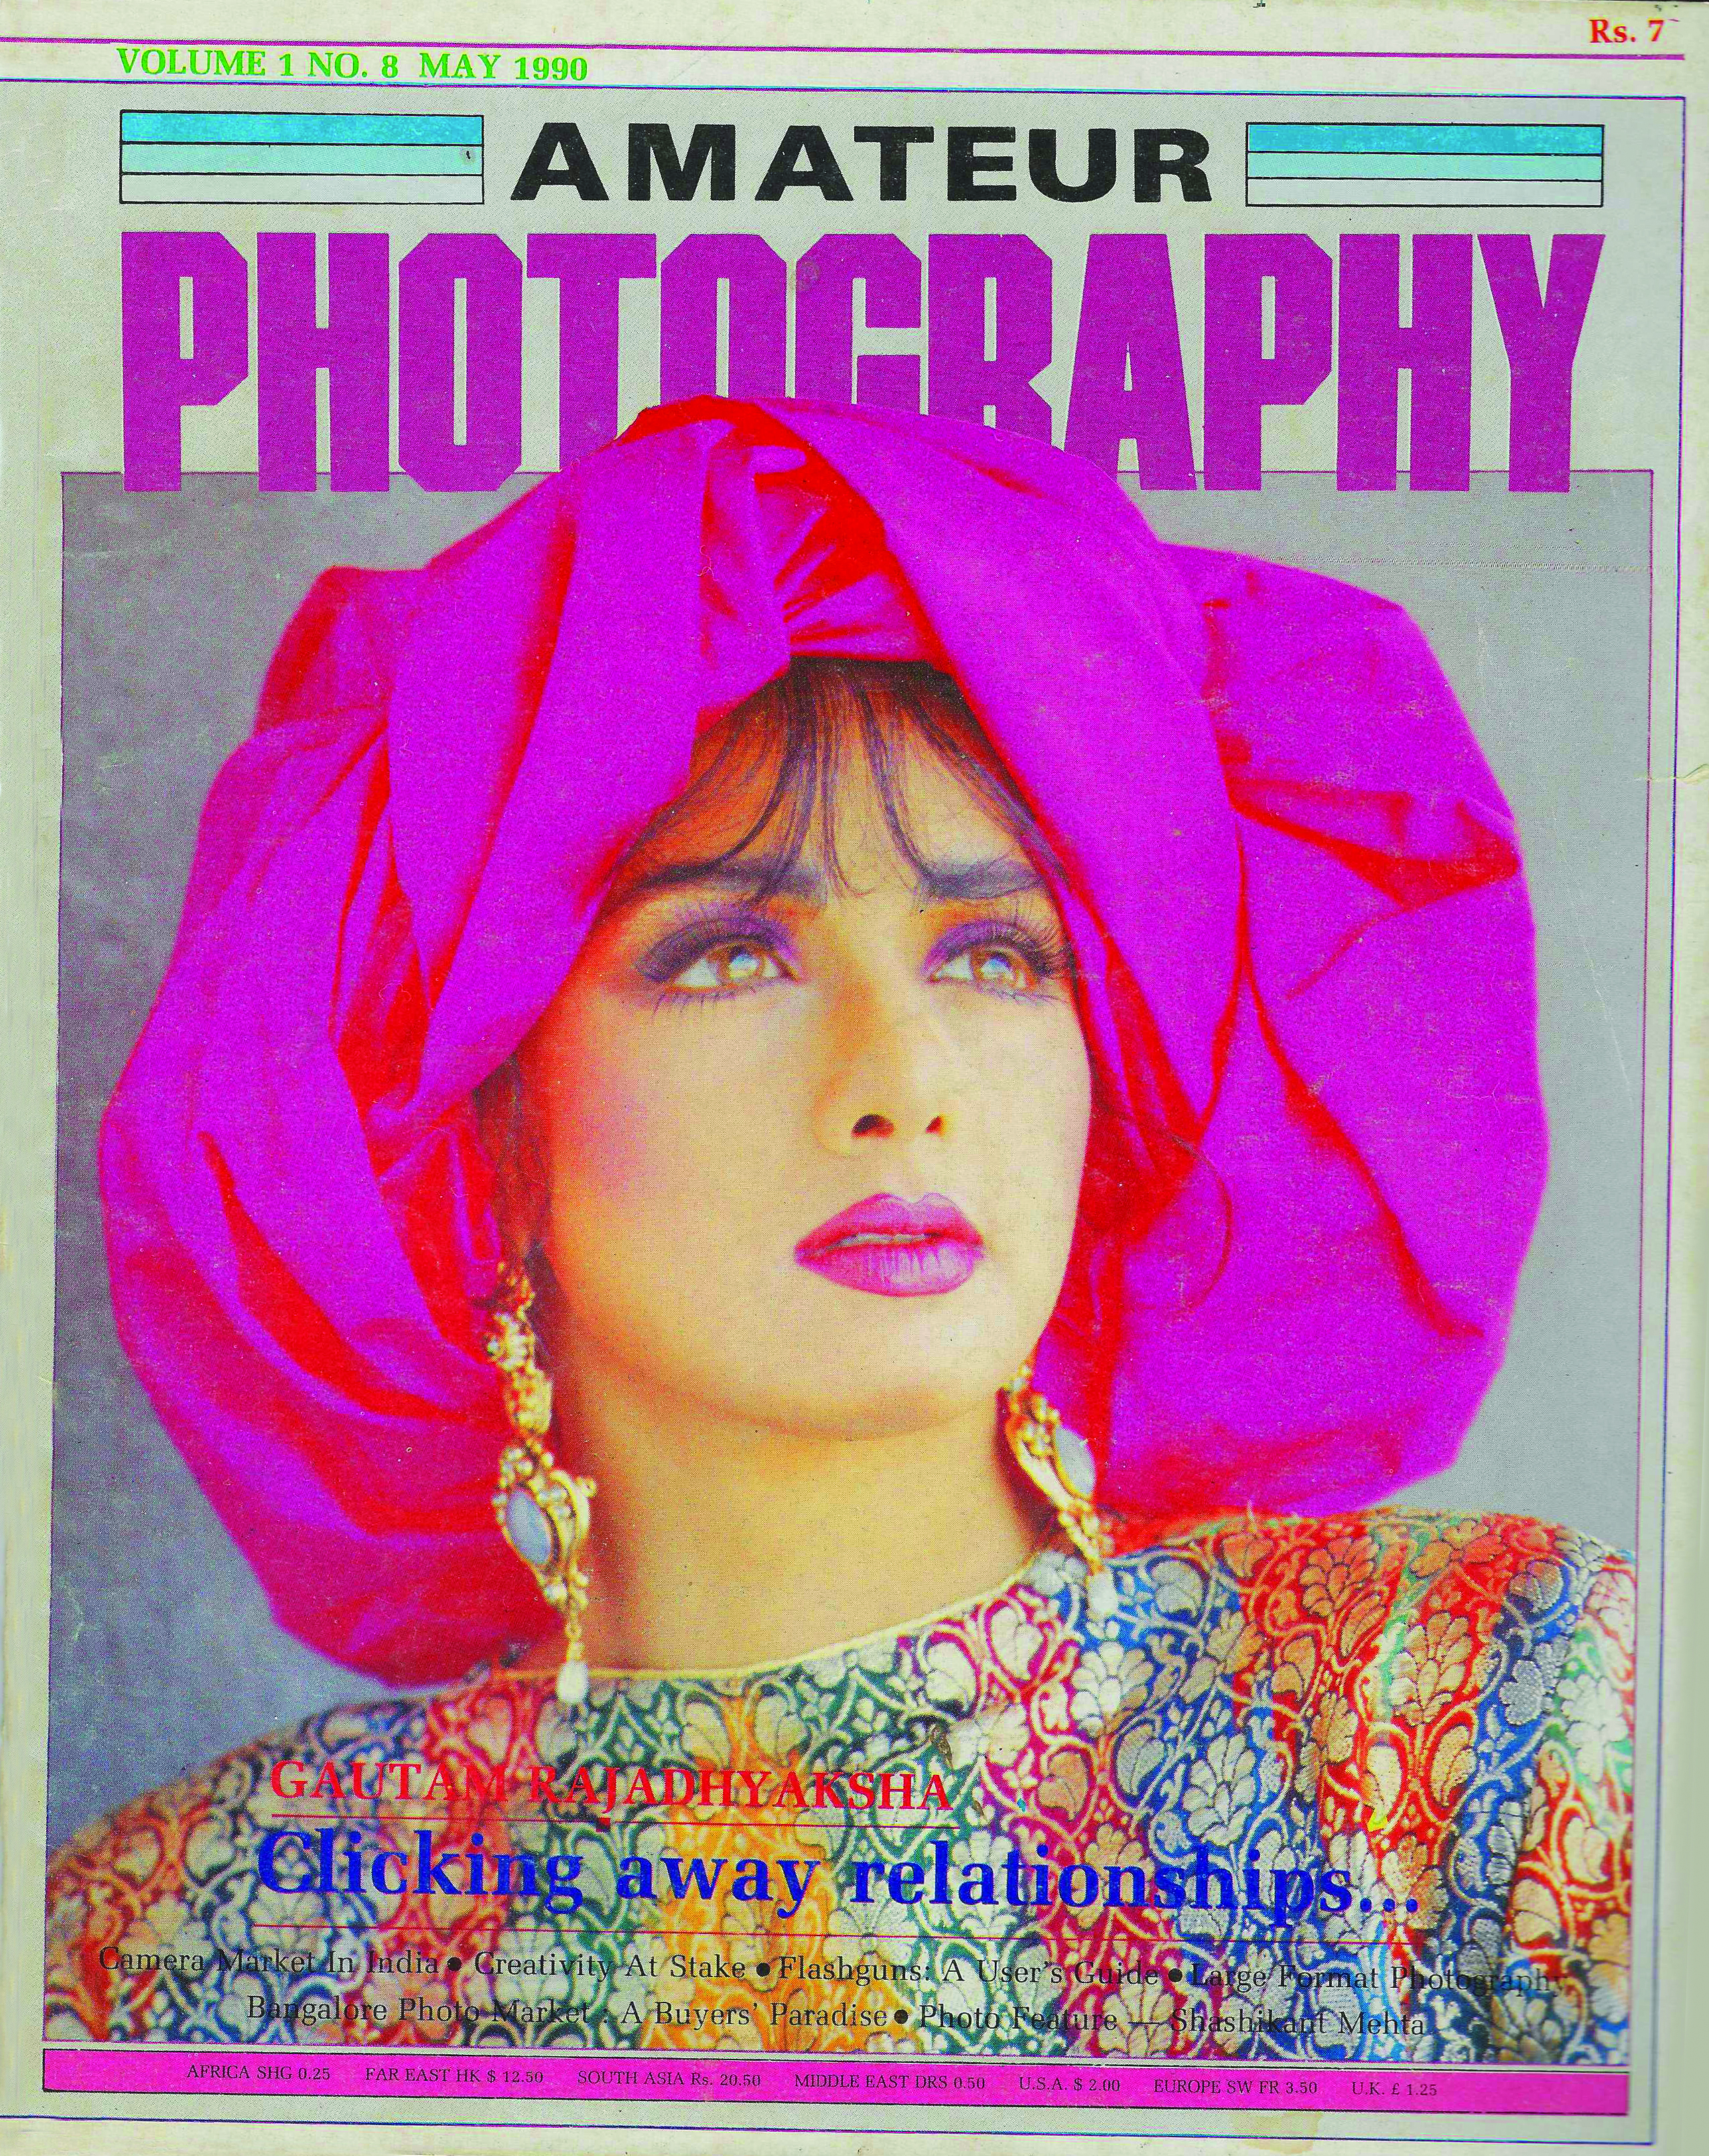
A landmark moment. This issue featured the magazine’s first-ever Bollywood actress on the cover, photographed by the legendary Gautam Rajadhyaksha. Featuring the late, iconic Sridevi, the cover signalled a new confidence—both editorially and visually.
It wasn’t just about featuring a celebrity; it was about acknowledging photography’s growing role in shaping popular culture. And it certainly wouldn’t be the last time cinema and photography intersected on our cover.
June 1990
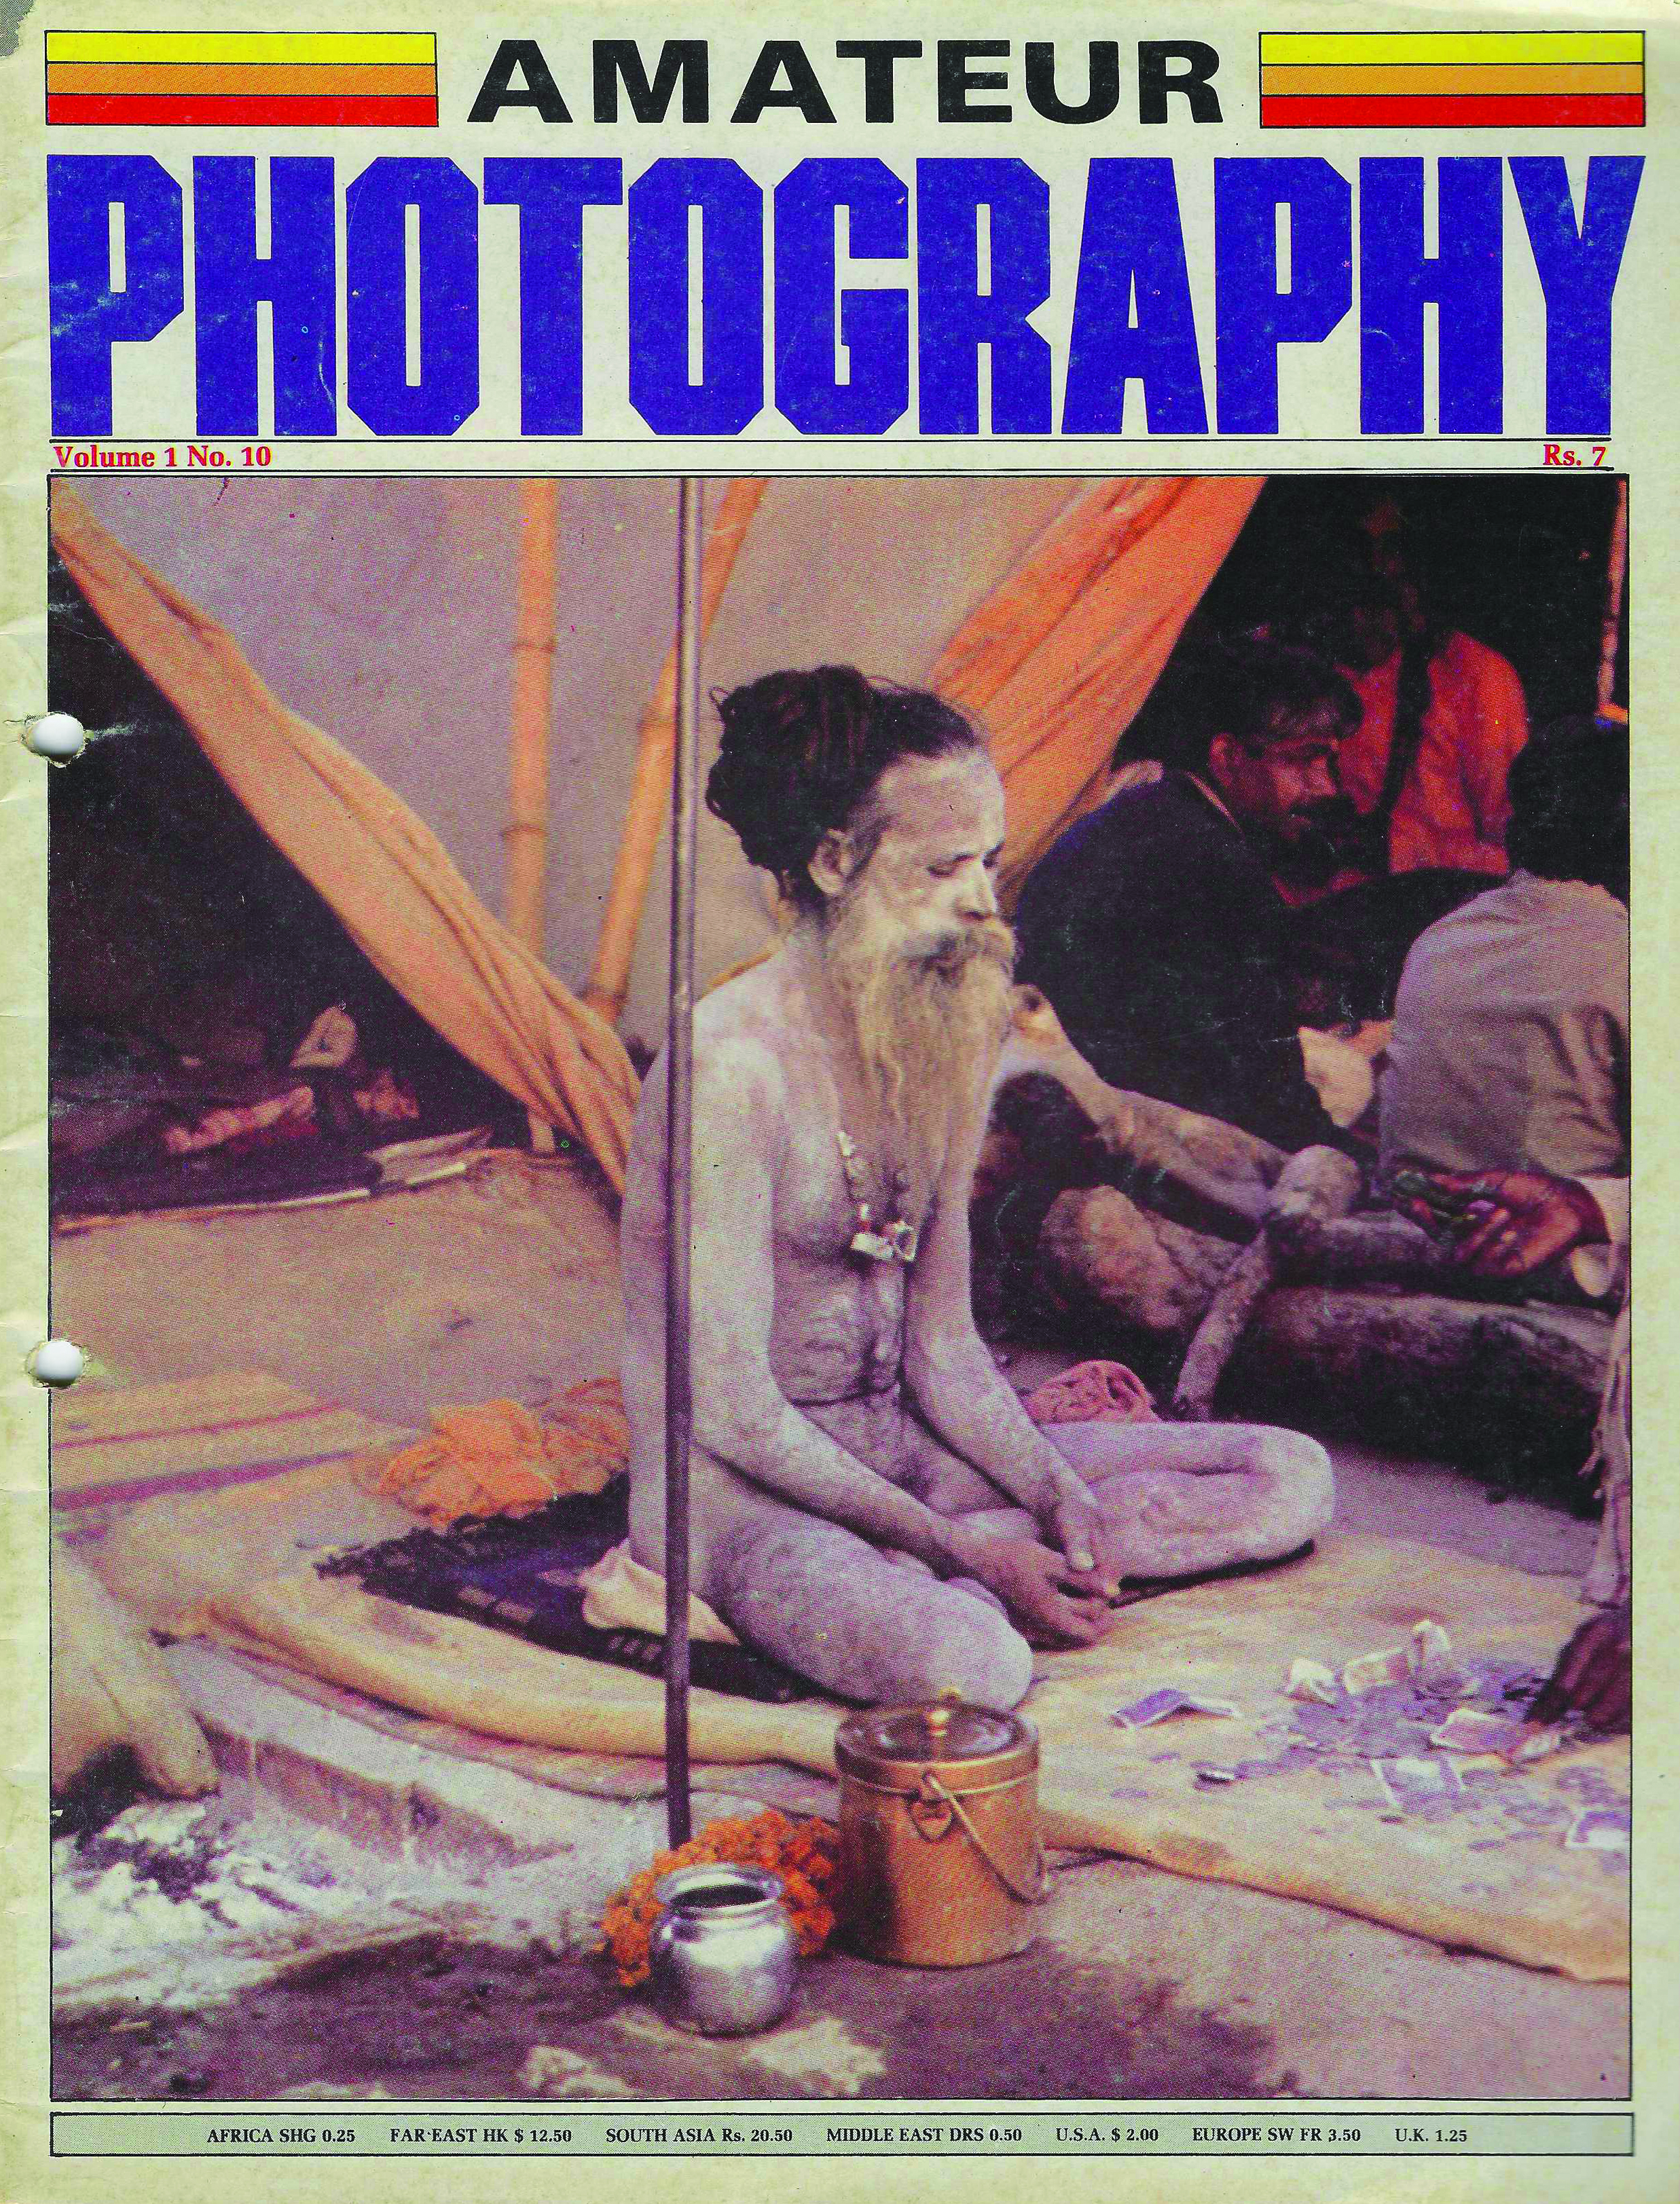
This cover is remembered as much for its charm as for its errors. Missing both the month and the correct issue number, it stands as a reminder of the realities of publishing in a pre-digital era.
In those days, covers were assembled physically—positives pasted by hand. Reprinting was neither quick, nor economical. The mistake stayed, and over time, became part of the magazine’s folklore.
July 1990
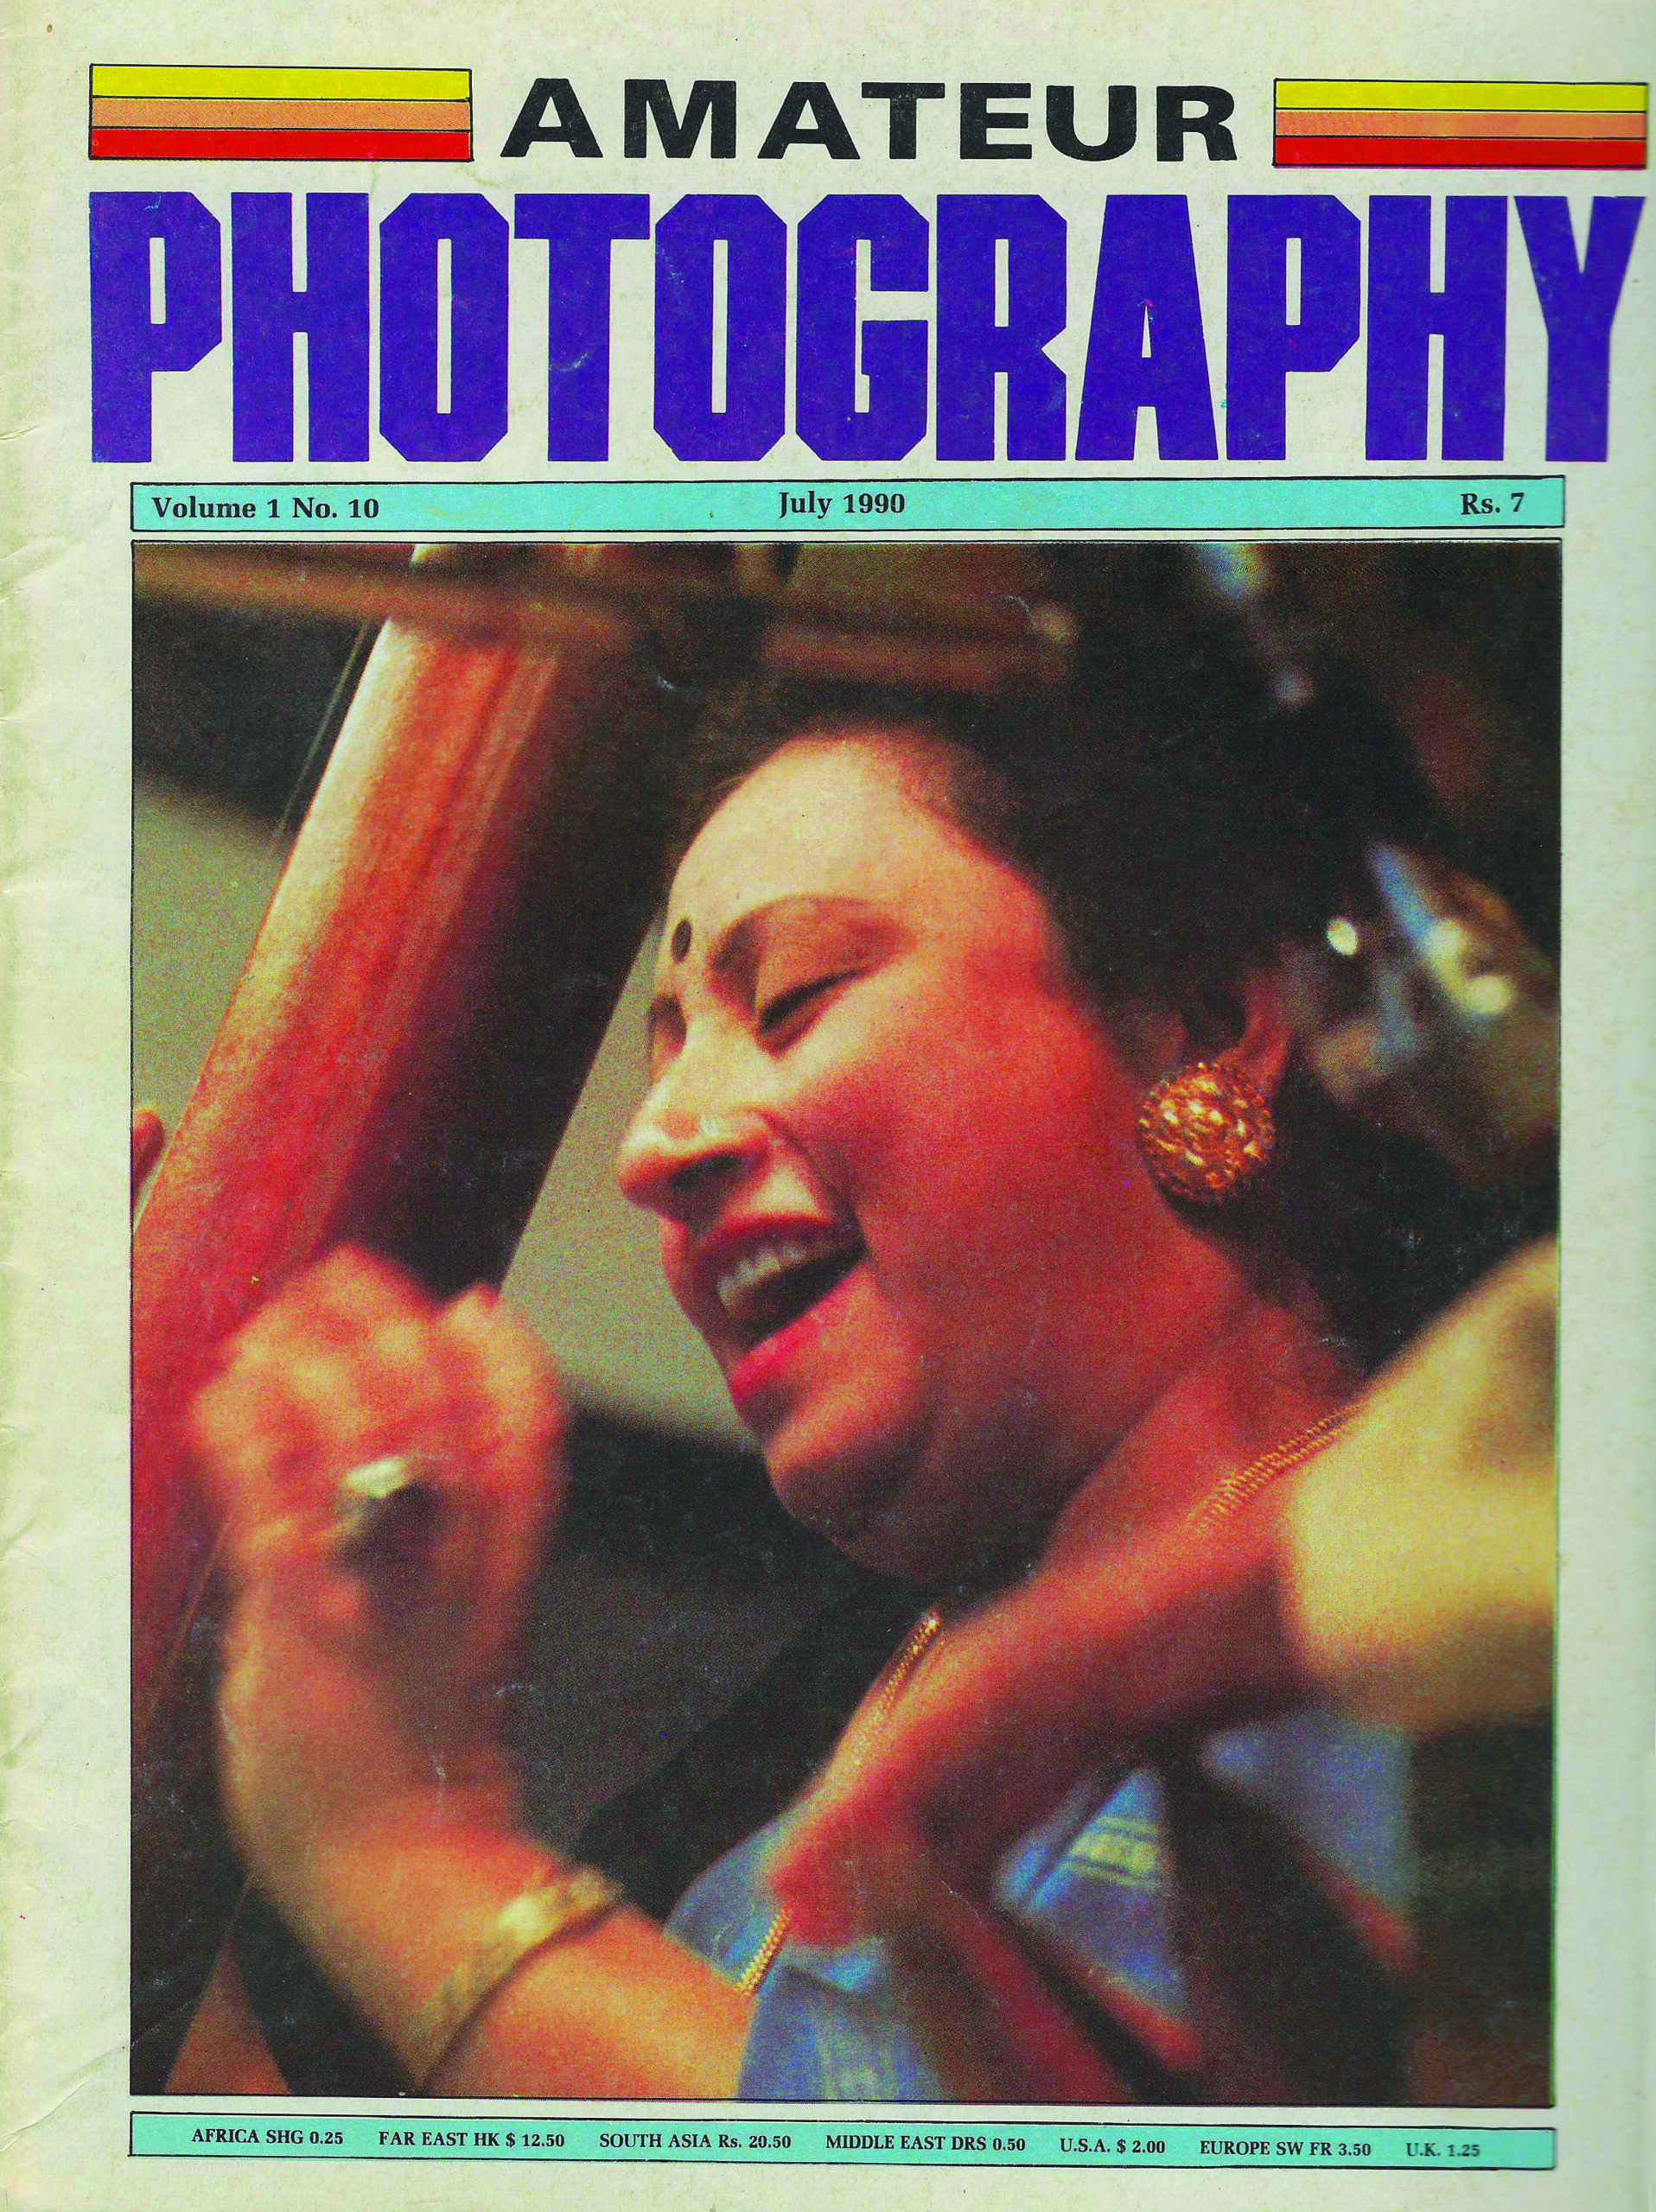
This was the corrected Vol. 10, earning its rightful place in history. Shot by Sateesh Paknikar and featuring the legendary classical singer Begum Praveen Sultana, the cover was also notable for its bold experimentation—it carried no cover text at all.
An audacious move for its time, it reflected a growing editorial confidence in letting the image speak for itself—letting photography take centre-stage.
September 1990
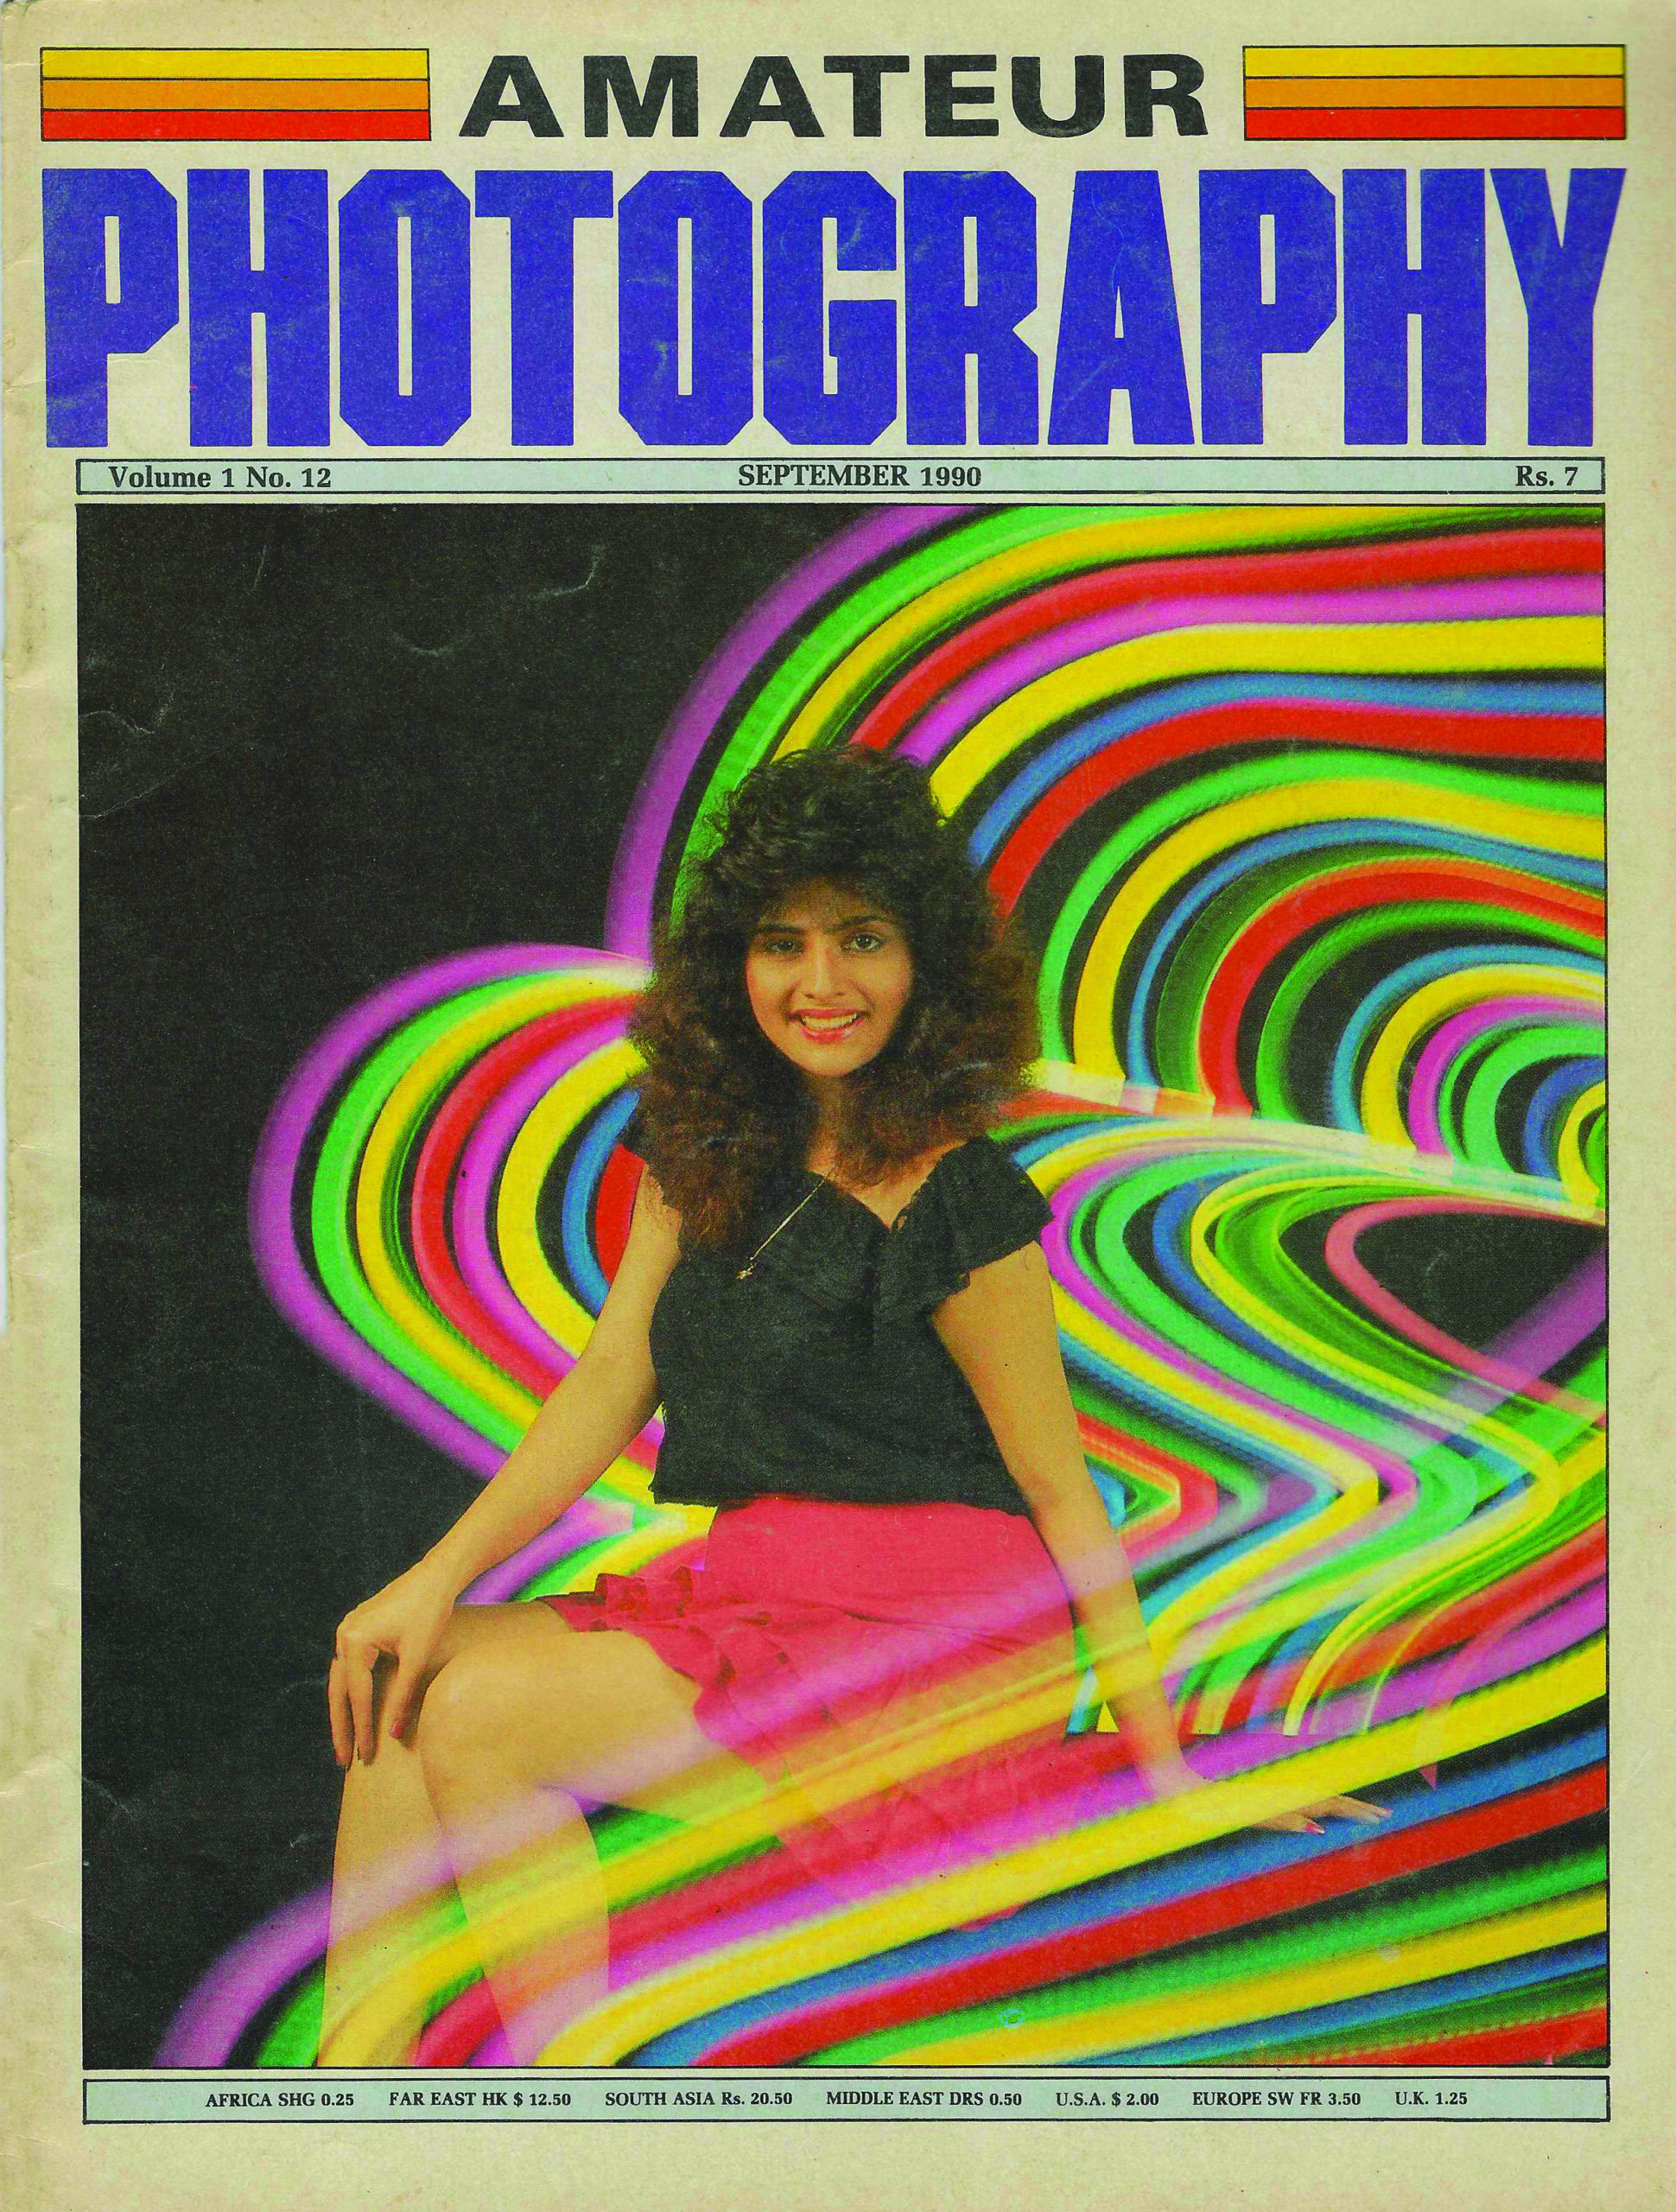
A truly special cover. Upon release, the magazine was flooded with reader queries asking how the image was created. Today, rainbow hues and colour effects are a click away. Back then, such imagery required painstaking manual work using gelatin walls and papers.
So impactful was the curiosity that the following issue (1st Anniversary) carried a detailed illustration explaining how the image—shot by Dayaram Chawde—was created. Education has always been central to Asian Photography’s DNA.
October 1990 (1st Anniversary Issue)
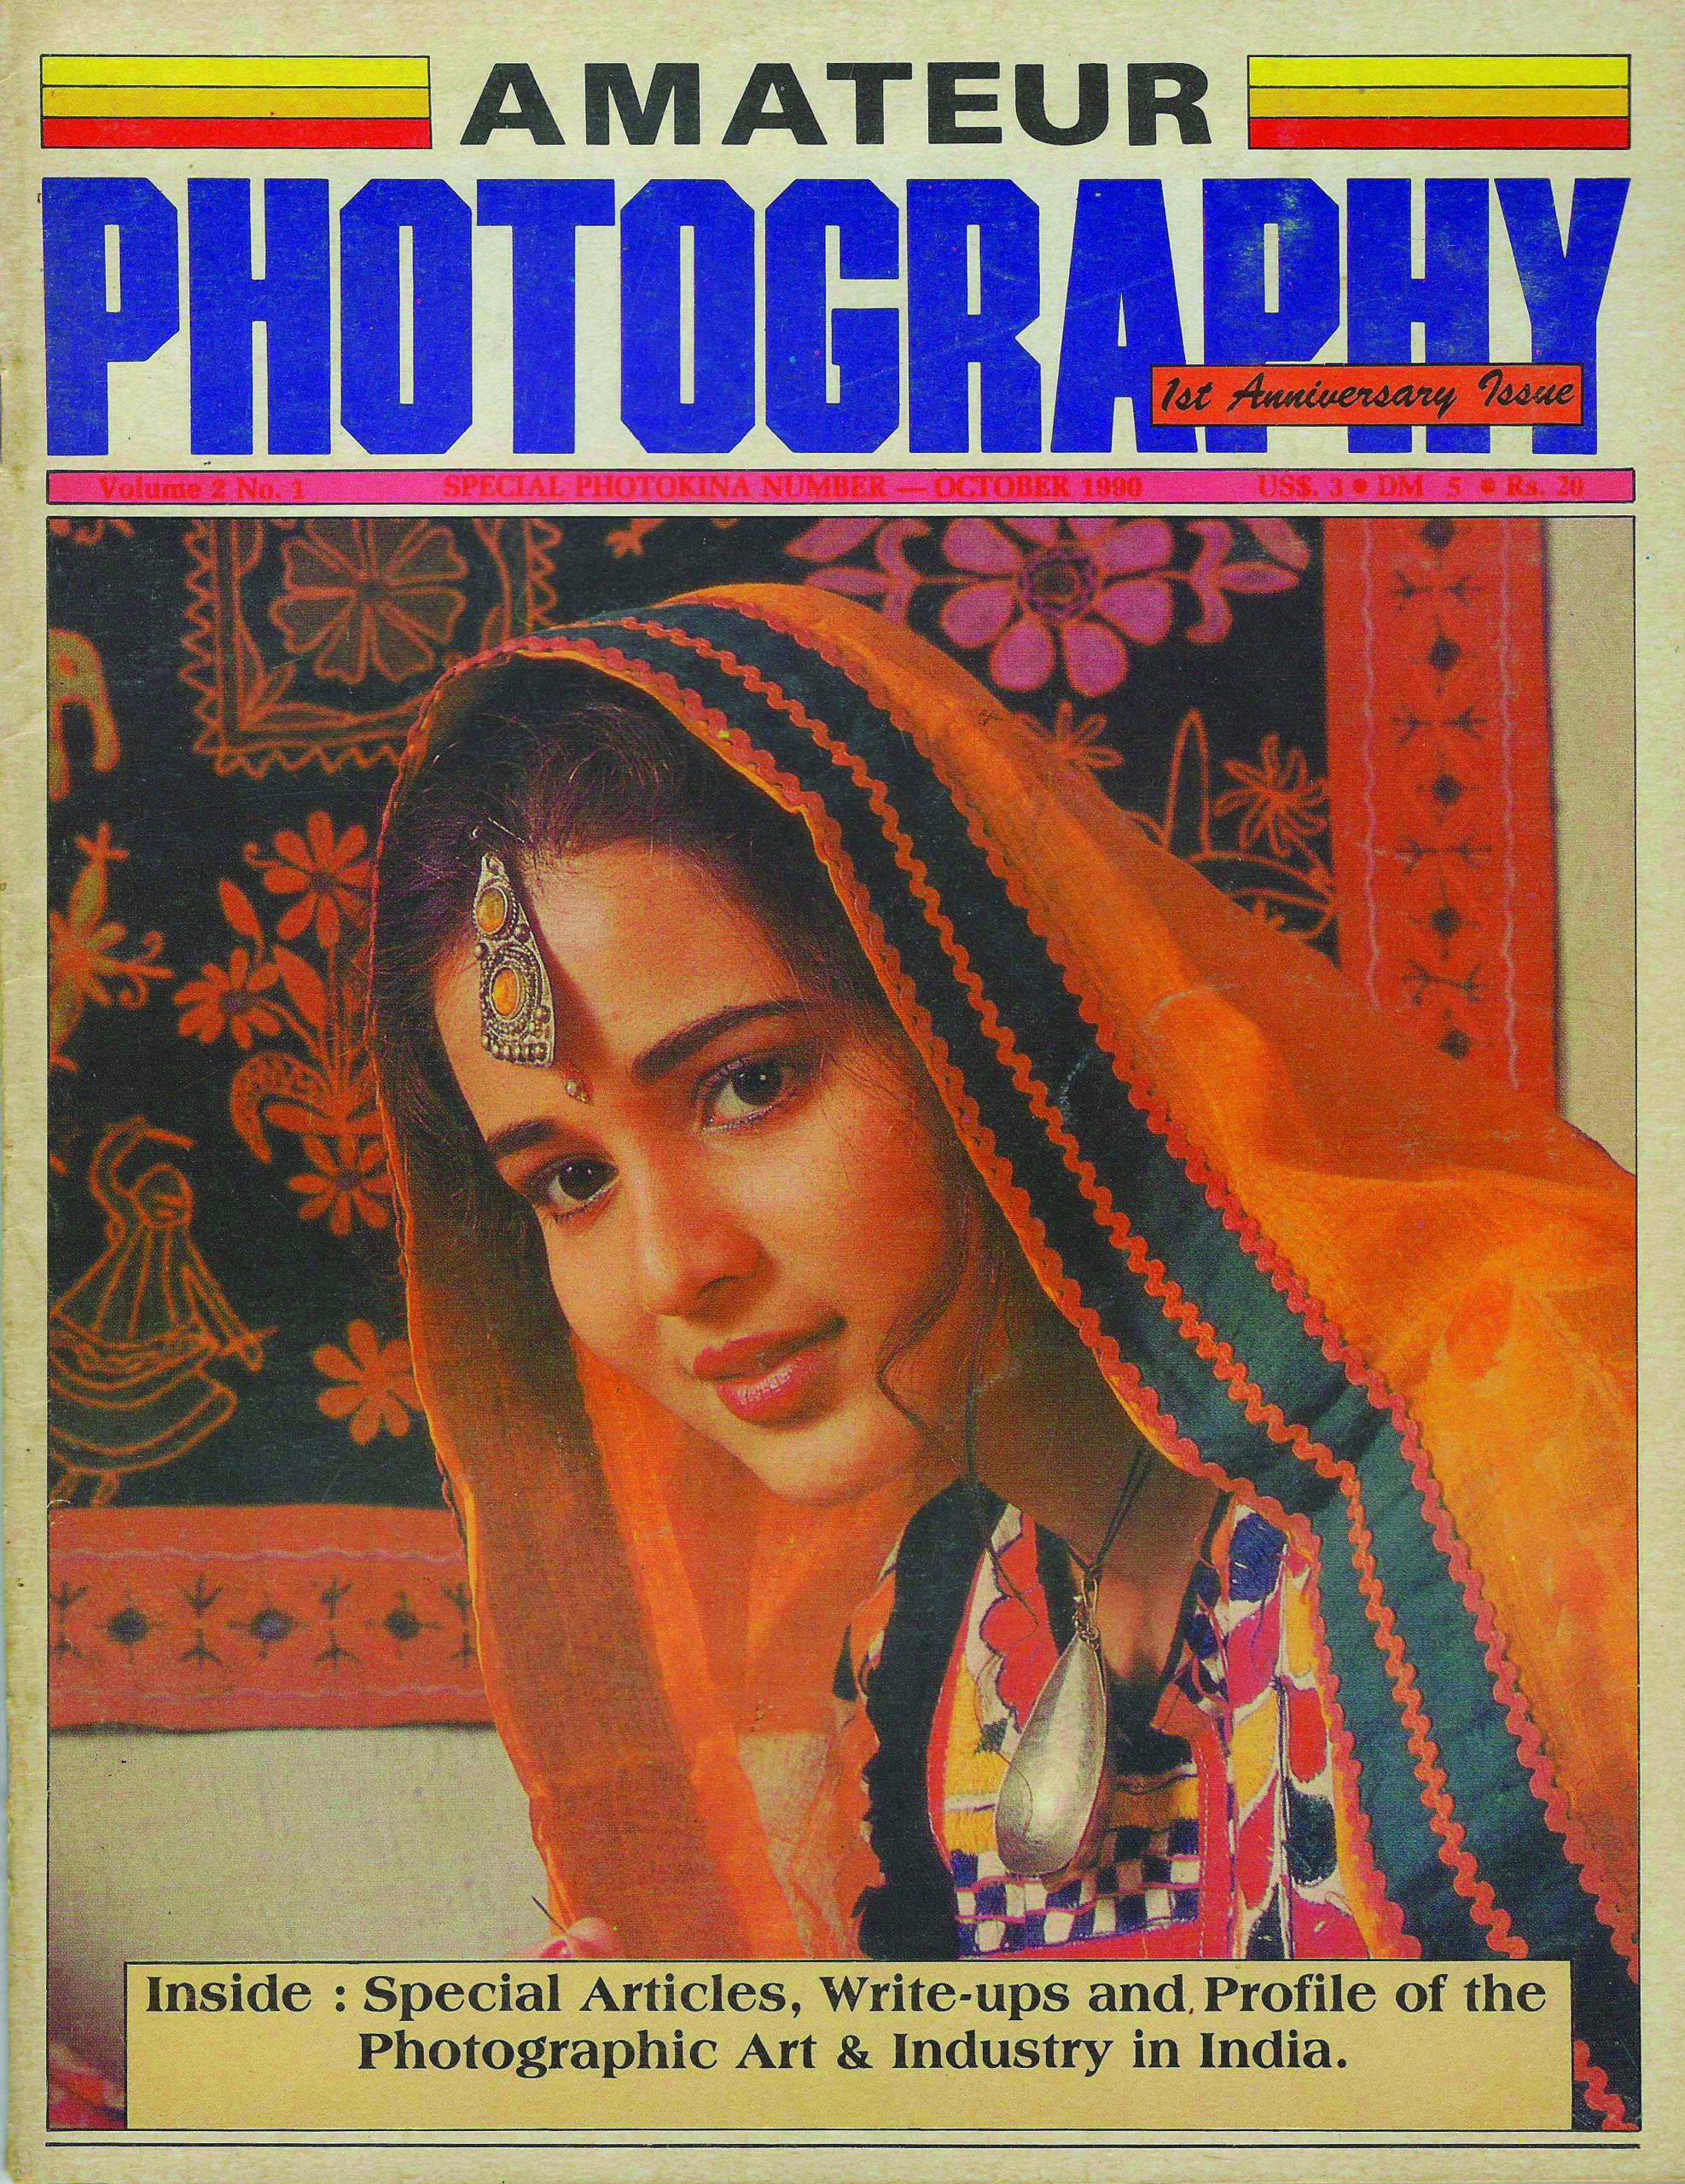
Our first anniversary issue quietly planted the seeds of what Asian Photography would eventually become. While modest in appearance, it symbolised survival, intent and the belief that photography in India deserved a dedicated, serious platform.
November 1990
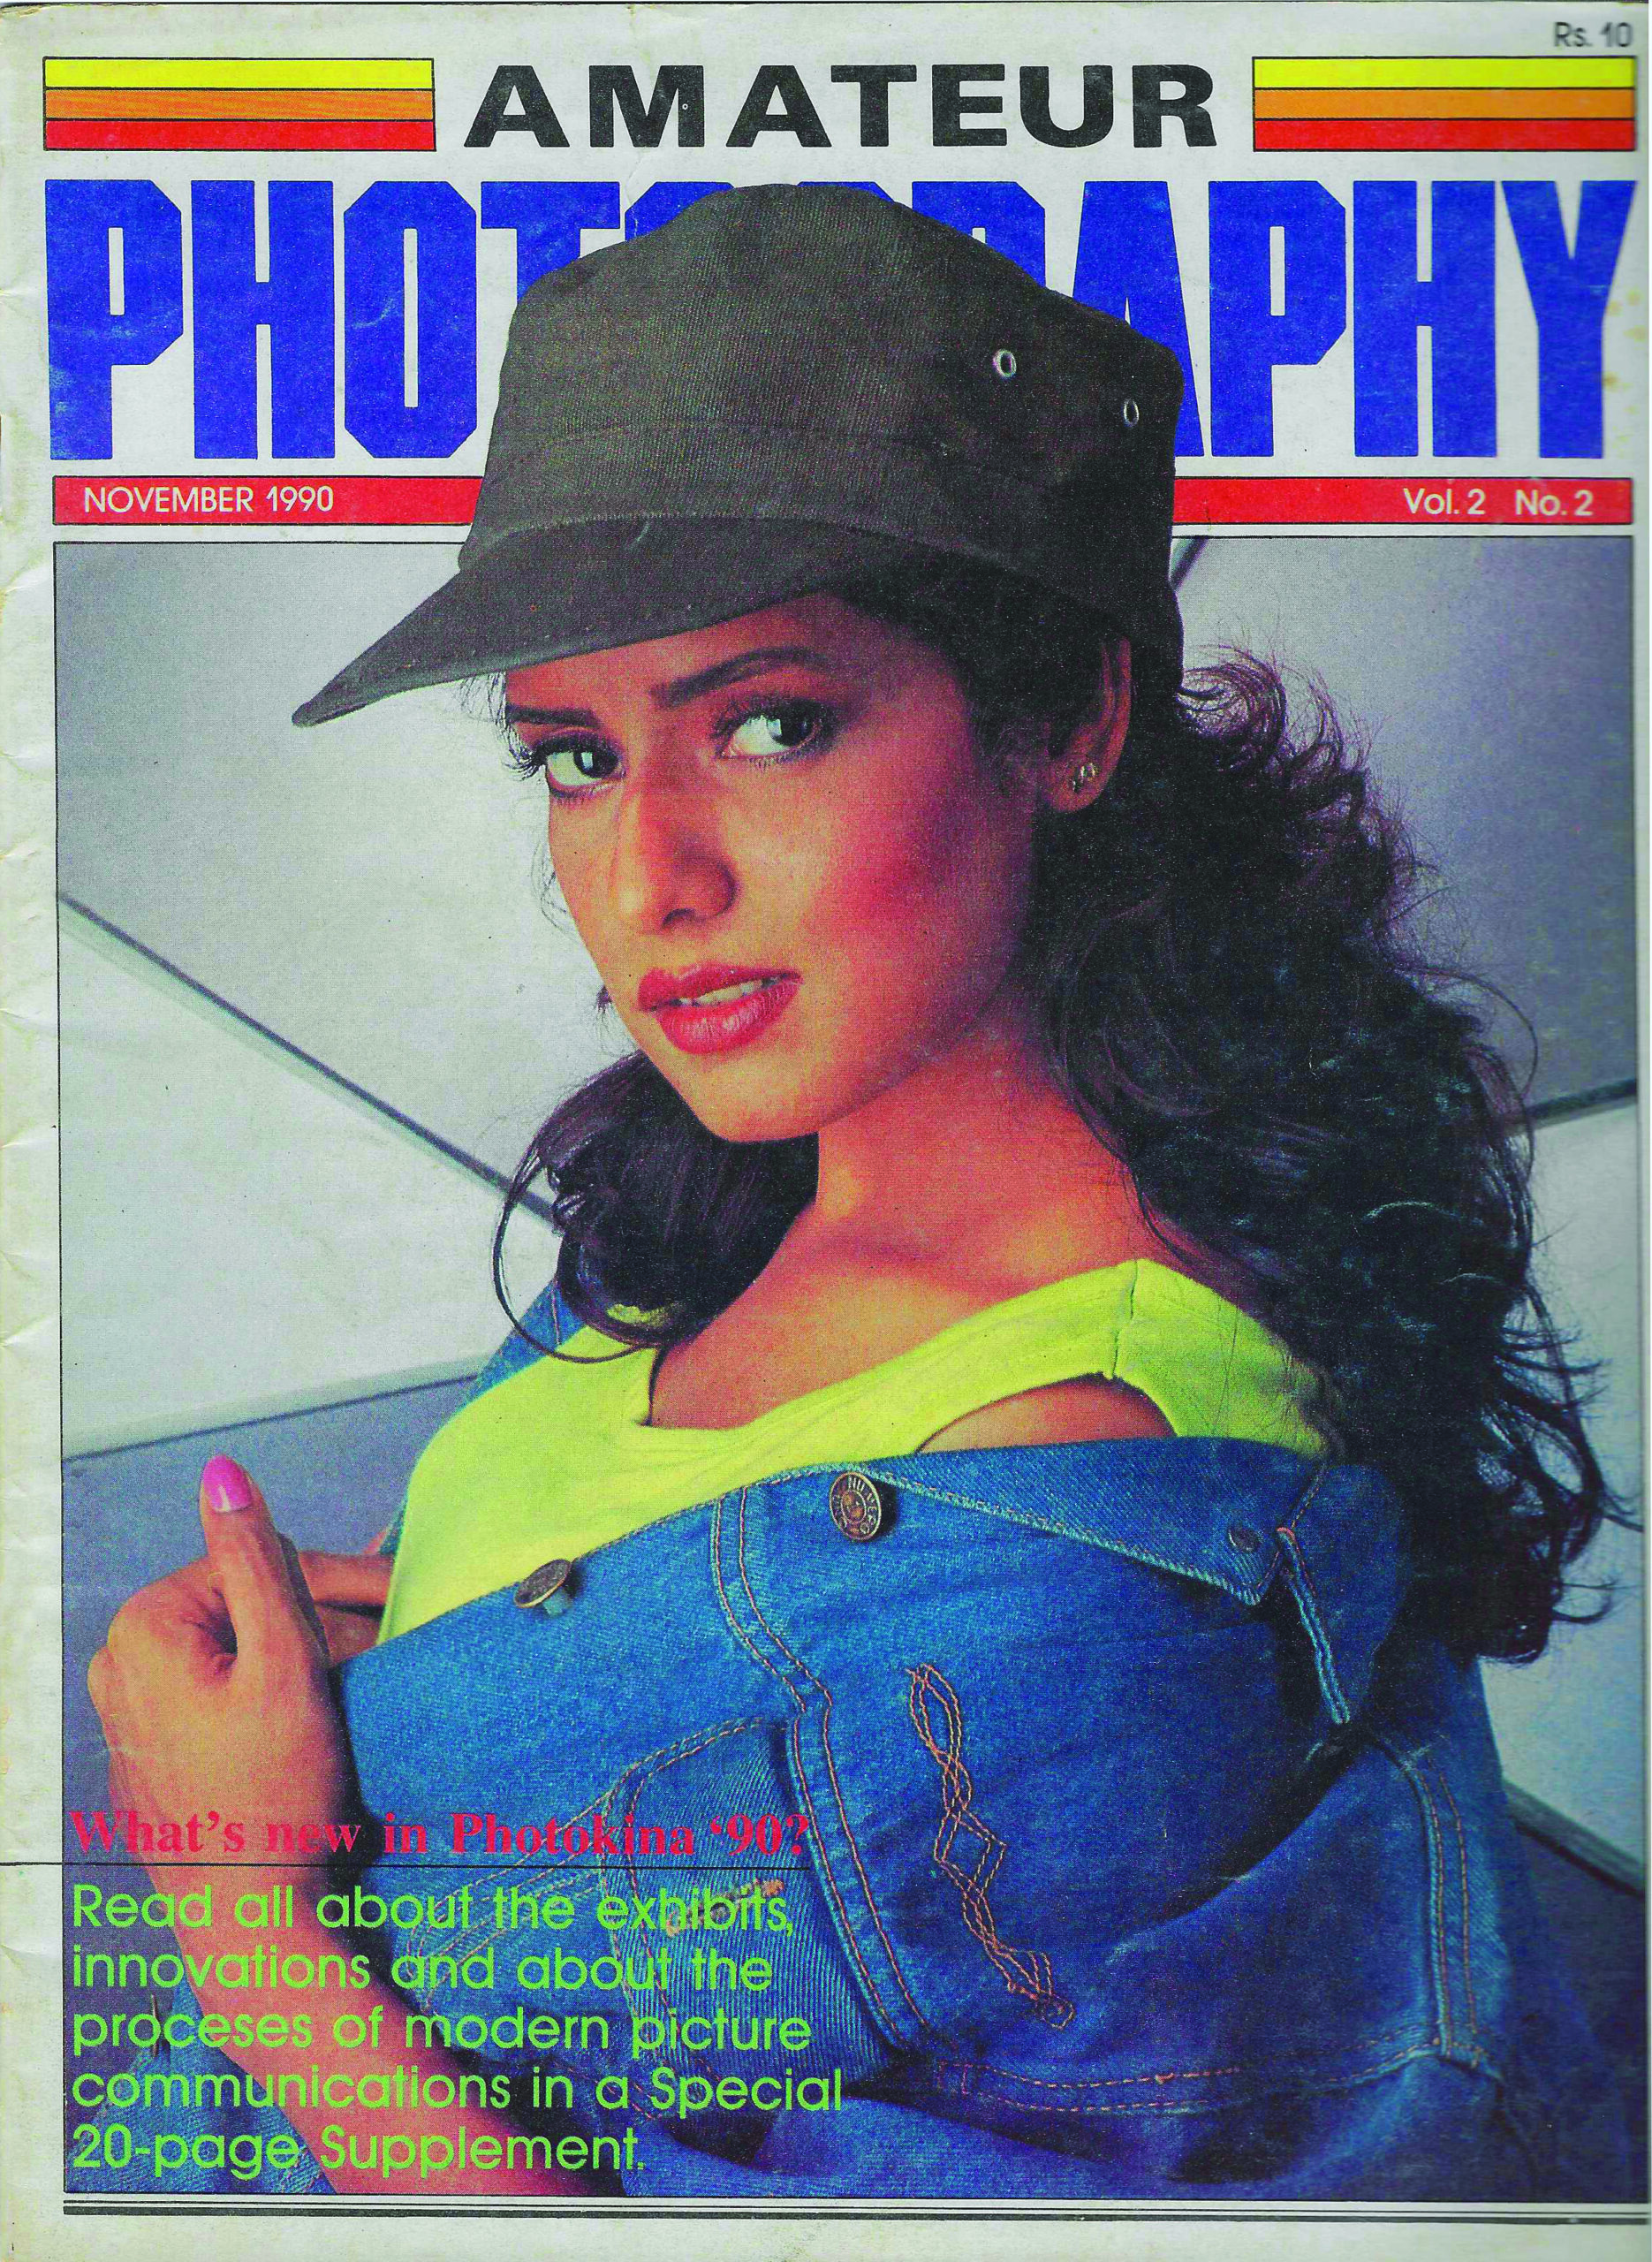
Pure nostalgia. The 14th issue embodied the visual language of the 90s—dramatic, stylised and unmistakably influenced by Bollywood aesthetics. It feels like a still from a Hindi film song sequence and today stands as a time capsule of an era.
December 1990
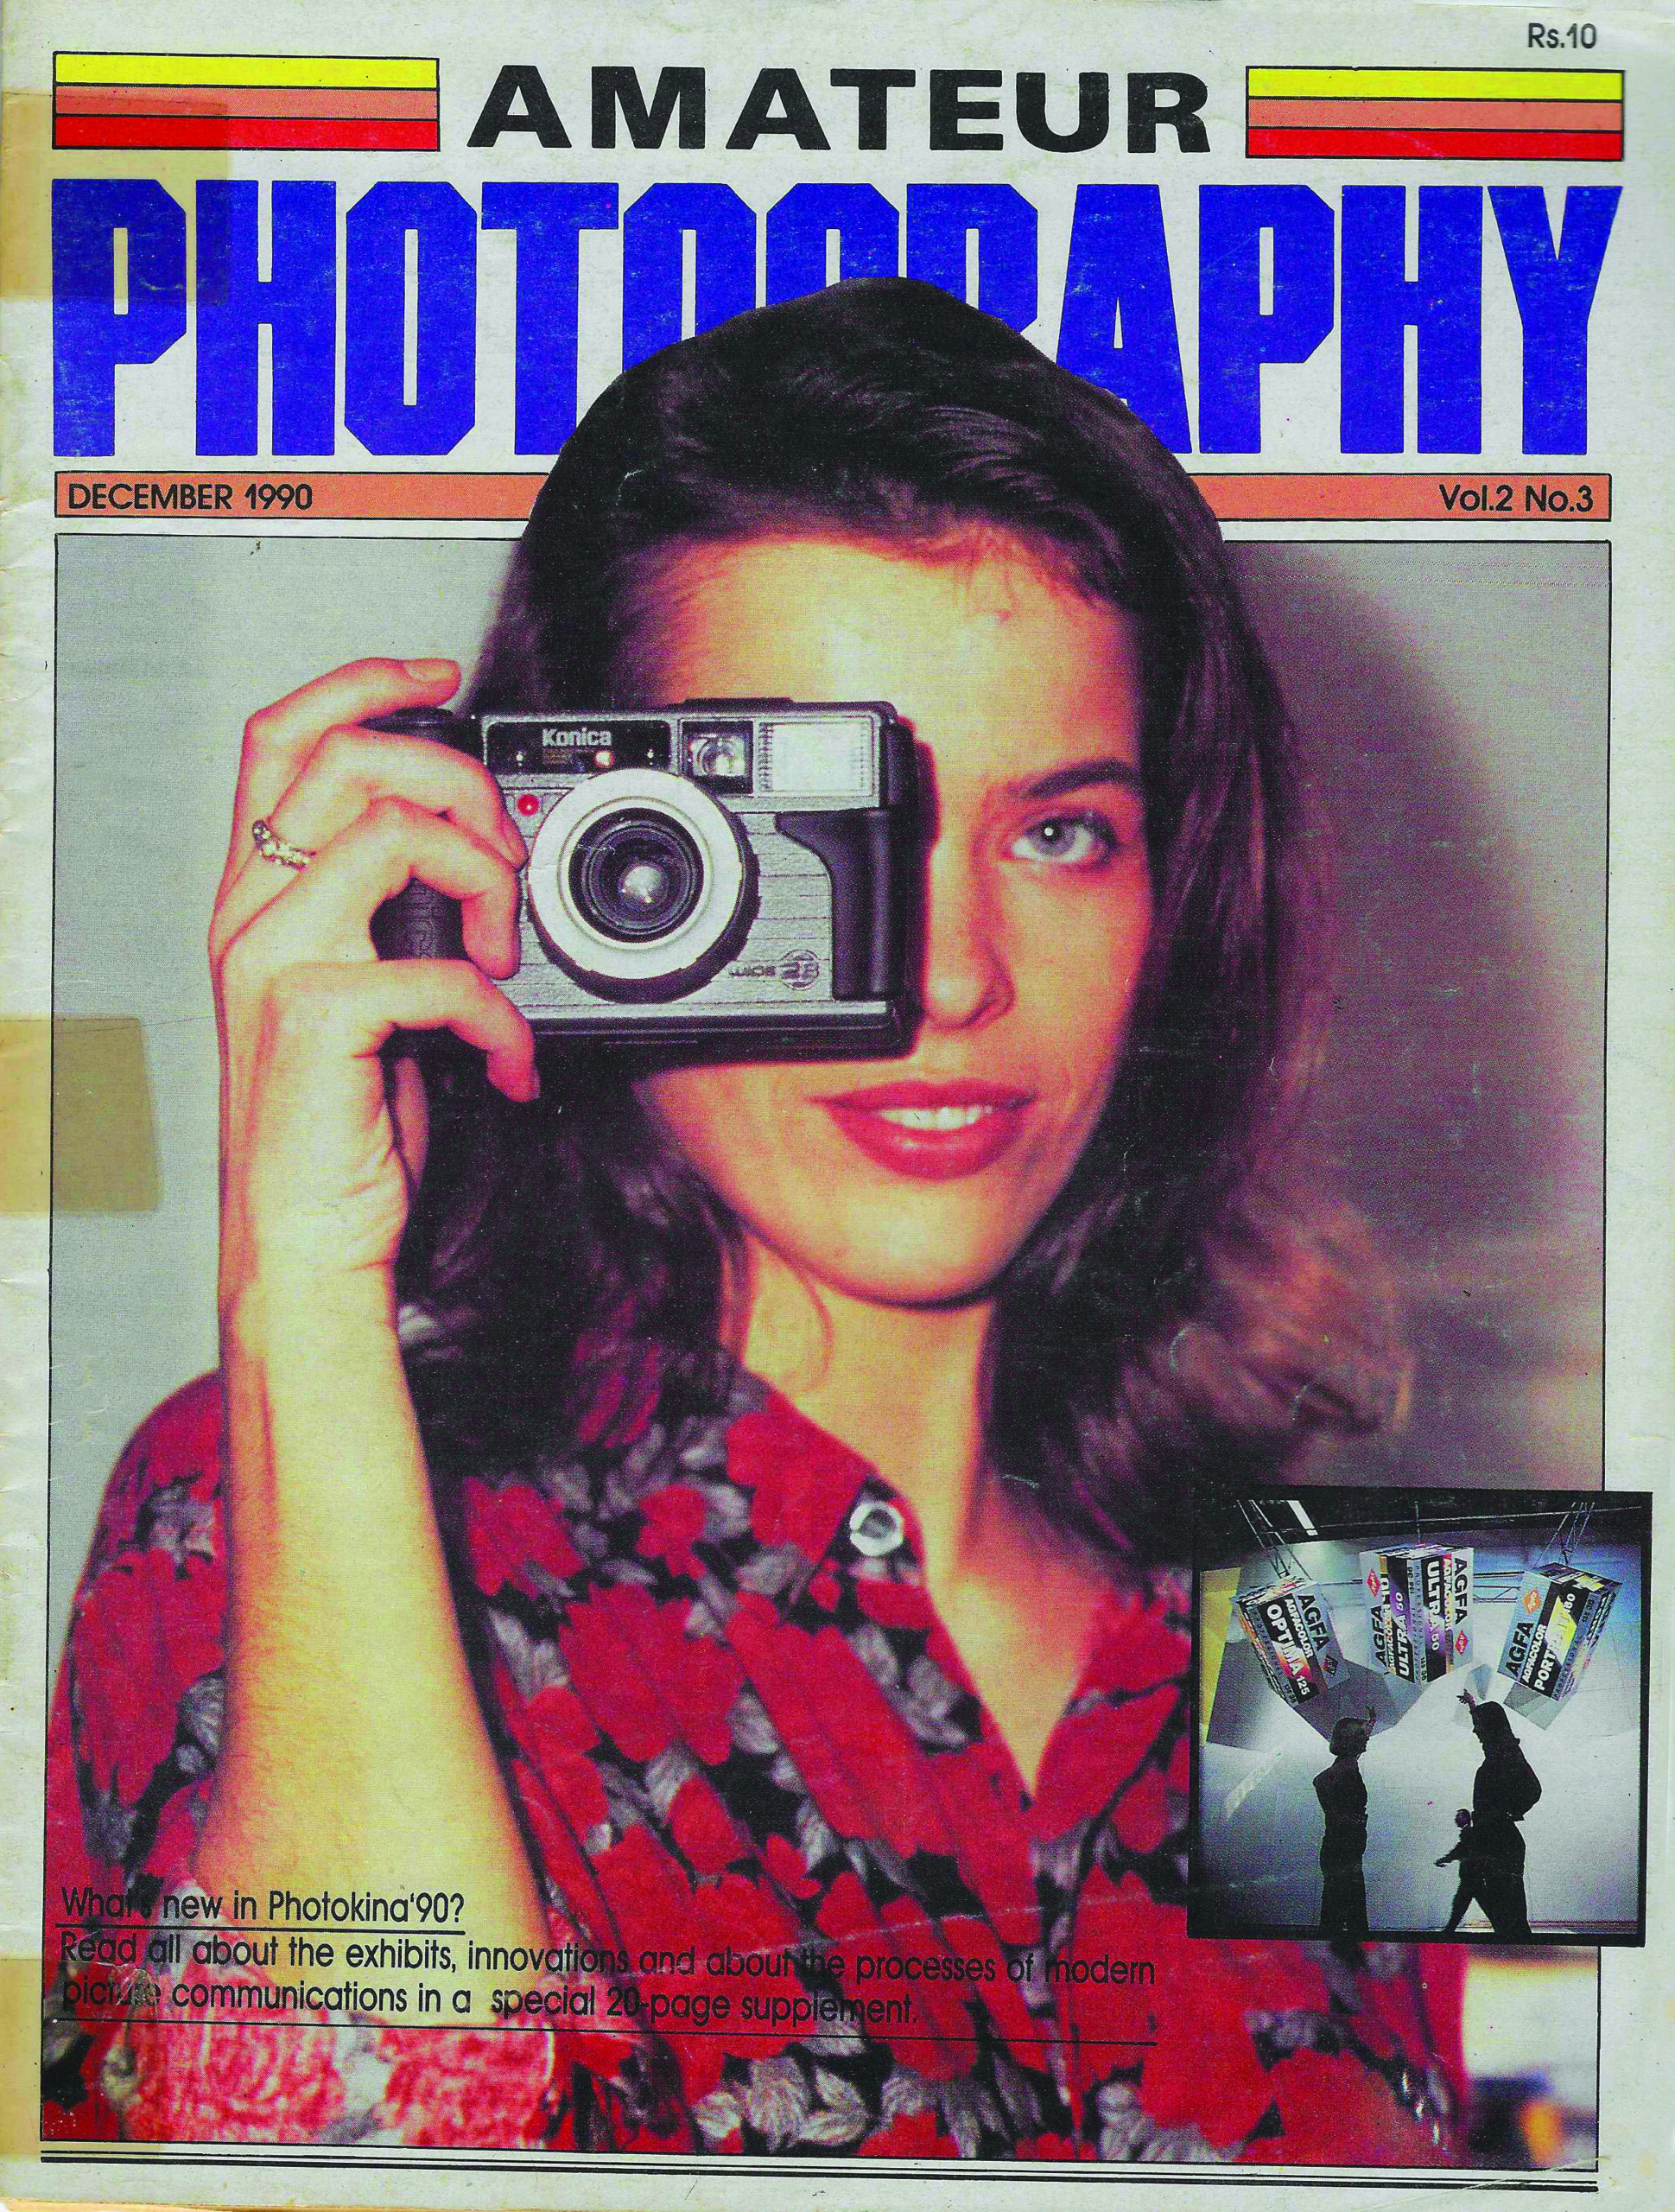
This cover earns its place for two reasons. First, it closed out the magazine’s formative year. Second—and more importantly—it marked the first time a camera appeared on the cover.
The issue also featured a special article on Photokina 1990, one of the world’s largest photography fairs, in those days—where Asian Photography would later go on to publish a Show Daily—further cementing its international footprint.
June 1996

Due to the devastating Mumbai floods of 2005, several archival issues were lost, making it difficult to pinpoint exactly when Amateur Photography became Asian Photography. However, this cover is among the first to feature the new masthead—and a change at that—lowercase, distinctive and modern.
Featuring the work of Ajit Patel, this nature-focused cover also marked a visual evolution in how the magazine presented photography.
January 1997
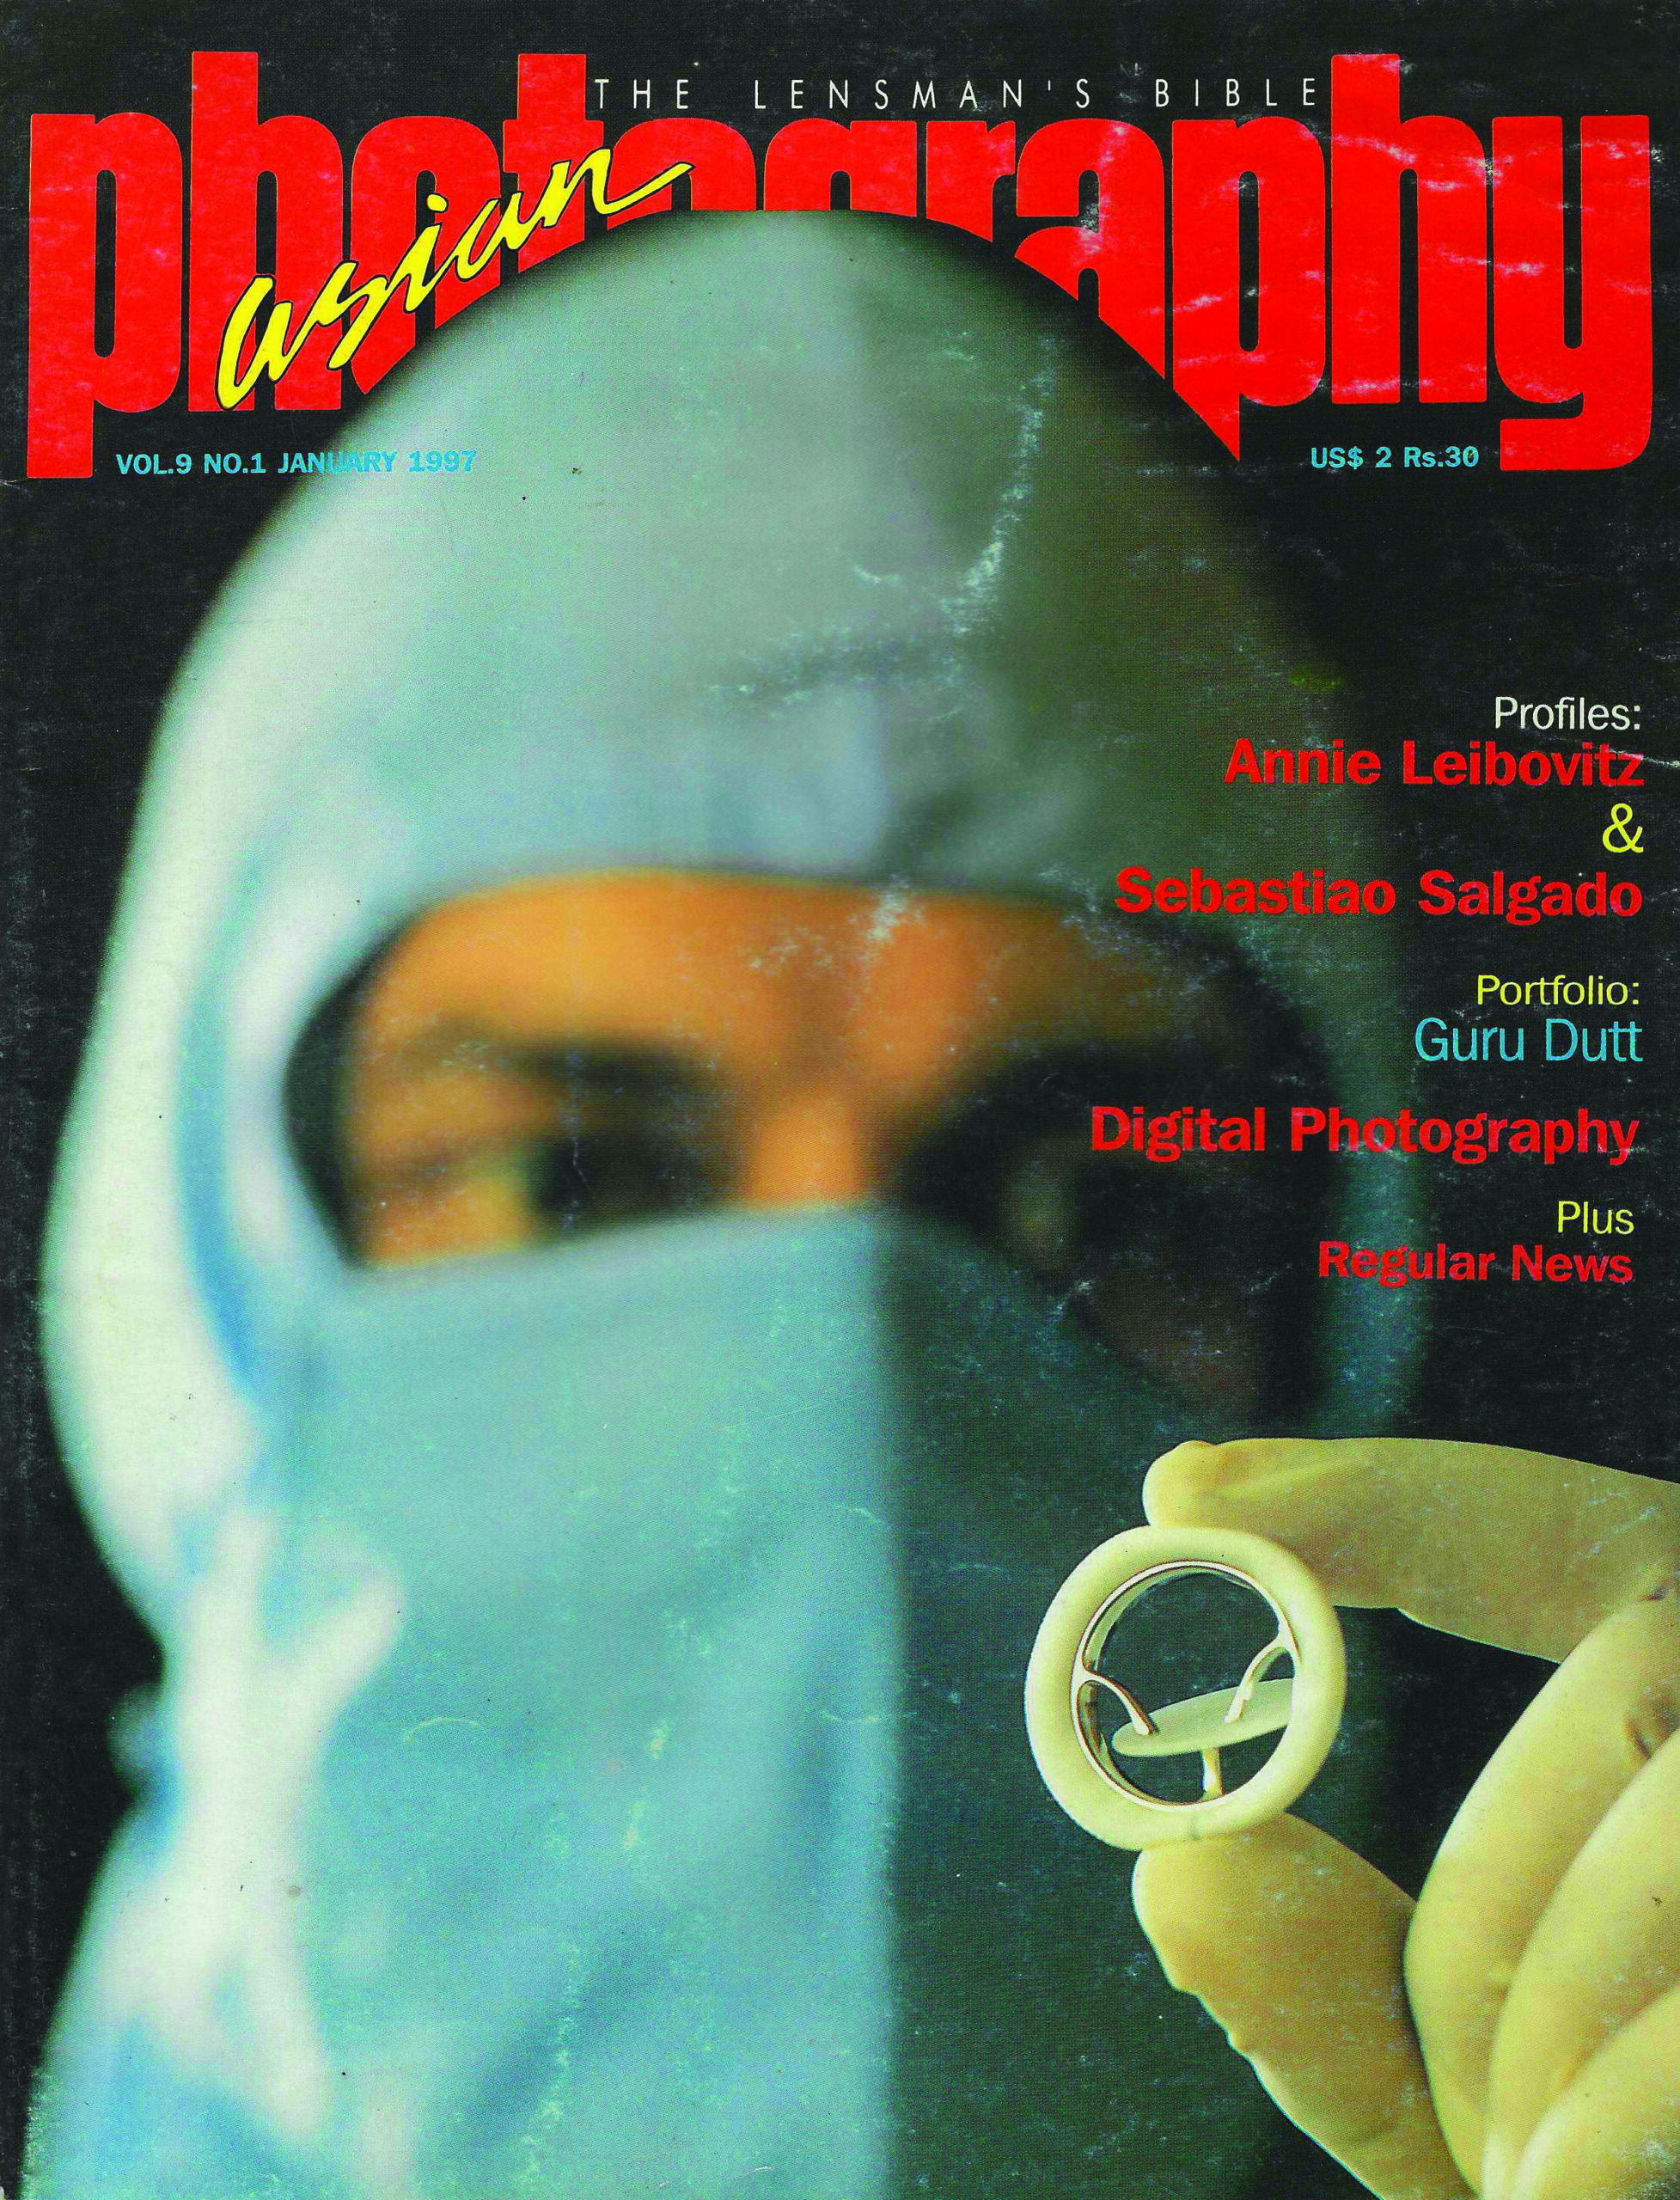
An extraordinary issue featuring interviews with two legends—Annie Leibovitz and Sebastião Salgado. From Hollywood portraiture to deeply human documentary work in Mumbai, this issue represented the global breadth photography could achieve.
And also cemented our access to global photographers.
March 1997
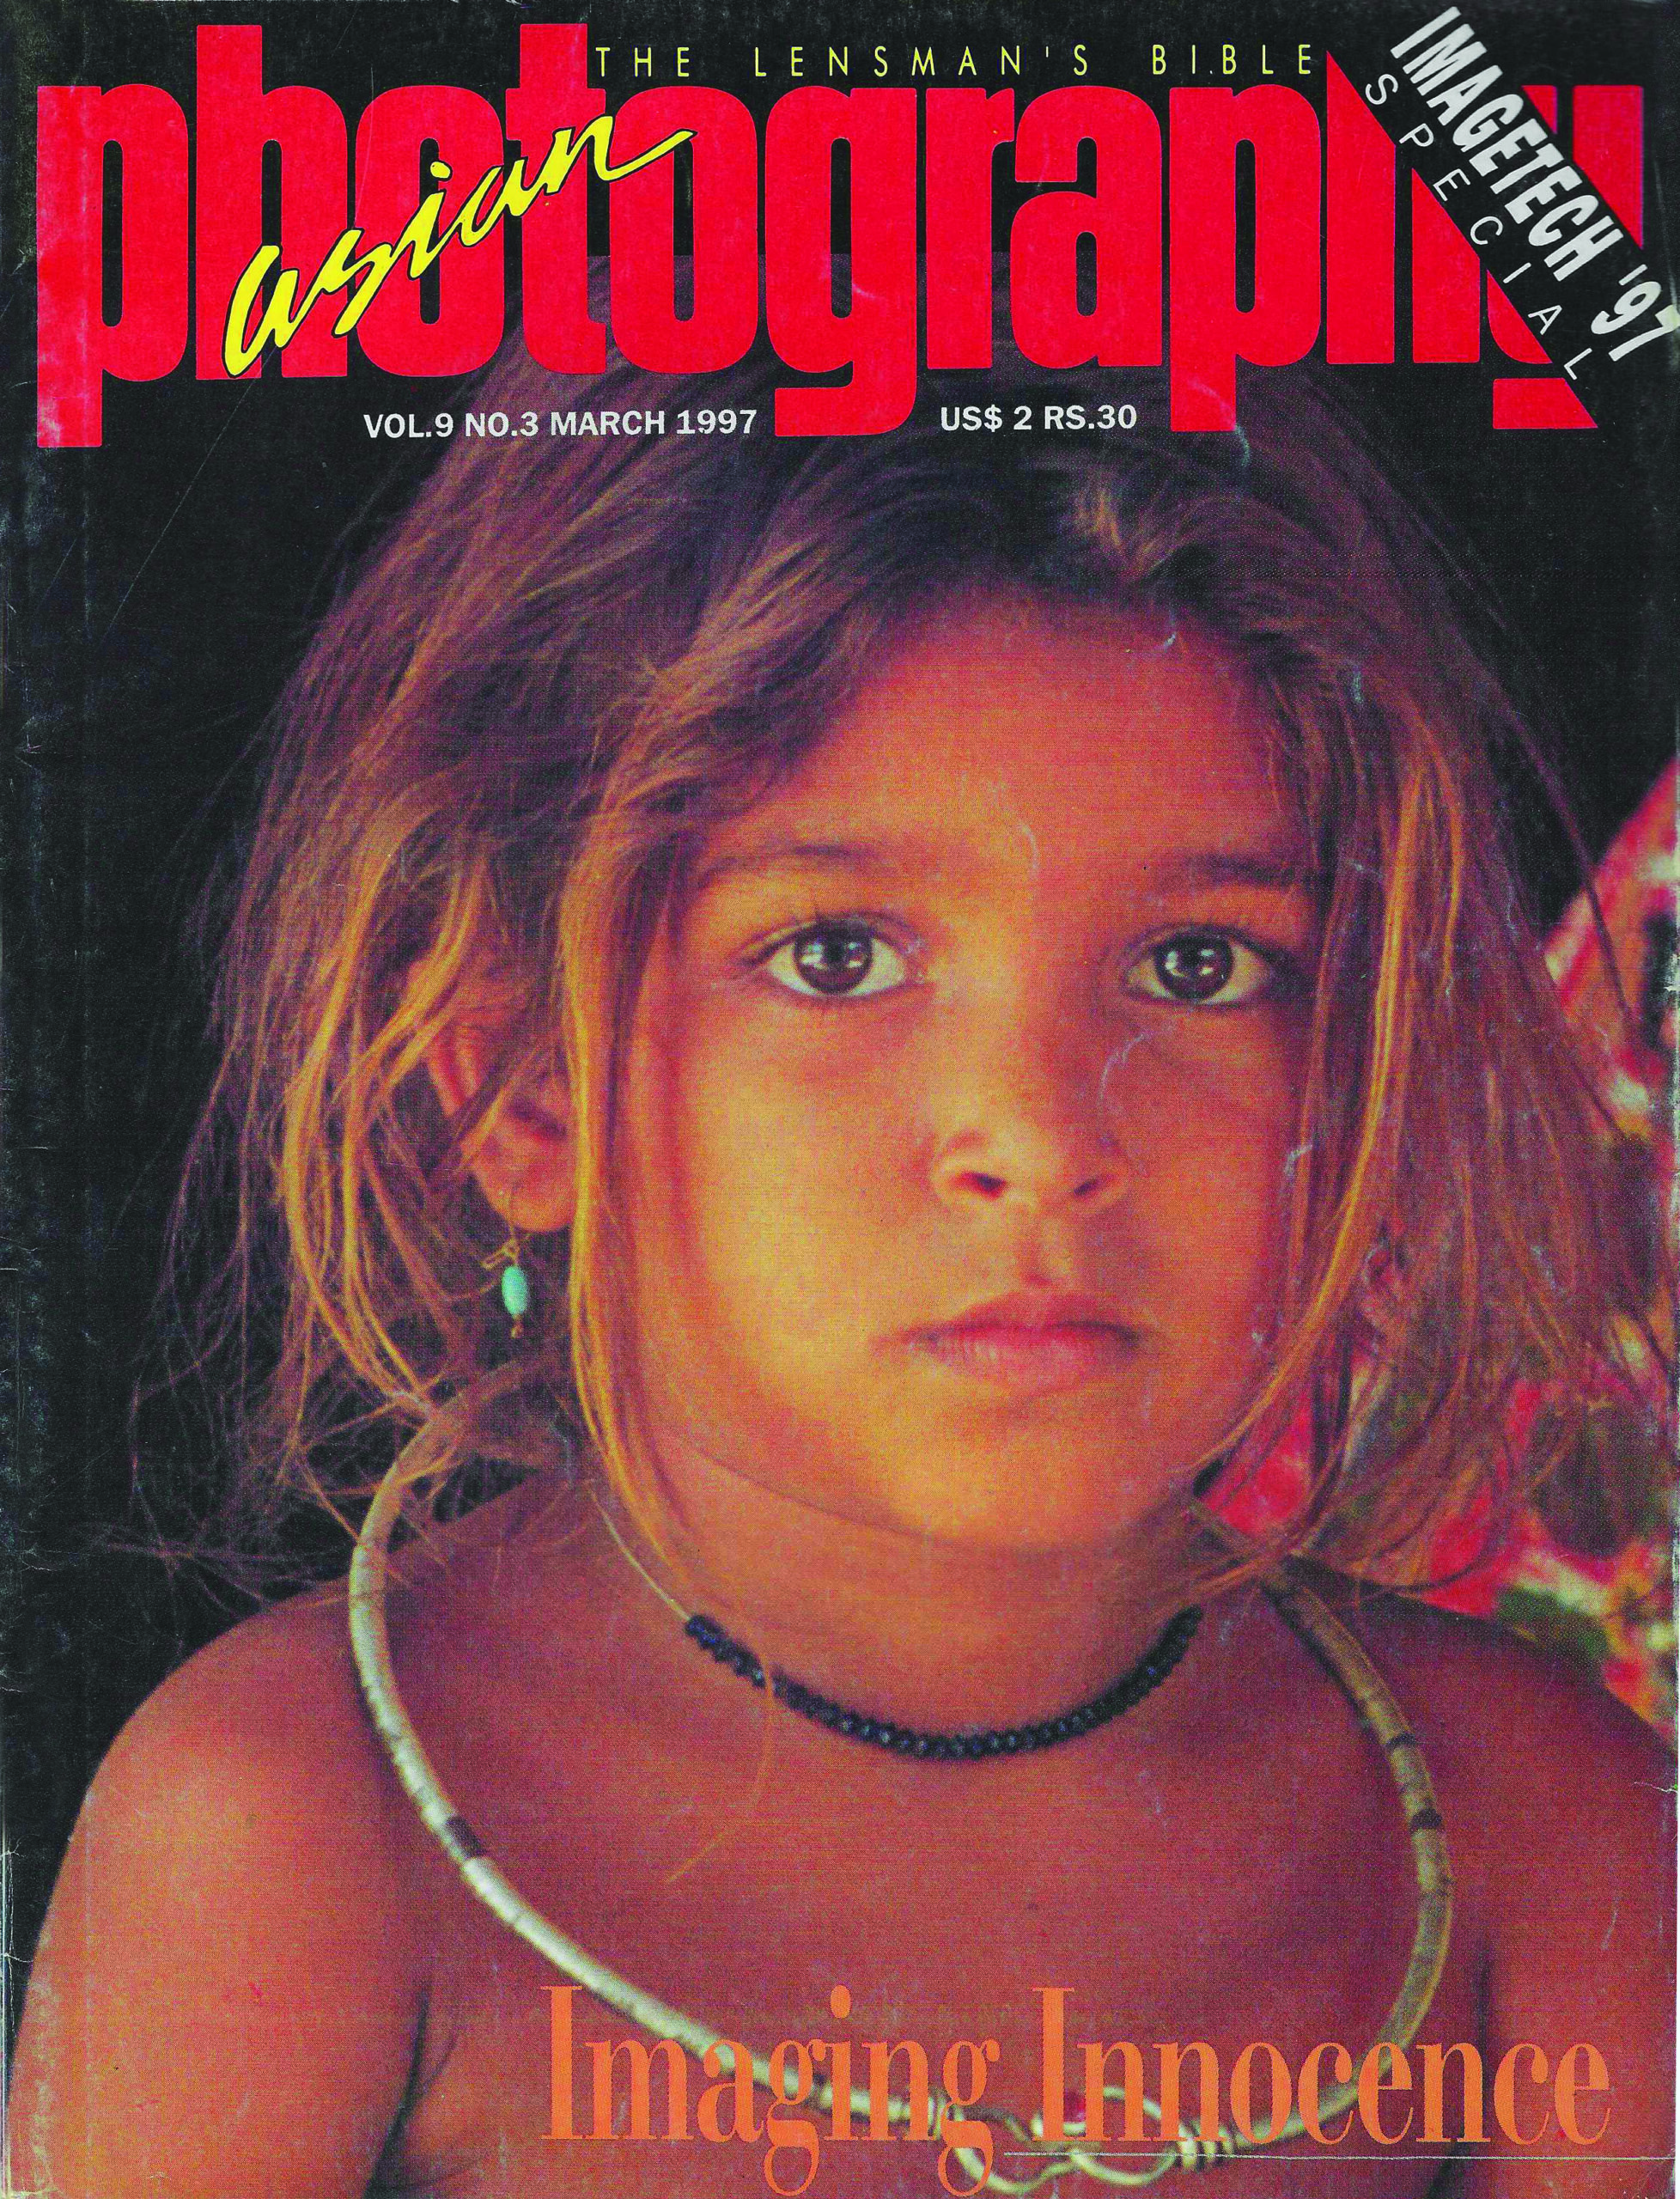
The late 90s marked structural change. The magazine’s price increased from ₹7 to ₹30, reflecting both rising costs and a maturing readership.
This issue also featured coverage of ImageTech 1997—an immensely popular exhibition organised by Asian Photography itself—demonstrating the brand’s growing role beyond print.
July 1997
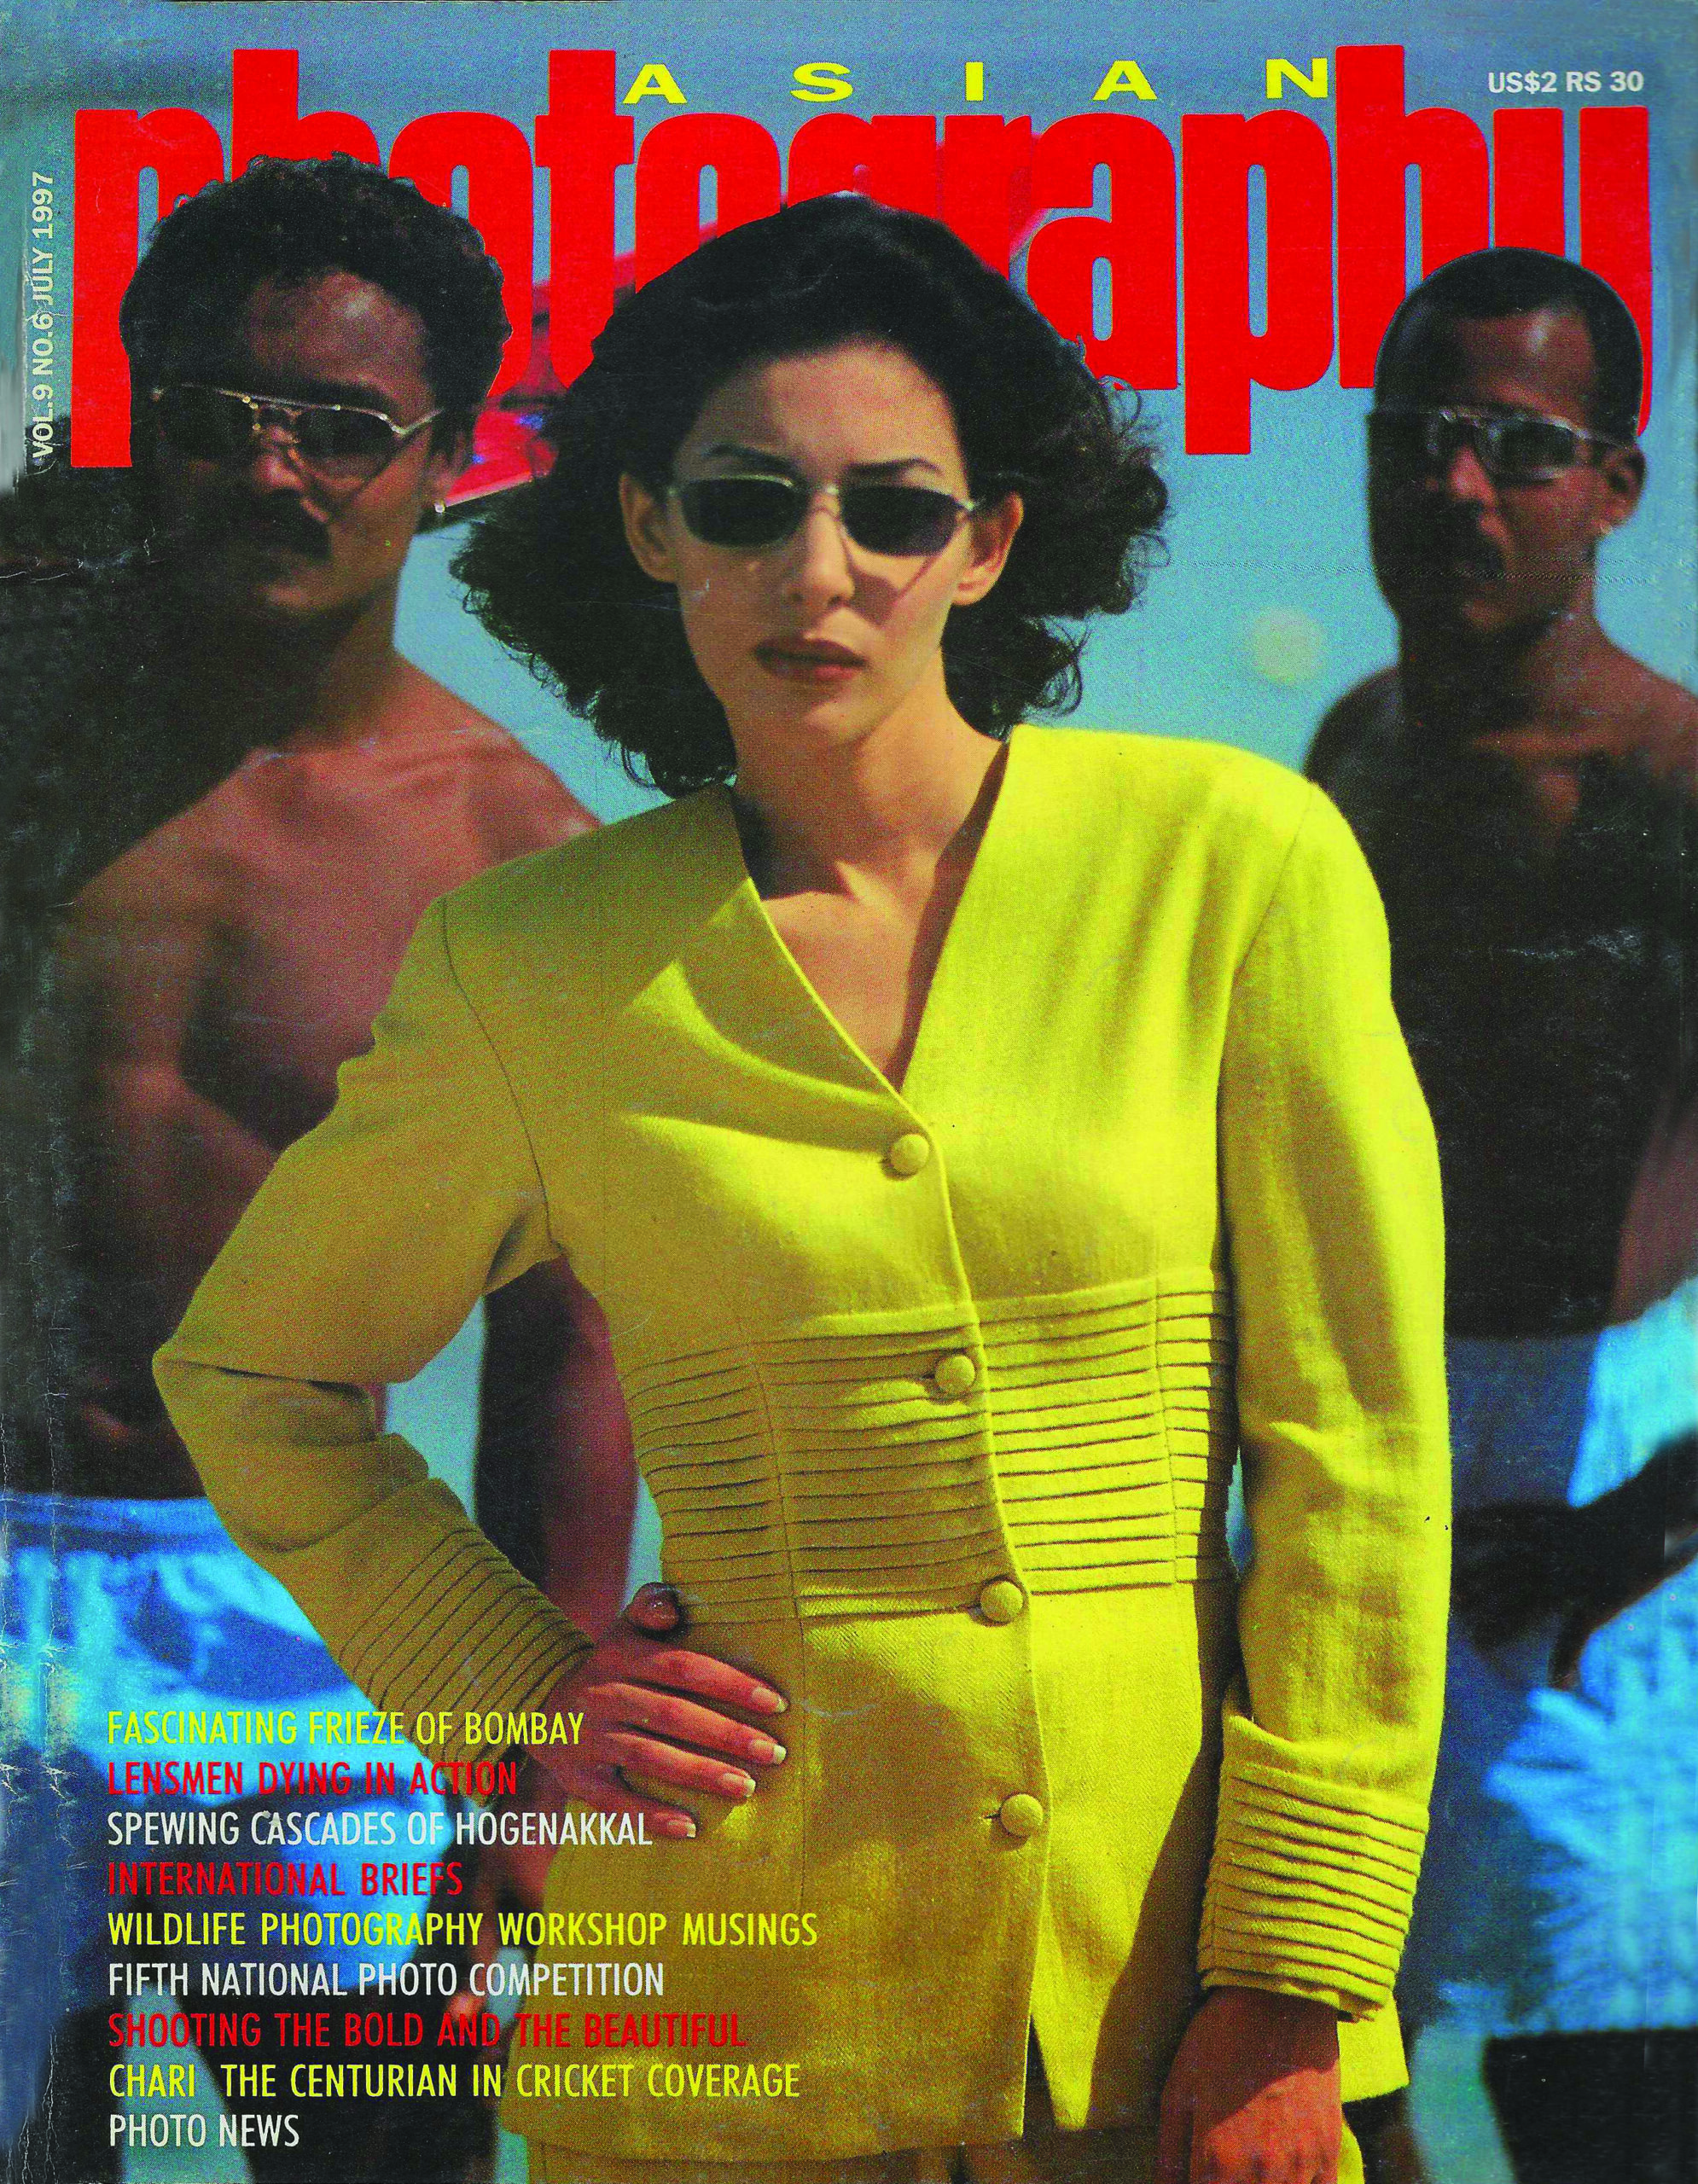
A significant visual shift. This issue introduced the first version of the masthead resembling today’s logo. The earlier design had not resonated with readers and the change reflected the magazine’s willingness to listen, adapt and evolve.
And as we would find out later—this became the iconic look of the magazine for years to come.
June 2000 & February 2001

Few debates in photography have been as polarising as analogue versus digital—and Asian Photography documented it in real time.
The February 2001 cover famously placed an SLR and a digital camera side by side. The digital camera was the Olympus E-10, boasting a then-impressive 4MP sensor. These covers now read like historical documents from the brink of a technological revolution.
But issues between 2000 and 2001 covered this topic immensely, highlighting the industry reservations and early adopters.
October 2005

By this time, the Wildlife Special had become a recognisable feature. But this cover—featuring a Cheetah and her cub staring straight into the lens—transcended the category. Shot by celebrated photographer Daniel Cox, the image felt intimate, powerful and unforgettable.
December 2008

Nostalgia defines this cover. Featuring one of the magazine’s own writers, Sanya Sundar, the issue carried a step-by-step guide titled How a Girl Next Door Can Be Turned into a Cover Model.
Today, the innocence and simplicity of the concept feel almost radical in hindsight. And also, an intent to bring some of these ideas back may be?
January 2010
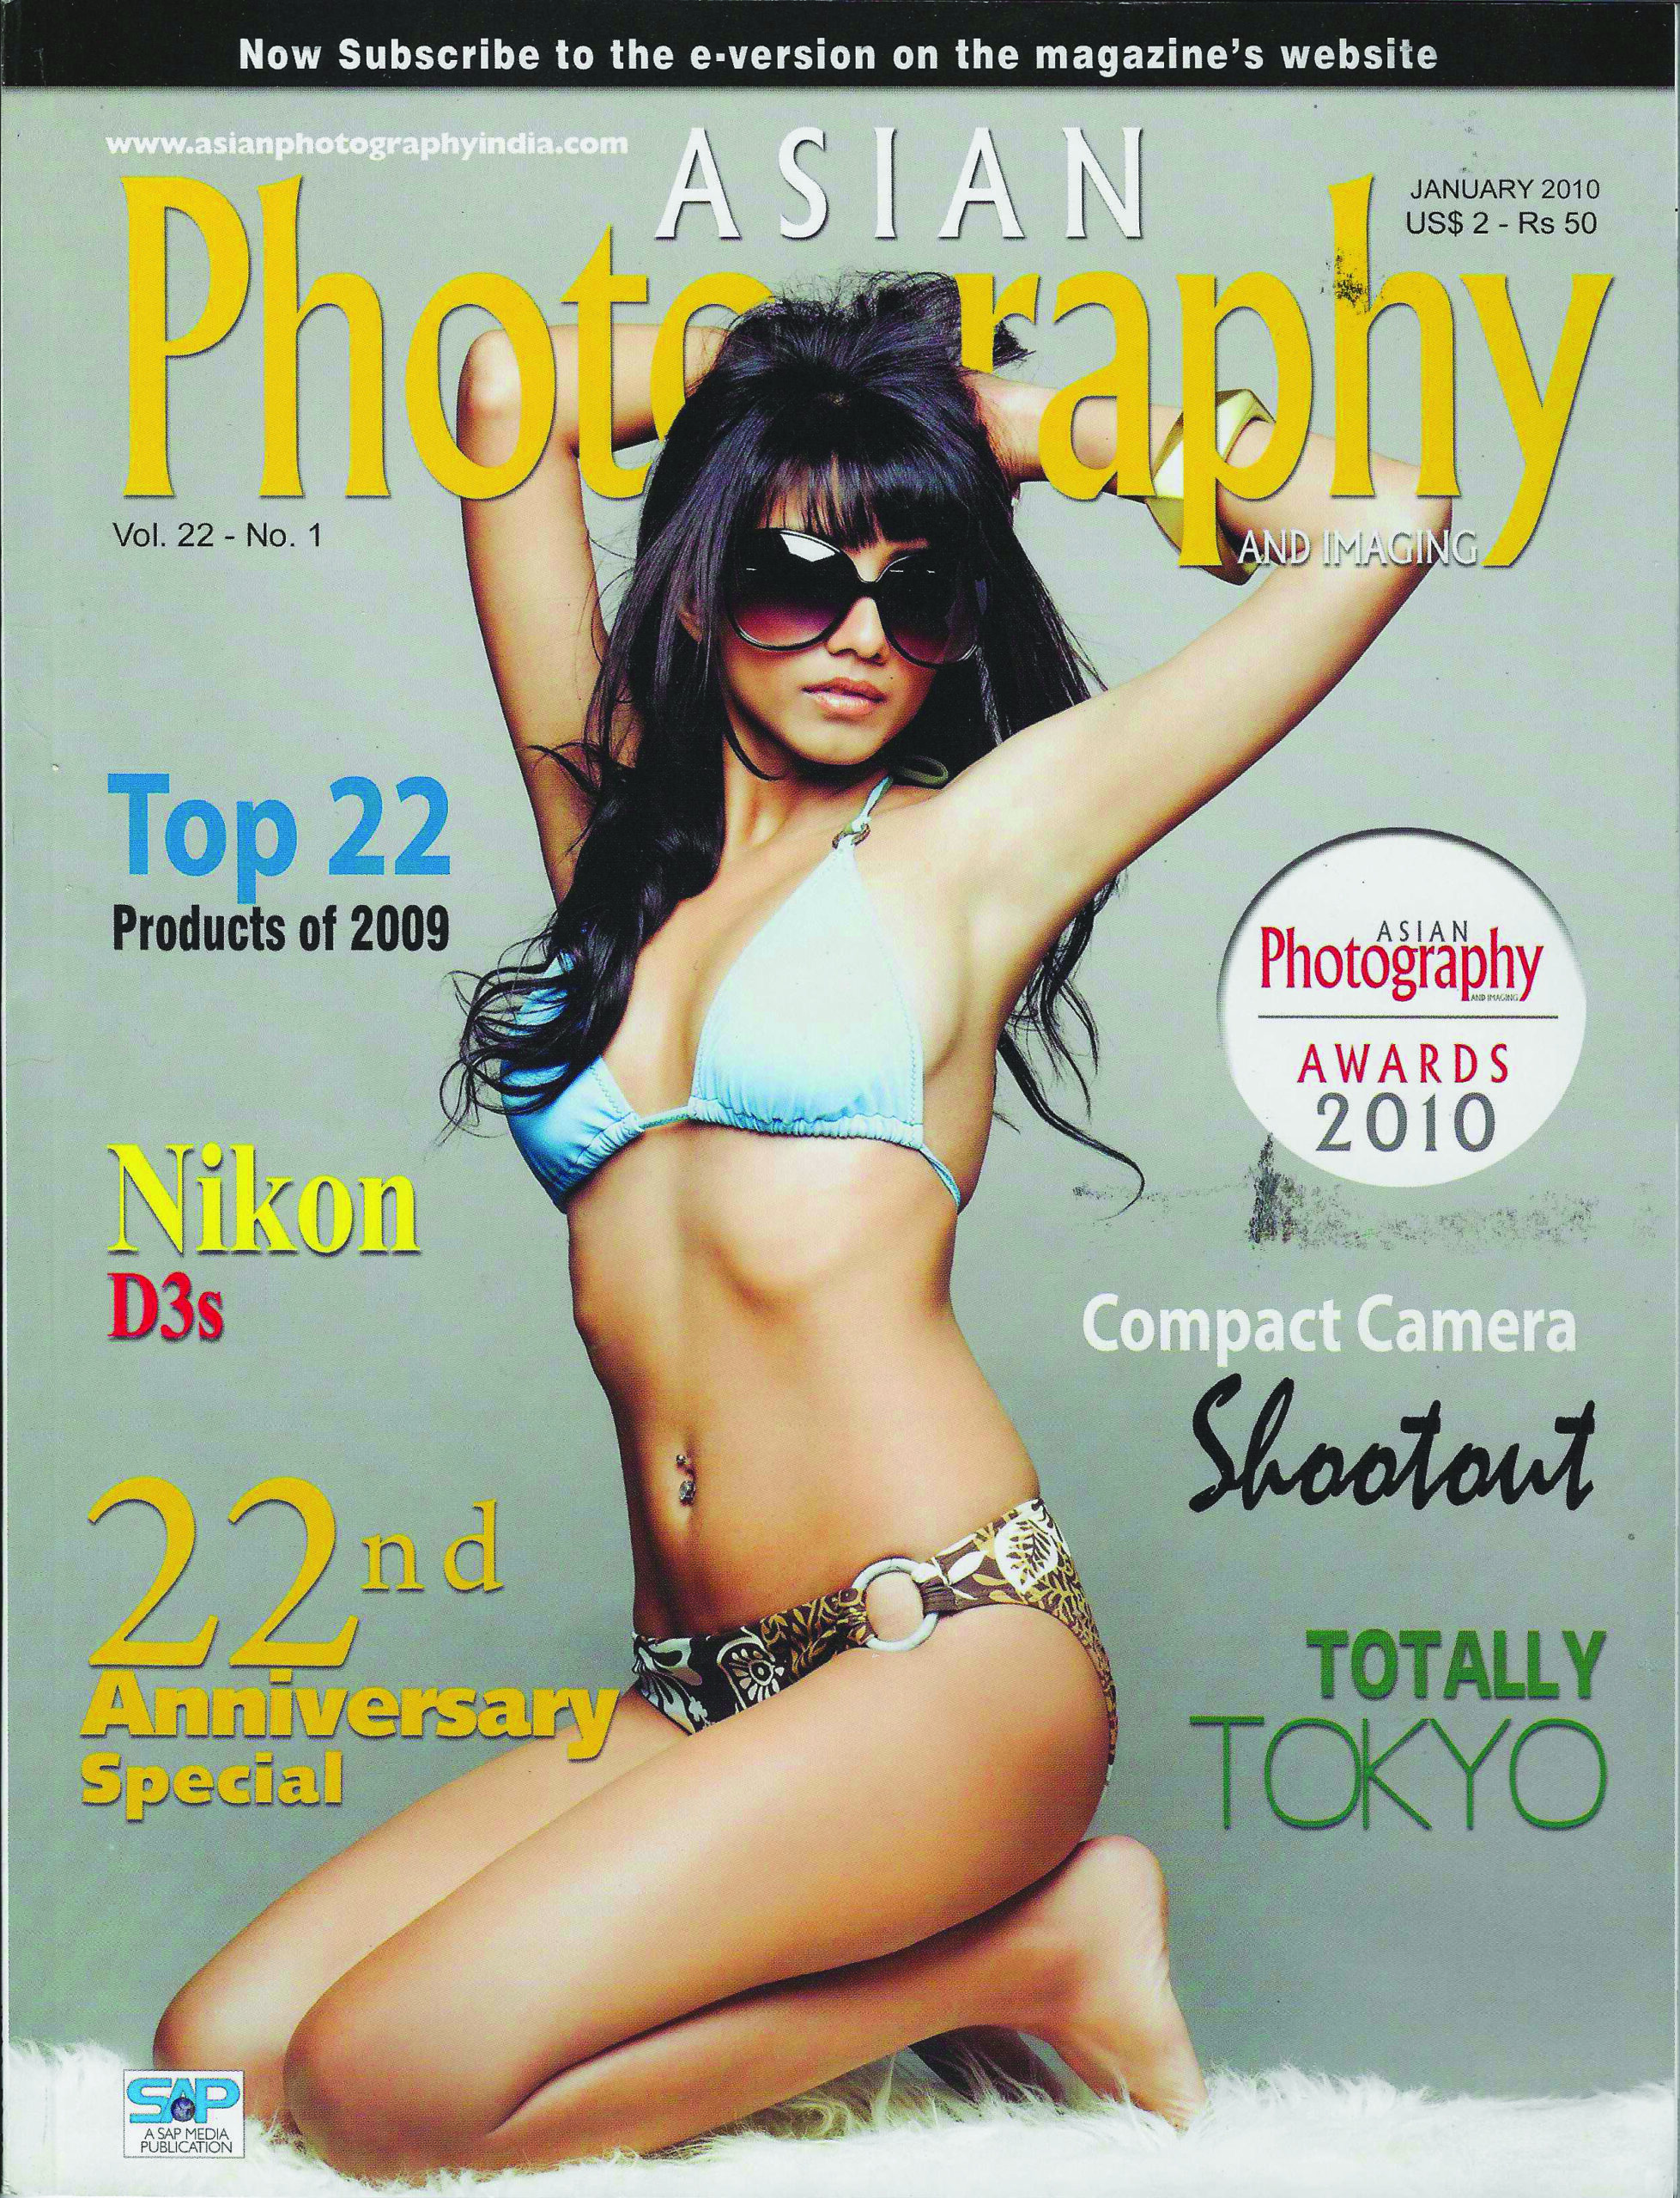
A turning point. This wasn’t just about bolder covers—but a year Asian Photography took the photography industry to television through the Asian Photography Awards 2010.
It marked a moment when photography stepped into the mainstream spotlight—and the first time that it was featured on CNBC.
December 2012
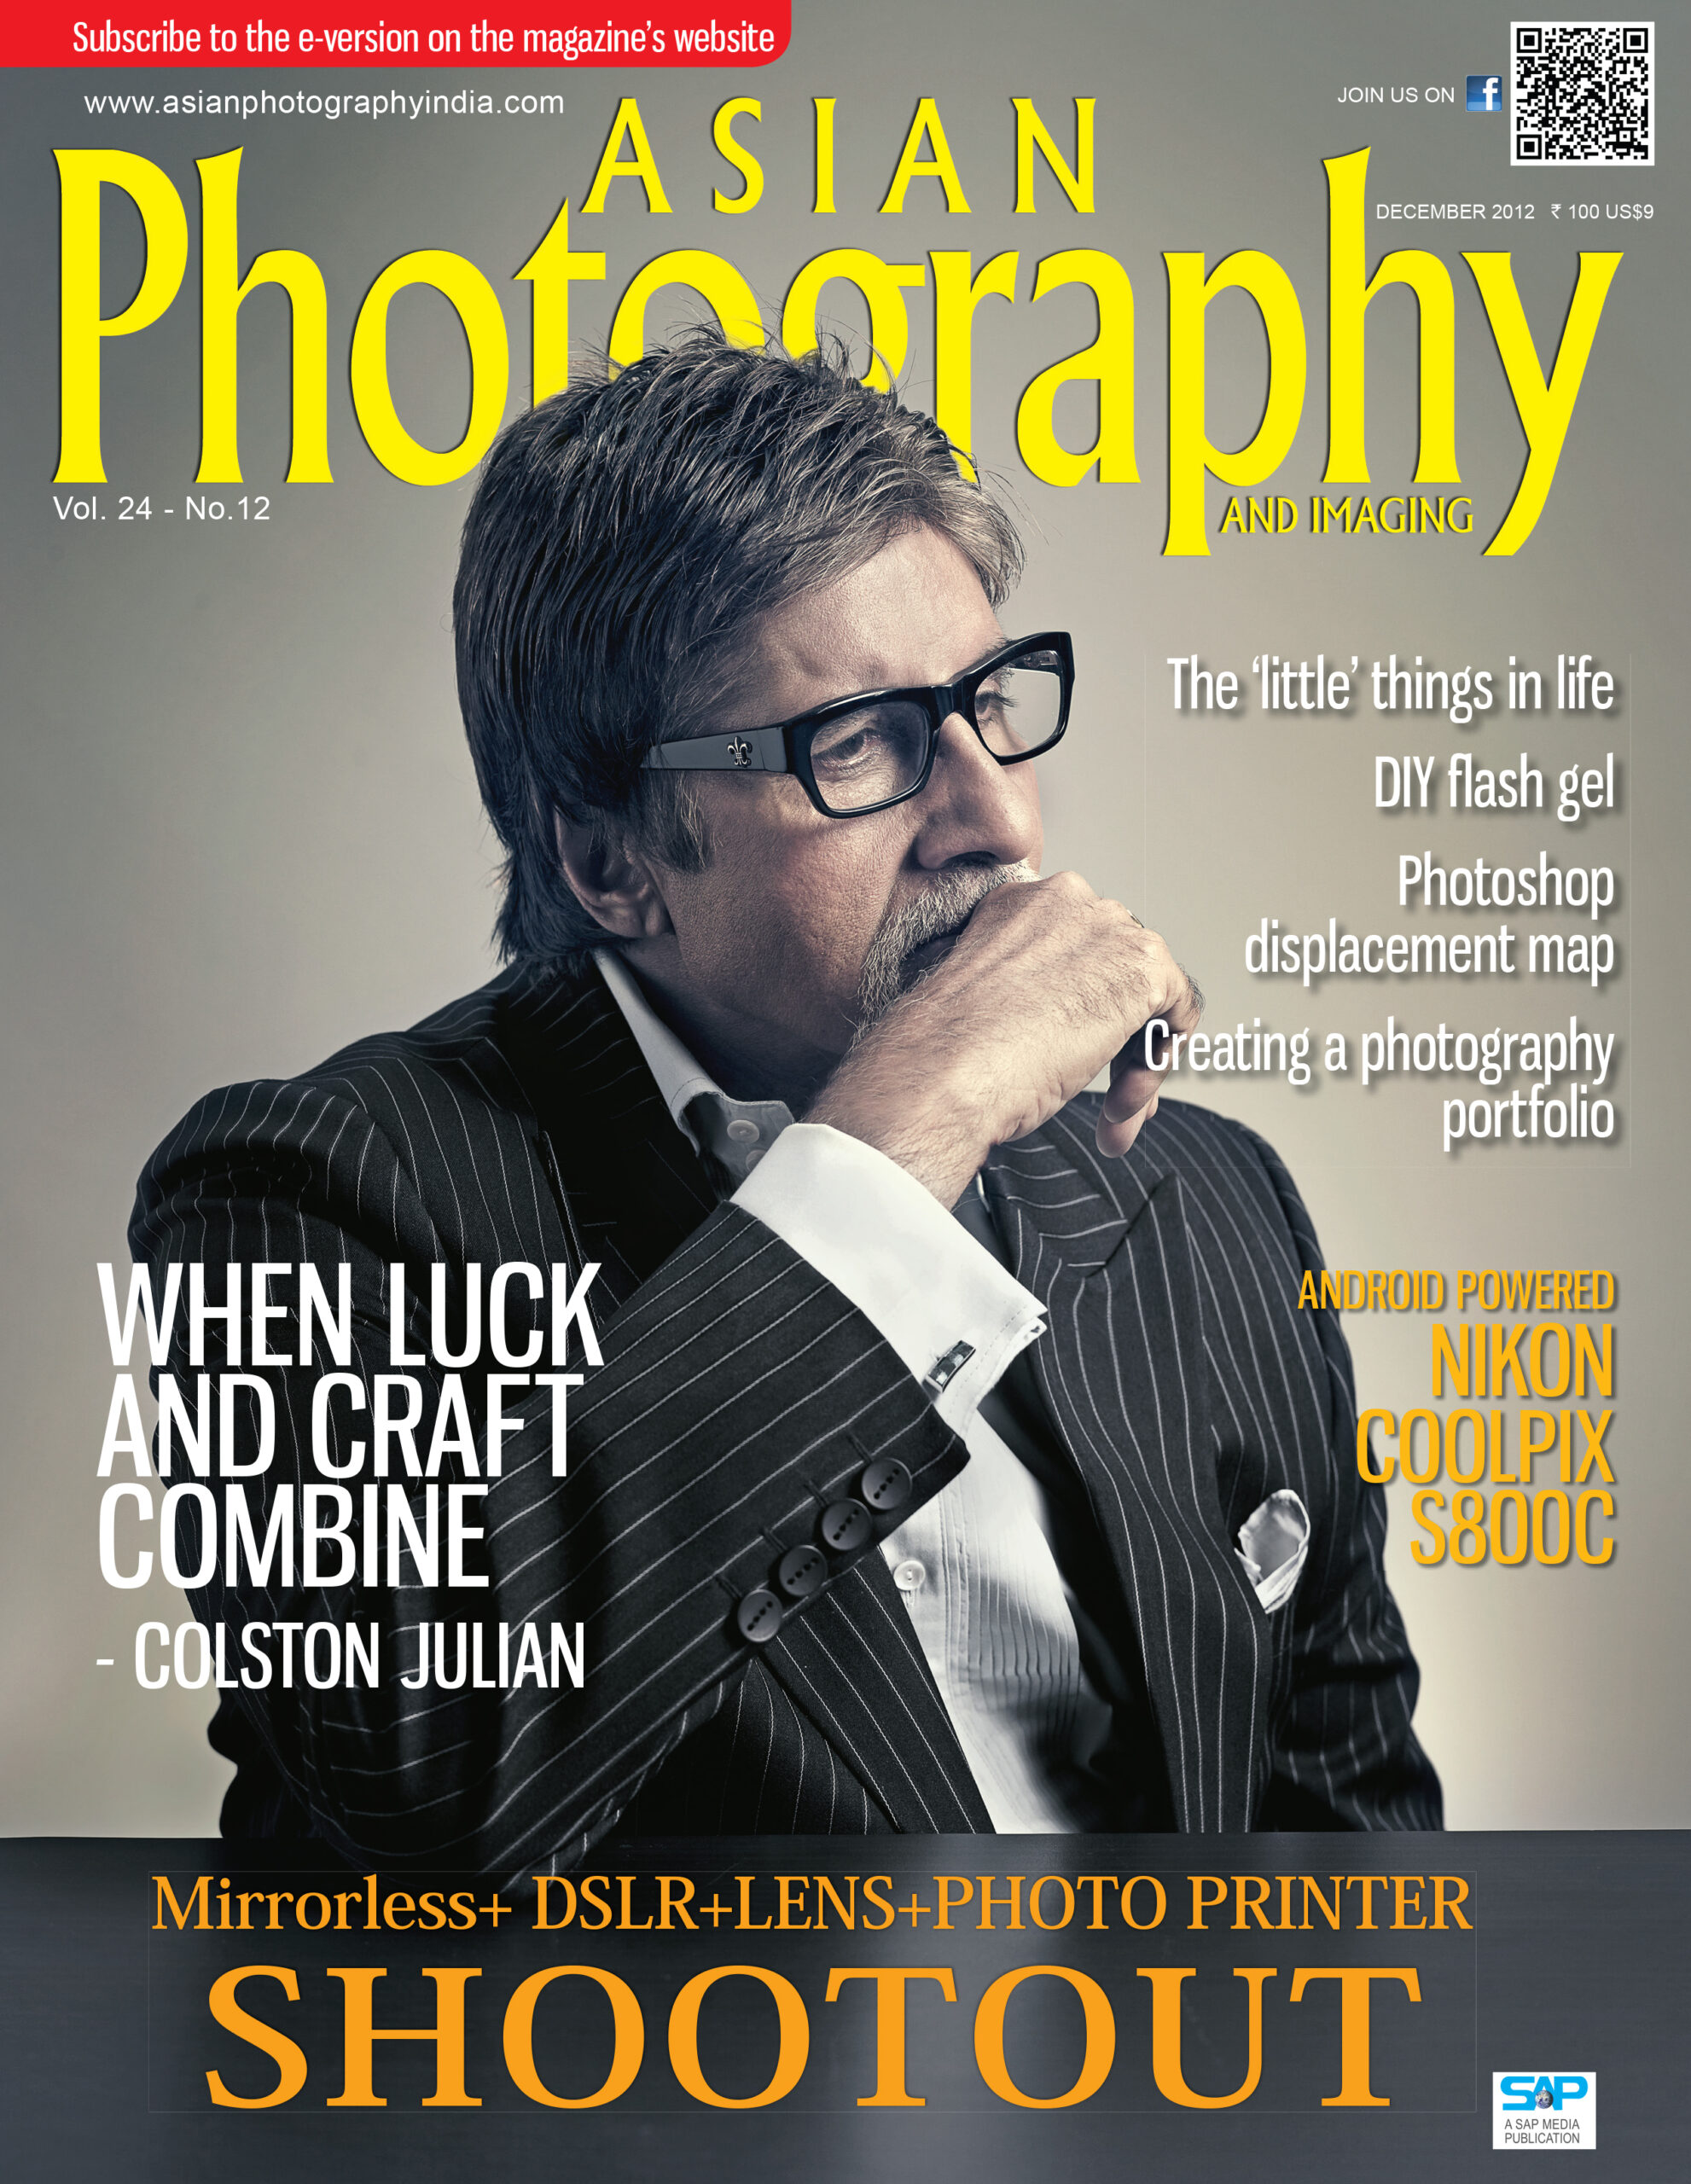
A defining digital-era cover. Shot by Colston Julian and featuring Amitabh Bachchan, the image went viral on Facebook—long before the word ‘viral’ became industry jargon.
Analytics showed a 60% growth between 2012–2013, probably making this one of the most impactful covers in the magazine’s digital history.
January 2013
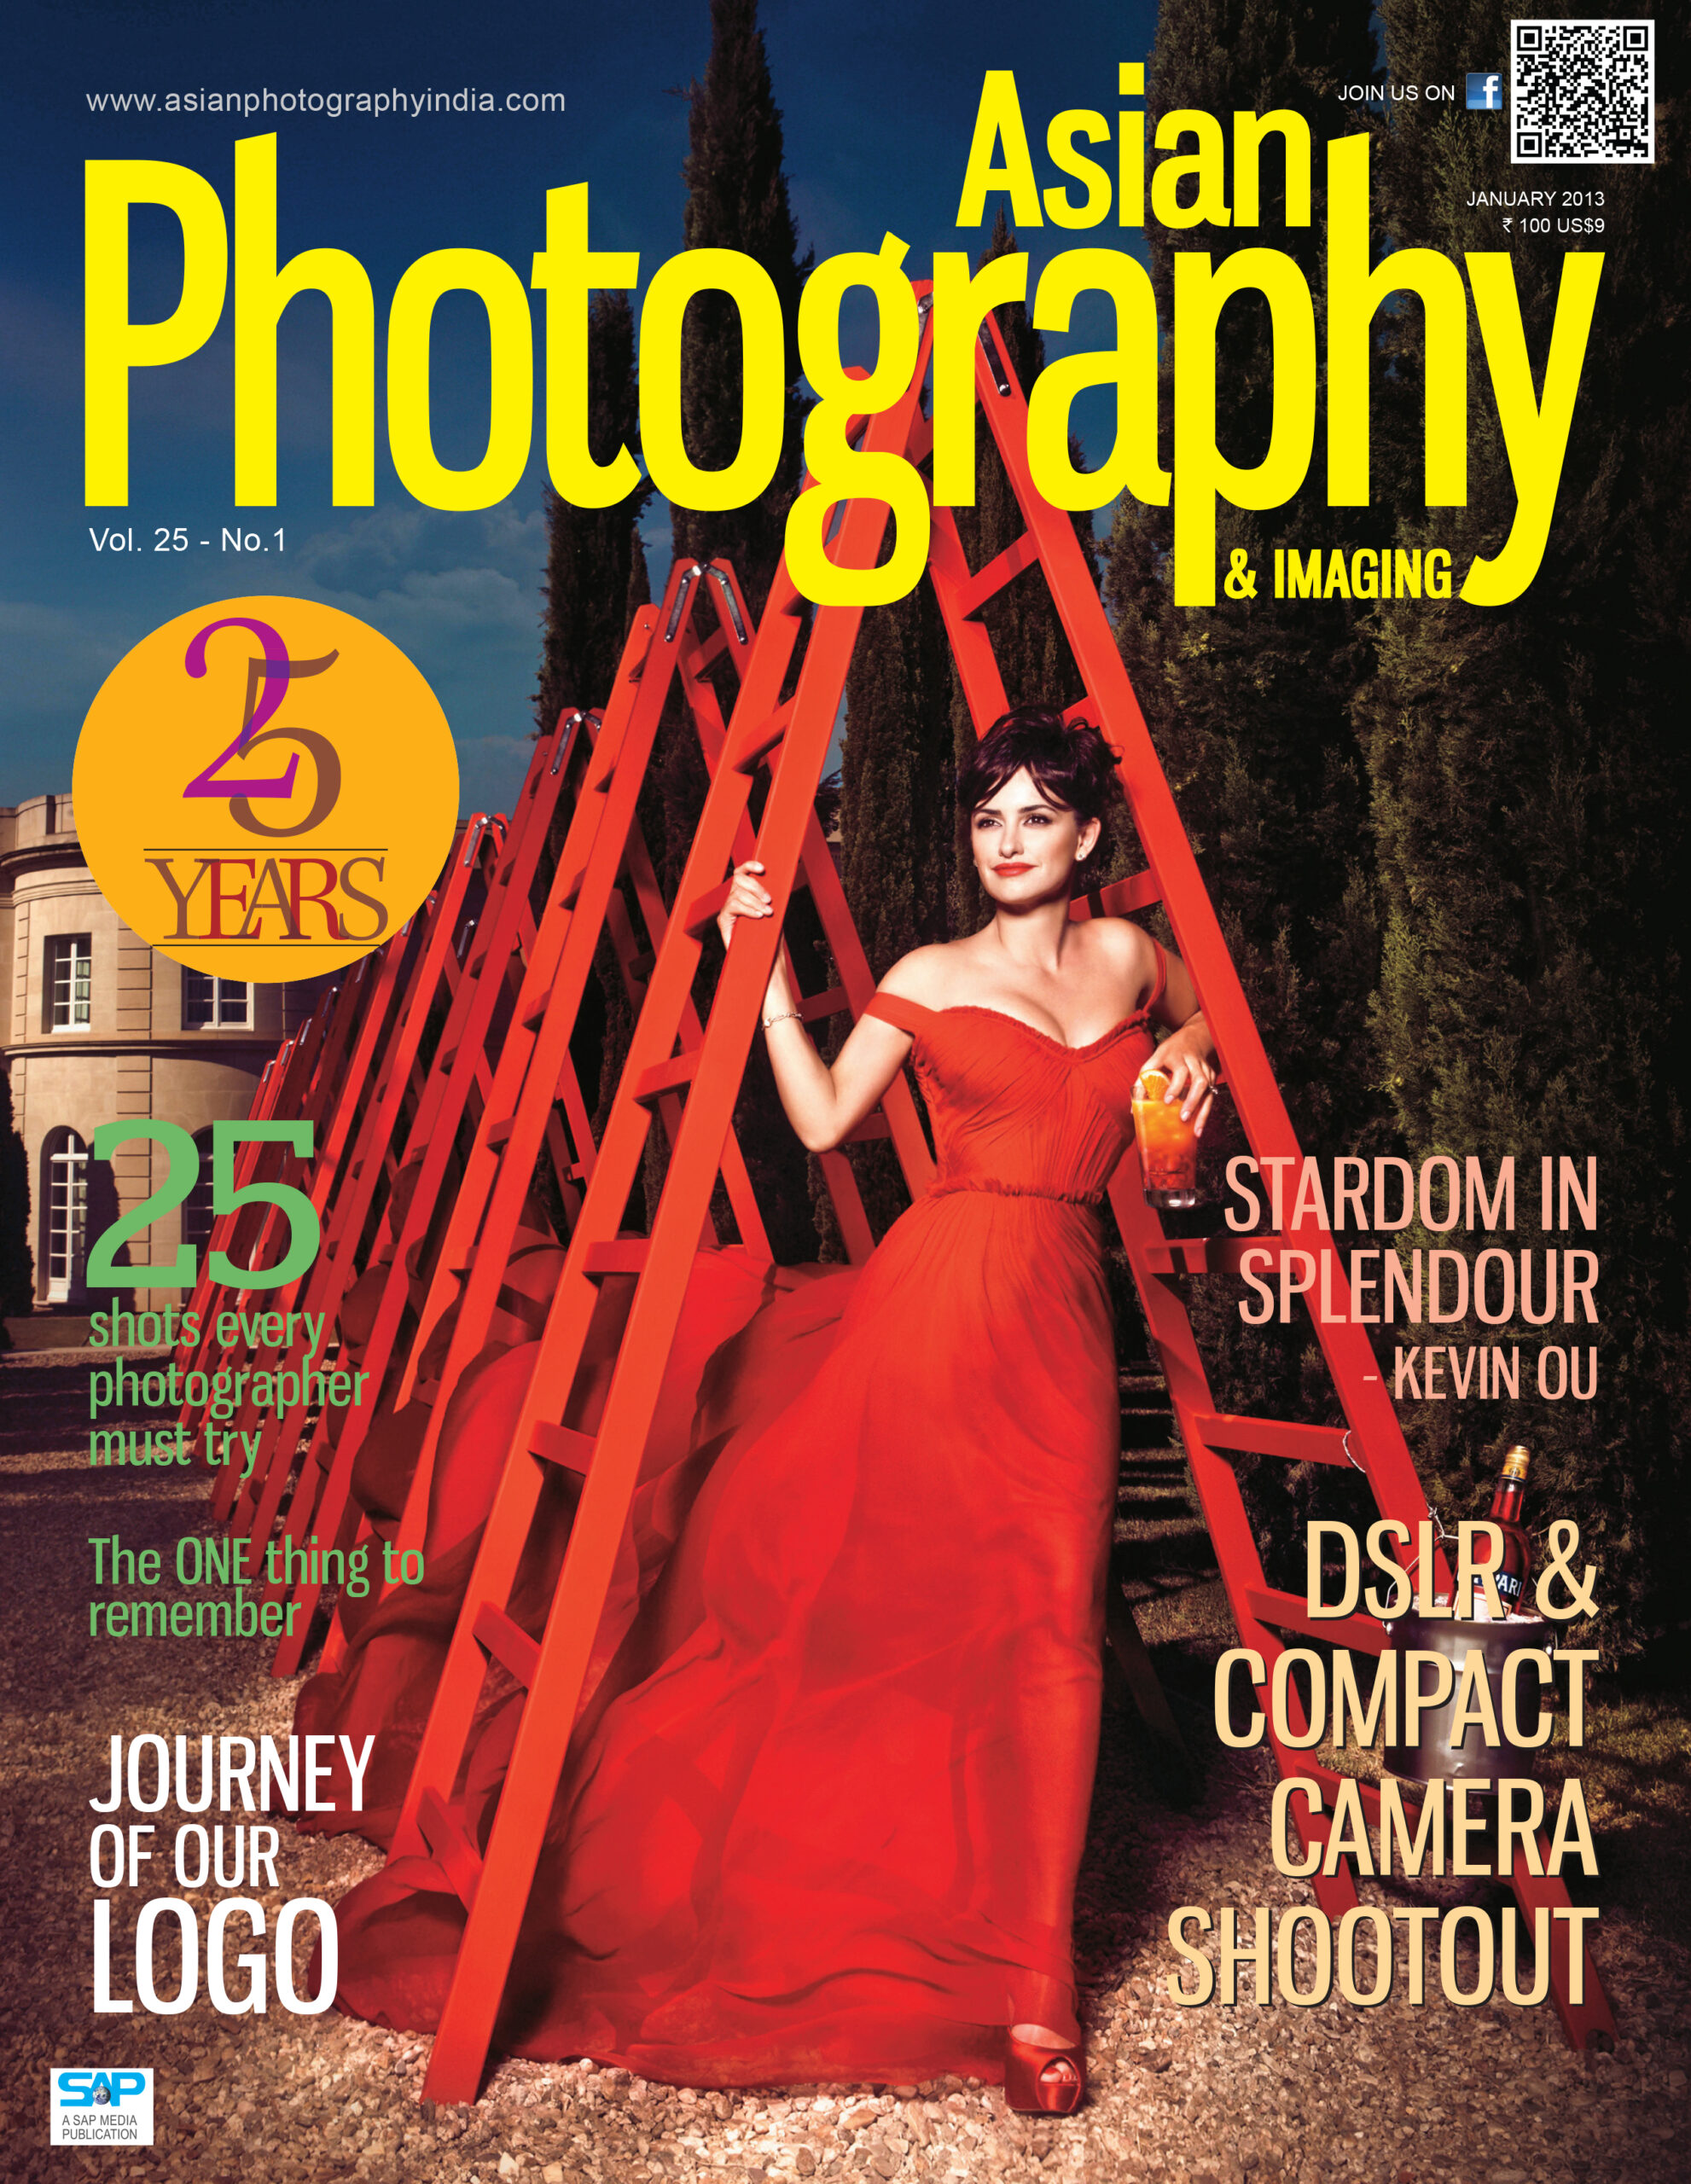
The 25th Anniversary—the Silver Jubilee. Featuring Penélope Cruz, this issue also marked a major brand milestone: the penultimate change to the masthead.
A special story titled The Journey of Our Logo accompanied it. The article is still available on digital for reading. The year itself was visually ambitious, including a Paris-shot cover in July, making 2013 a standout chapter.
September 2013

An architectural photography special with a cover by Ali Rangoonwala, this issue embraced radical minimalism.
No cover lines. No distractions. Just the image. A risk—one that paid off, even if it may have been the last time such restraint was attempted.
January 2014
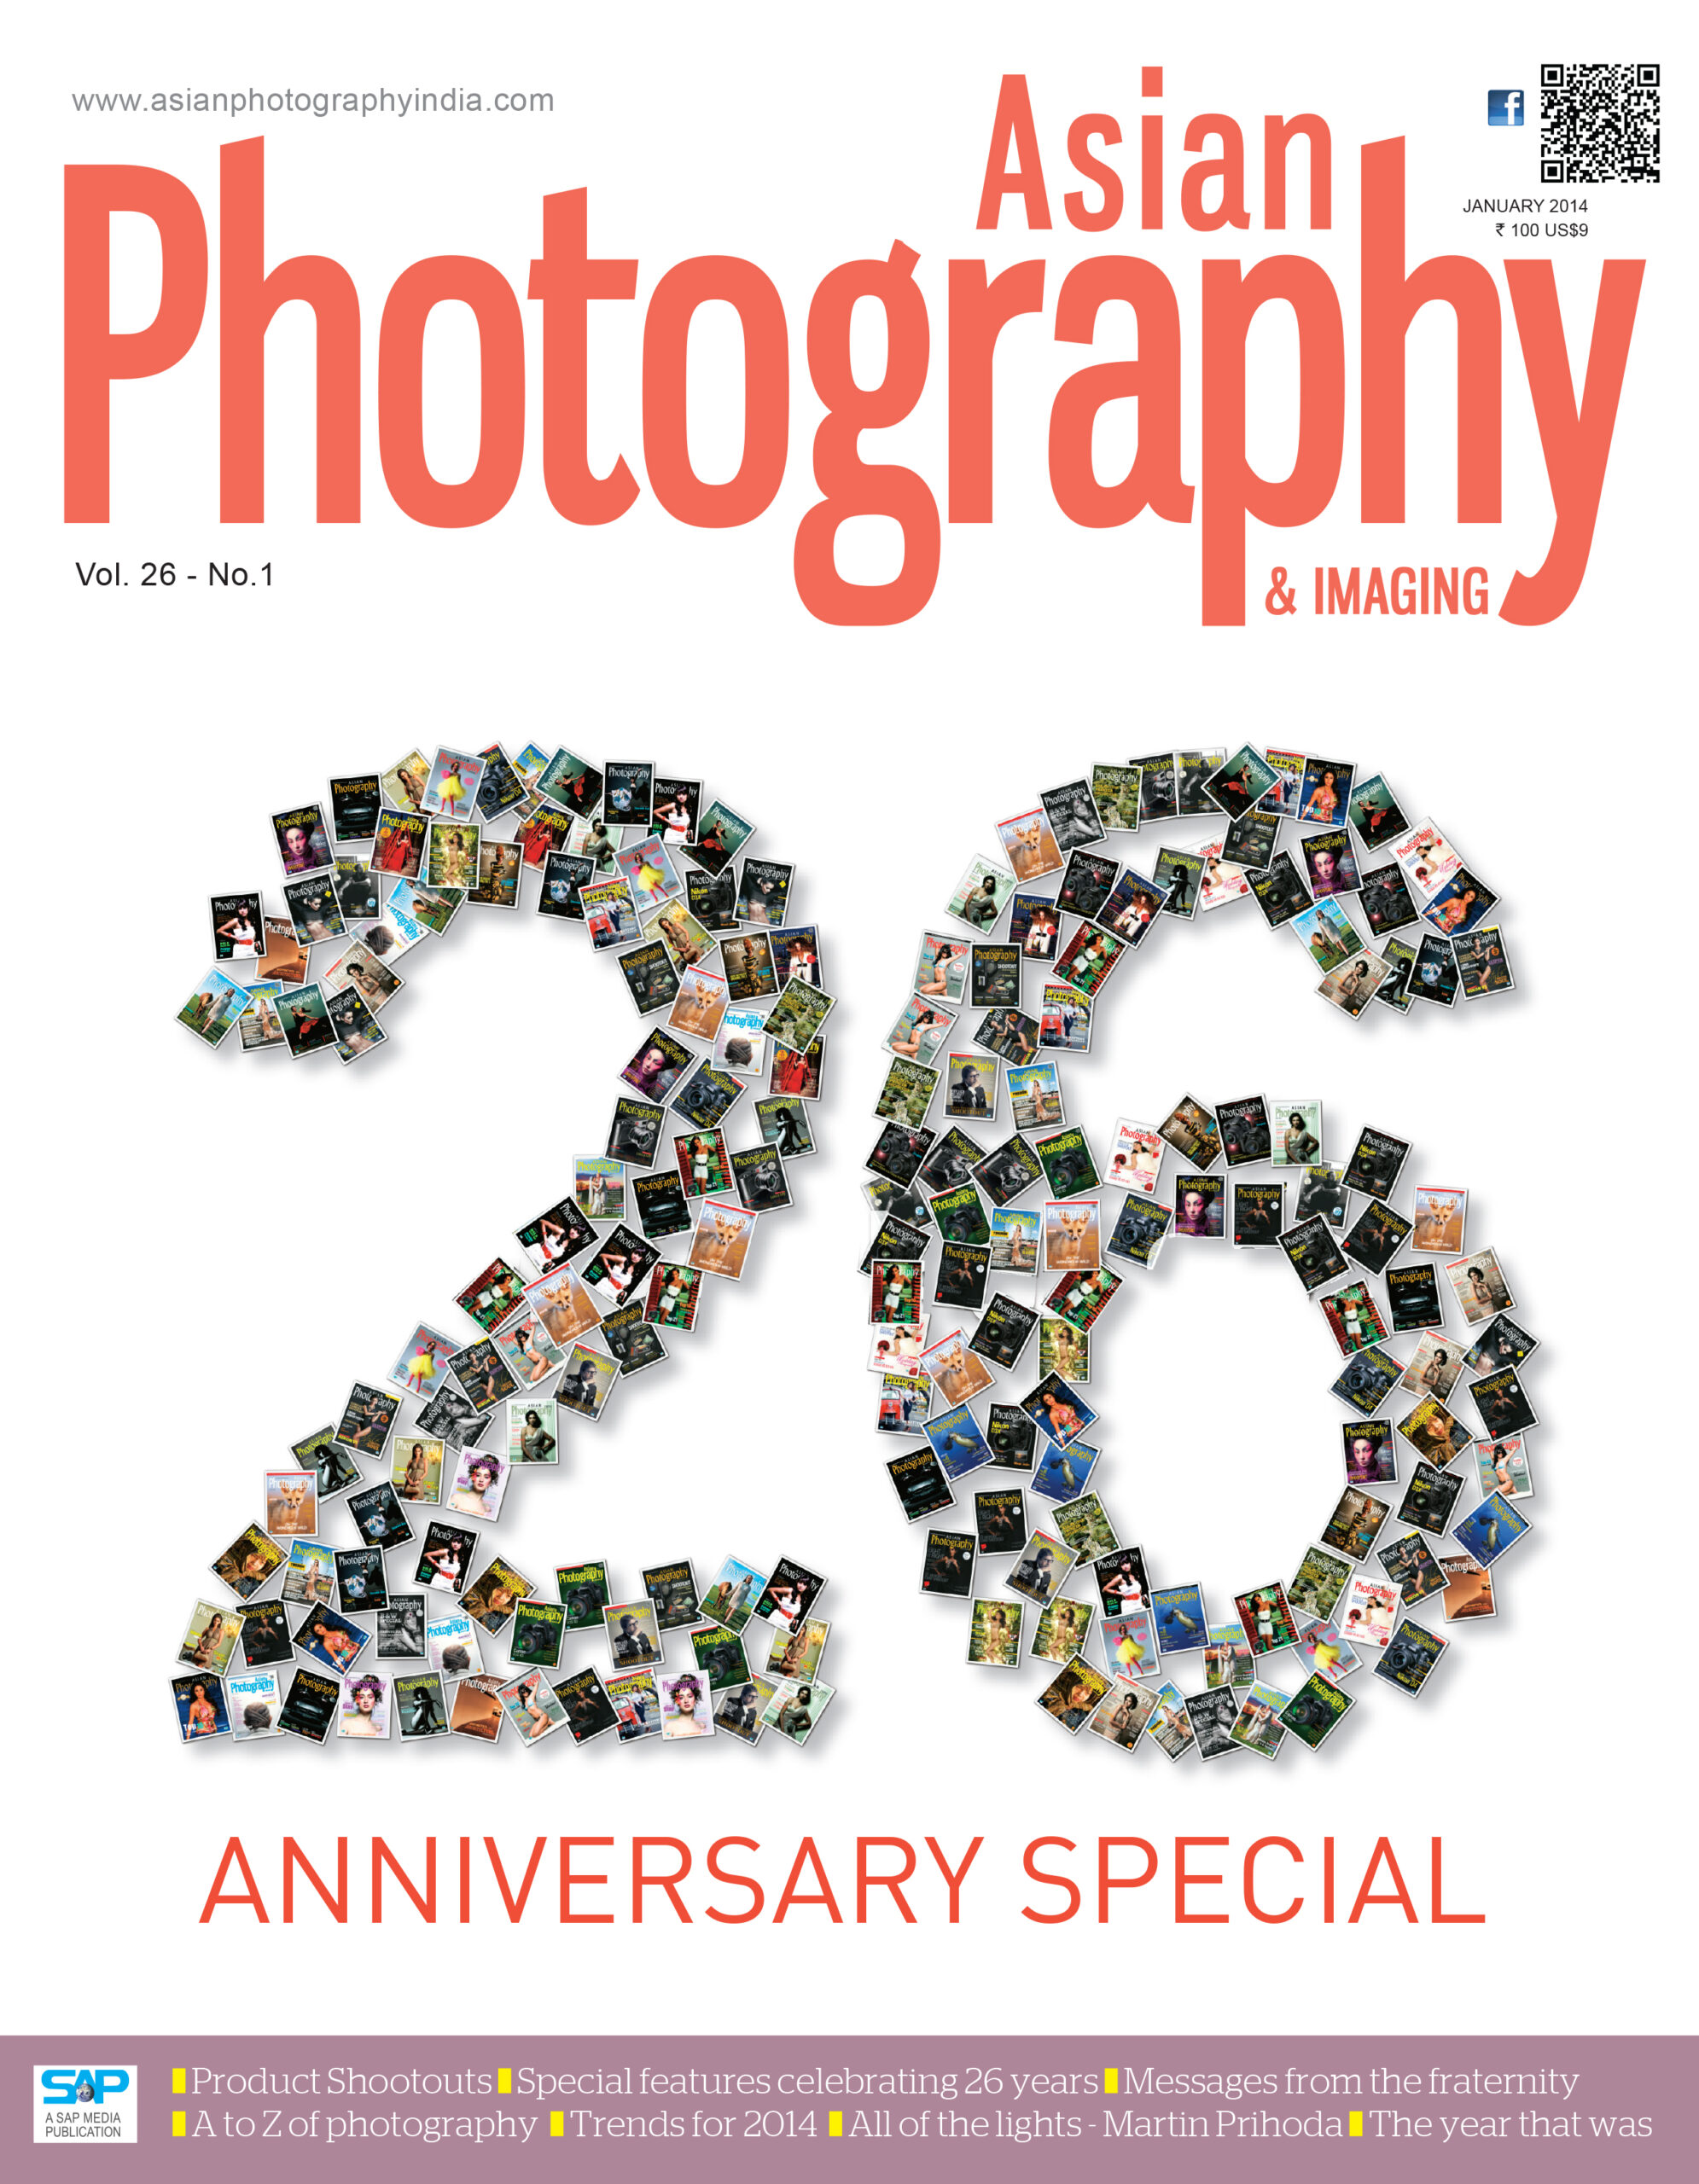
The 26th Anniversary Special featured a striking visual: the number “26” created entirely from past covers.
Initially attempted using software, the design was ultimately crafted manually by the team—an irony not lost on anyone in an increasingly digital world.
The Year of 2016
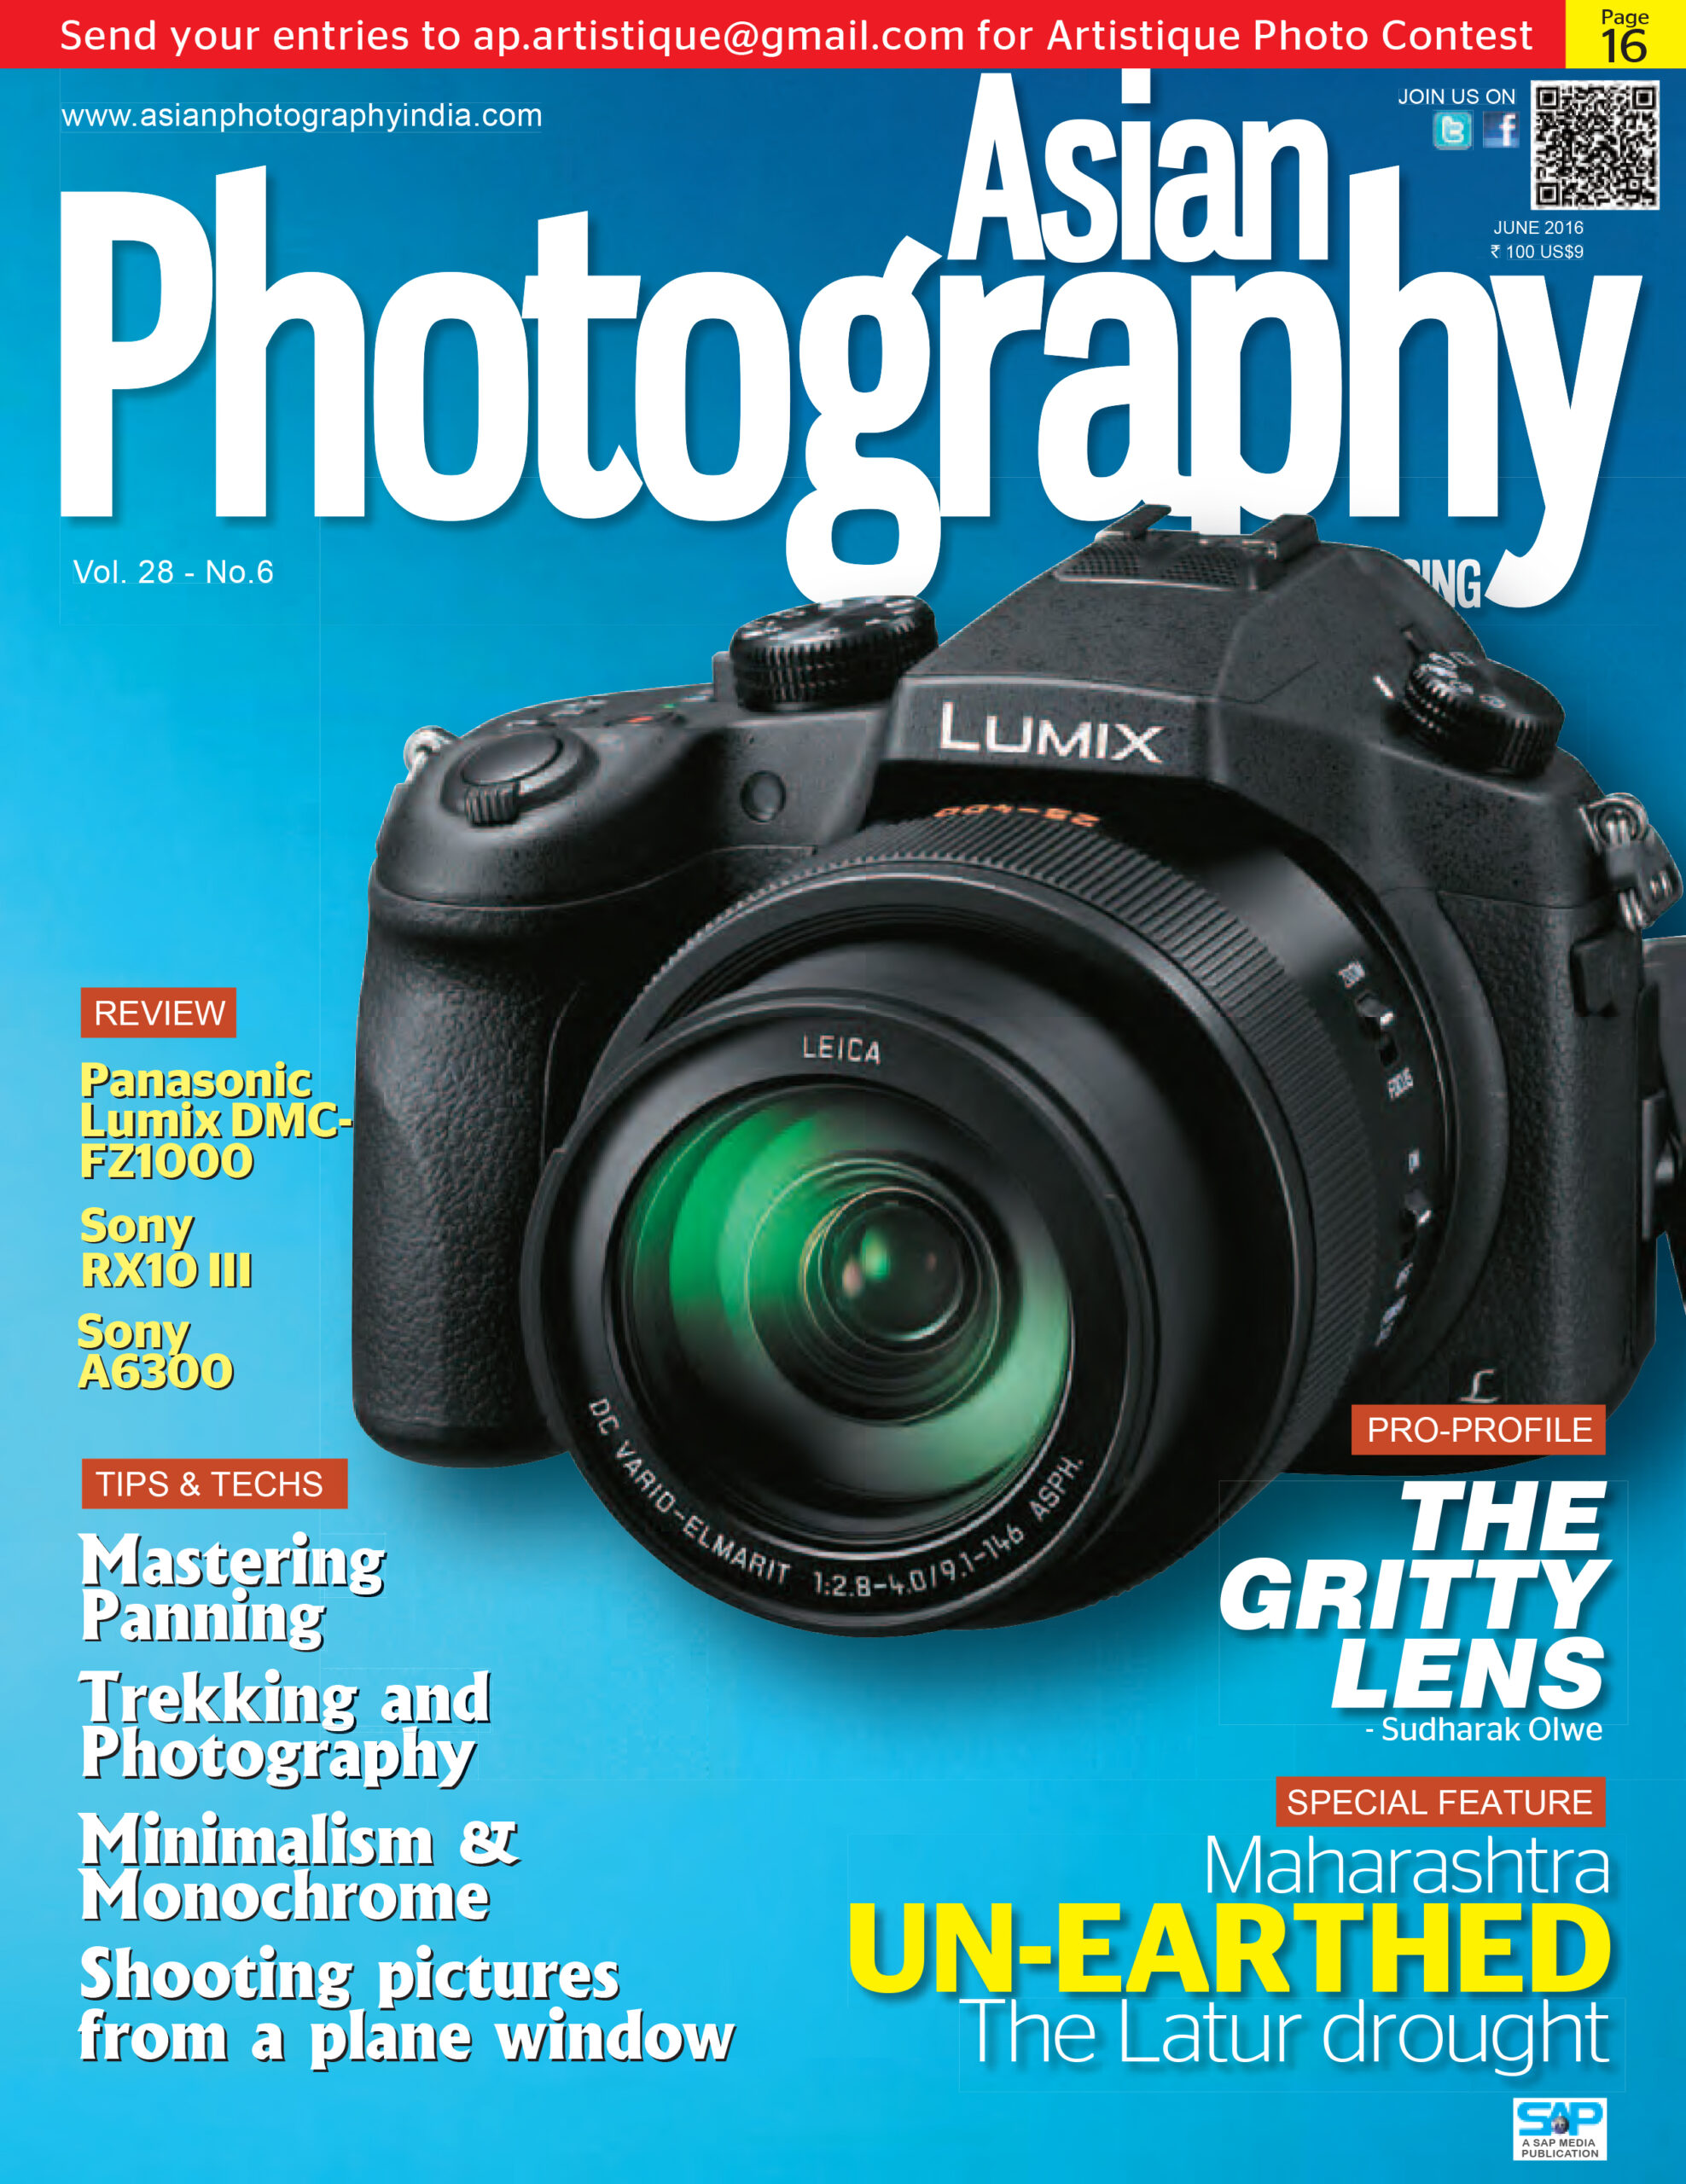
This was the year products became heroes. A conscious editorial decision led to product-centric covers from June through October.
Cameras, lenses and gear finally took centre stage—and mind you looked spectacular doing so.
May 2017
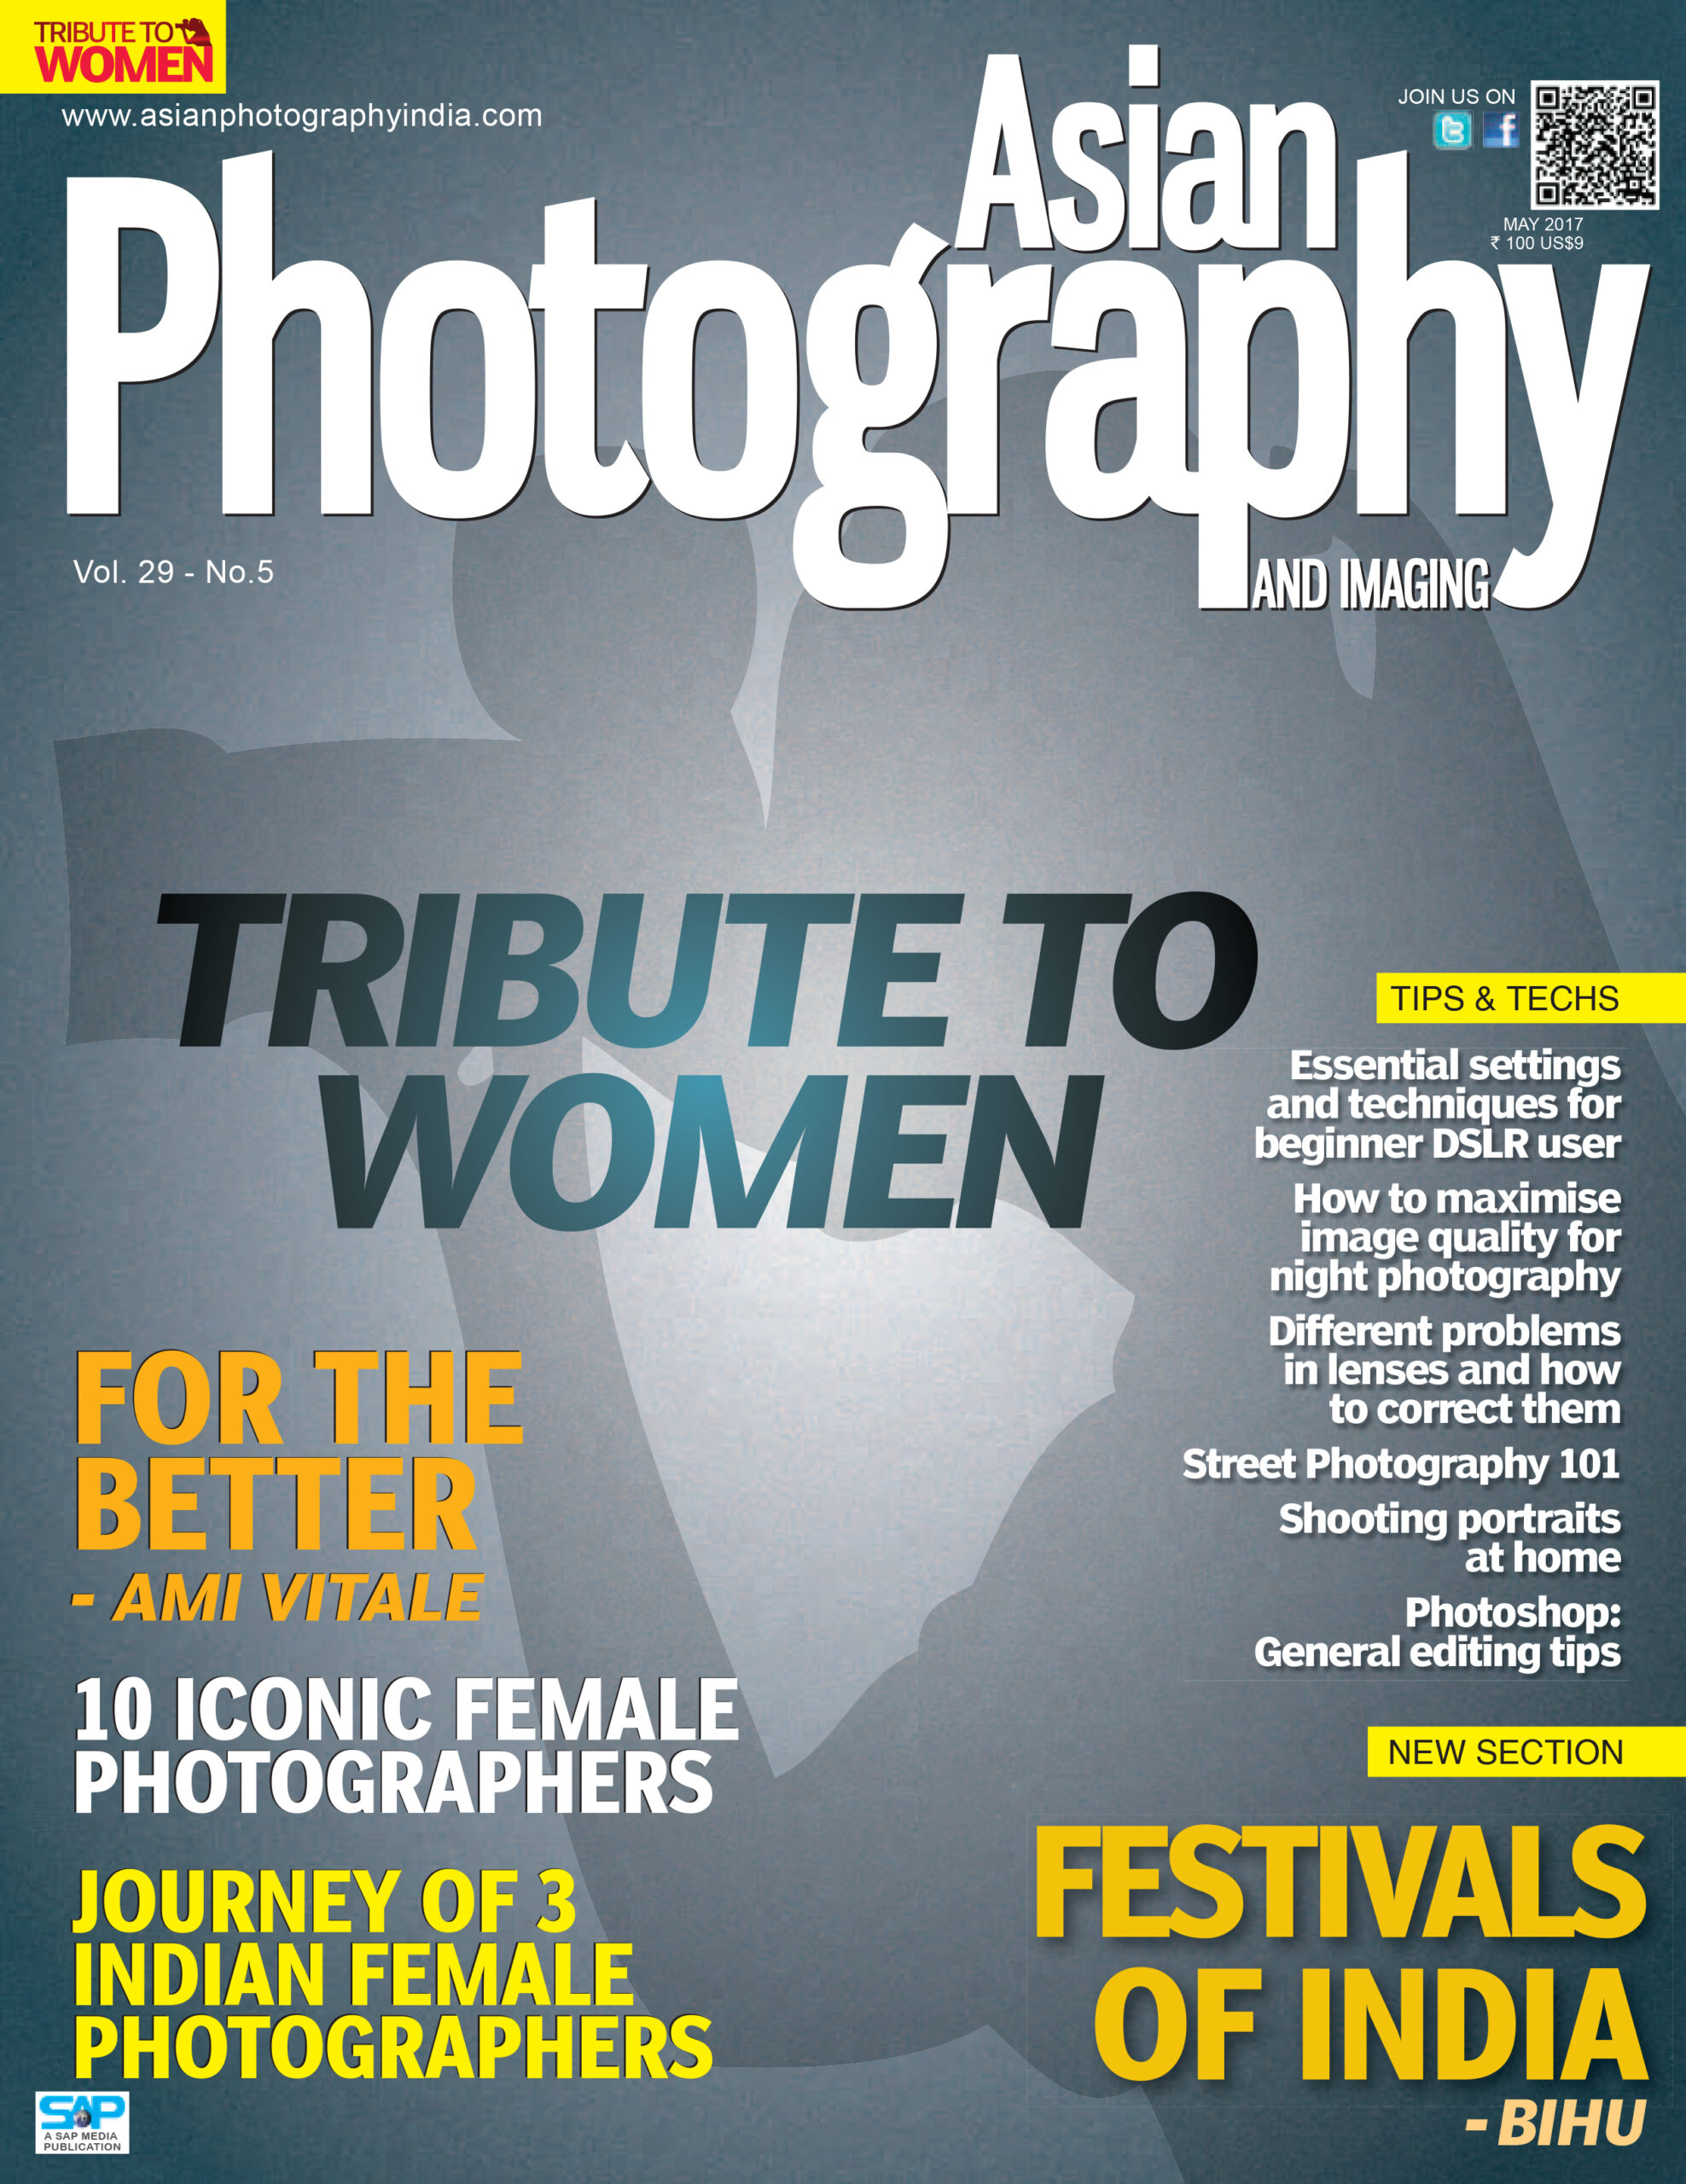
A defining moment in representation. While Asian Photography had celebrated women photographers before, this issue cemented the Tribute to Women cover as a recurring, meaningful feature.
Recognition, visibility and respect were long overdue—and this issue helped push that conversation forward.
January 2018
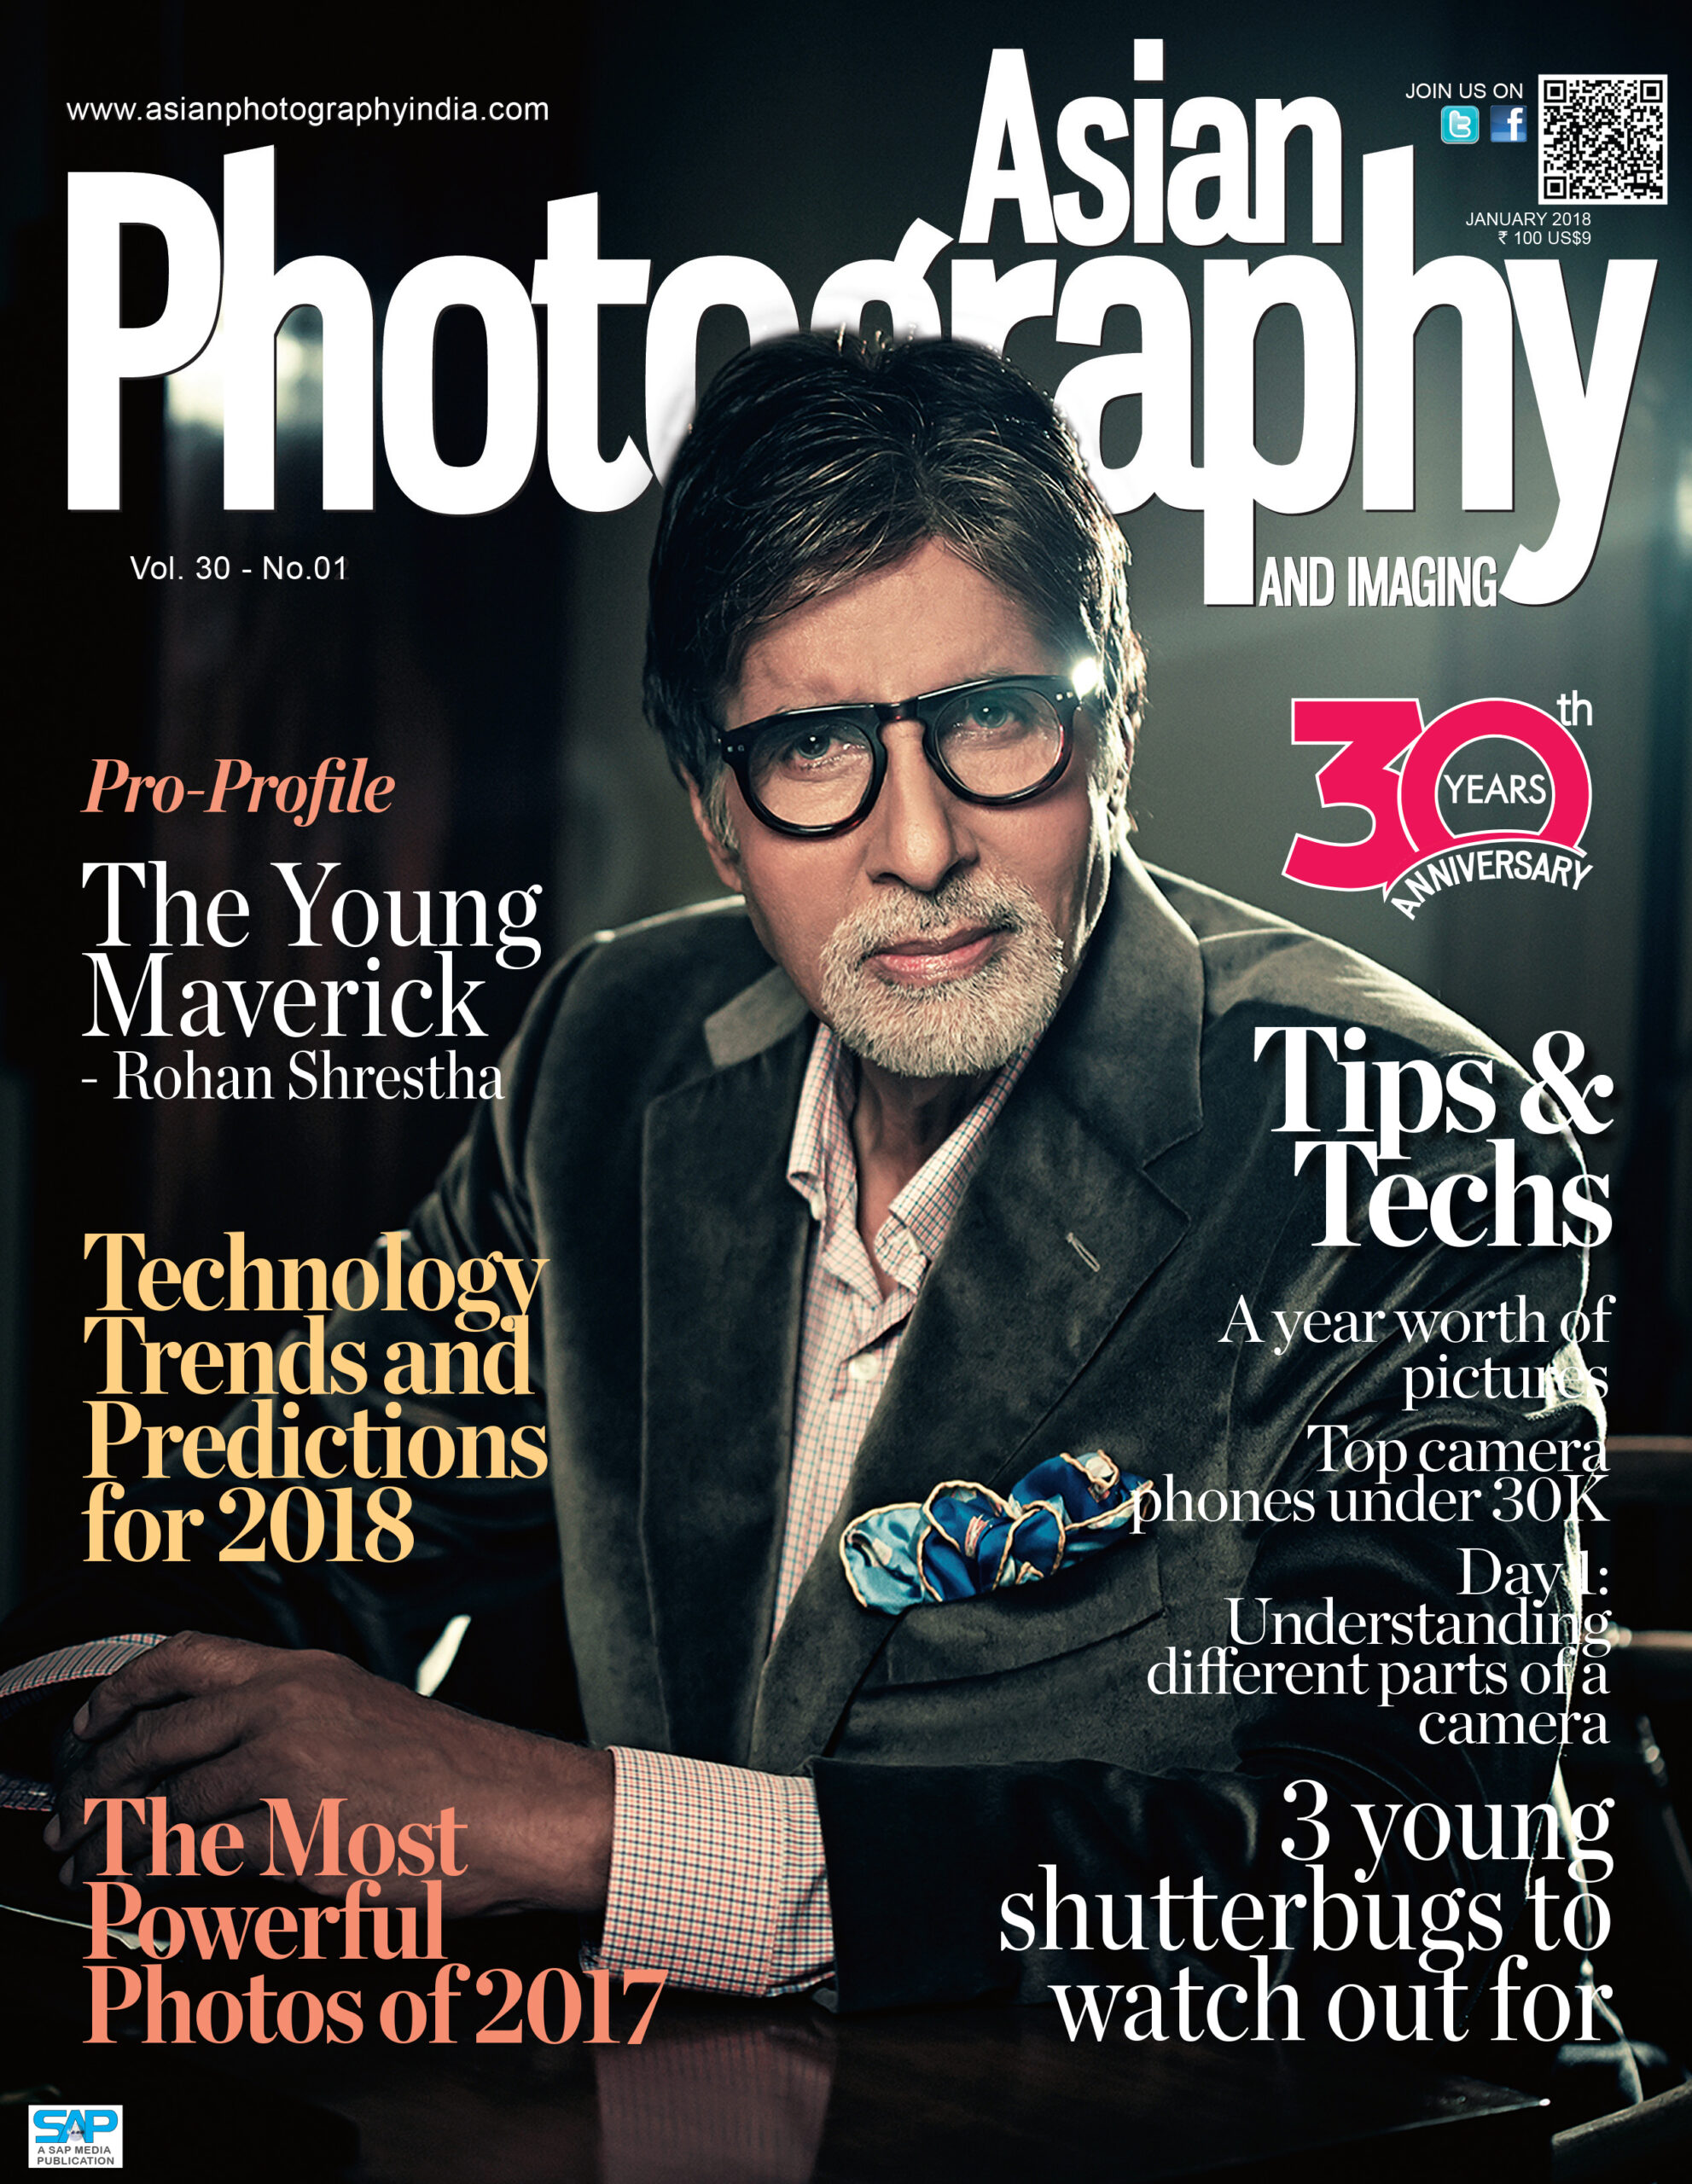
A return of a familiar face. Amitabh Bachchan appeared again—six years after the 2012 cover—this time photographed by Rohan Shrestha.
Few subjects have spanned generations the way he has, making this cover especially symbolic.
August 2021
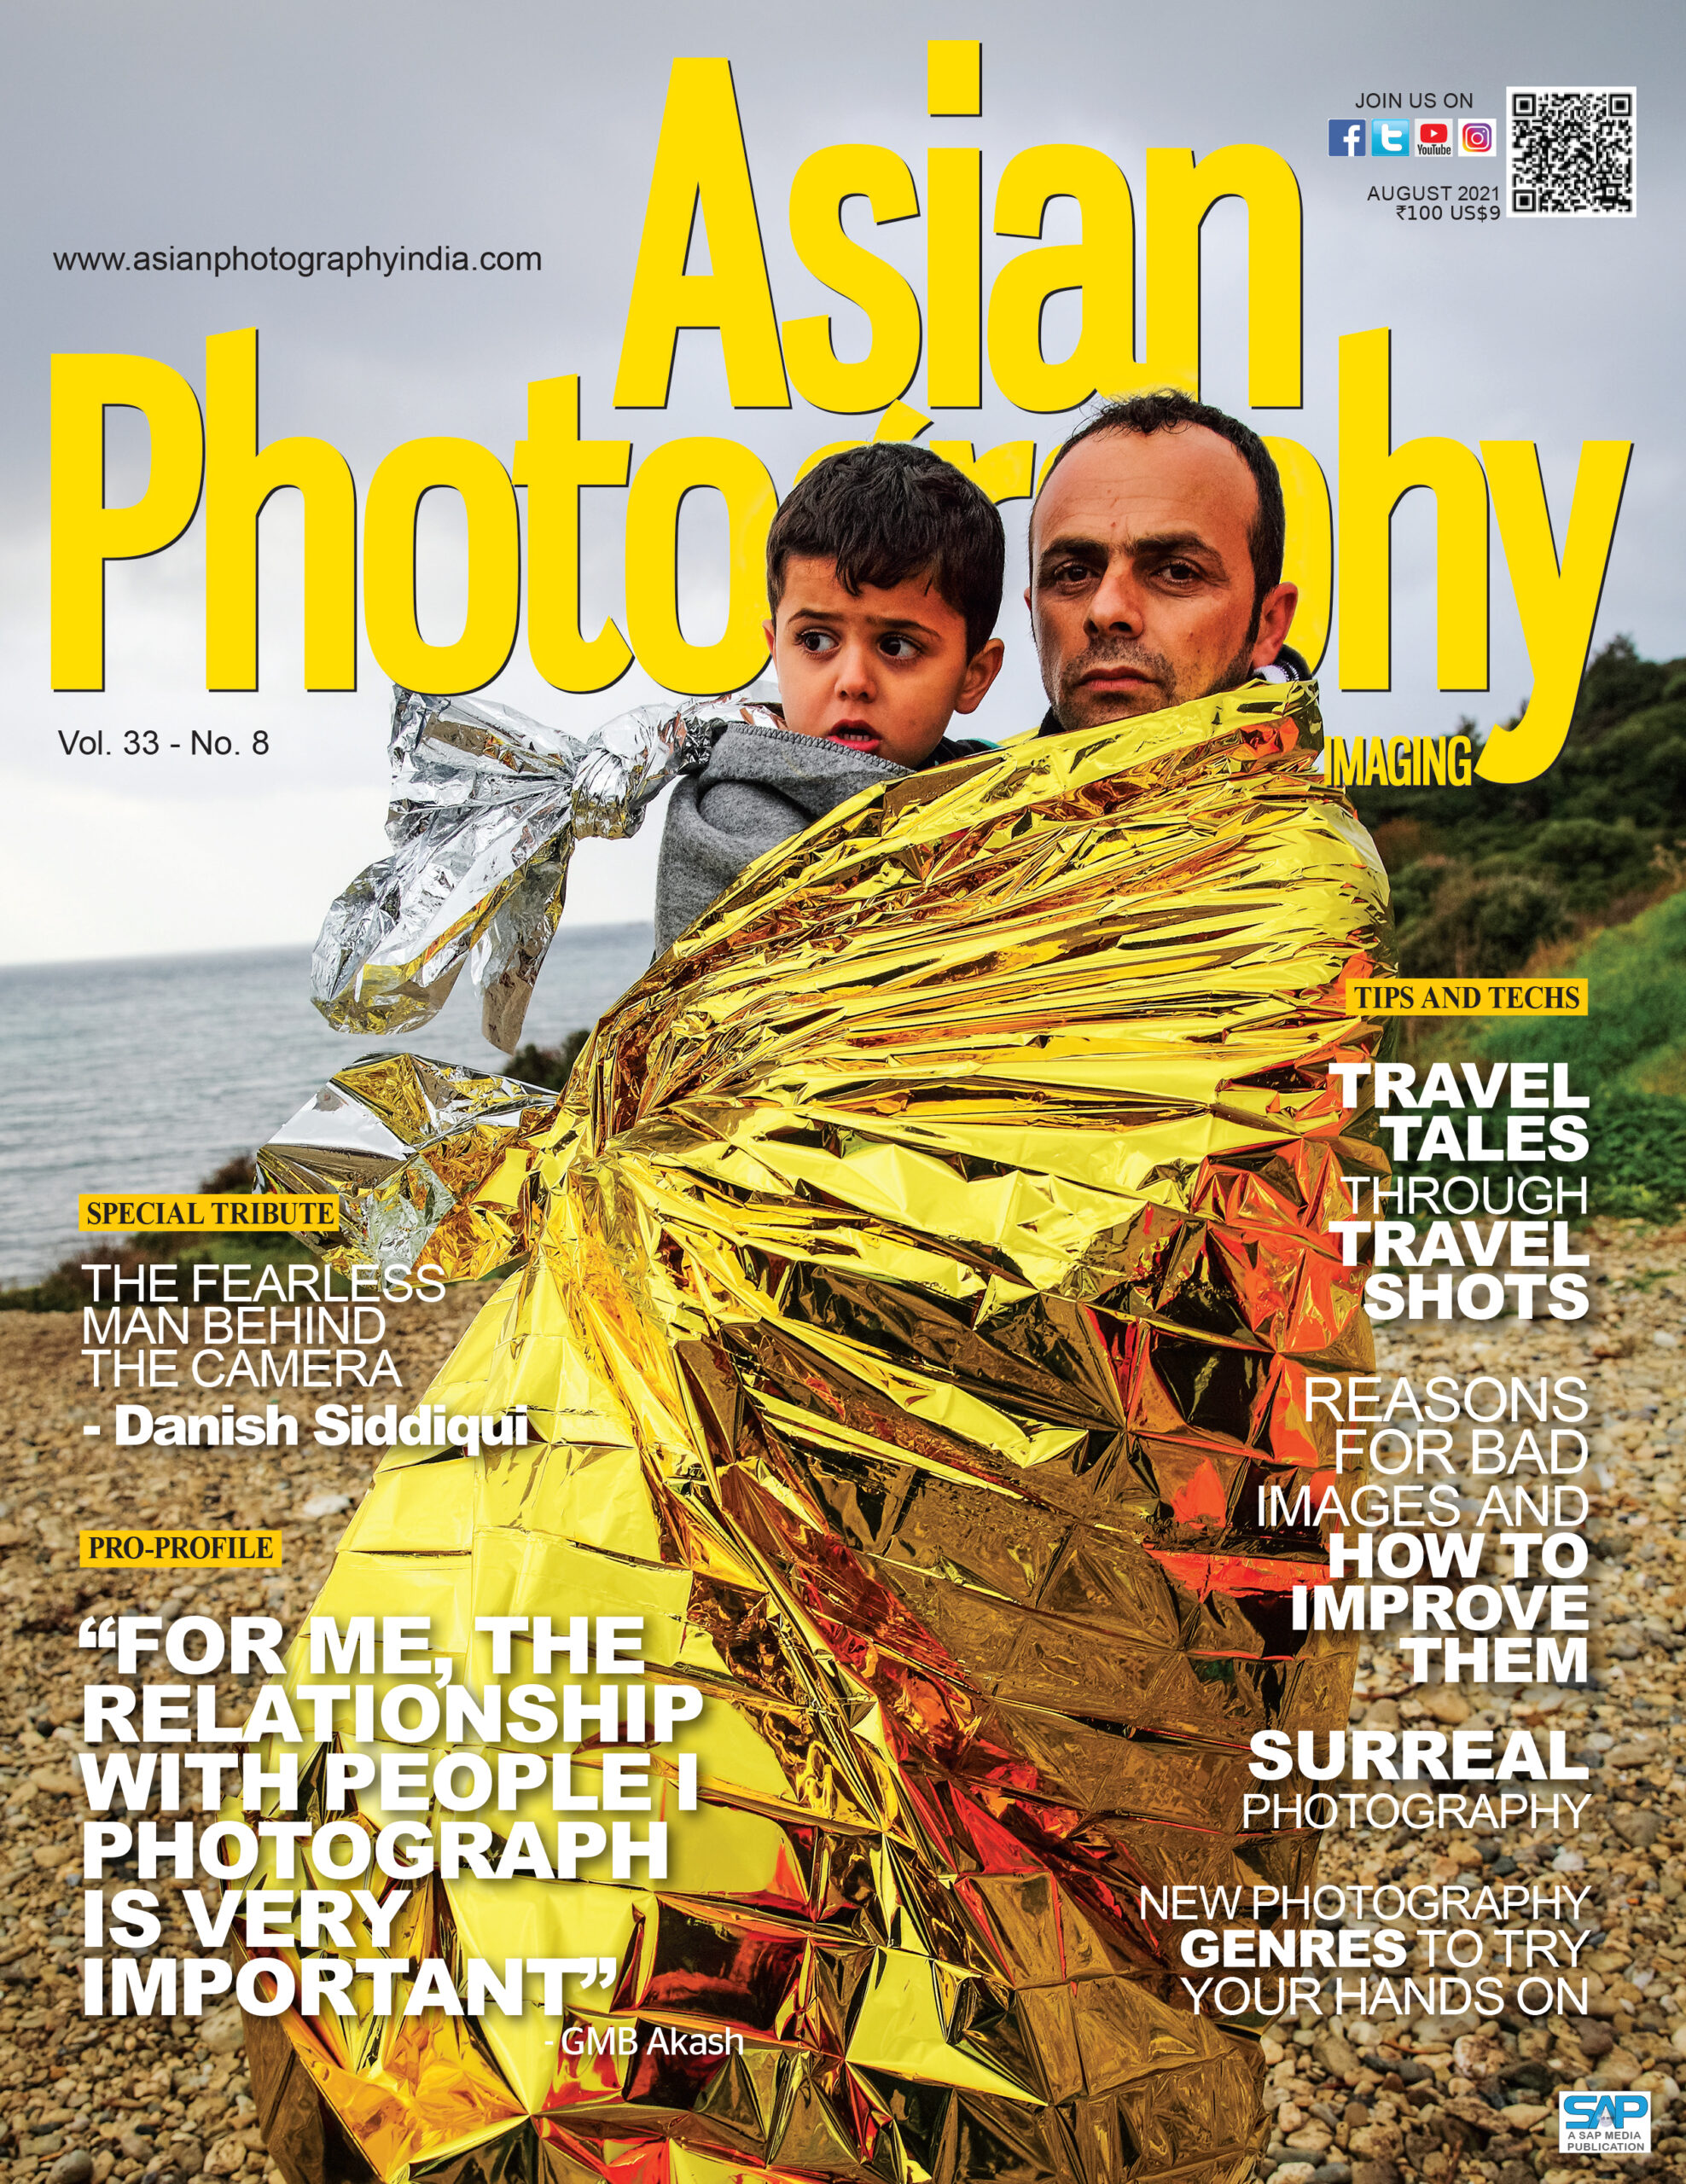
A deeply moving issue. Amid the global refugee crisis, the cover paid tribute to Pulitzer Prize–winning photojournalist Danish Siddiqui, who lost his life covering the Afghan war.
It also featured the work of GMB Akash, including his haunting image of a father and son wrapped in a space blanket during the Greek crisis. This cover reminded readers of photography’s moral responsibility.
February 2022

Among the many first in 38 years—this one was special—a pet as the cover star. Shot by Kaylee Greer, the image was impossible to ignore.
Those soulful, droopy eyes proved that emotional connection transcends genre.
August 2024

While Lionel Messi’s India visit dominated headlines, Asian Photography featured India’s own GOAT—Sunil Chhetri on its cover.
Shot by Sunil Patil for the Sports Special, this image became Chhetri’s most iconic retirement photograph, going viral across platforms and closing this chapter on a powerful note.
Closing Note
As Asian Photography completes 38 years, these covers stand as more than visual milestones. They are reflections of an industry finding its voice, a publication evolving with integrity, and a belief that photography—whether film, digital, or AI-driven—matters.
The covers may change. The technology certainly will. But the commitment to documenting, questioning and celebrating photography remains unwavering.
And that, perhaps, is OUR TRUE LEGACY.