When Mark Smith speaks about birds, he doesn’t talk like a photographer chasing the perfect frame. He speaks like a witness—someone who has spent years observing, listening and quietly learning from the natural world. Winning the HIPA Award last year may have brought his work global recognition, but for Smith, the moment still feels unreal. Bhavya Desai spoke to him about his love for birds and more. Excerpts:
“It’s overwhelming,” he says, almost thoughtfully. “I’m still trying to absorb it. It doesn’t feel real yet.” The award ceremony in Dubai marked his first real experience of the city—beyond airport layovers—and the setting only amplified the sense of disbelief. Yet, recognition was never the destination. It was simply a by-product of a journey that began decades earlier.
Smith’s introduction to photography was deeply personal. As a child, following his parents’ divorce, weekends spent outdoors with his father became formative. His father handed him a Minolta camera and a roll of film, and gave him complete freedom. There were no instructions, no expectations—just plain old curiosity. Those early days in the wild planted a seed that would later grow into a lifelong fascination with animals and storytelling.
What sets Smith apart is his belief that photography is not about images—it’s about understanding. Long before ‘visual storytelling’ became a buzzword, he was already trying to see the world from an animal’s perspective. “I was always excited to learn about them,” he explains. “And I wanted others to feel that same fascination.”
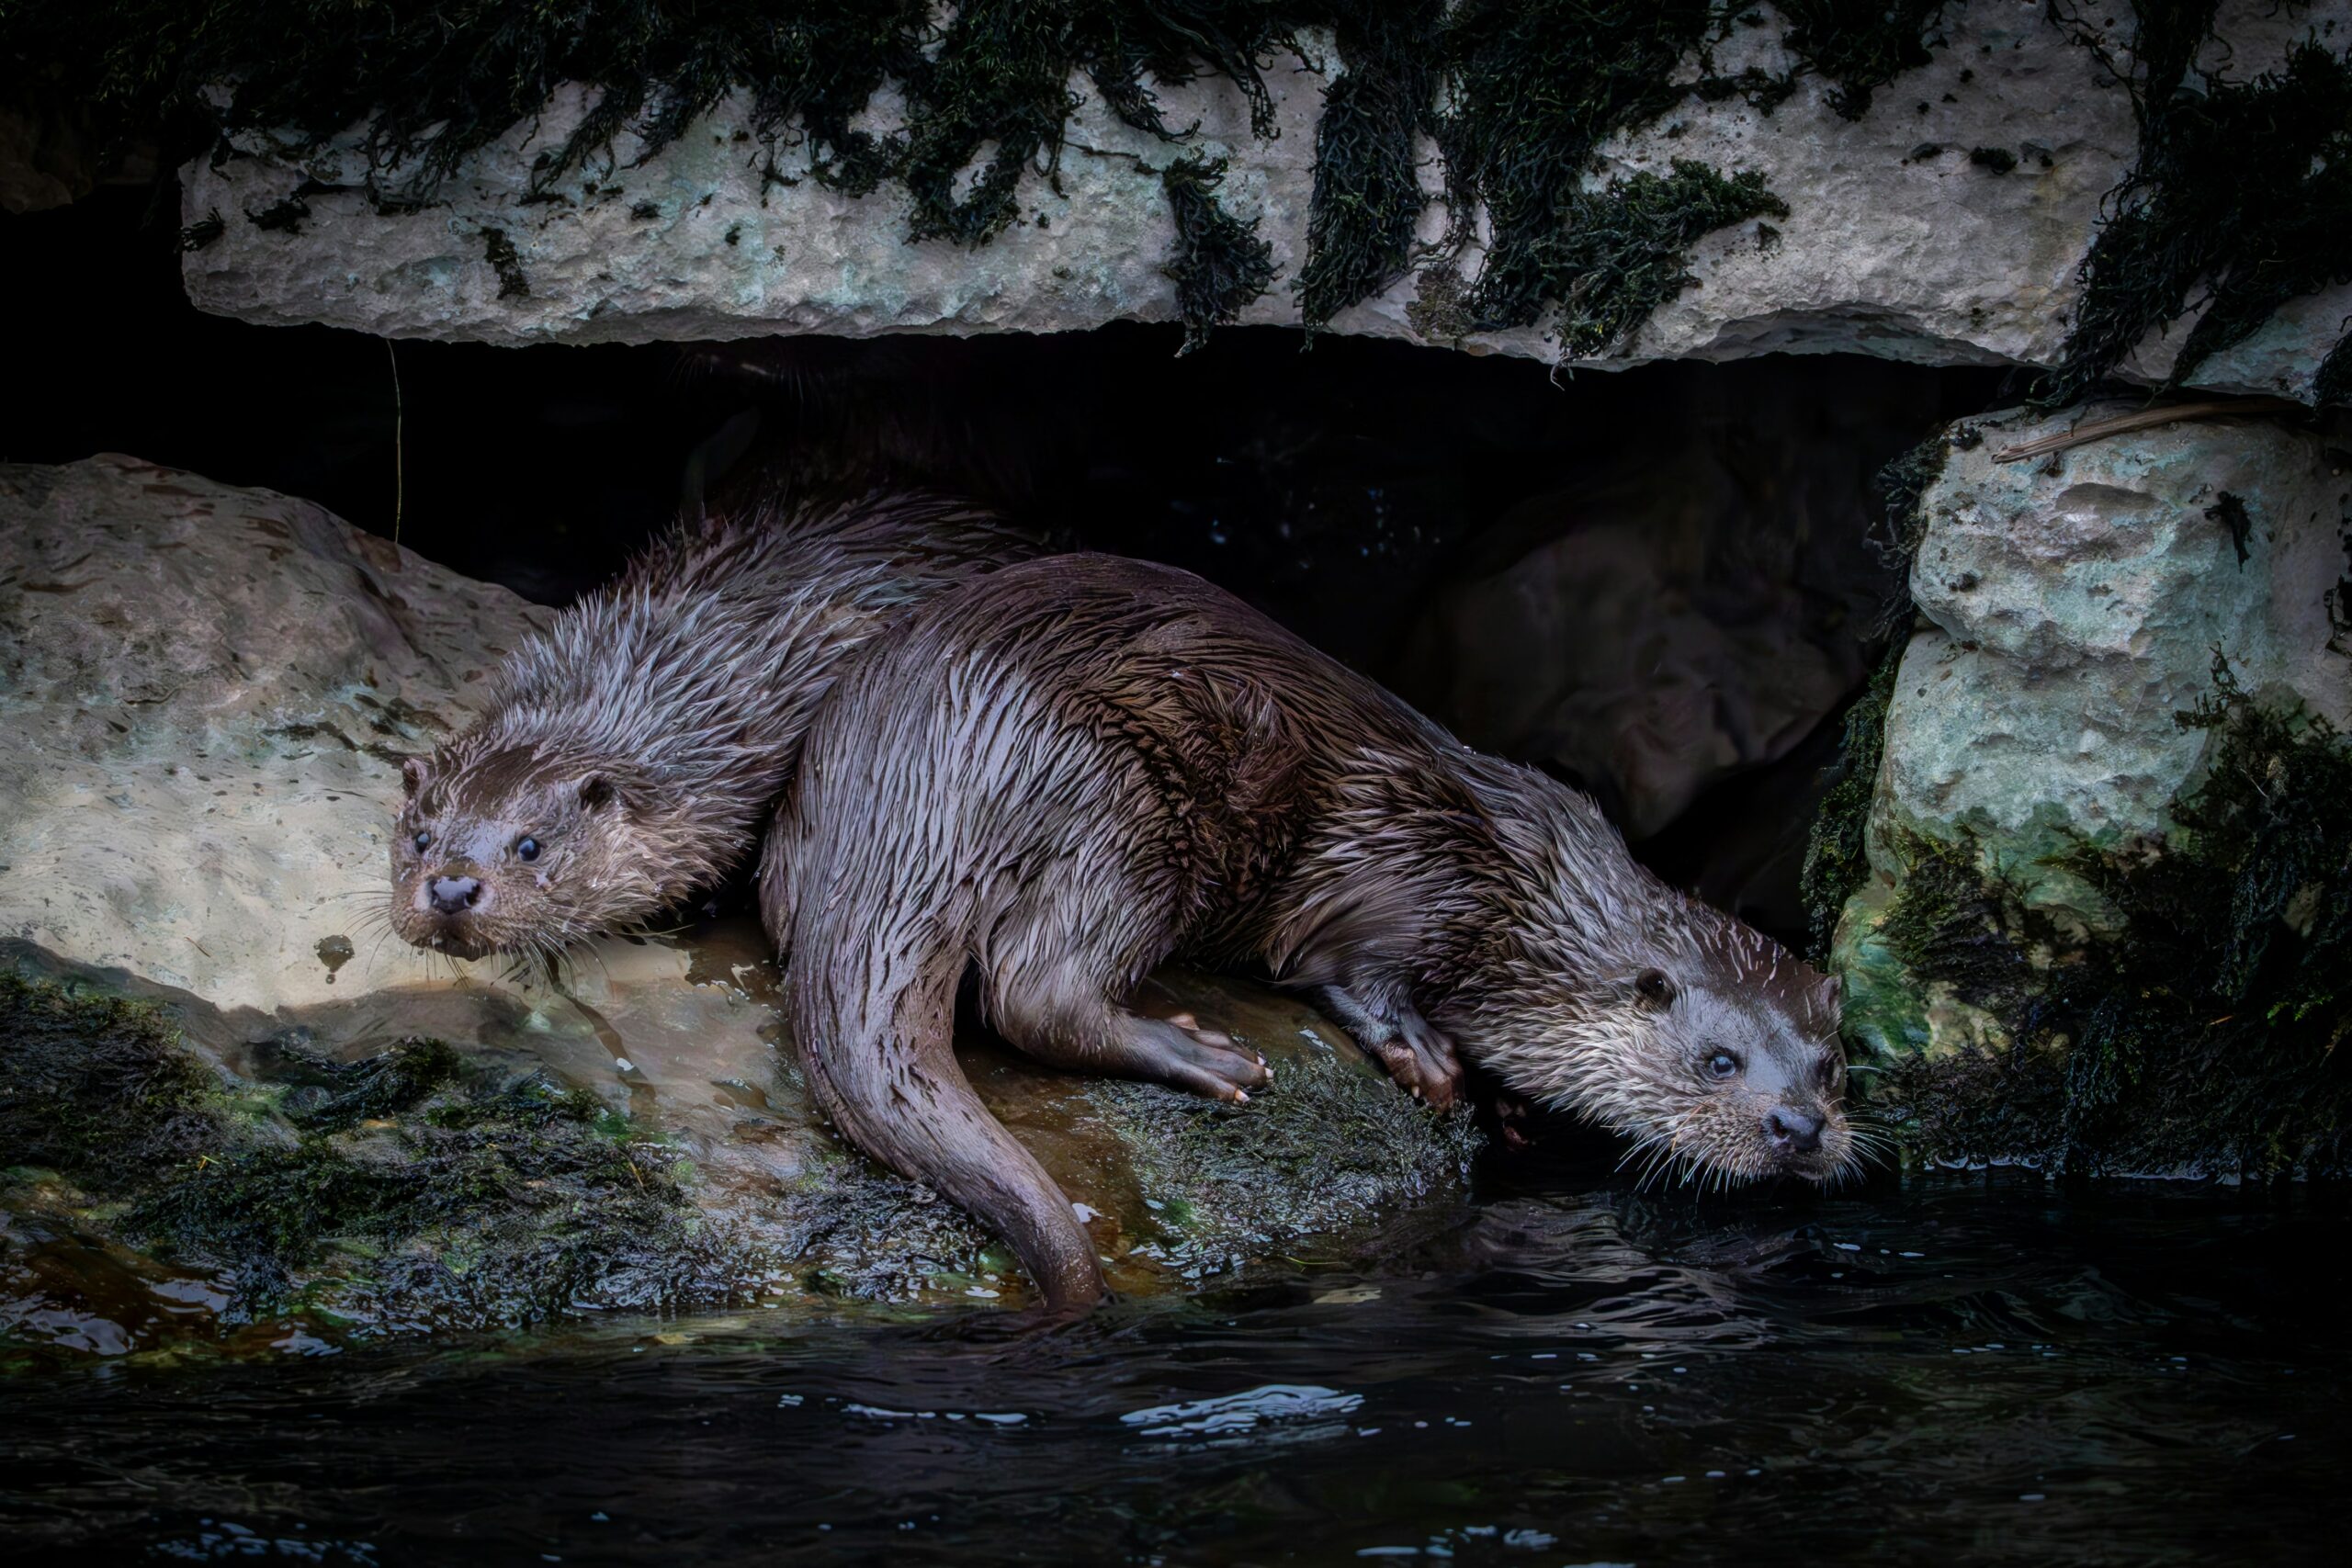
That philosophy is most evident in his enduring relationship with the osprey—a bird that dominates much of his work. For Smith, the osprey is more than a subject; it’s a symbol. He speaks of its relentless determination, its refusal to give up even when injured, exhausted or robbed of its prey. “They just keep going,” he says. “Over and over again.” Watching an osprey rise from the water again and again reminded him of the mythical phoenix—where each dive seems like a battle, and each ascent a quiet victory.
Understanding such behaviour, Smith believes, is the cornerstone of wildlife photography. Knowing how fast a bird moves, how it hunts, and even how it communicates distress determines whether a photographer captures something meaningful or merely intrusive. “Some birds make a very specific sound when you’re too close,” he explains. “If you don’t recognise that, you’ve already crossed a line.”
Smith’s approach to photography changed dramatically during a pivotal period in his life, when he and his wife sold everything, they owned and travelled across the United States in a caravan. Their journey eventually led them to Colorado, where the landscapes and wildlife transformed the way, he saw the world. It was there that photography shifted from interest into an obsession—and later, to purpose.
Although Smith initially returned to photography through video, slow motion became an unexpected teacher. By stretching time, he began to see details invisible to the naked eye—minute decisions, subtle body movements, and split-second reactions. Ospreys, which hit the water at nearly 50 miles an hour, suddenly revealed their intent frame by frame. “It taught me more than I ever expected,” he says. Not just about birds—but about his own technique, his mistakes, and how to correct them.
Yet for all the technical mastery his work reflects, Smith insists that equipment is secondary. Yes, good lenses matter. Yes, high-quality glass reveals extraordinary detail. But none of it replaces time spent in the field, observing and learning. “If you don’t enjoy being out there, people can see it in your work,” he says. Passion, he believes, is non-negotiable.
Some of Smith’s most memorable moments have nothing to do with awards or accolades. One of his most powerful images—an osprey carrying a fish with a crab still clinging to it—was technically flawed, harshly backlit, and full of blown highlights. Yet it became one of his most popular photographs. “Story comes first,” he says simply.
Not all stories end beautifully though. One of his most difficult experiences involved an injured osprey struck by a car. Attempting to save the bird, Smith wrapped it in a blanket and carried it to safety. In that moment, as the bird looked at him, he felt what he describes as a “cosmic slap” —a flood of emotion, understanding and shared vulnerability. The bird died minutes later in his son’s arms and that still remains one of the most humbling moments of his life.
“That connection,” Smith reflects, “is why this matters.” Wildlife photography, for him, is not about domination or control—it’s about empathy. About recognising that animals, like people, are navigating survival, fear, and resilience every day.
For young photographers eager to enter the world of bird photography, Smith’s advice is deceptively simple: learn the bird before you learn the camera. Understand its food, its migration, its habits. Start small. Be patient. And above all, enjoy the process.
Because in the end, the most powerful images aren’t captured—they’re earned, through time, respect, and the willingness to truly see.