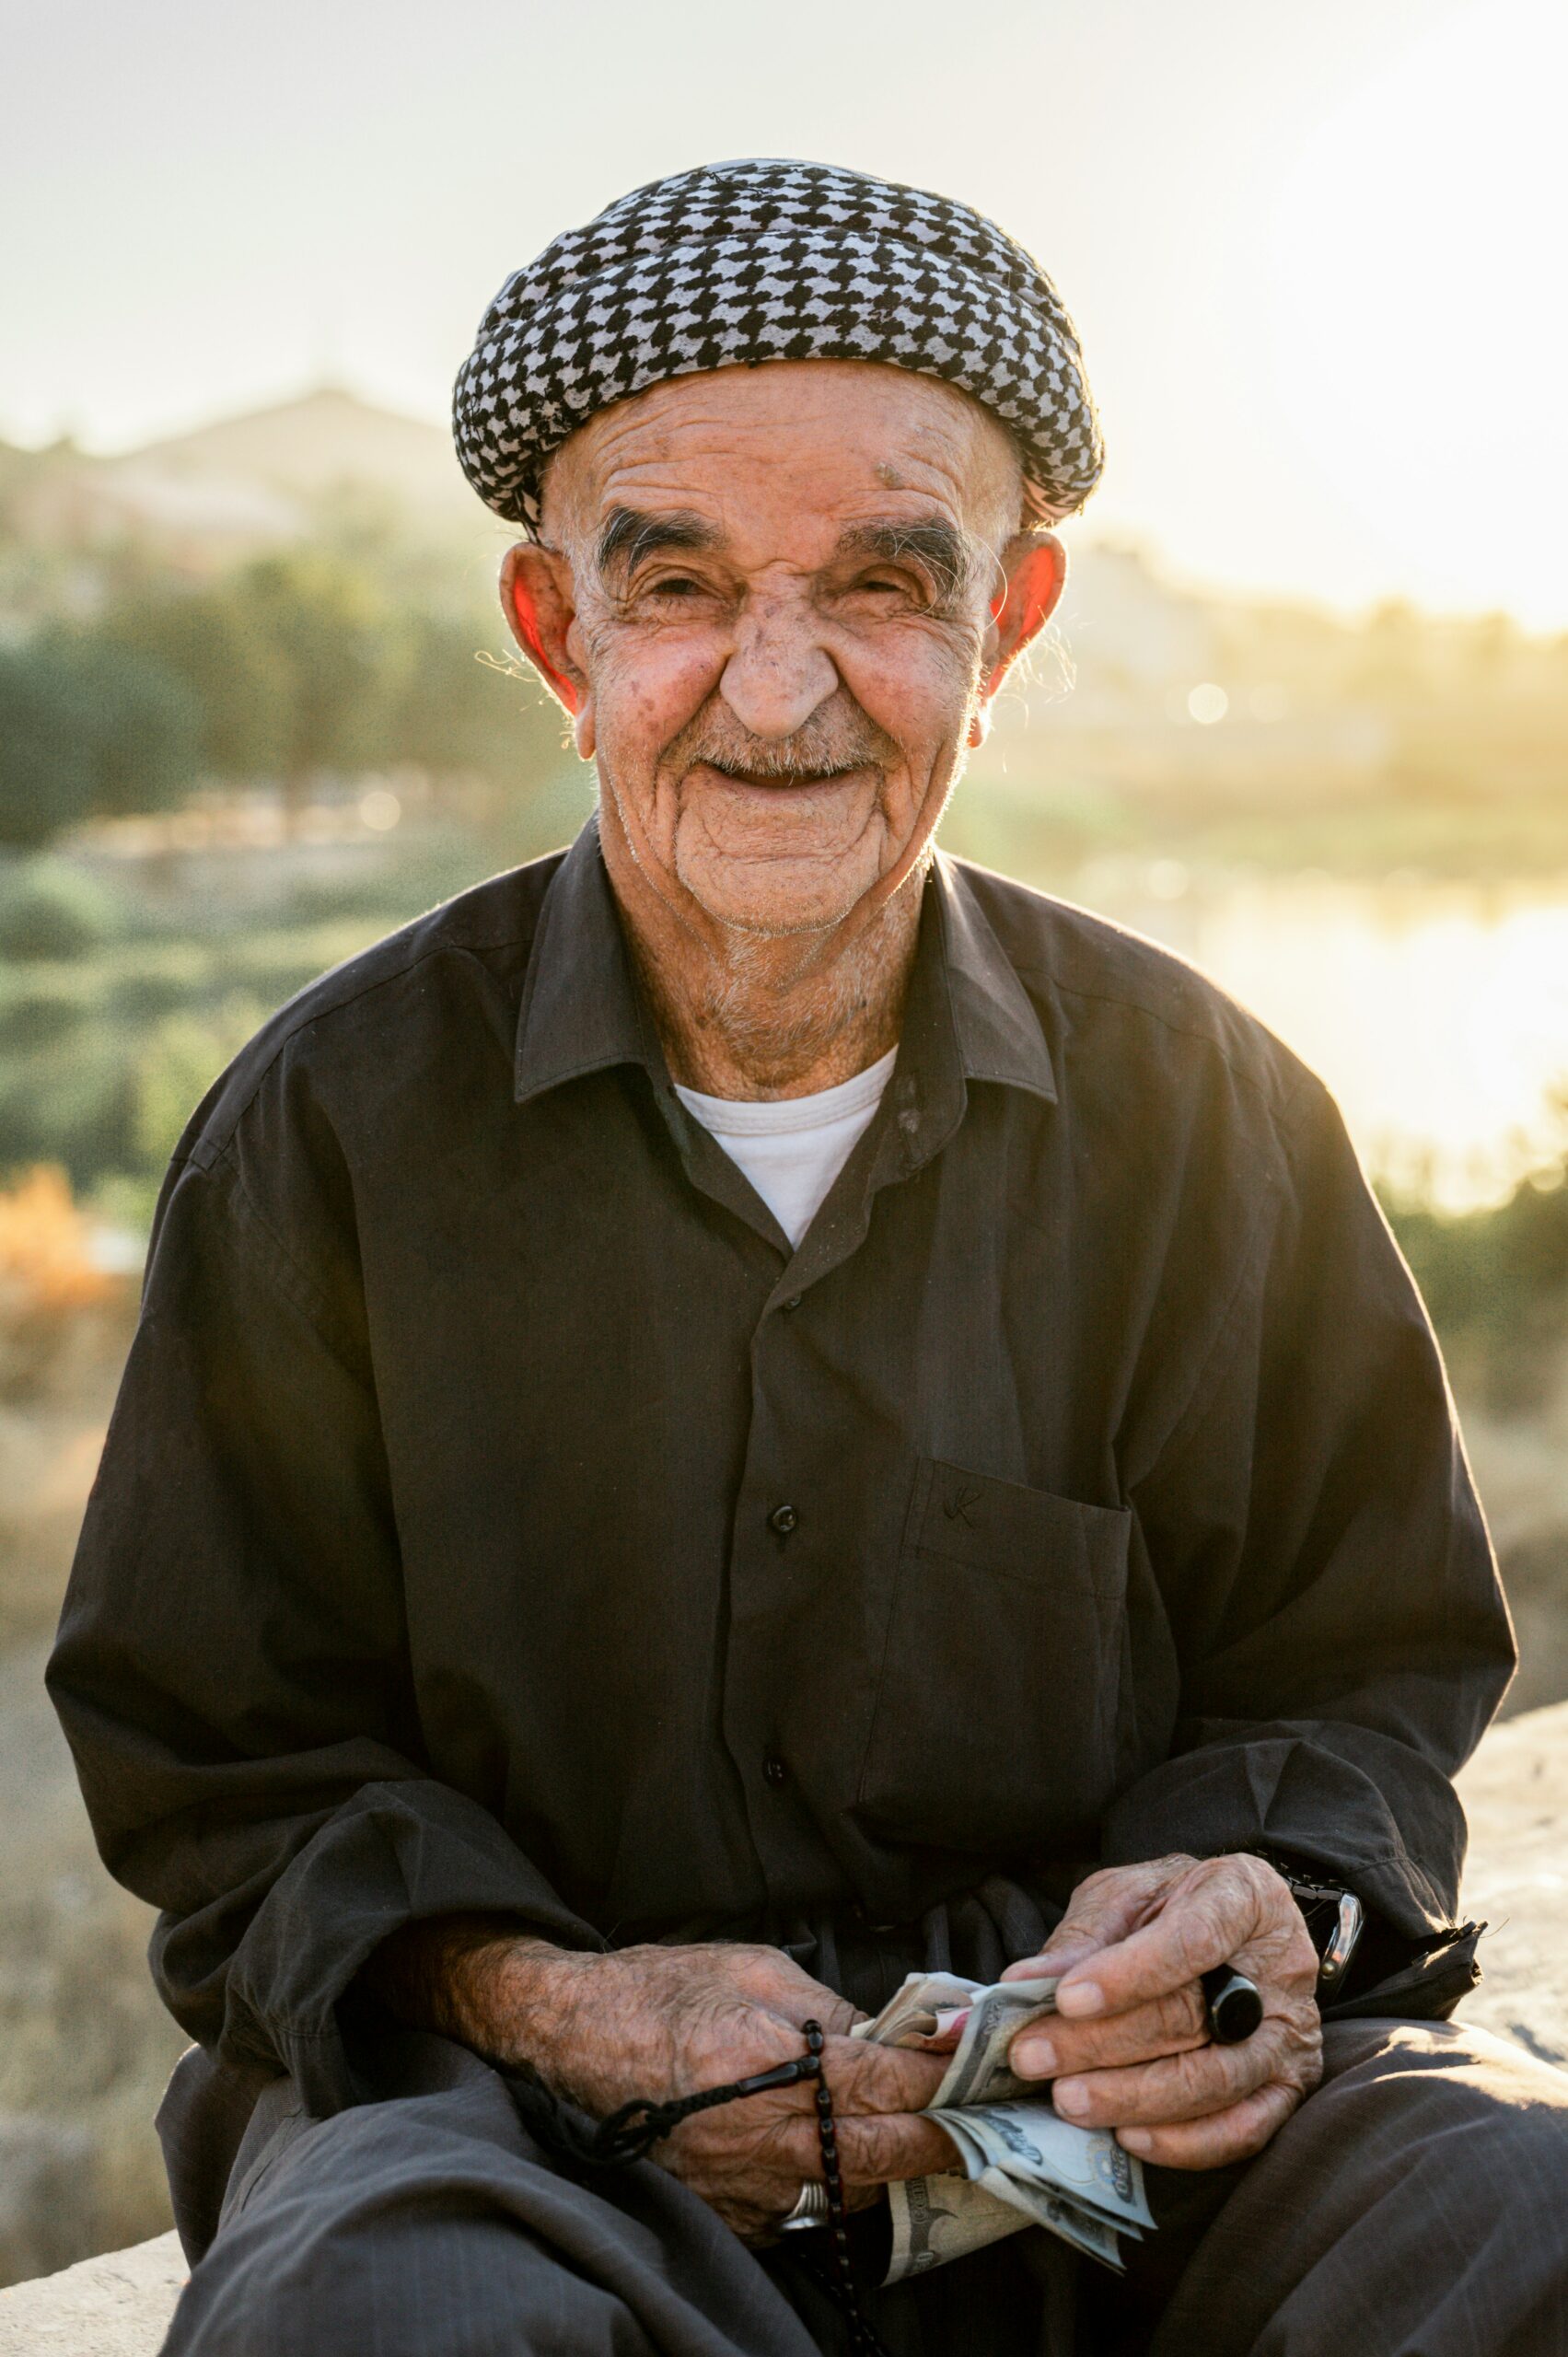
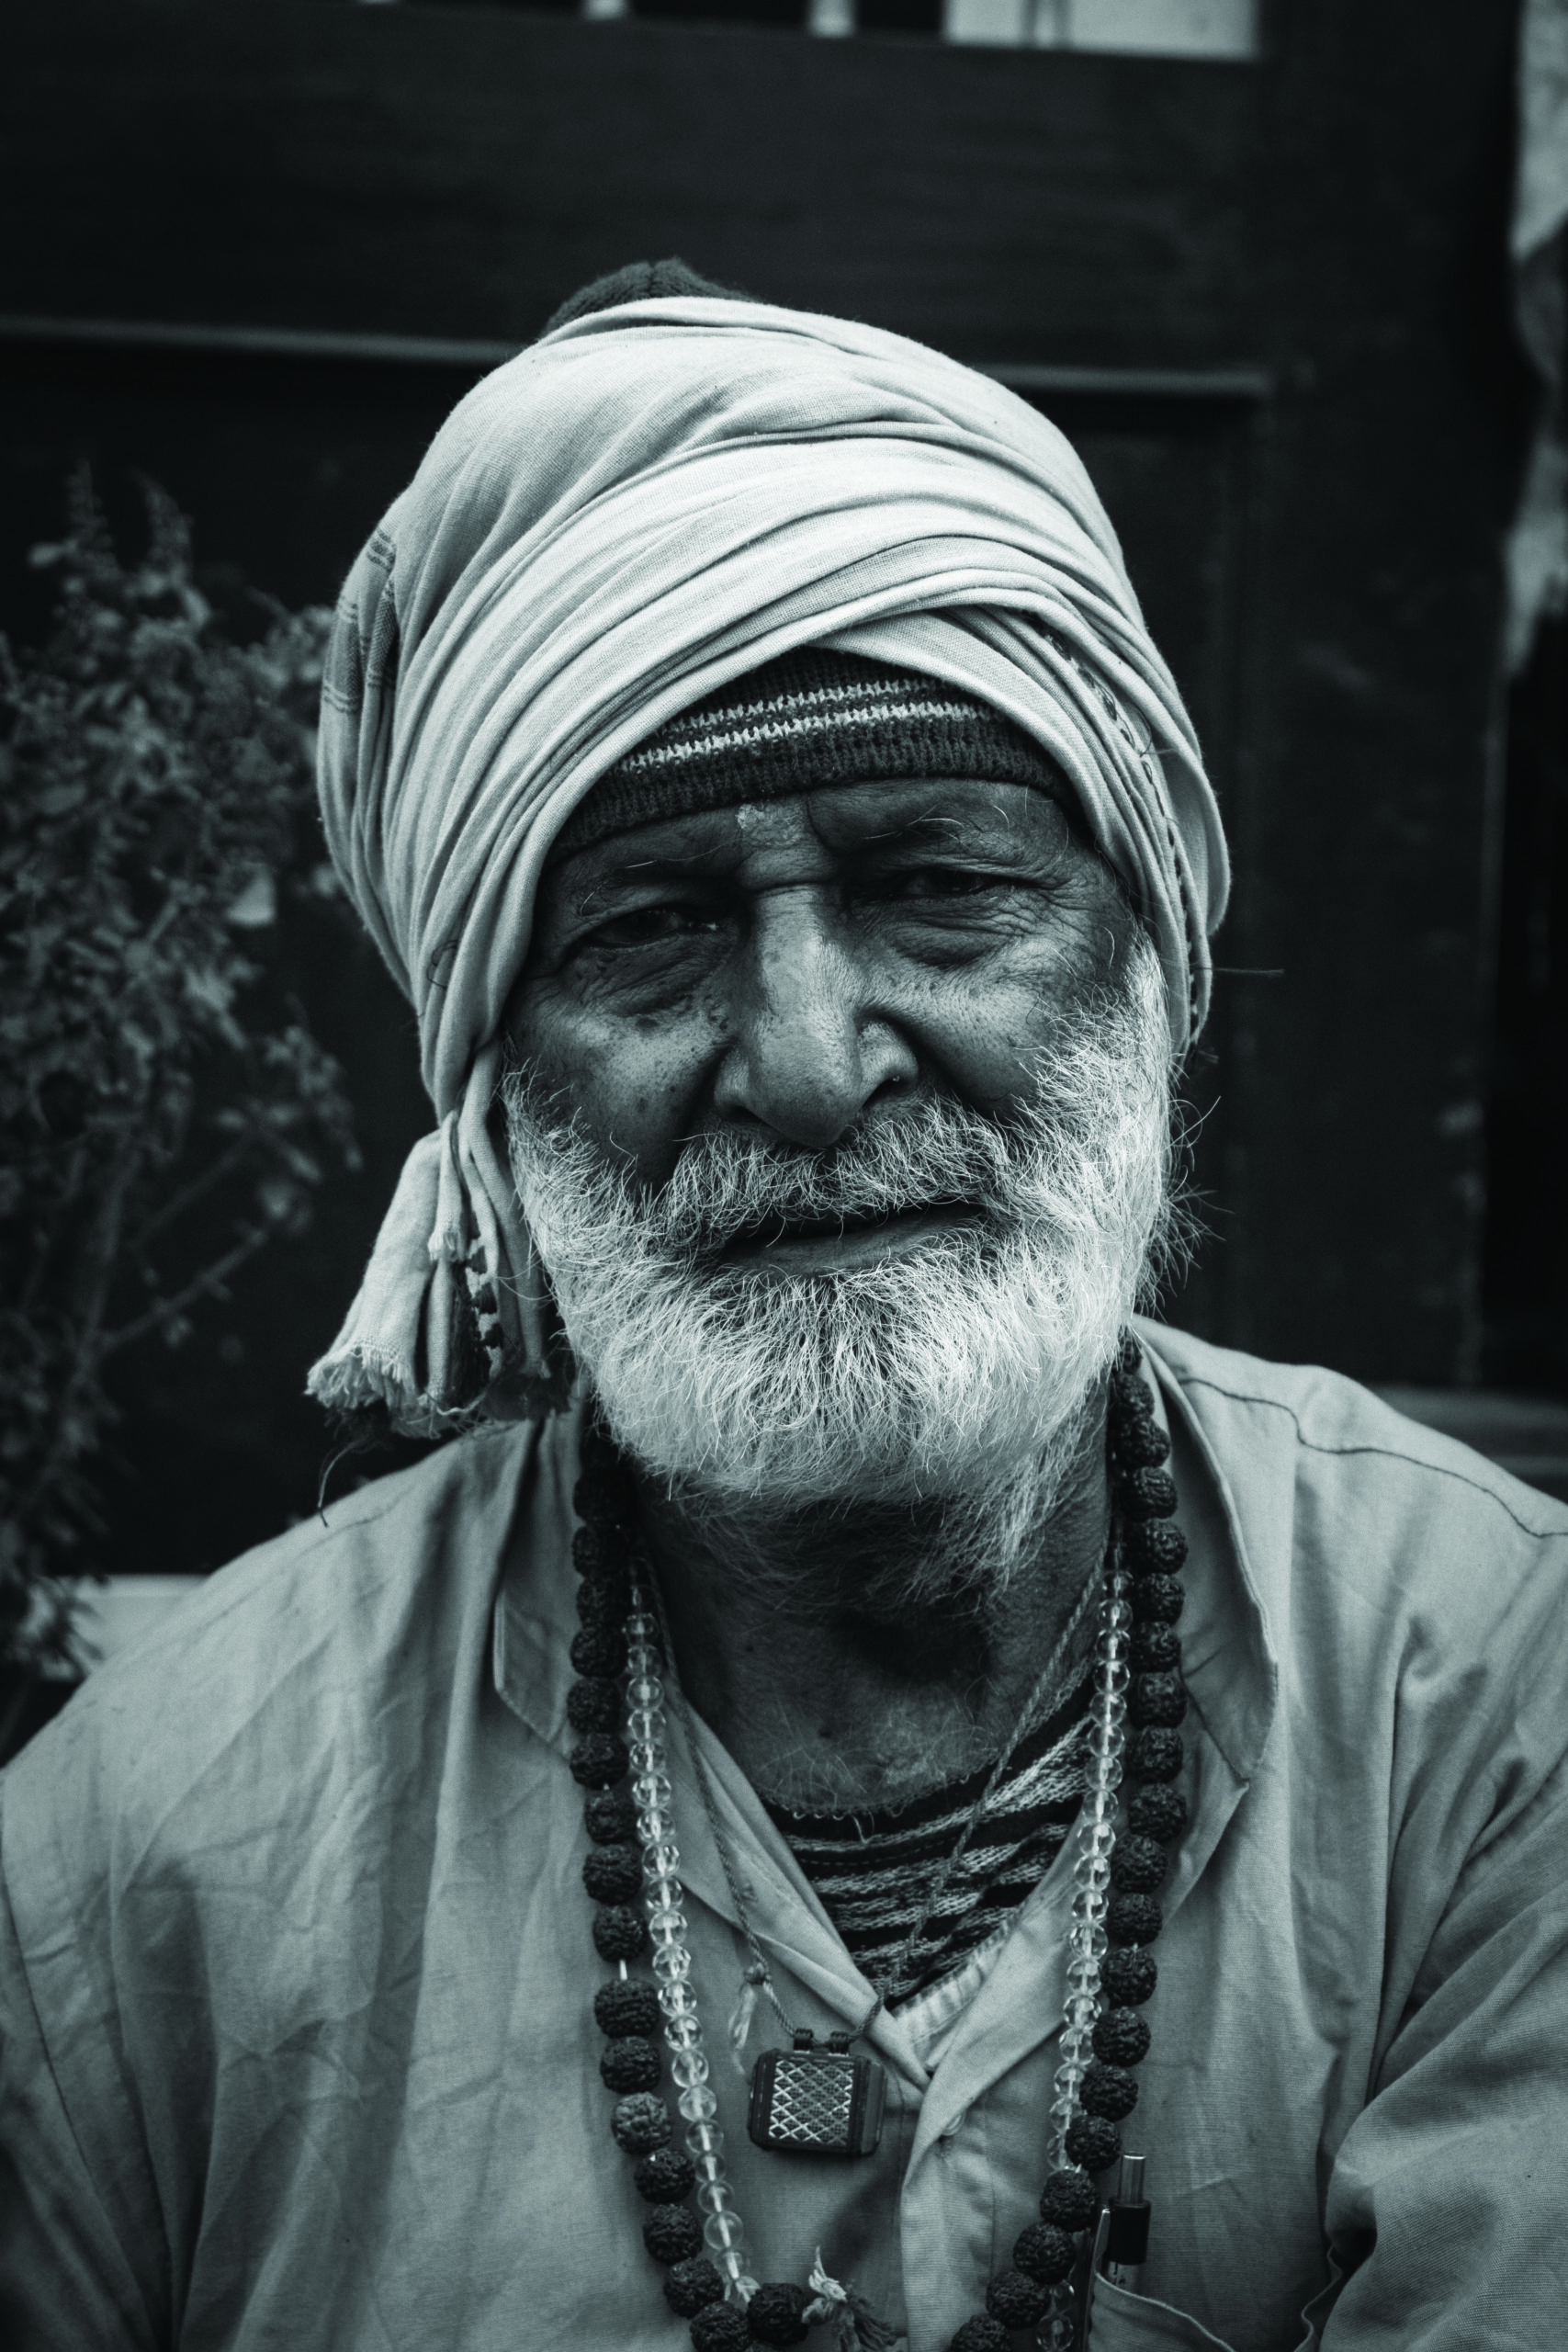
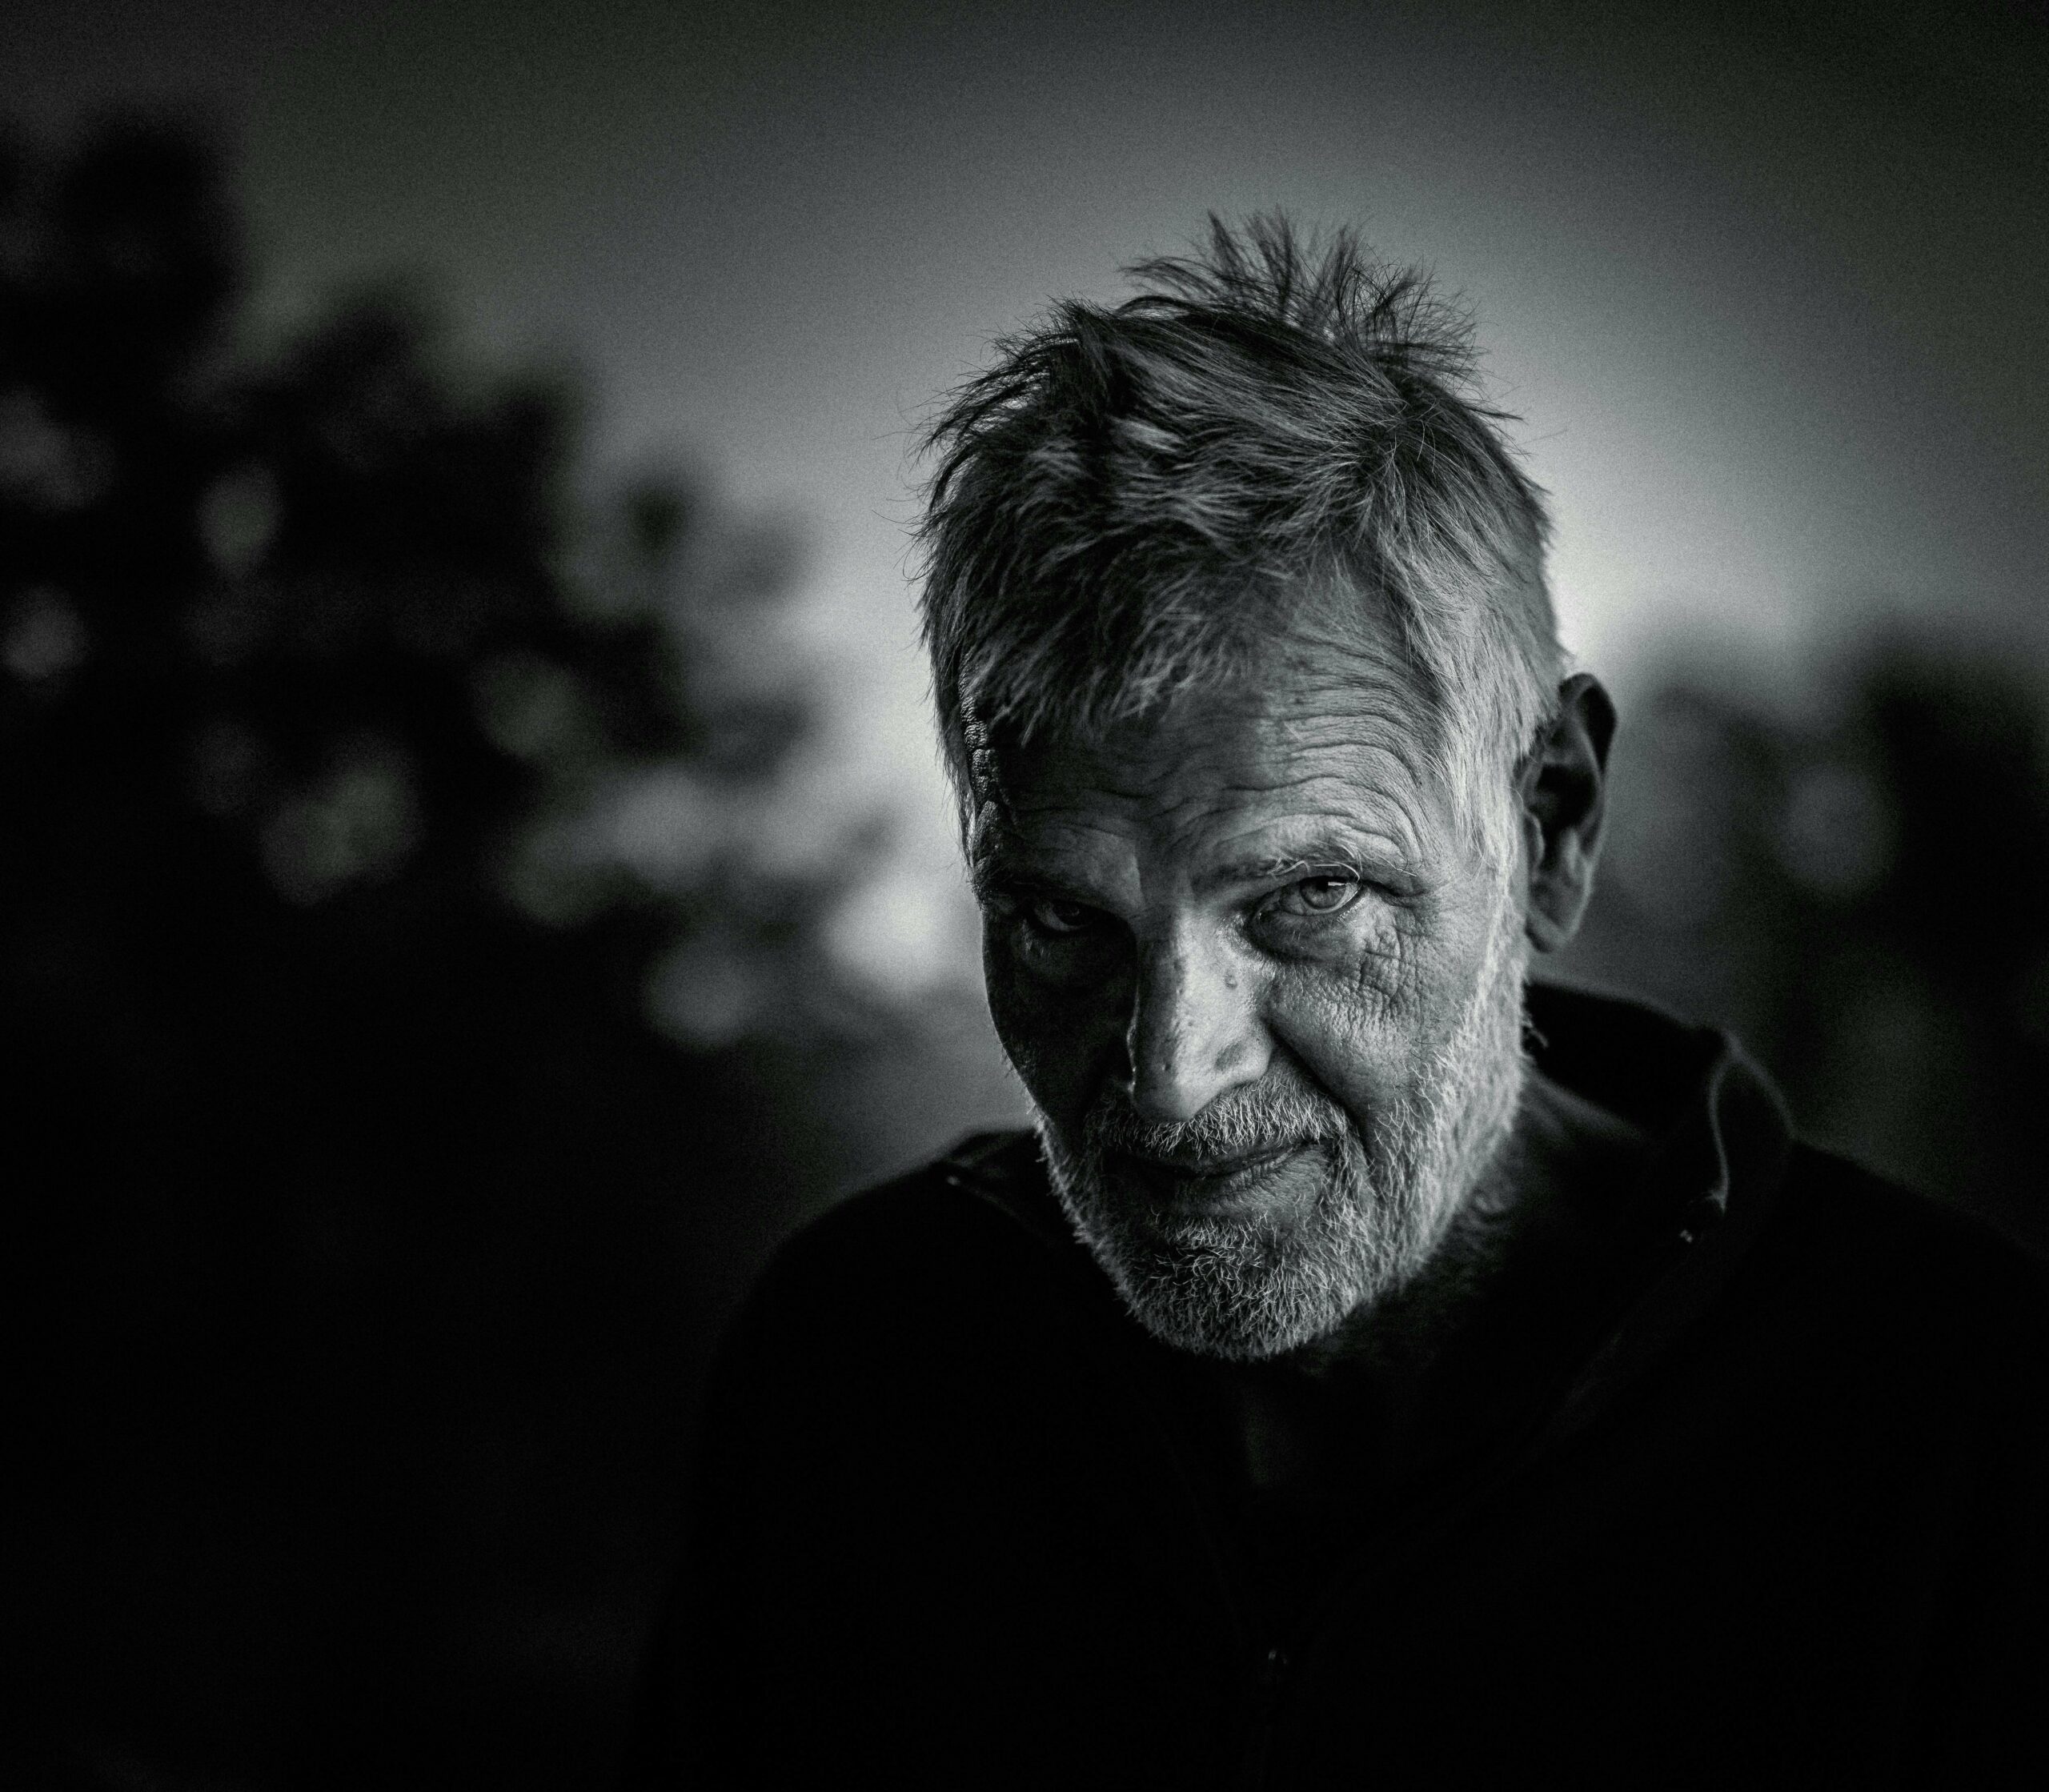
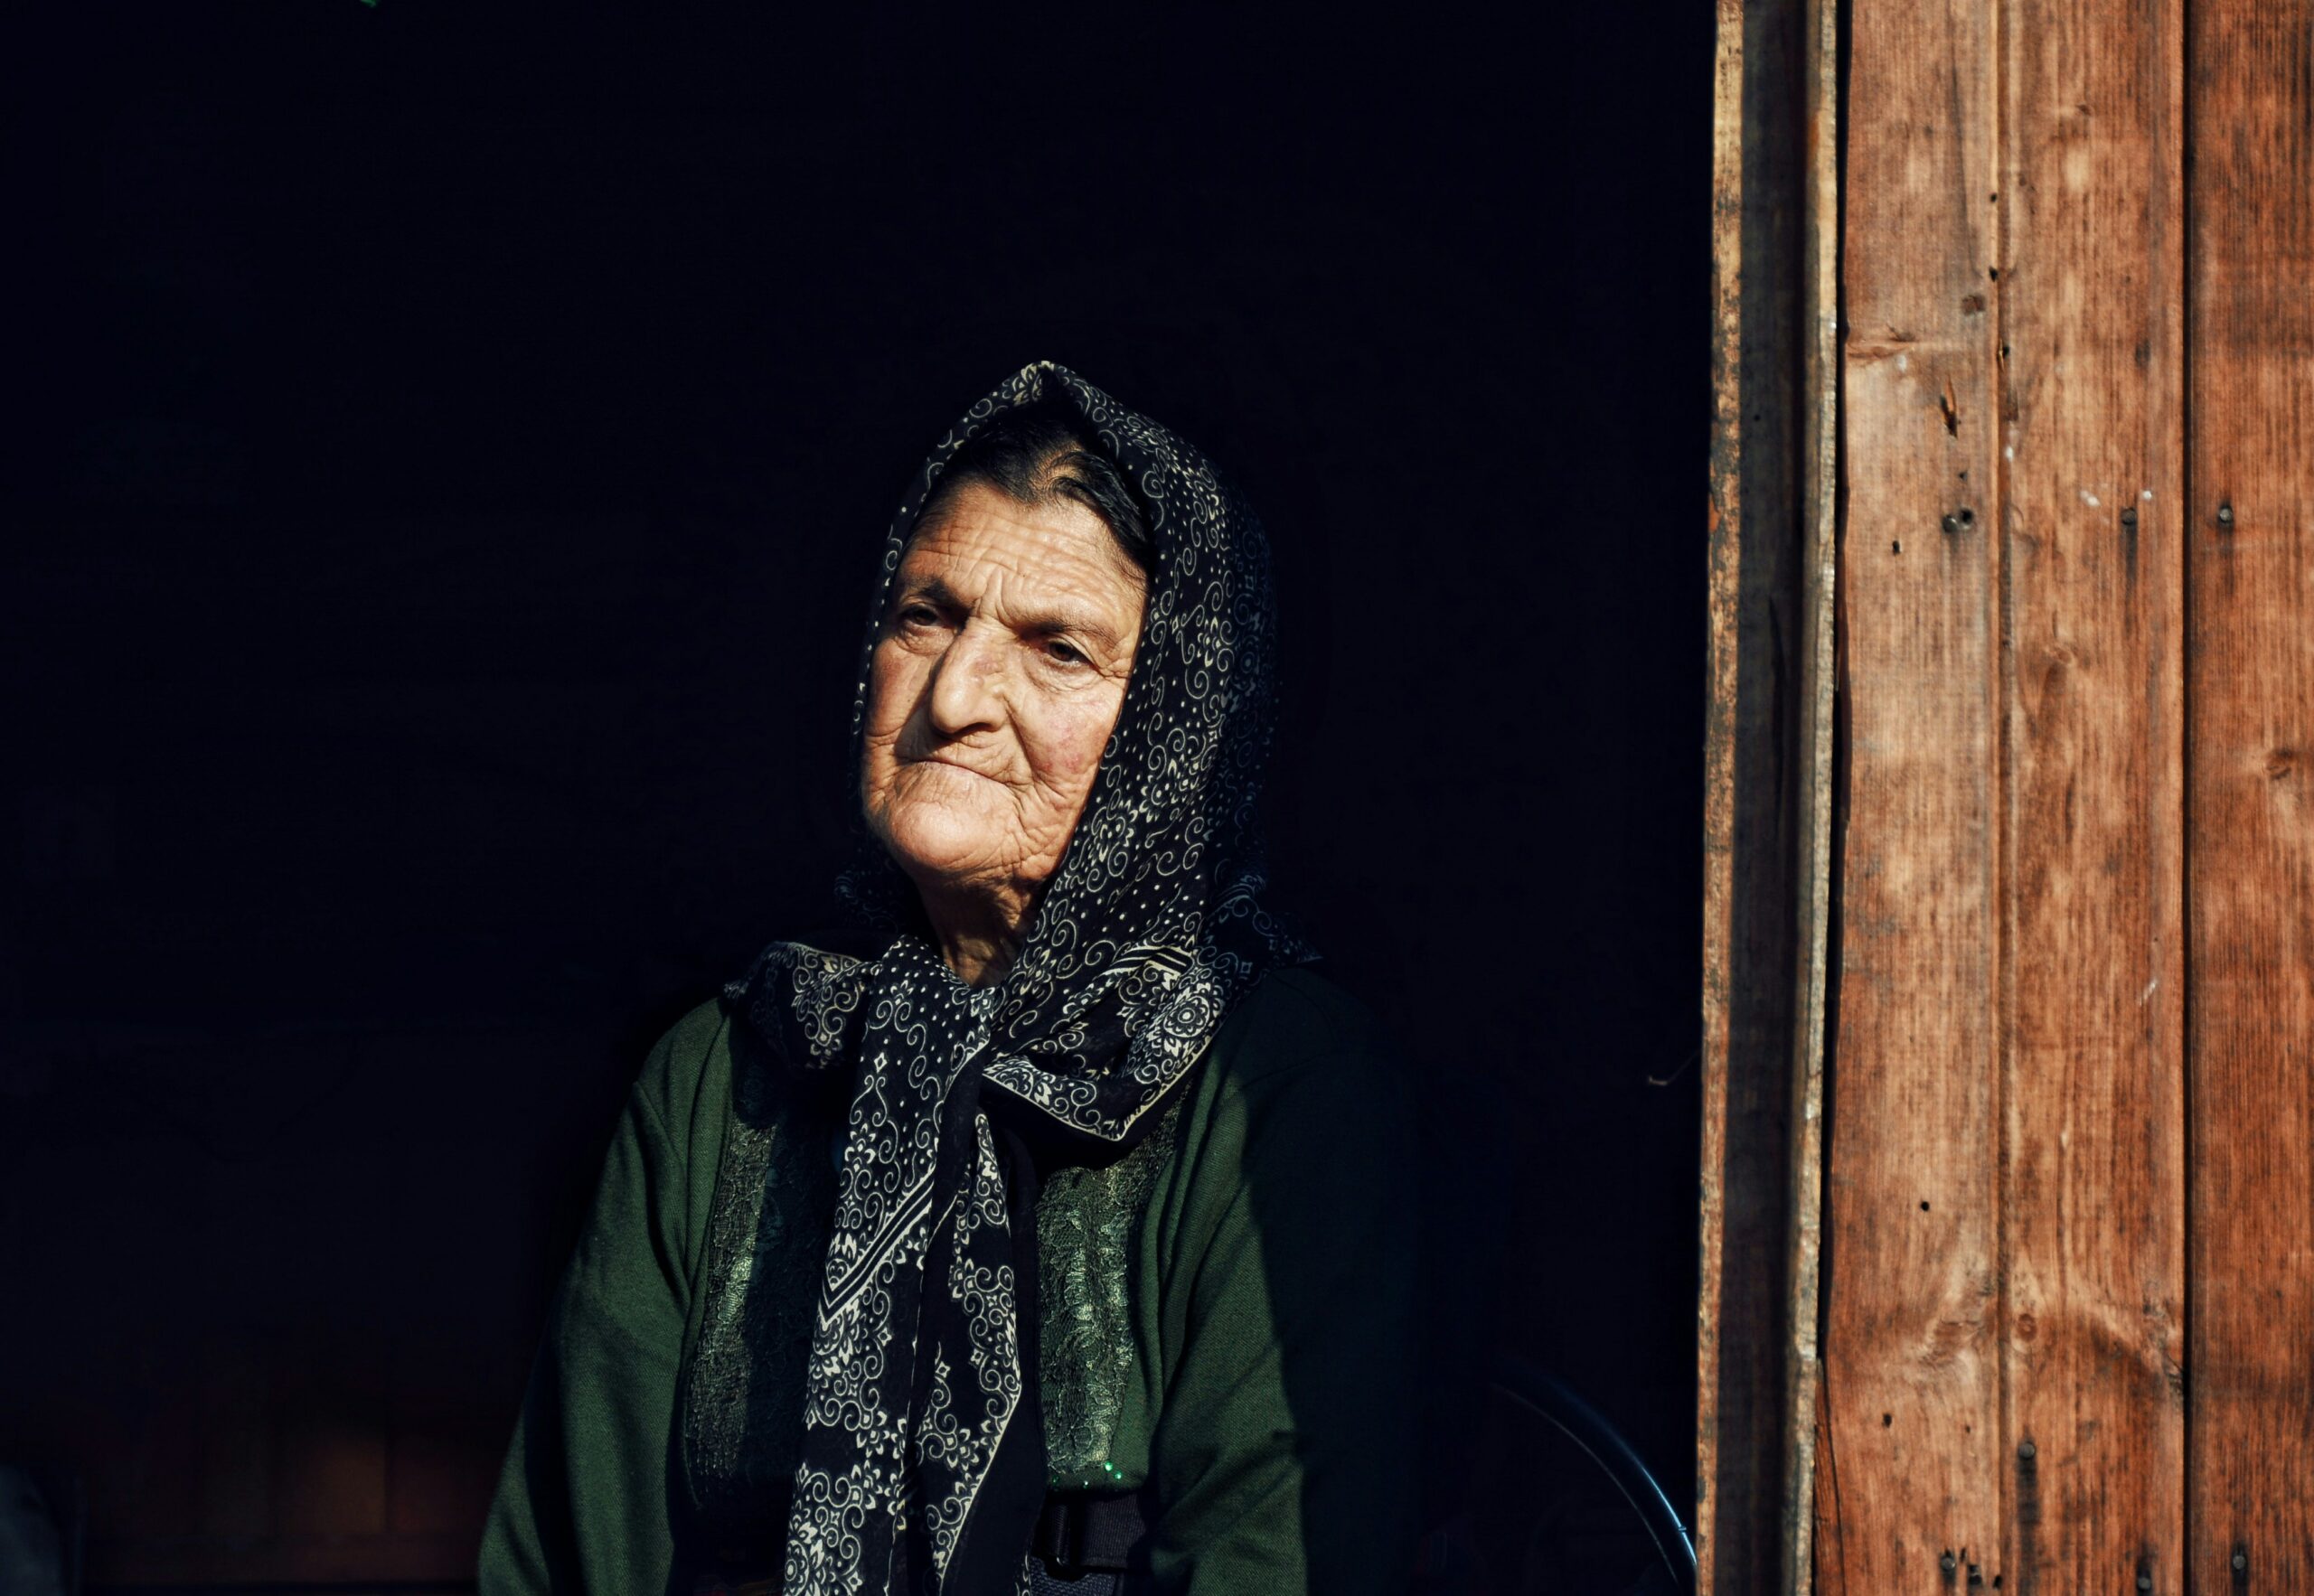
Author Archives: Sanchit Mishra

NIKKOR Z 28-400mm f/4-8 VR Lens Review

Nikon recently launched the new 28-400 mm lens for its full frame Mirrorless Z range of cameras. The lens is priced at Rs. 1,28,995 and it comes in the all-round superzoom category. Now the reason why I call this lens an all-round lens, because it can go as wide as 28mm all the way upto 400, making it a very versatile lens to use.

But the important questions here is – who is this targeted to? It’s targeted to someone who is an amateur wildlife enthusiast, street photographers, may be sports, although it isn’t fast enough for that.

Look, Body and Feel

The first thing I notice about the lens is that it is pretty light. This weighs only 725 gms and for a superzoom lens that it pretty light. For this review I am using this with the Nikon Z7 ii and overall it feels like a sturdy package to lug around. At the front you have the 77mm diameter for the lens along with the focus and zoom ring on the lens.
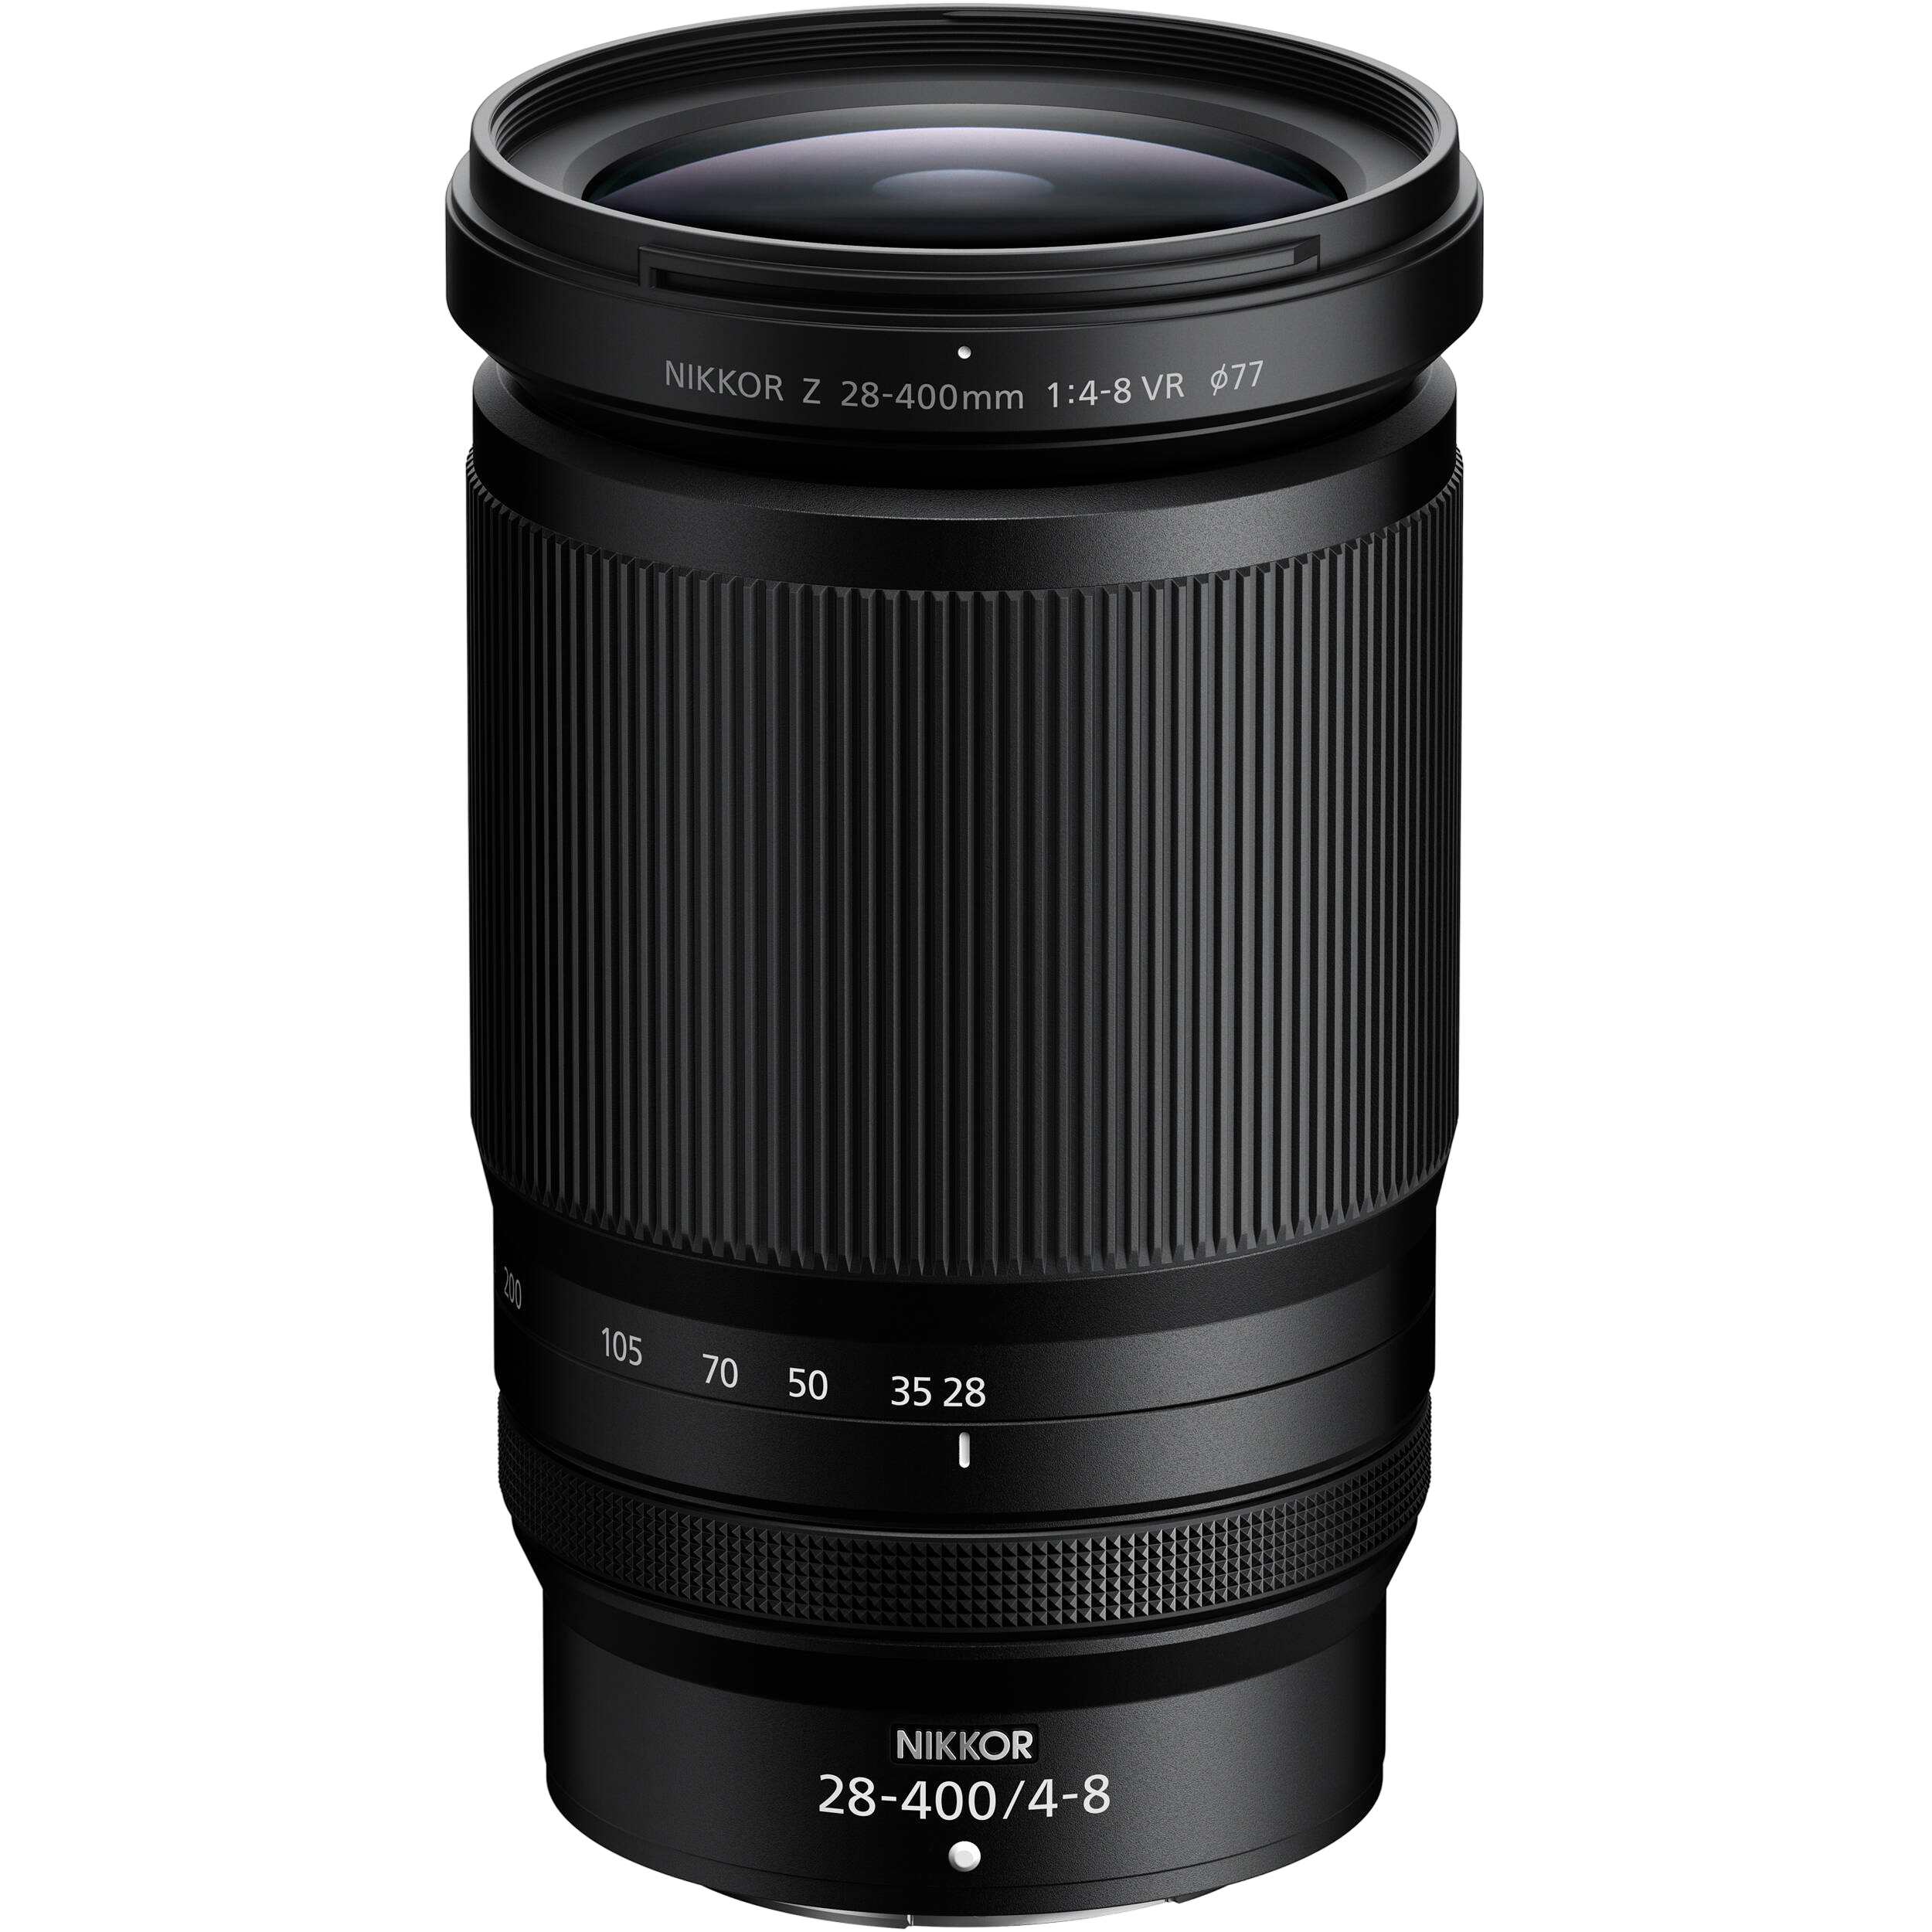
NIKKOR Z 28-400mm f/4-8 VR Lens

The lens is slightly hard to extend, but over time I feel it will loosen up a little. But there is a lens lock button that is provided to avoid accidental lens creep. I like the build quality of the lens as well, it feels well-built and sturdy. What I am surprised with is the weather sealing, although the specs say that it does feature weather sealing, visibly it is lesser that other lenses that i’ve seen. So this means that the production standard might’ve improved for that to not be visible anymore.

Image Performance

Now with a lens like this where you have the F-stop at F/4-8, it will always be difficult to get the best performance in lowlight, because it won’t allow much light to get in, especially in lowlight scenarios. Another thing to note is that after 200mm, the lens also shifts to an F/8 for shooting.

Shutter Speed: 1/640s, Aperture: f/8, ISO:200, Focal Length: 400mm

Now in terms of images in daylight, the performance of the lens is pretty good. At 28mm the pics are sharp, detailed and also are pleasing to the eye. But as you start moving higher in the focal range you can see that the images do have certain softness on the edges and also on zooming in, it will lose some clarity. Now this isn’t something to be surprised about, most lenses in the superzoom category are like that, so this isn’t unusual.

In daylight the focusing is also fast. This lens uses the STM motor, which is the stepping motor to autofocus. It is pretty smooth and quiet, which can be useful when shooting videos. And since it has a longer focal ranges it can be very useful for shooting documentaries. The videos we shot with this were very good (watch video review here), stable and there was quality output. Another good thing that I liked is that the lens features in-built vibration reduction, which works upto 5 stops and the performance of that was also very good.

Shutter Speed: 1/200s, Aperture: f/8, ISO:2000, Focal Length: 400mm

But as good as the lens is in terms of autofocus in daylight, it does hunt slightly in the lowlight conditions. But truth be told I wasn’t expecting the lens to perform very well in lowlight, but I was surprised with the performance. The overall images are good, yes there is a focusing challenge, but when it focuses it delivers good pics. What I like is that with a focal range like this you can use this for street photography also, especially the pics showed good contrast and surprisingly were well lit.

The depth and bokeh as well on the lens were pretty good in both daylight and lowlight.

Minimum focusing distance

For a versatile lens with a superzoom, this lens also gives you the option for getting in closer. The minimum focusing distance of the lens at 28mm is 0.66 ft and at 400mm is 3.69 ft, which is pretty good. The images at both 28mm and 400 mm are pretty decent and I really like the performance in this case. Yes, at the closer range there is surely sharpness at the centre and more softness on the sides. But if used wisely then it can surely be an asset.

Lens flare and ghosting

In terms of the lens flare and ghosting, this is probably one of the best lenses that I have seen in recent times. There is hardly any lens flare of ghosting even when we shot intentionally to test it. The images from the lens under varied scenes don’t show any visible glaring and ghosting and that was something that I was really impressed with.
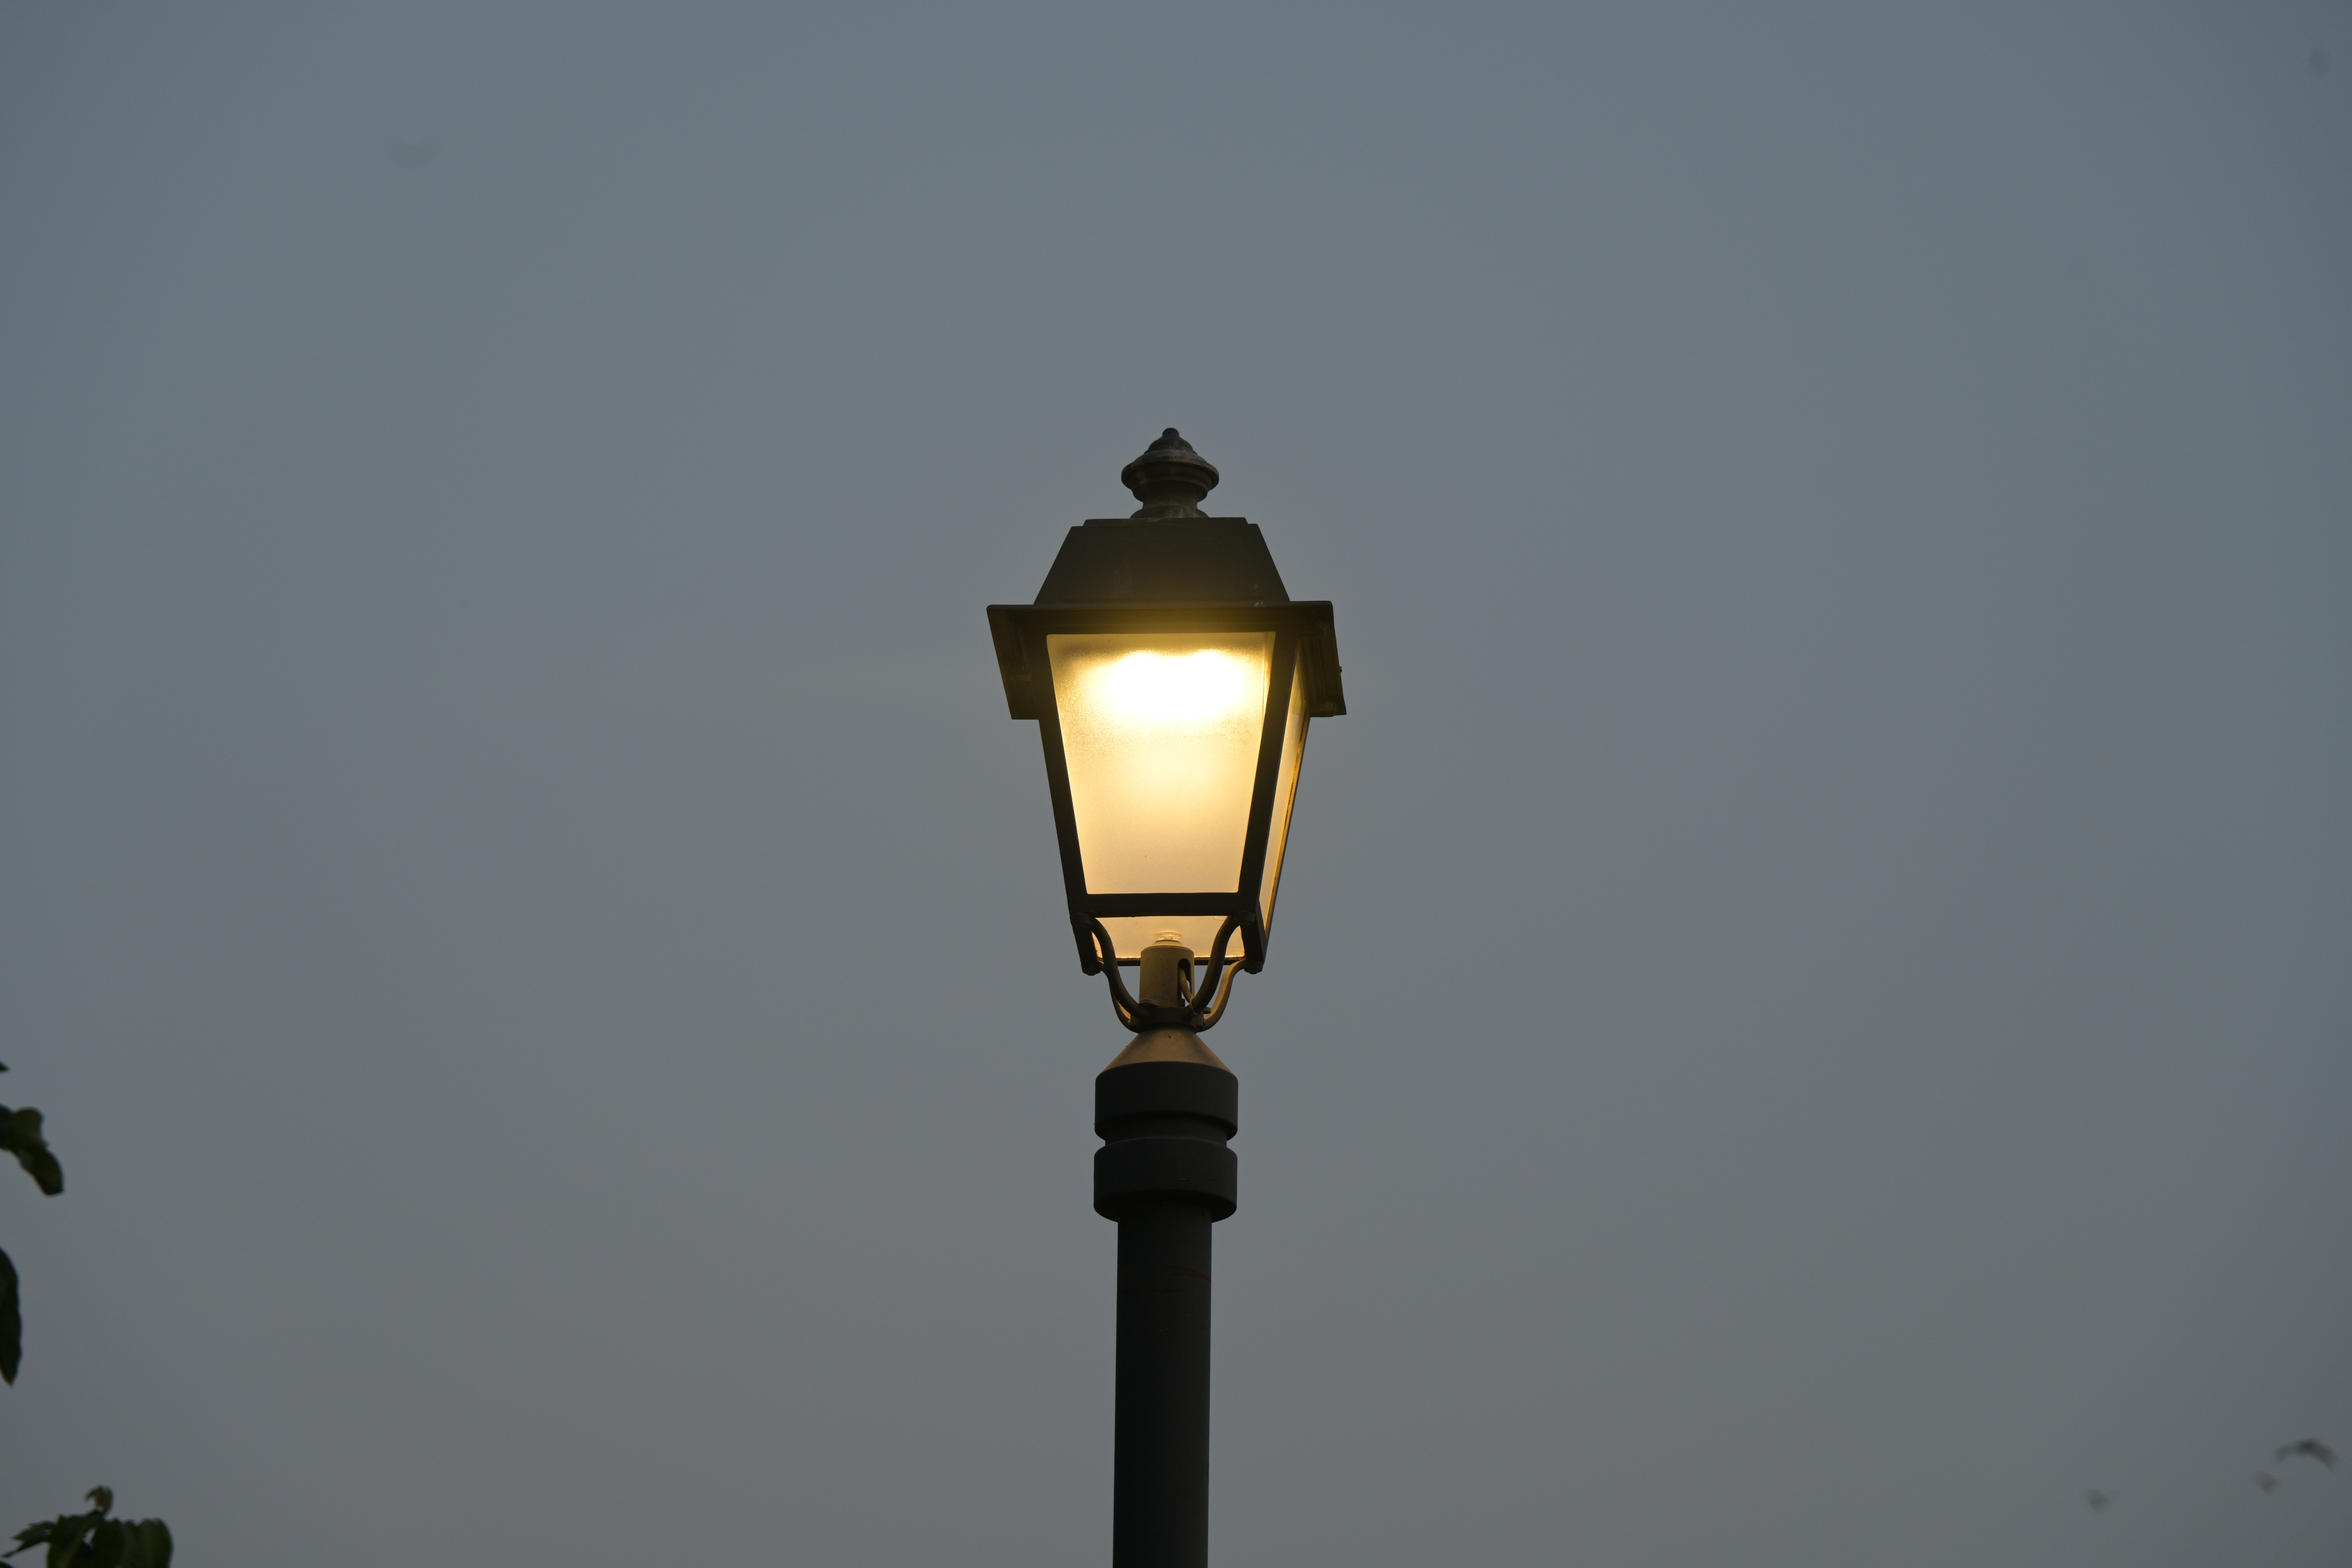
Shutter Speed: 1/125s, Aperture: f/7.1, ISO:200, Focal Length: 140mm

Chromatic Aberration

In terms of CA value, the lens does display a value of 0.84 pixels, which is on the higher side.
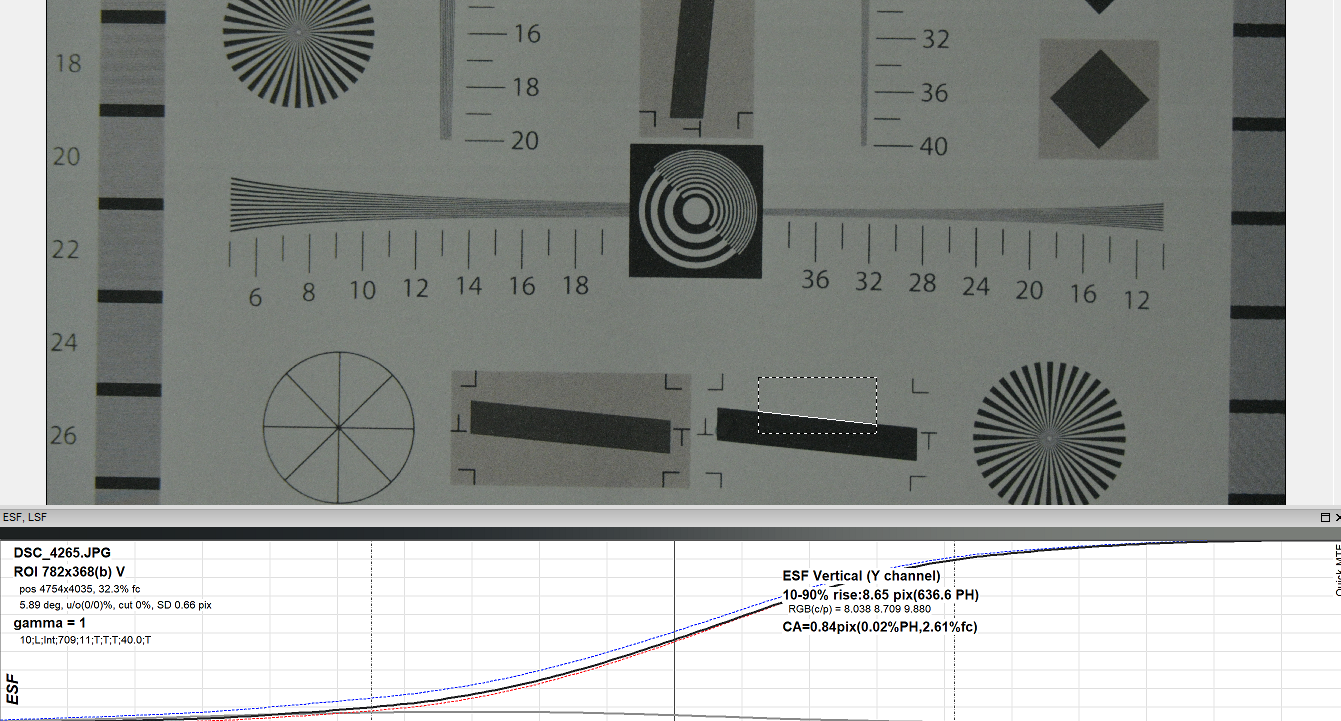
CA Value: 0.84 pixels

Conclusion

So how do I find the new Nikon 28-400 mm lens for the Z mount? Honestly my feelings are mixed. Yes it isn’t a lens that will completely blow your mind from the onset. Because it really isn’t a fast lens, which means that you start thinking about its performance, atleast in lowlight. But I was pleasantly surprised with it. The daylight performance is very good, it’s well built and overall gives a good performance. The performance in lowlight could be better though.

But more importantly it gives the user the opportunity to do away multiple lenses at a price of Rs. 1.3 lacs. Which means you don’t have to carry that additional gear. And that to me sounds like a good scenario to be in.

Bhavya Desai

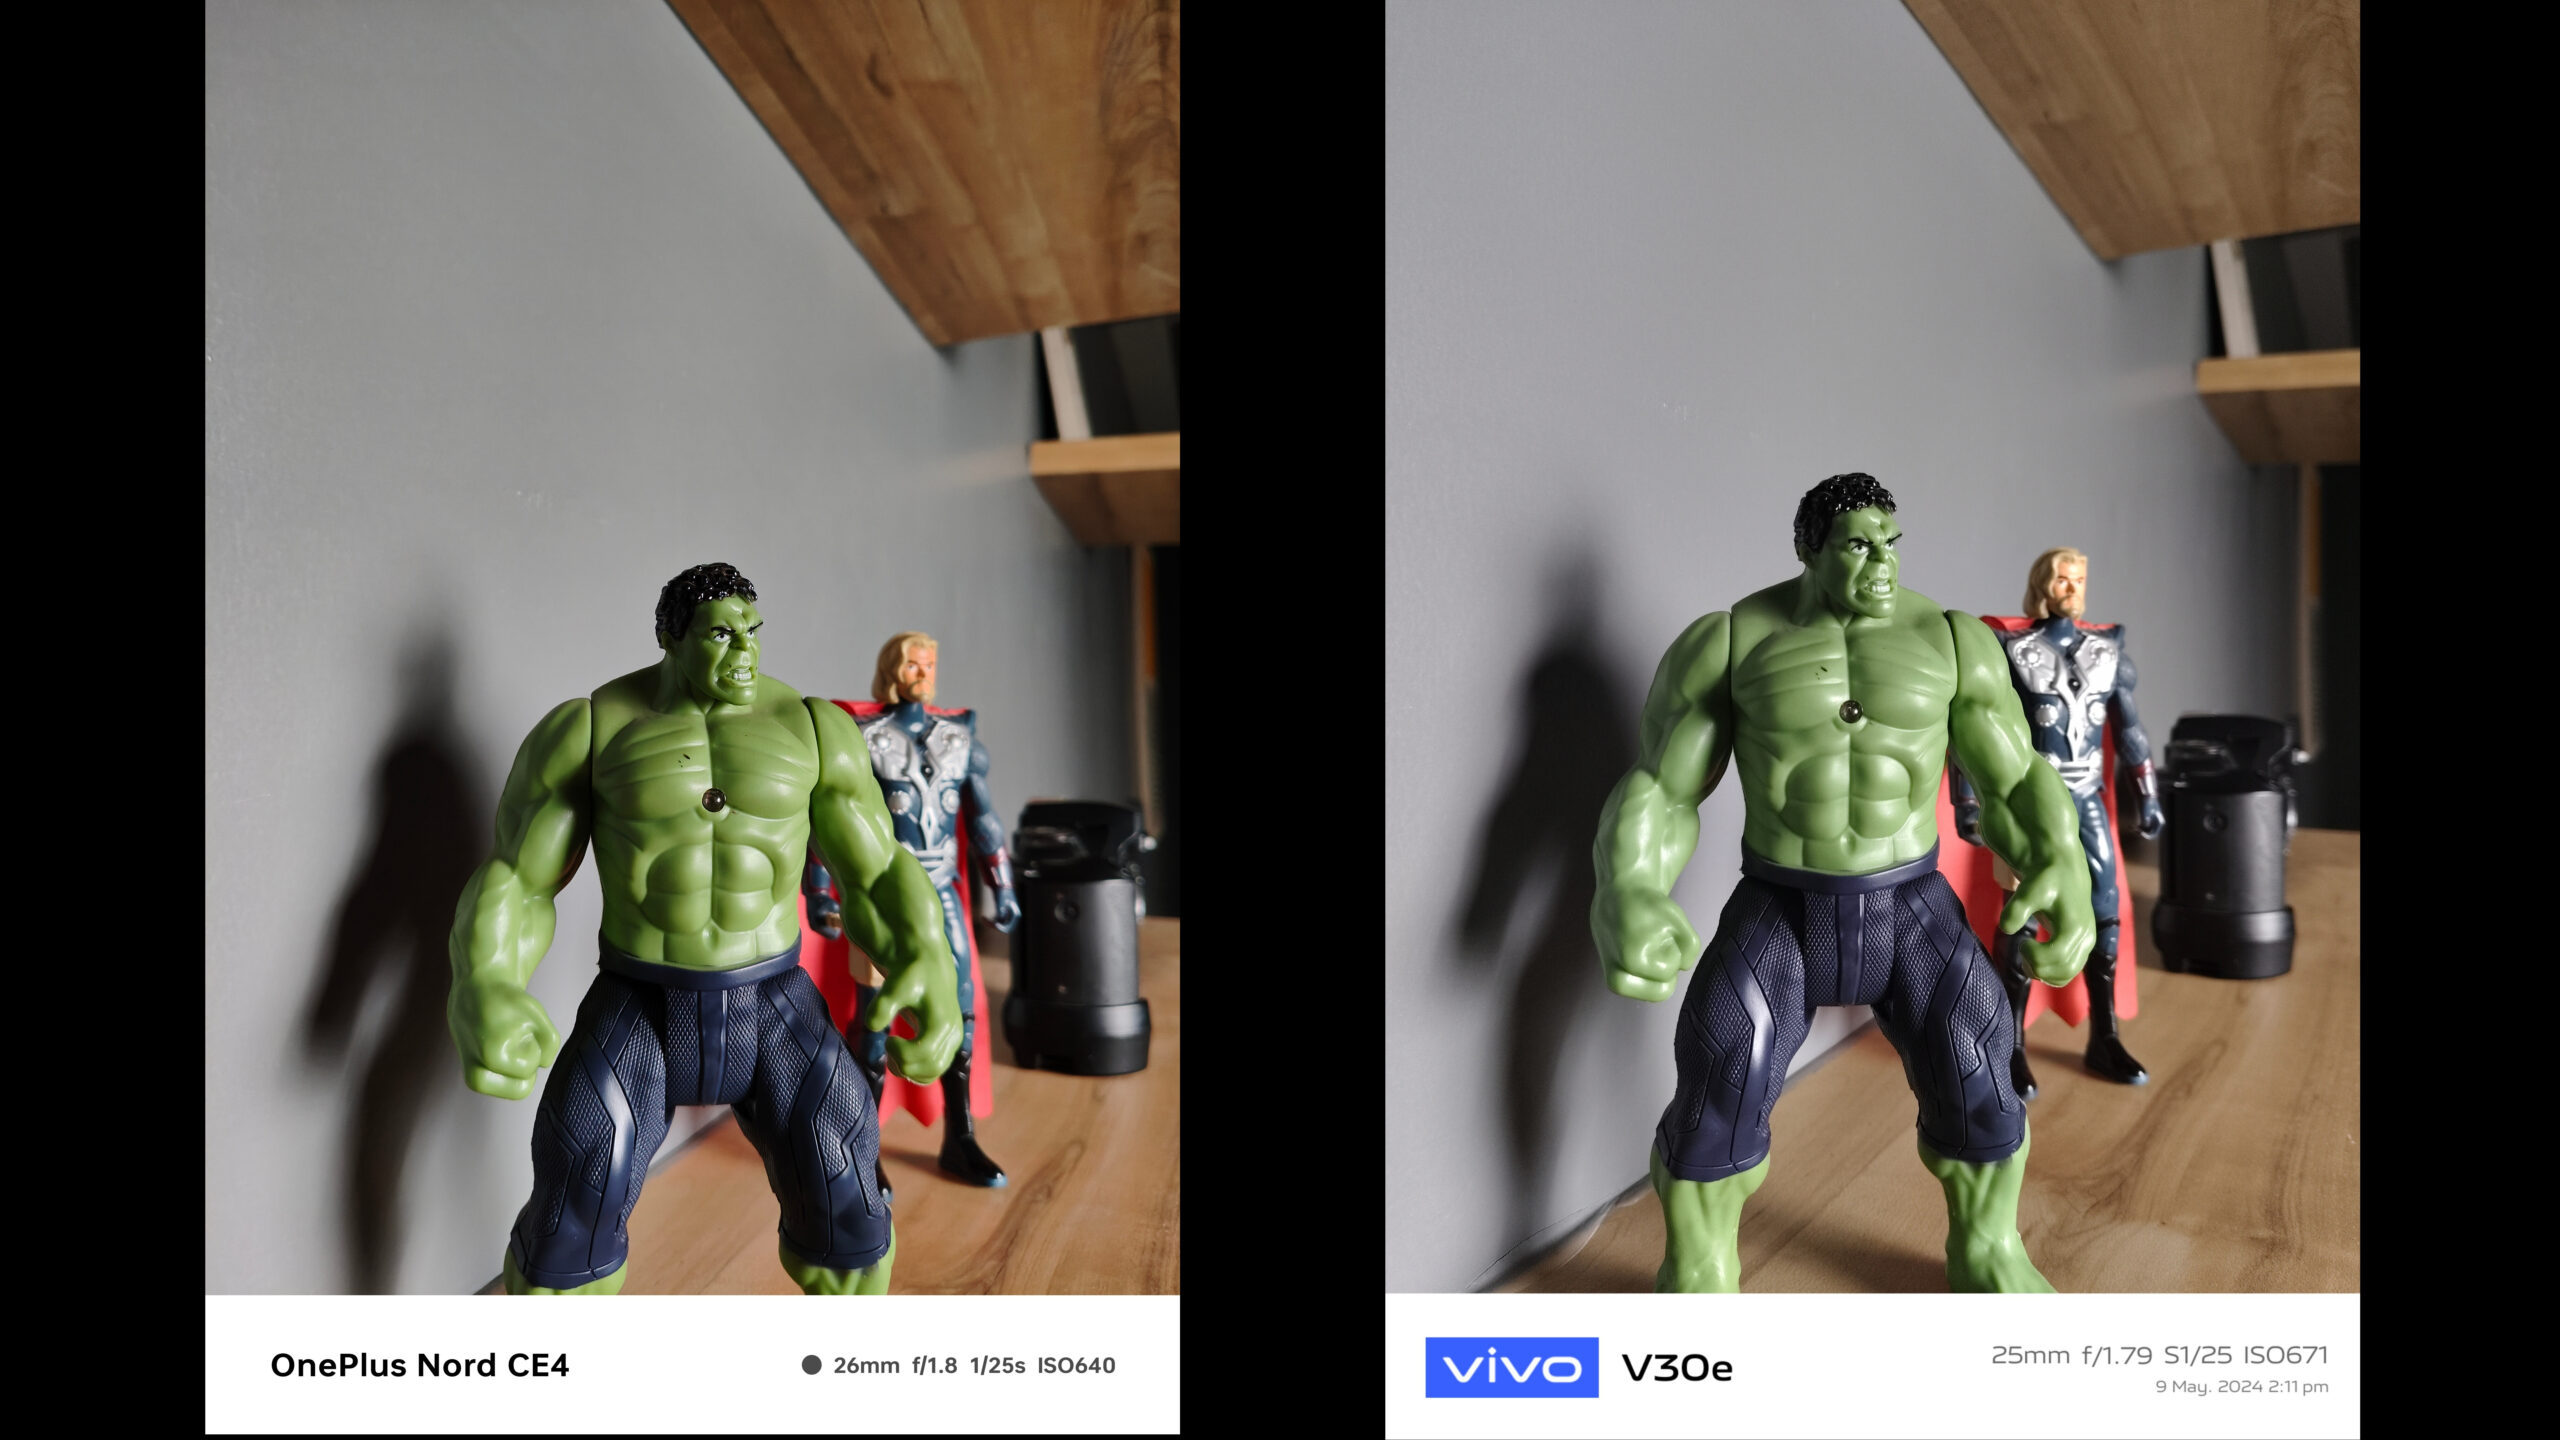
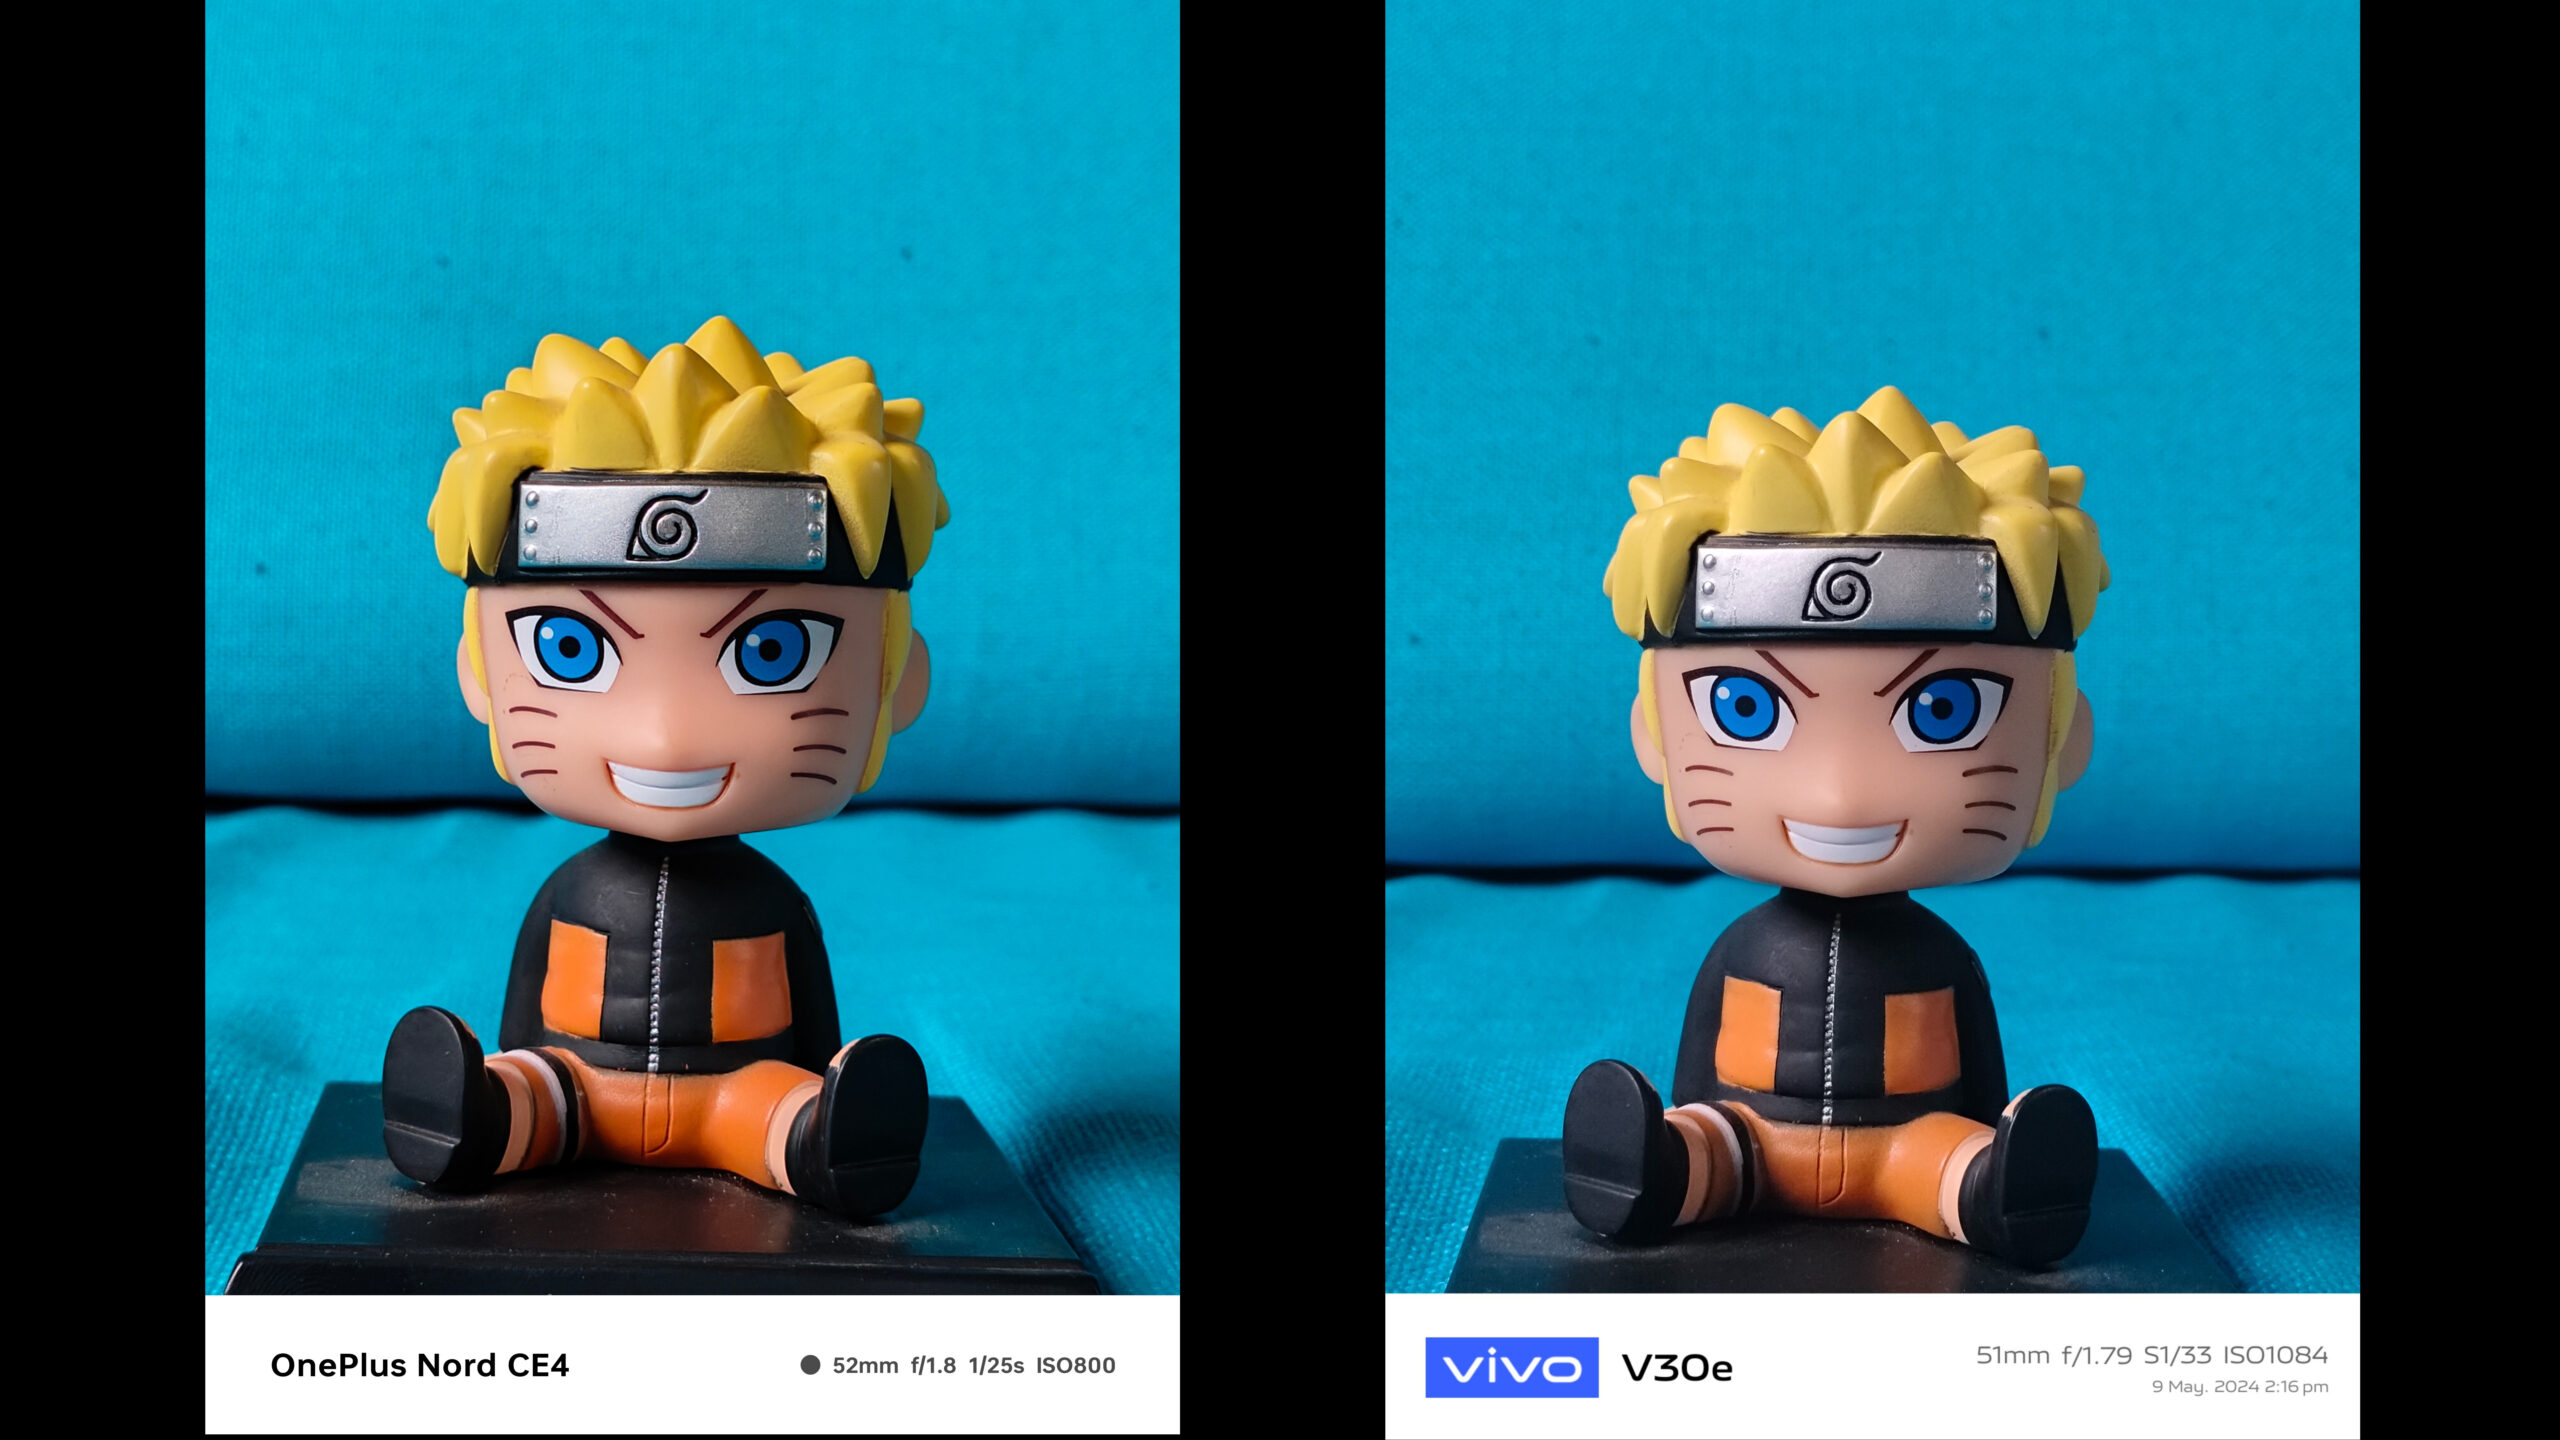
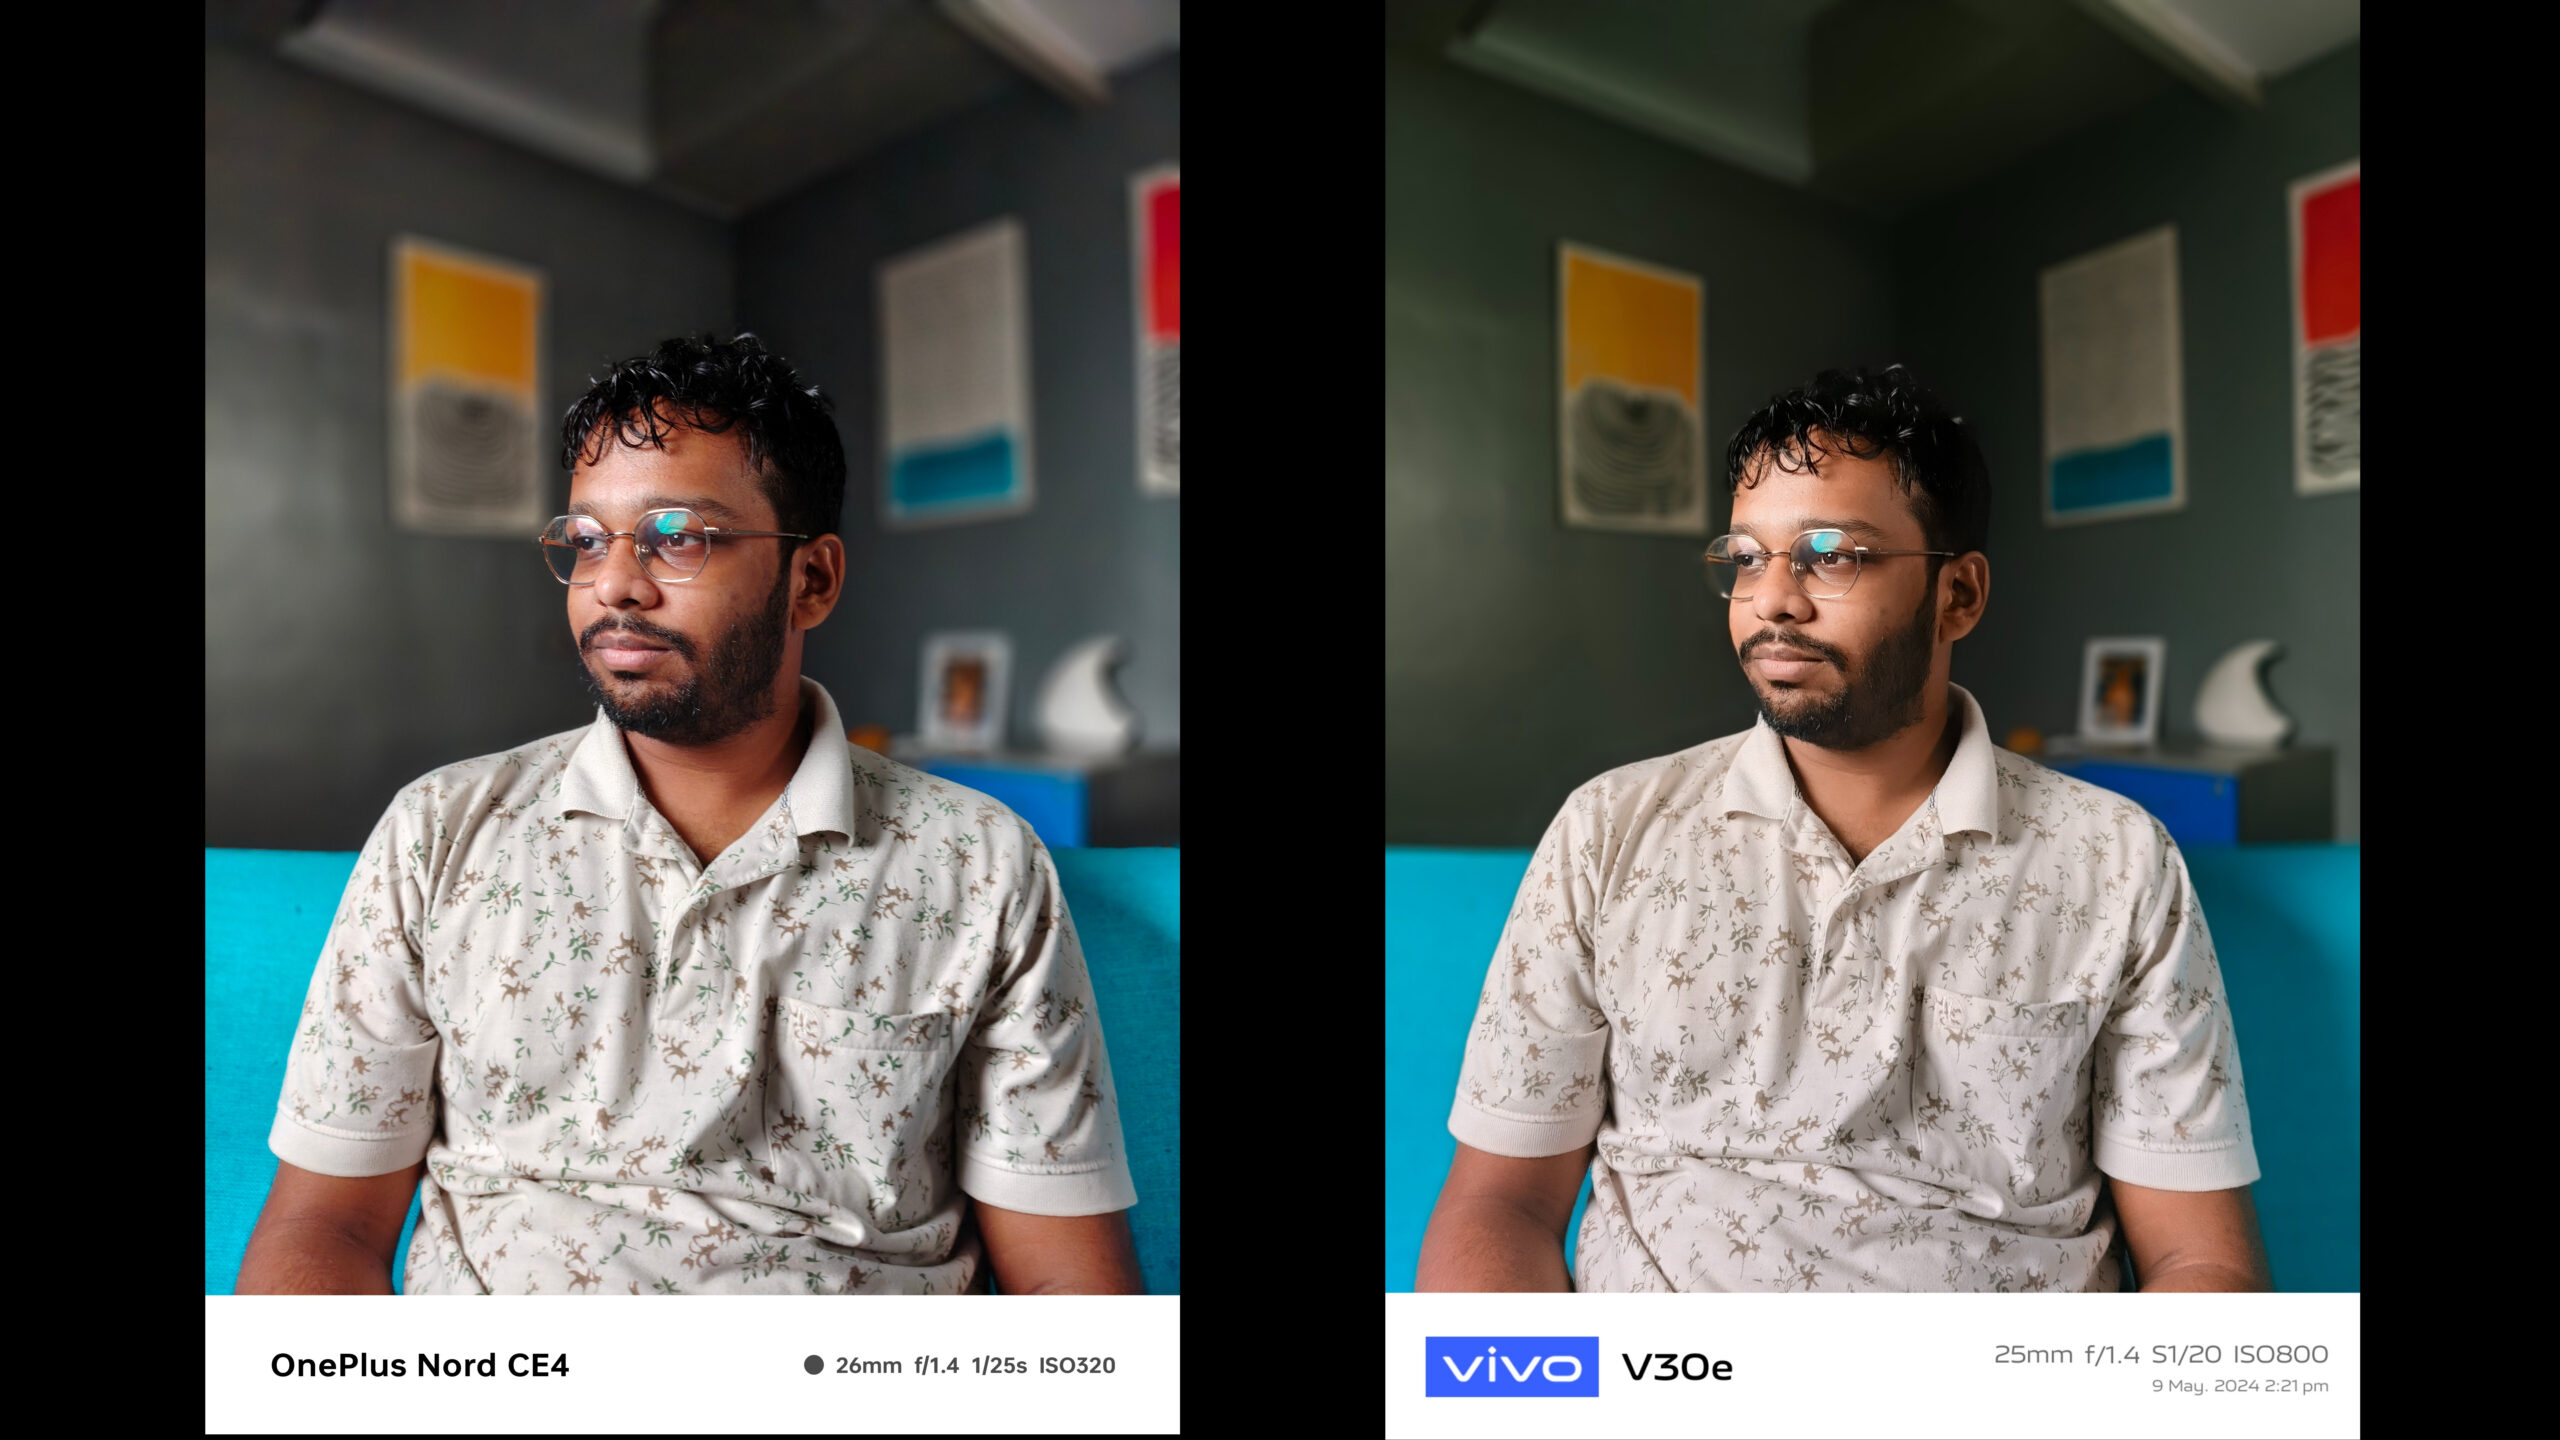
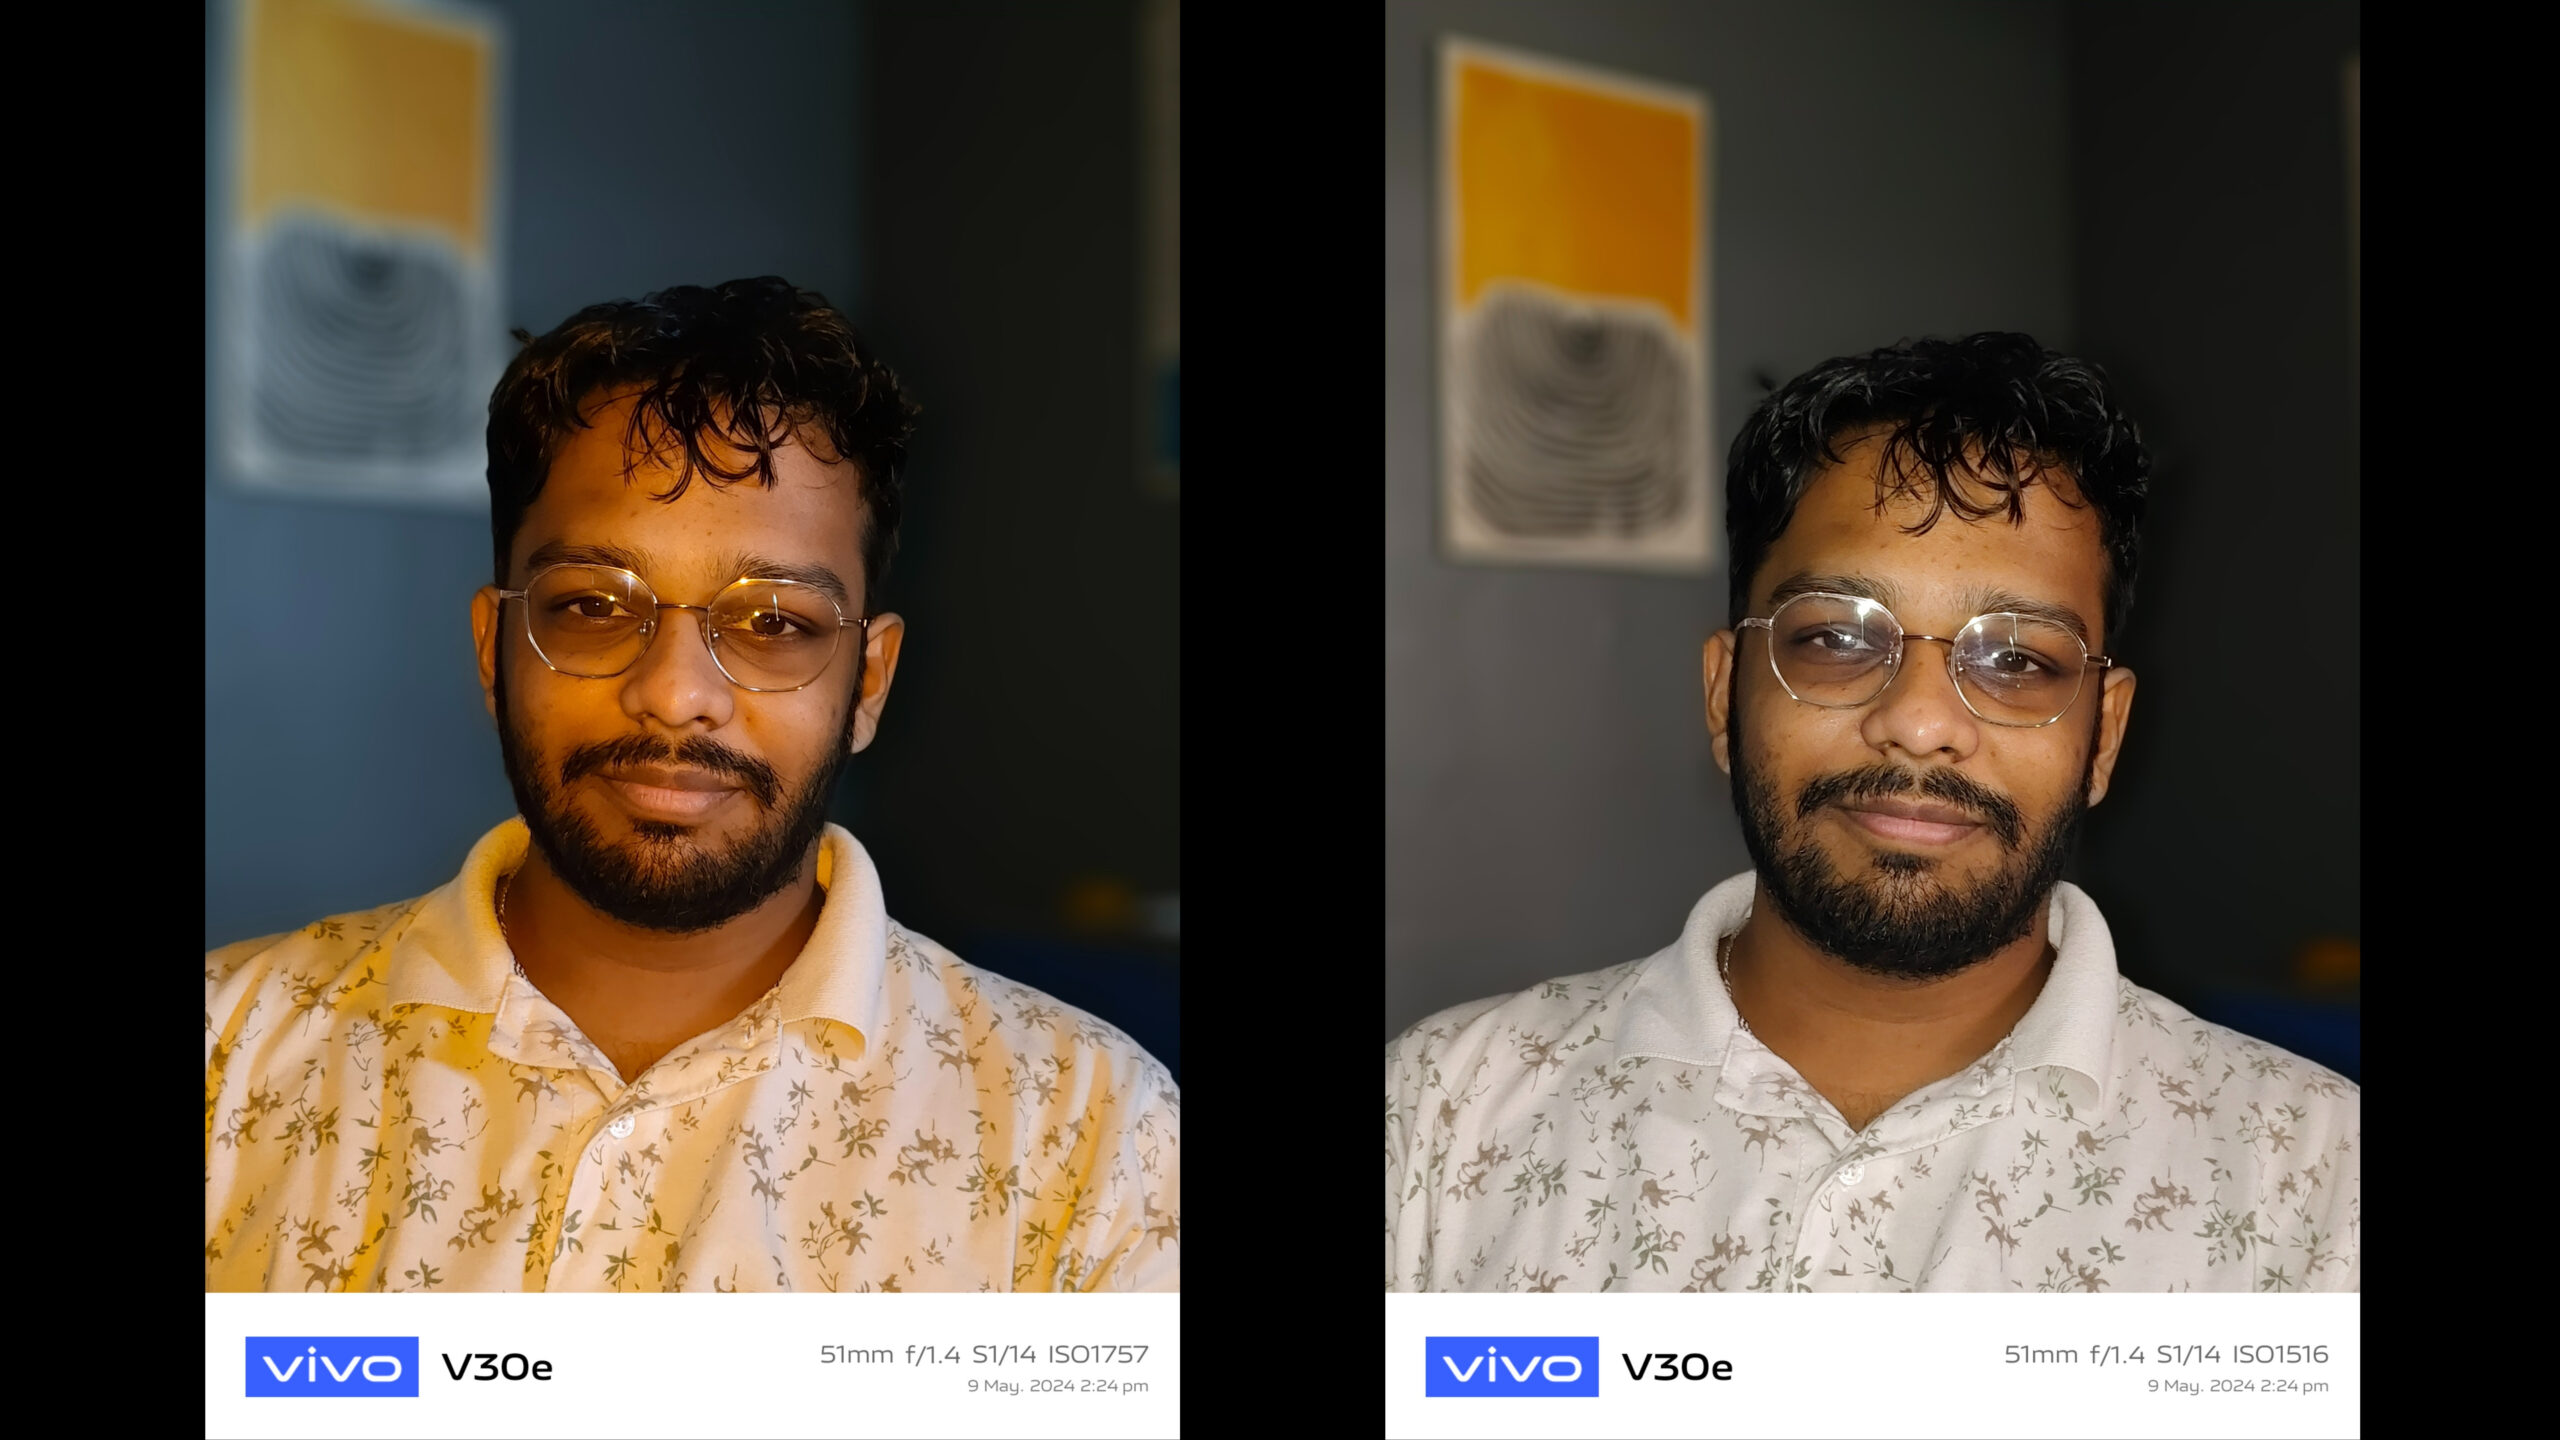
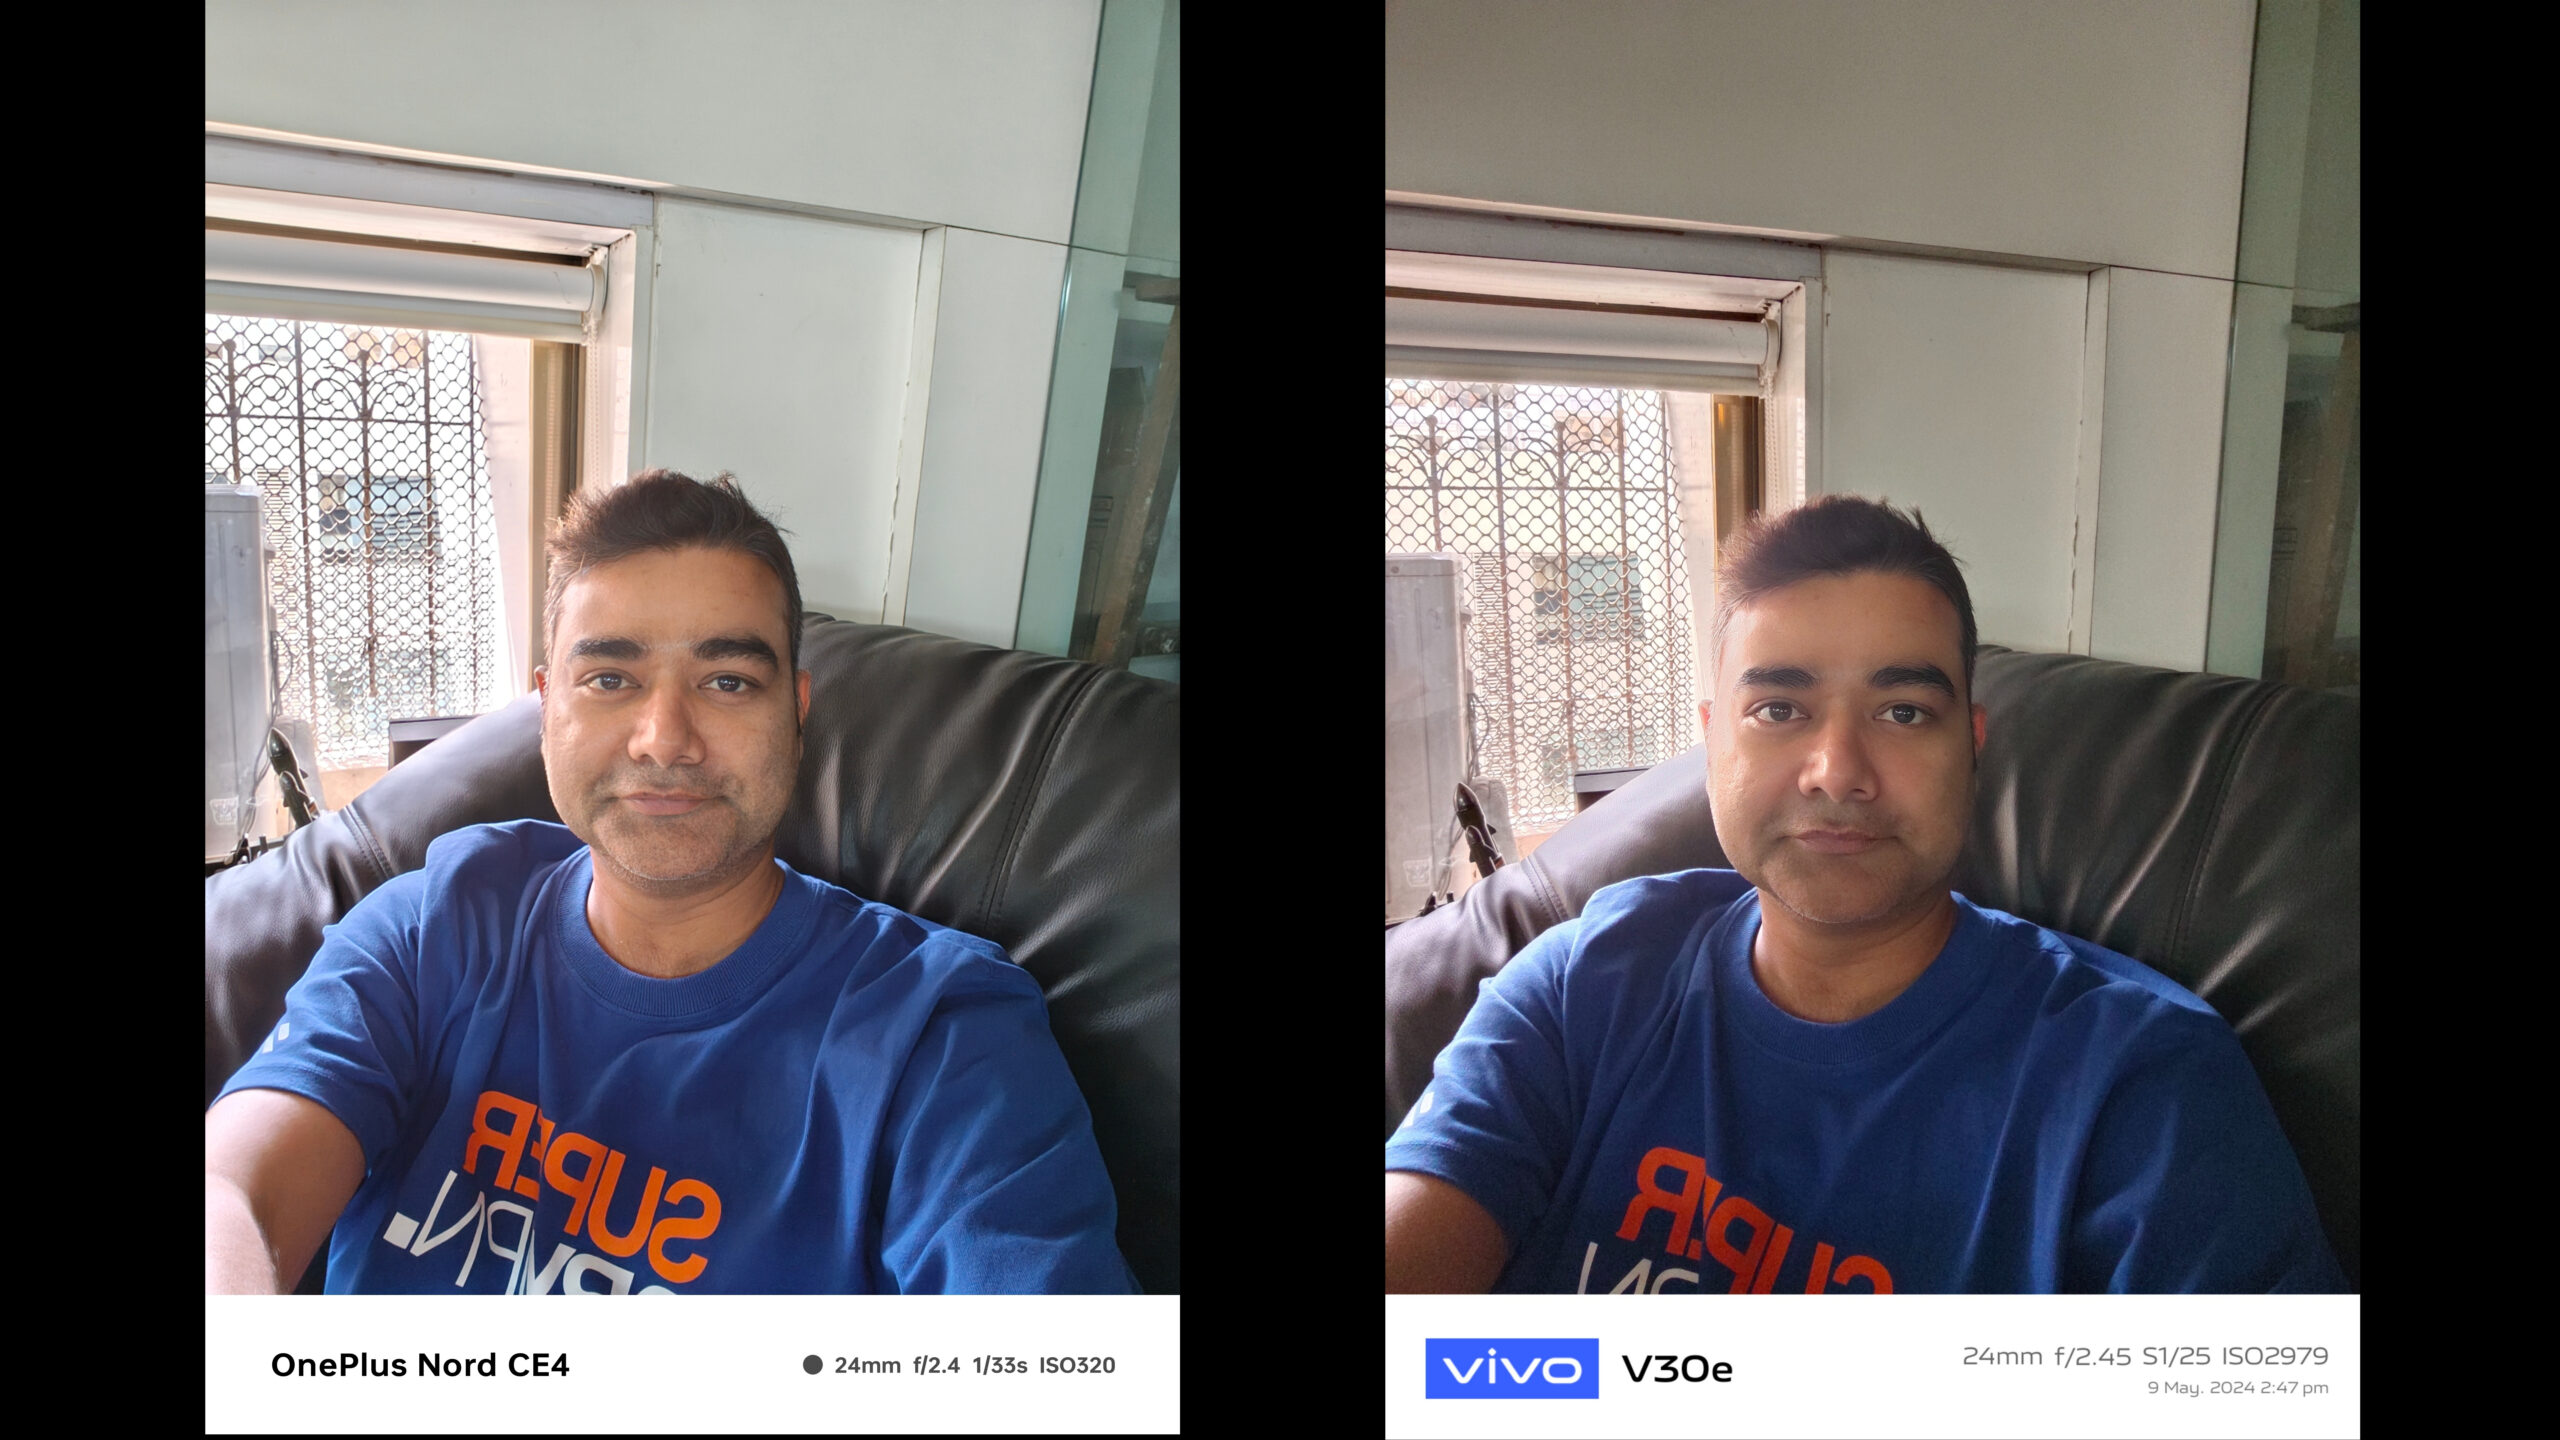
OnePlus Nord CE 4 vs Vivo V30e Camera Test

In this review we are comparing the cameras of the OnePlus Nord CE 4 vs Vivo V30e cameras. Both of these phones come in very interesting price category, between ₹25,000 – 28,000. Now this is a very competitive market and also something that users tend to use a lot. Both these phones are the best variants that the manufacturers offer, 8GB RAM and a 256GB capacity which is expandable to 1TB using an external card. The OnePlus is more affordable of the two coming in with a price of ₹27,000, while the Vivo is for ₹30,000.

Camera Set up

At the back both these come with a dual camera set up which are identical, they both feature a 50-MP main camera and an 8-MP ultrawide camera set up. But there are two major differences between them, one the front camera of the Vivo is also a 50 MP camera while the OnePlus is at 16 MP and the other is that the Nord 4 CE is powered by the Snapdragon 7 Gen 1 while the Vivo is powered by the 6 Gen 1 processor. Now to the naked eye this might not seem much, but the processor can make a big difference to the performance of the phones, both in the cameras as well as the overall performance.

Both these are powered by the Android 14 with the layer of Oxygen and Funtouch OS.

Daylight Main Camera

A quick look at the sensors of the camera tells us that both manufactures have used different sensors, the OnePlus uses the Sony Lytia 600 sensor which we have now seen on the Open as well as the 12. While the Vivo uses the Sony IMX 882.

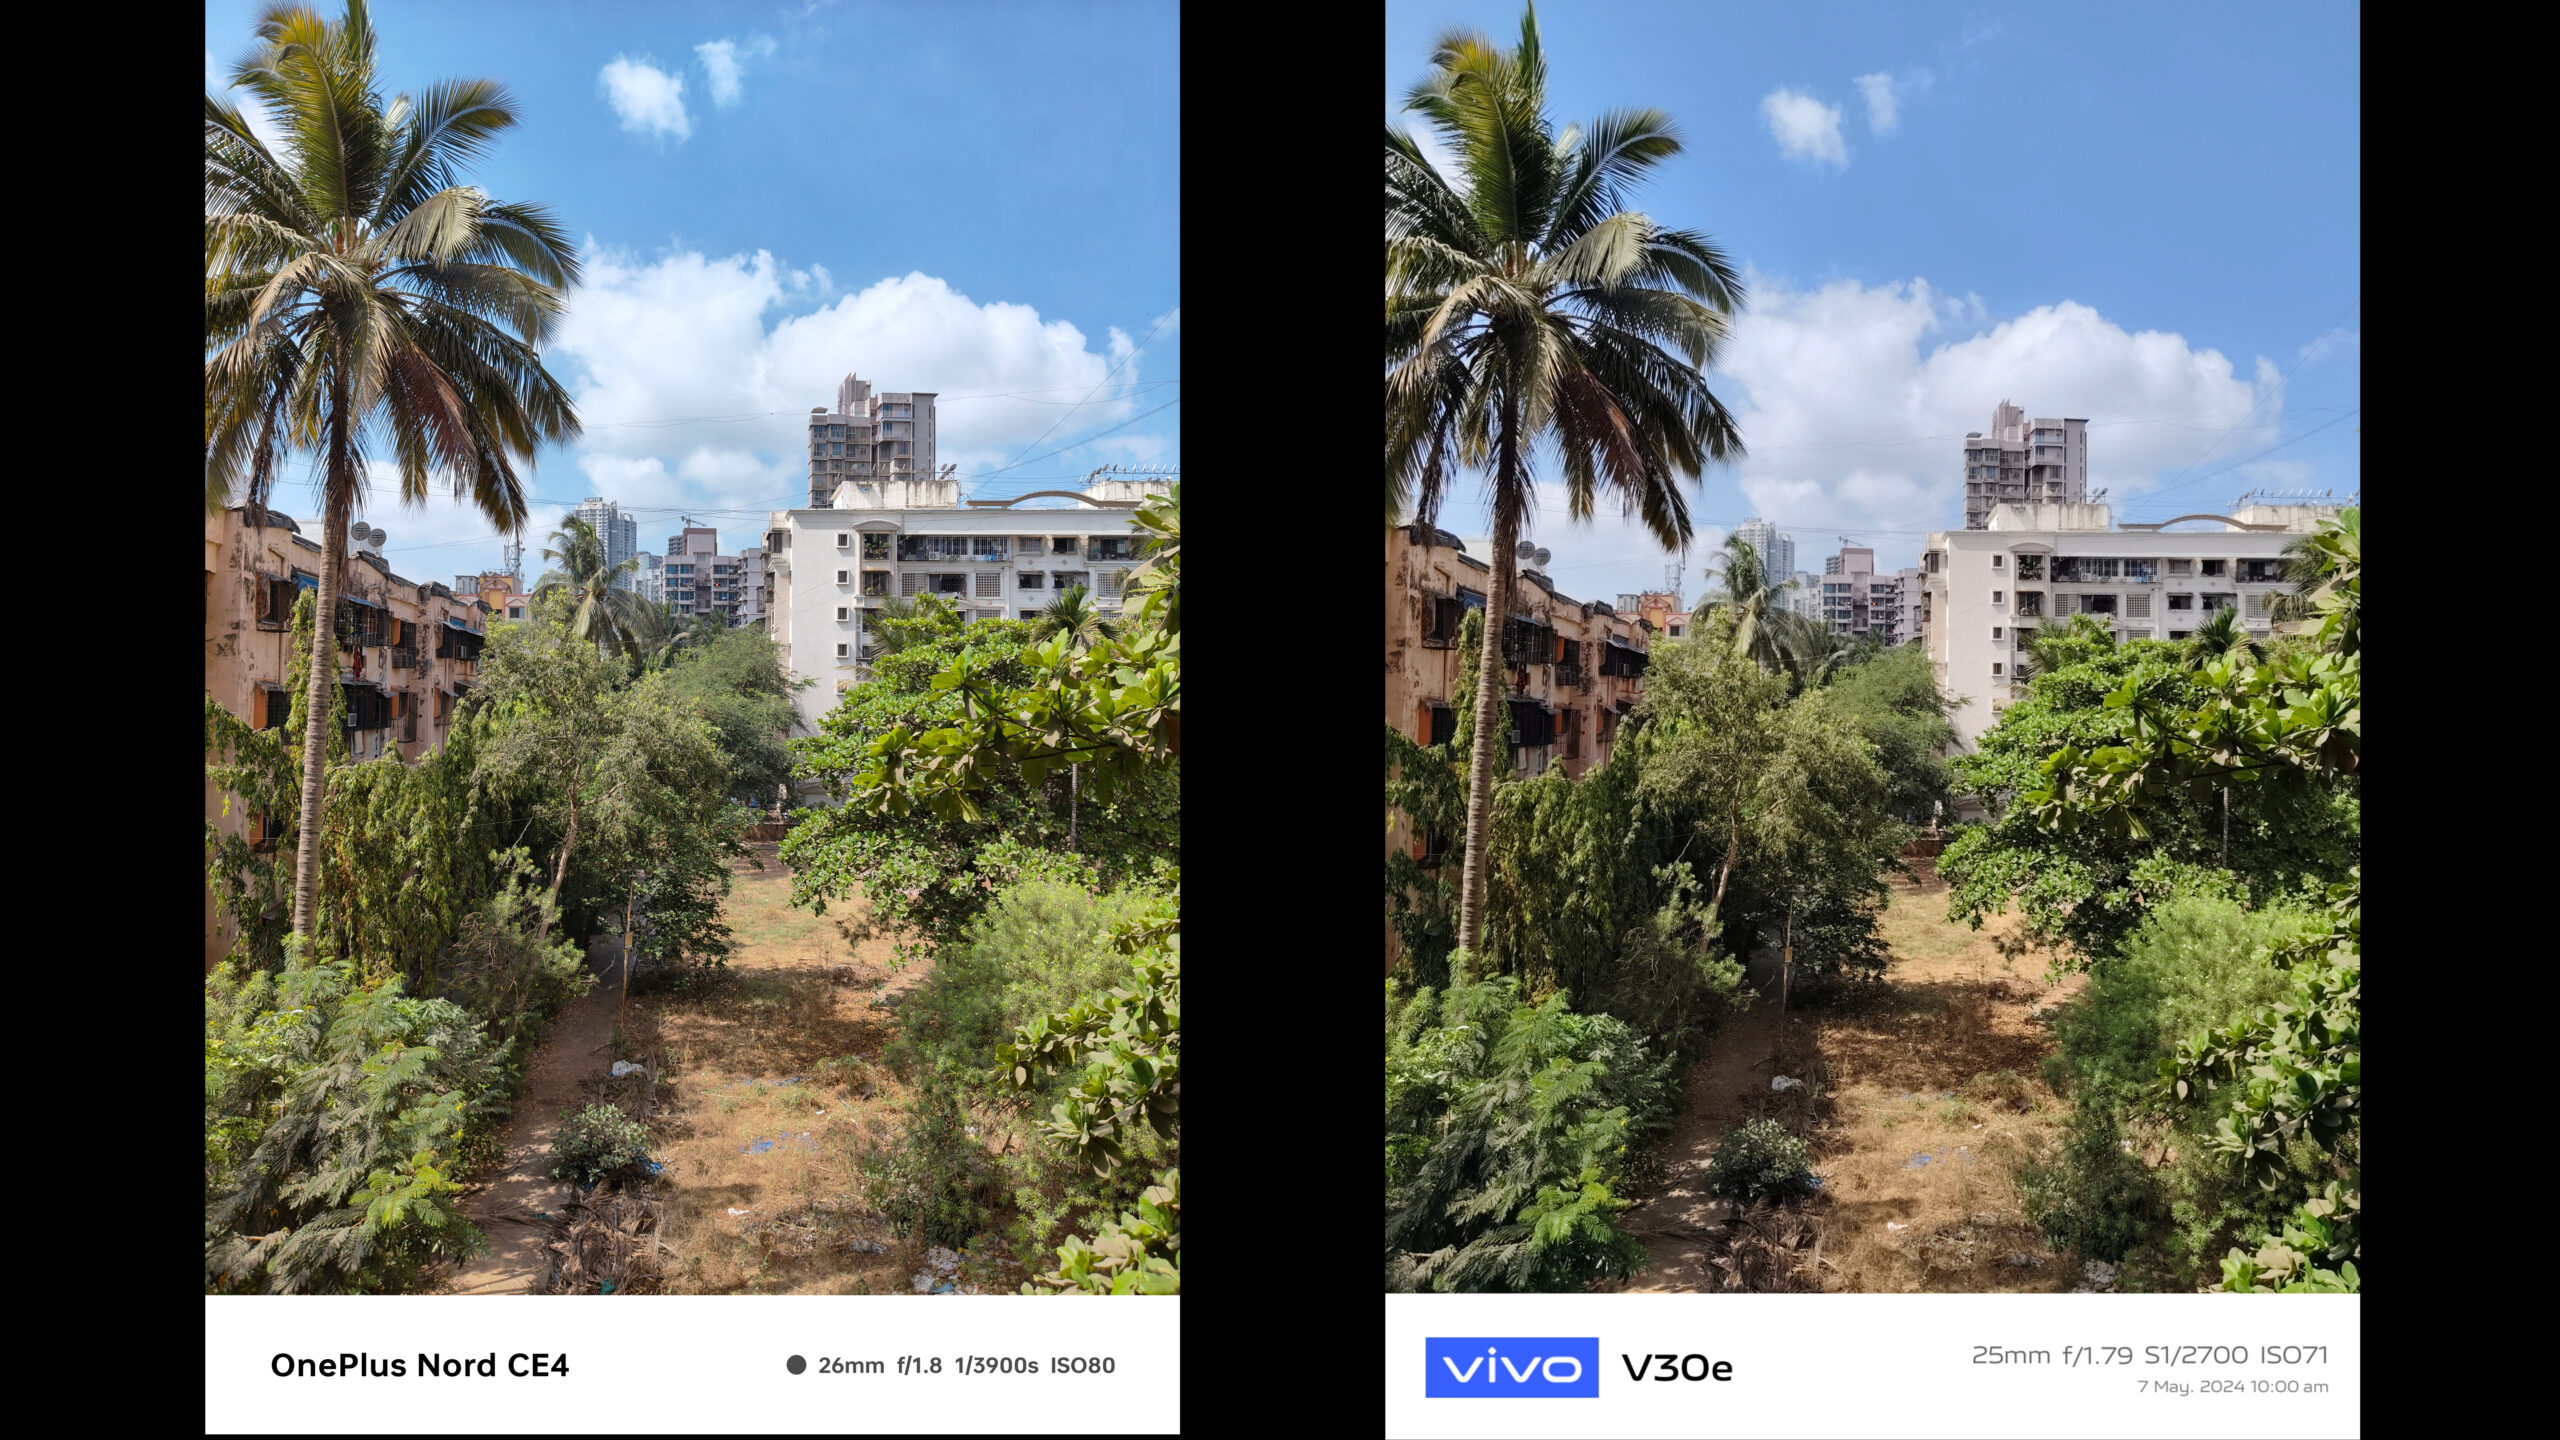
In terms of pics, for a camera which offers 50 MP the performance from both of them is ok. The Vivo in some cases boosts the saturation than the actual scene and giving out more reddish tinge to it. On the other hand, the OP was able to give the output as per the original scene. And because of this compensation, the vivo also boosts the contrast of the image leading to the shadow and highlights being blown out. On zooming in as well the images from the OP are sharper than the Vivo.

We put the phones in a challenging shooting scene with harsh light to see multiple things and in this case as well the Vivo was over saturating the pics and also blowing out some details. If you see the wire in this pic then it has blown out coz of the over compensation. I liked the performance of the OP in this case since it didn’t blow out the sky and made it appear bluish which was slightly dull in the Vivo.

But in cases where you are looking for a better saturation and poppy colours then the Vivo would come out on top with the images looking more pleasing to the eye. Although the flare performance could be better.

Daylight Wide

The wide camera of both the phones comes in at 8 MP and its isn’t the best resolution that you get today. But in this price bracket I don’t think the manufacturers can give you much more either.

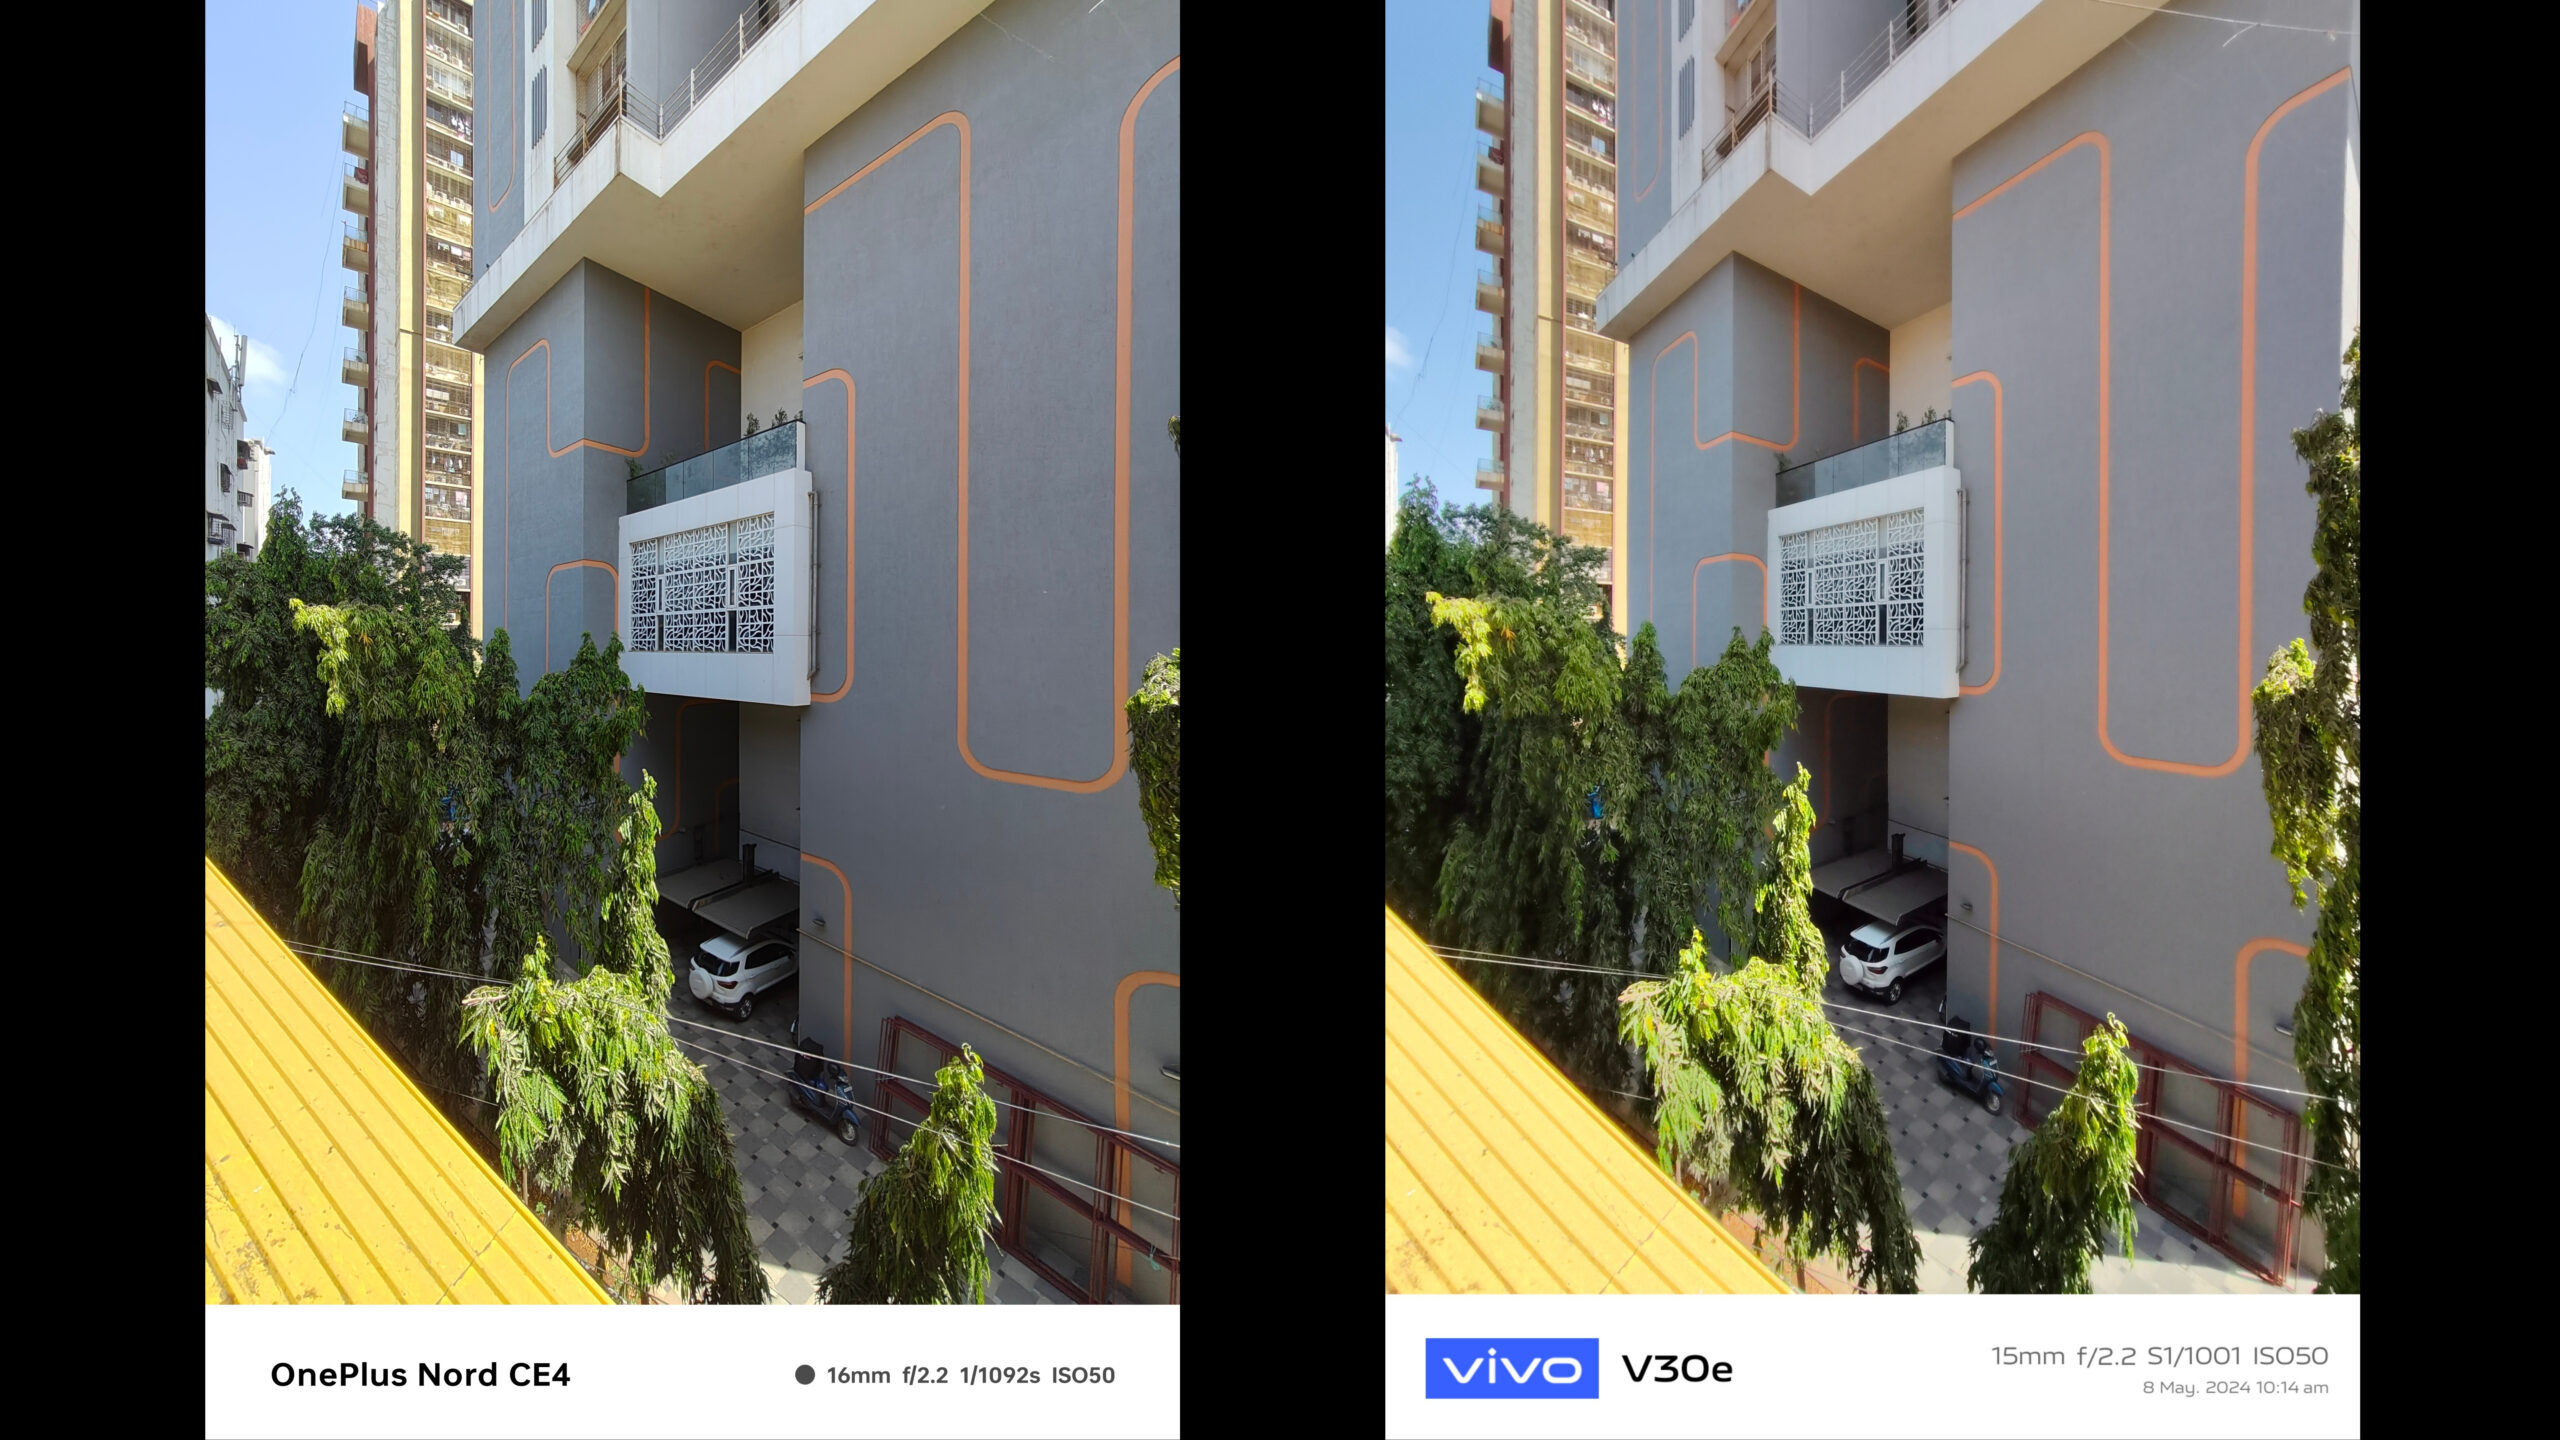
The images from both of them are ok. The Vivo again displays signs of over saturation but the performance of the flaring is pretty good in this case, much better than OP. But closer to the actual scene, the OP is able to deliver it much better, the Vivo in this case consistently displayed a yellowish or reddish tinge in most cases. I also found the distortion performance of the OP much better.

Daylight Telephoto

In the telephoto category both the phones allow the user to click upto 2x and then shift to digital zoom of 10x for the Vivo and 20x for the OP.

2X
5X
10X

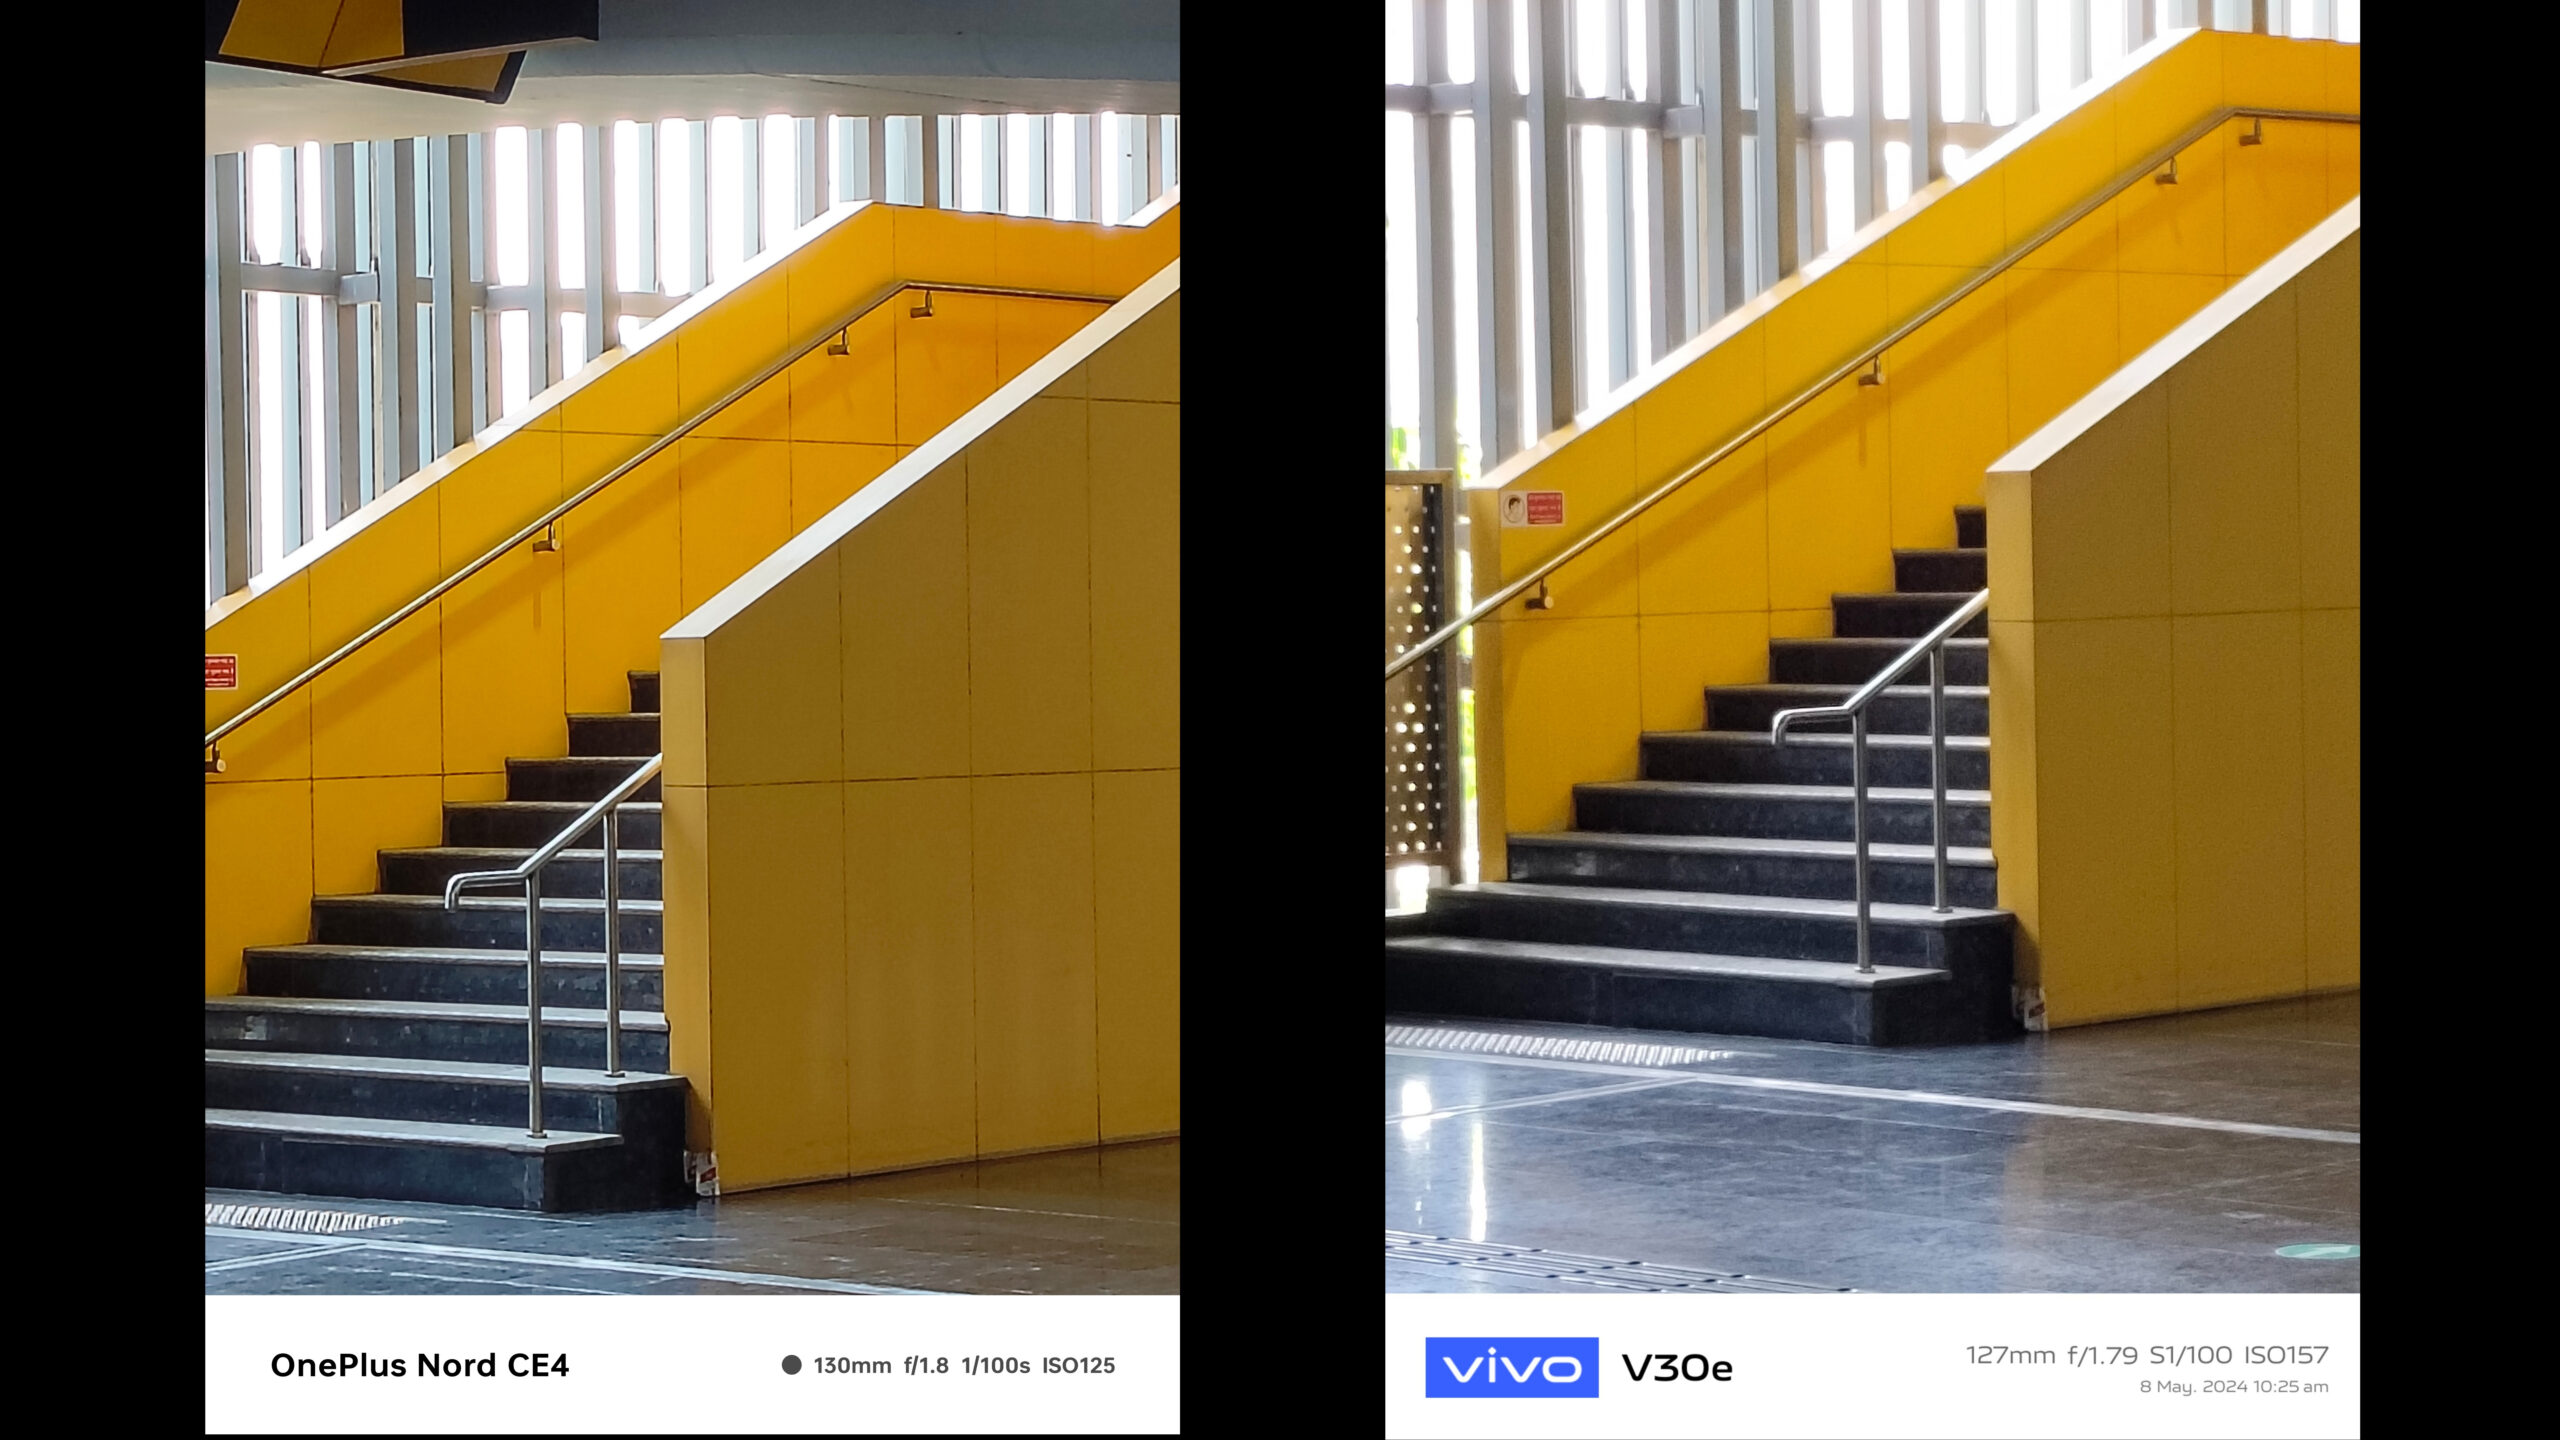
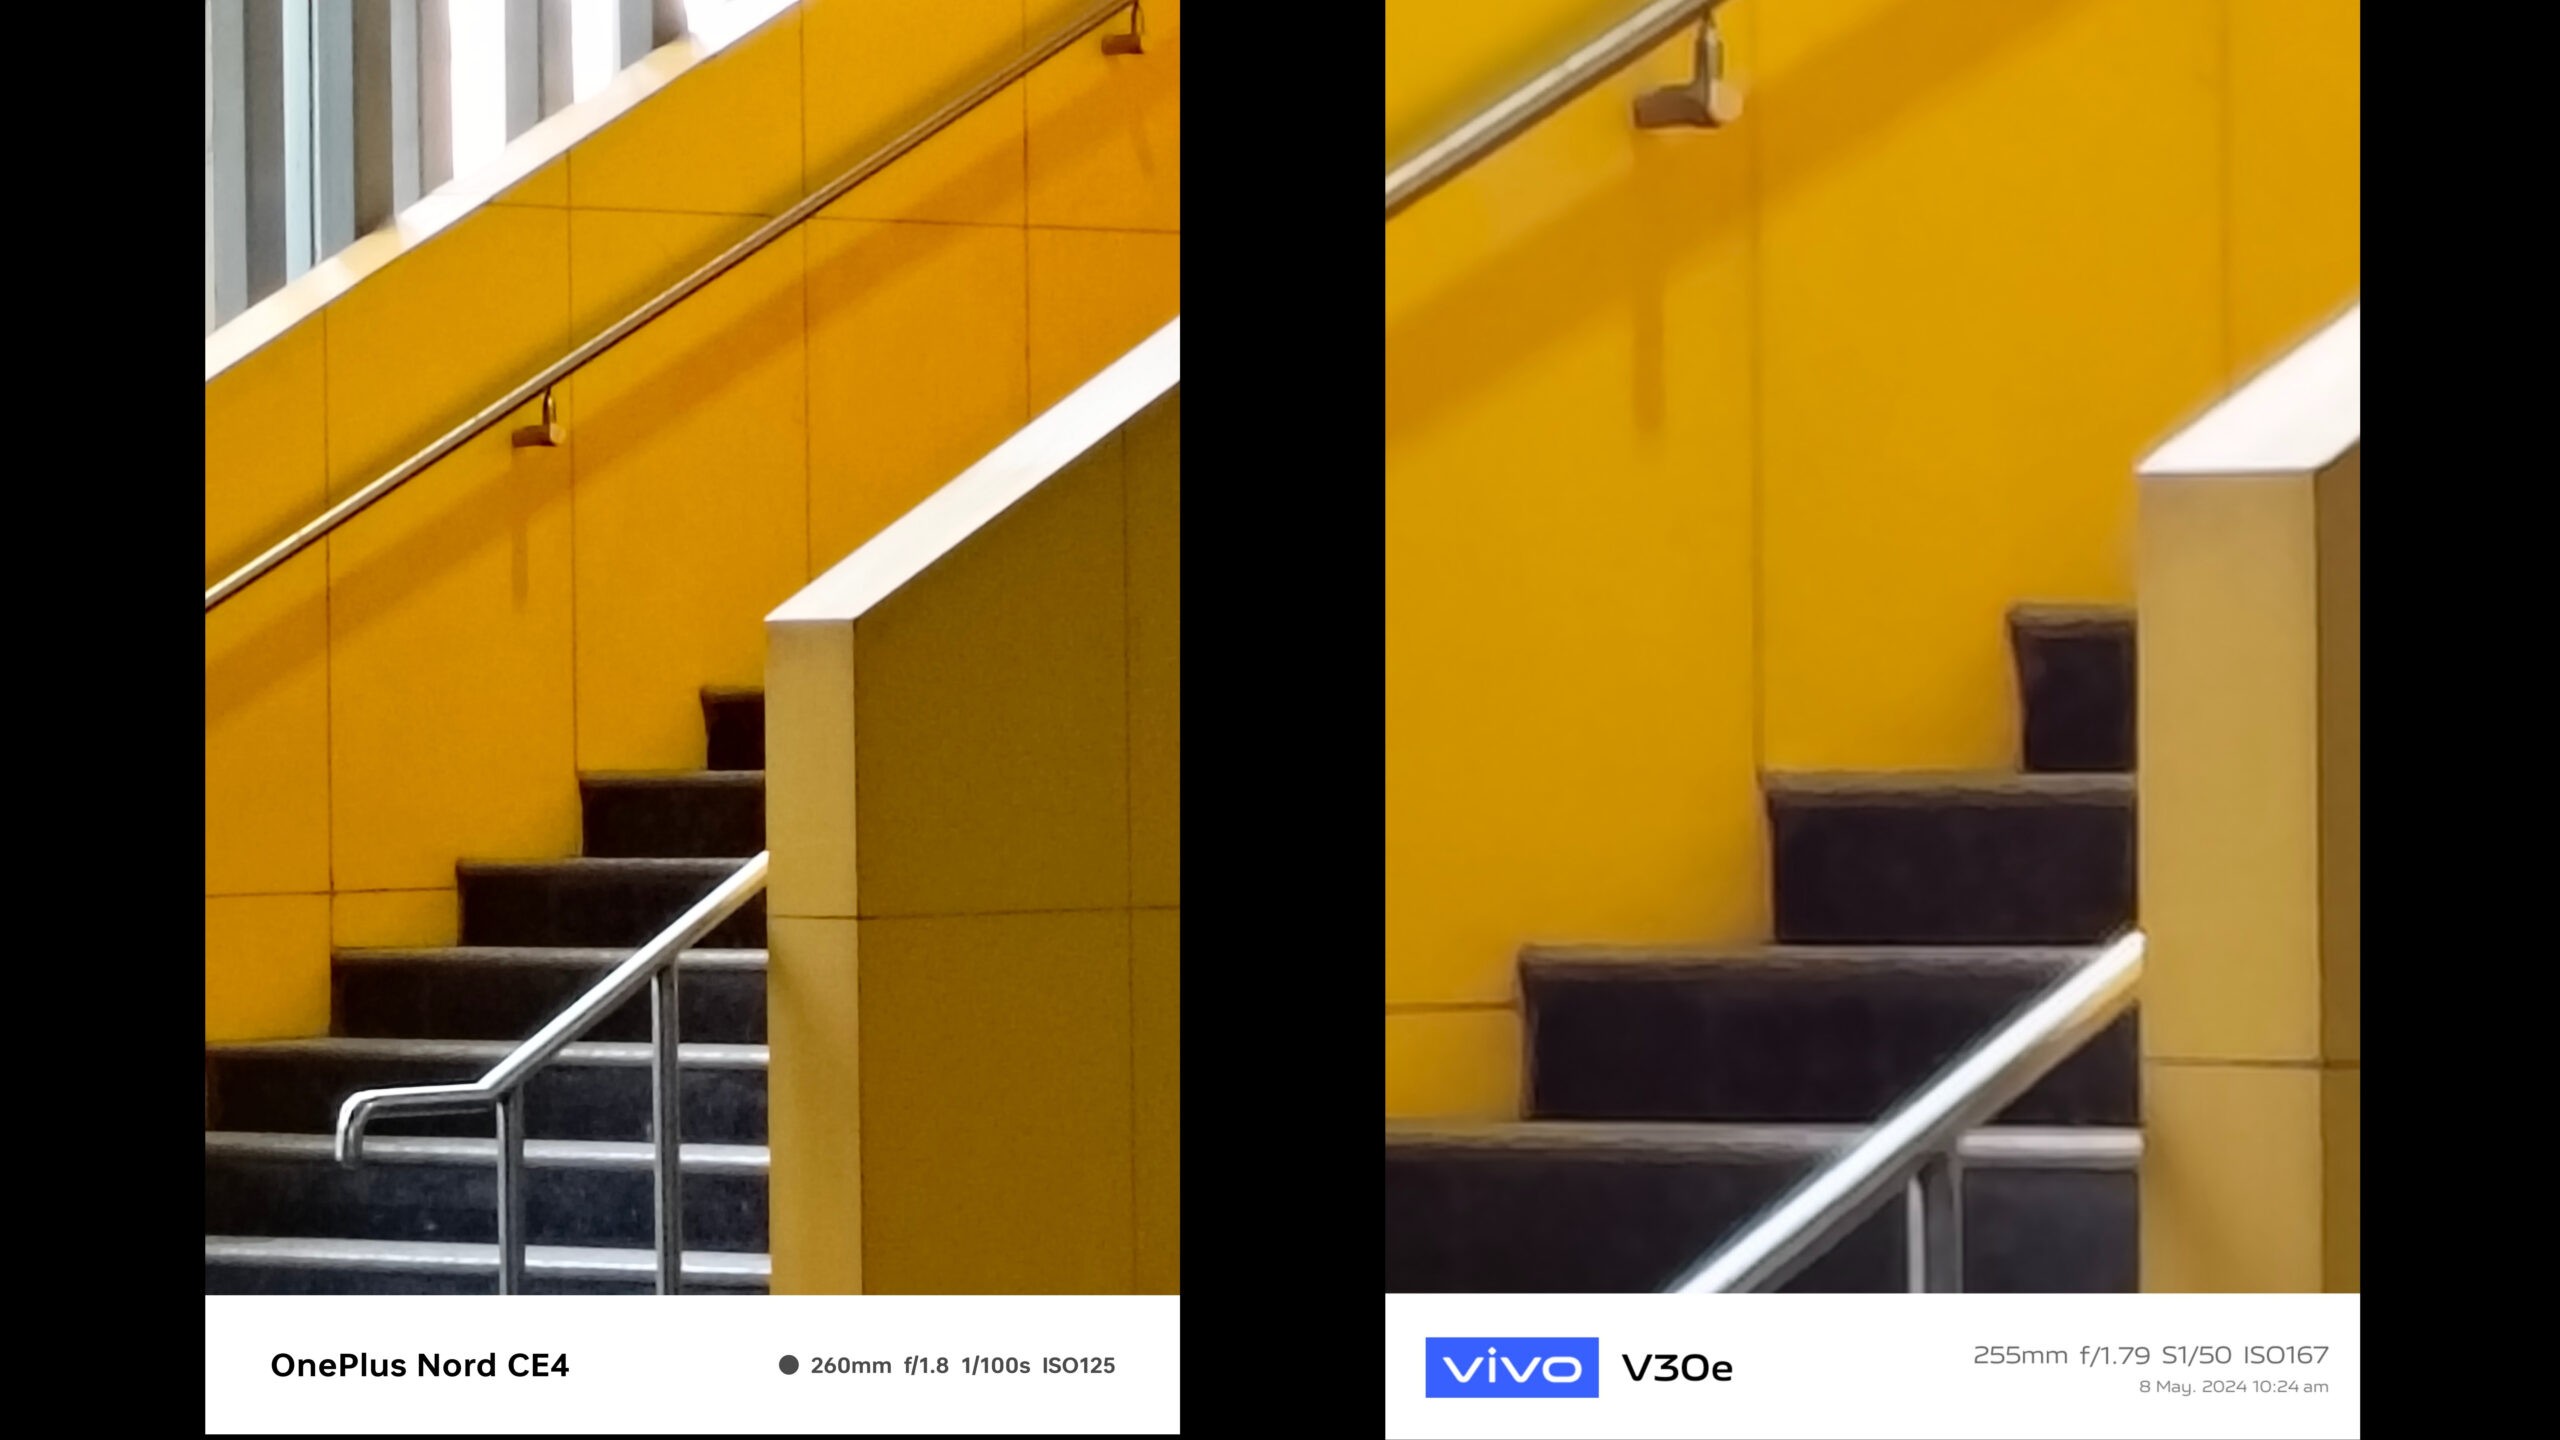
In this case the performance of both the phones up to 2 to 3x is decent. Anything beyond that I wouldn’t expect a lot. To the naked eye, the OP appears to be sharper on zooming in, but there is hardly any difference between the two honestly. What works for the Vivo in this case is the saturation compensation for vivo which makes some images appear more sharper and pleasing to the eye.

But overall, for zoom purposes and also at high focal ranges the OP is much sharper than the Vivo.

Lowlight Main

In lowlight, the main camera of the OP is again much better giving better sharpness and more saturation as well. The overall image from the Vivo appears to have some sort of a haze due to which the images aren’t looking sharp or saturated. Even on zooming in you can find more details in the pics from the OP. Overall the OP does seem to show a lot more clarity, saturation and also true to scene pics in this case.

Lowlight Wide

And this performance continues in the wide category as well. The Vivo gives a slight reddish tinge to the images while the OP gives a slight yellowing tinge in some cases under ambient light. But under more natural conditions the images from the Vivo seem better than the OP. The images do come slightly underexposed in the OP while they seem well lit and saturated in Vivo.

Lowlight Telephoto

Under this category neither of these phones are that great. At best they are passable.

2X
5X
10X

At 2x the OP displays much better shapes and quality but anything beyond that, both the phones start losing sharpness and in my mind images under such conditions can be used much. As you go higher into the focal range the difference seems more apparent. And in this case as well the OP has a much better quality than the Vivo.

Portraits

In terms of portraits the Vivo gives you the option to use the aura light to shoot more warmer portraits if you want. But the images from that are warmer and the fill of the light can be much better. Also, by default the setting for skin smoothening is on for the Vivo so if you are someone who doesn’t like that then you should put it off in settings.

In general, the images from either of the phones are decent. The output is sharp in most cases, but the edge detection could be better. Now with these types of phones I don’t expect them to have excellent output in terms of bokeh and depth, but in this case as well the OP is visibly much better. The depth is more real and better than the Vivo.

Front Camera

The front camera has quite a bit of difference between both of the phones. The vivo has a 50-megapixel camera, whereas the OnePlus has a 16-megapixel camera in terms of resolution, and the Vivo definitely has an advantage in this case on paper.

But despite the resolution advantage, the images from the OP are well saturated and good. In terms of portraits as well the pictures from both the phones are decent. The have a decent edge detection, especially in backlight scenarios and can be passed at decent images.

Video

When it comes to Videos, both the phones can shoot 4k upto 60 fps and the output from both of them is good. In daylight there is very little to choose between either of them, but in lowlight the OP seems much better than the Vivo. The stabilisation also works better in the OP as you can see from the samples.

Conclusion

So which phone has the better camera? The OnePlus or the Vivo? They both have something that works well for them, but in this case for me the OnePlus Nord CE 4 is the winner, not only because the camera is better under most conditions, but also since it features a much faster processer, specs and also is more economically priced than the Vivo.

Bhavya Desai
How to be a Travel Photographer in Your Own City

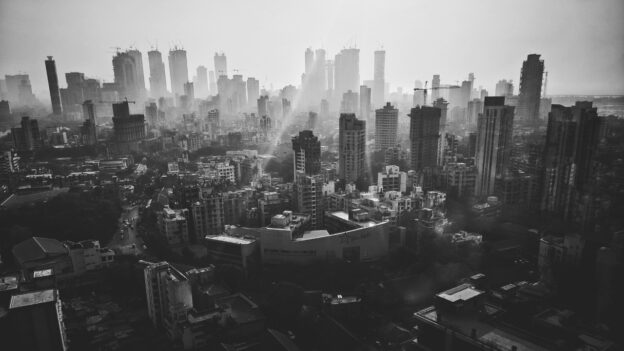
Travel photography is a genre that captures the essence, culture, landscapes, people, and stories of places. As Indian photographers, we’re often bitten by the travel bug, dreaming of capturing the majesty of the Himalayas, the vibrant chaos of Varanasi’s ghats, or the serene backwaters of Kerala. However, travel doesn’t always have to mean venturing far from home. Your own city, with its unique blend of modernity and tradition, bustling streets, hidden nooks, and cultural diversity, offers a rich canvas for travel photography. Embracing your locale with a traveler’s curiosity can reveal wonders and stories that even locals might overlook. Here’s how you can embark on a journey to become a travel photographer in your own city.

Understanding Travel Photography

Travel photography is more than just taking photos of landmarks; it’s about telling a story through your lens. It encompasses landscapes, portraits, street scenes, architecture, and everything that conveys a sense of place and culture. As photographers, our challenge is to showcase our city in a light that even the most seasoned inhabitants haven’t seen.

Starting with Research

Know Your City

Begin with research. Look into your city’s history, cultural events, local festivals, and landmarks. Every city in India, be it Mumbai, Kolkata, Delhi, or any other, is a melting pot of cultures with stories waiting to be told. Understand what makes your city unique.

Finding Hidden Gems

While iconic landmarks are a must-photograph, seek out the less explored corners. It could be a centuries-old bazaar, a quaint café, or even a bustling fish market. These places often hold the essence of the city’s lifestyle and culture.

Gear Up

Travel photography doesn’t necessarily require high-end gear. A DSLR or a mirrorless camera is great, but even a smartphone with a good camera can work wonders. What matters is understanding the basics of photography and knowing how to use your equipment to its fullest potential. However, a versatile lens, like a 24-70mm or 18-55mm, can be very handy for capturing a wide range of subjects.

Techniques and Composition

Light and Timing

The golden hours, just after sunrise and before sunset, provide soft, diffused light that can add a magical quality to your photos. Plan your shoots around this time. However, don’t shy away from harsh midday light or the dramatic monsoon skies; each brings a different mood and story.

Composition

Use composition techniques like the rule of thirds, leading lines, and framing to create more engaging photos. Experiment with different perspectives by shooting from high above or down low. Remember, the best travel photos often have a strong point of interest.

Capturing the Essence

People and Portraits

Portraits of locals can add a soulful depth to your travel portfolio. Approach people with respect, and always ask for permission before photographing them. A smile goes a long way. Candid shots of everyday life also showcase the city’s heartbeat.

Festivals and Events

India’s myriad of festivals provides spectacular photography opportunities. Be it Diwali, Holi, Eid, or Christmas, each festival brings out unique traditions and celebrations in different cities. Research when these events take place and plan ahead.

Food and Cuisine

Every Indian city has its own culinary delights. Capture the vibrant chaos of street food stalls or the artful preparation in local eateries. Food photographs can tell stories of tradition, innovation, and the melting pot of cultures.

Storytelling through Your Lens

Building a Narrative

Instead of random shots, aim to build a narrative with your photos. It could be a day in the life of a street vendor, the journey of a river through the city, or the contrasting architecture. Let your photos tell a story.

Editing and Post-processing

Editing is where you can further enhance your story. Tools like Lightroom and Photoshop allow you to adjust exposure, colours, and details to bring out the mood you want to convey. However, keep edits realistic to maintain the authenticity of your images.

Sharing Your Work

Online Platforms

Social media platforms like Instagram, Flickr, and 500px are great for showcasing your work. Use relevant hashtags, and tag locations to reach a wider audience. Creating a dedicated photography website or blog can also provide a professional space for your portfolio.

Local Exhibitions and Publications

Participate in local exhibitions or photography contests. Submit your work to local magazines, newspapers, and online publications. Networking with fellow photographers and joining photography groups can provide valuable exposure and feedback.

Continuous Learning

The journey of a travel photographer is one of continuous learning and exploration. Attend workshops, read photography books, and study the work of other photographers. Most importantly, keep shooting. The more you practice, the better you’ll get at capturing the stories that make your city unique.

Certainly, evolving the narrative with additional insights and dimensions can enrich the guide further. Here are some nuanced points that can add depth to the journey of becoming a travel photographer in your own city, particularly from the perspective of an Indian photographer:

Ethical Photography

Respect and Sensitivity

In a country as diverse as India, being respectful and sensitive towards the people and places you photograph is paramount. Understand and honour local customs and traditions. This means sometimes putting your camera away in places of worship or during intimate moments of cultural practices unless you have explicit permission to shoot.

Impact on the Community

Consider the impact your photography may have on the community. Aim to portray your subjects in a dignified manner. Be cautious about how your work might affect the perceptions of a place or community, especially when sharing it on public platforms.

Environmental Awareness

Leave No Trace

While exploring your city, especially the less trodden paths or natural landscapes, practice the principle of “Leave No Trace.” Be mindful of your impact on the environment; don’t litter, disturb wildlife, or harm natural habitats. Capturing the beauty of nature comes with the responsibility of preserving it.

Highlighting Environmental Issues

Use your photography as a tool to highlight environmental issues within your city. Be it pollution, the impact of urbanization on green spaces, or the conservation efforts of local communities, your images can be a powerful voice for change.

Exploring Cultural Diversity

Intersections of Culture

India’s cities are melting pots of cultures, religions, and languages. Explore these intersections through your lens. Document how different communities coexist, celebrate, and contribute to the city’s cultural tapestry. This could include exploring local markets, religious institutions, and community events.

Heritage and Modernity

Indian cities uniquely blend ancient heritage with modernity. Capture the contrasts and conversations between the old and the new. This could be an ancient temple amidst high-rise buildings, traditional artisans in urban settings, or heritage festivals celebrated with contemporary fervour.

Technological Integration

Drone Photography

If regulations and safety considerations permit, drone photography can offer a breathtaking bird’s-eye view of your city. It provides a unique perspective on landscapes, architectural marvels, and urban patterns. However, always comply with local drone laws and privacy norms.

Virtual Reality (VR) and 360° Photography

Embrace emerging technologies like VR and 360° photography to create immersive experiences. These technologies can transport viewers to the heart of a festival, the tranquility of a hidden alley, or the hustle of a local market, providing a comprehensive sense of place.

Collaboration and Community

Collaborative Projects

Engage with other local artists, writers, and creatives to work on interdisciplinary projects. Collaborations can lead to fresh perspectives and innovative ways to tell stories about your city.

Mentorship and Workshops

Consider mentoring aspiring photographers or conducting workshops sharing your expertise in travel photography. Teaching can be a rewarding way to give back to the photography community while refining your own understanding and approach.

Constant Curiosity

Daily Exploration

Make exploration a daily habit. Even familiar streets can reveal new stories when approached with curiosity. Challenge yourself to see the ordinary through an extraordinary lens.

Personal Projects

Develop personal projects focused on themes or subjects that resonate with you deeply. This sustained focus can lead to a more profound understanding of your city and your growth as a photographer.

Becoming a travel photographer in your own city is a voyage of constant discovery, where every street corner and every face can unveil a story worth capturing. By approaching this journey with respect, creativity, and curiosity, you not only document the world around you but also weave your own narrative into the fabric of the city you call home.

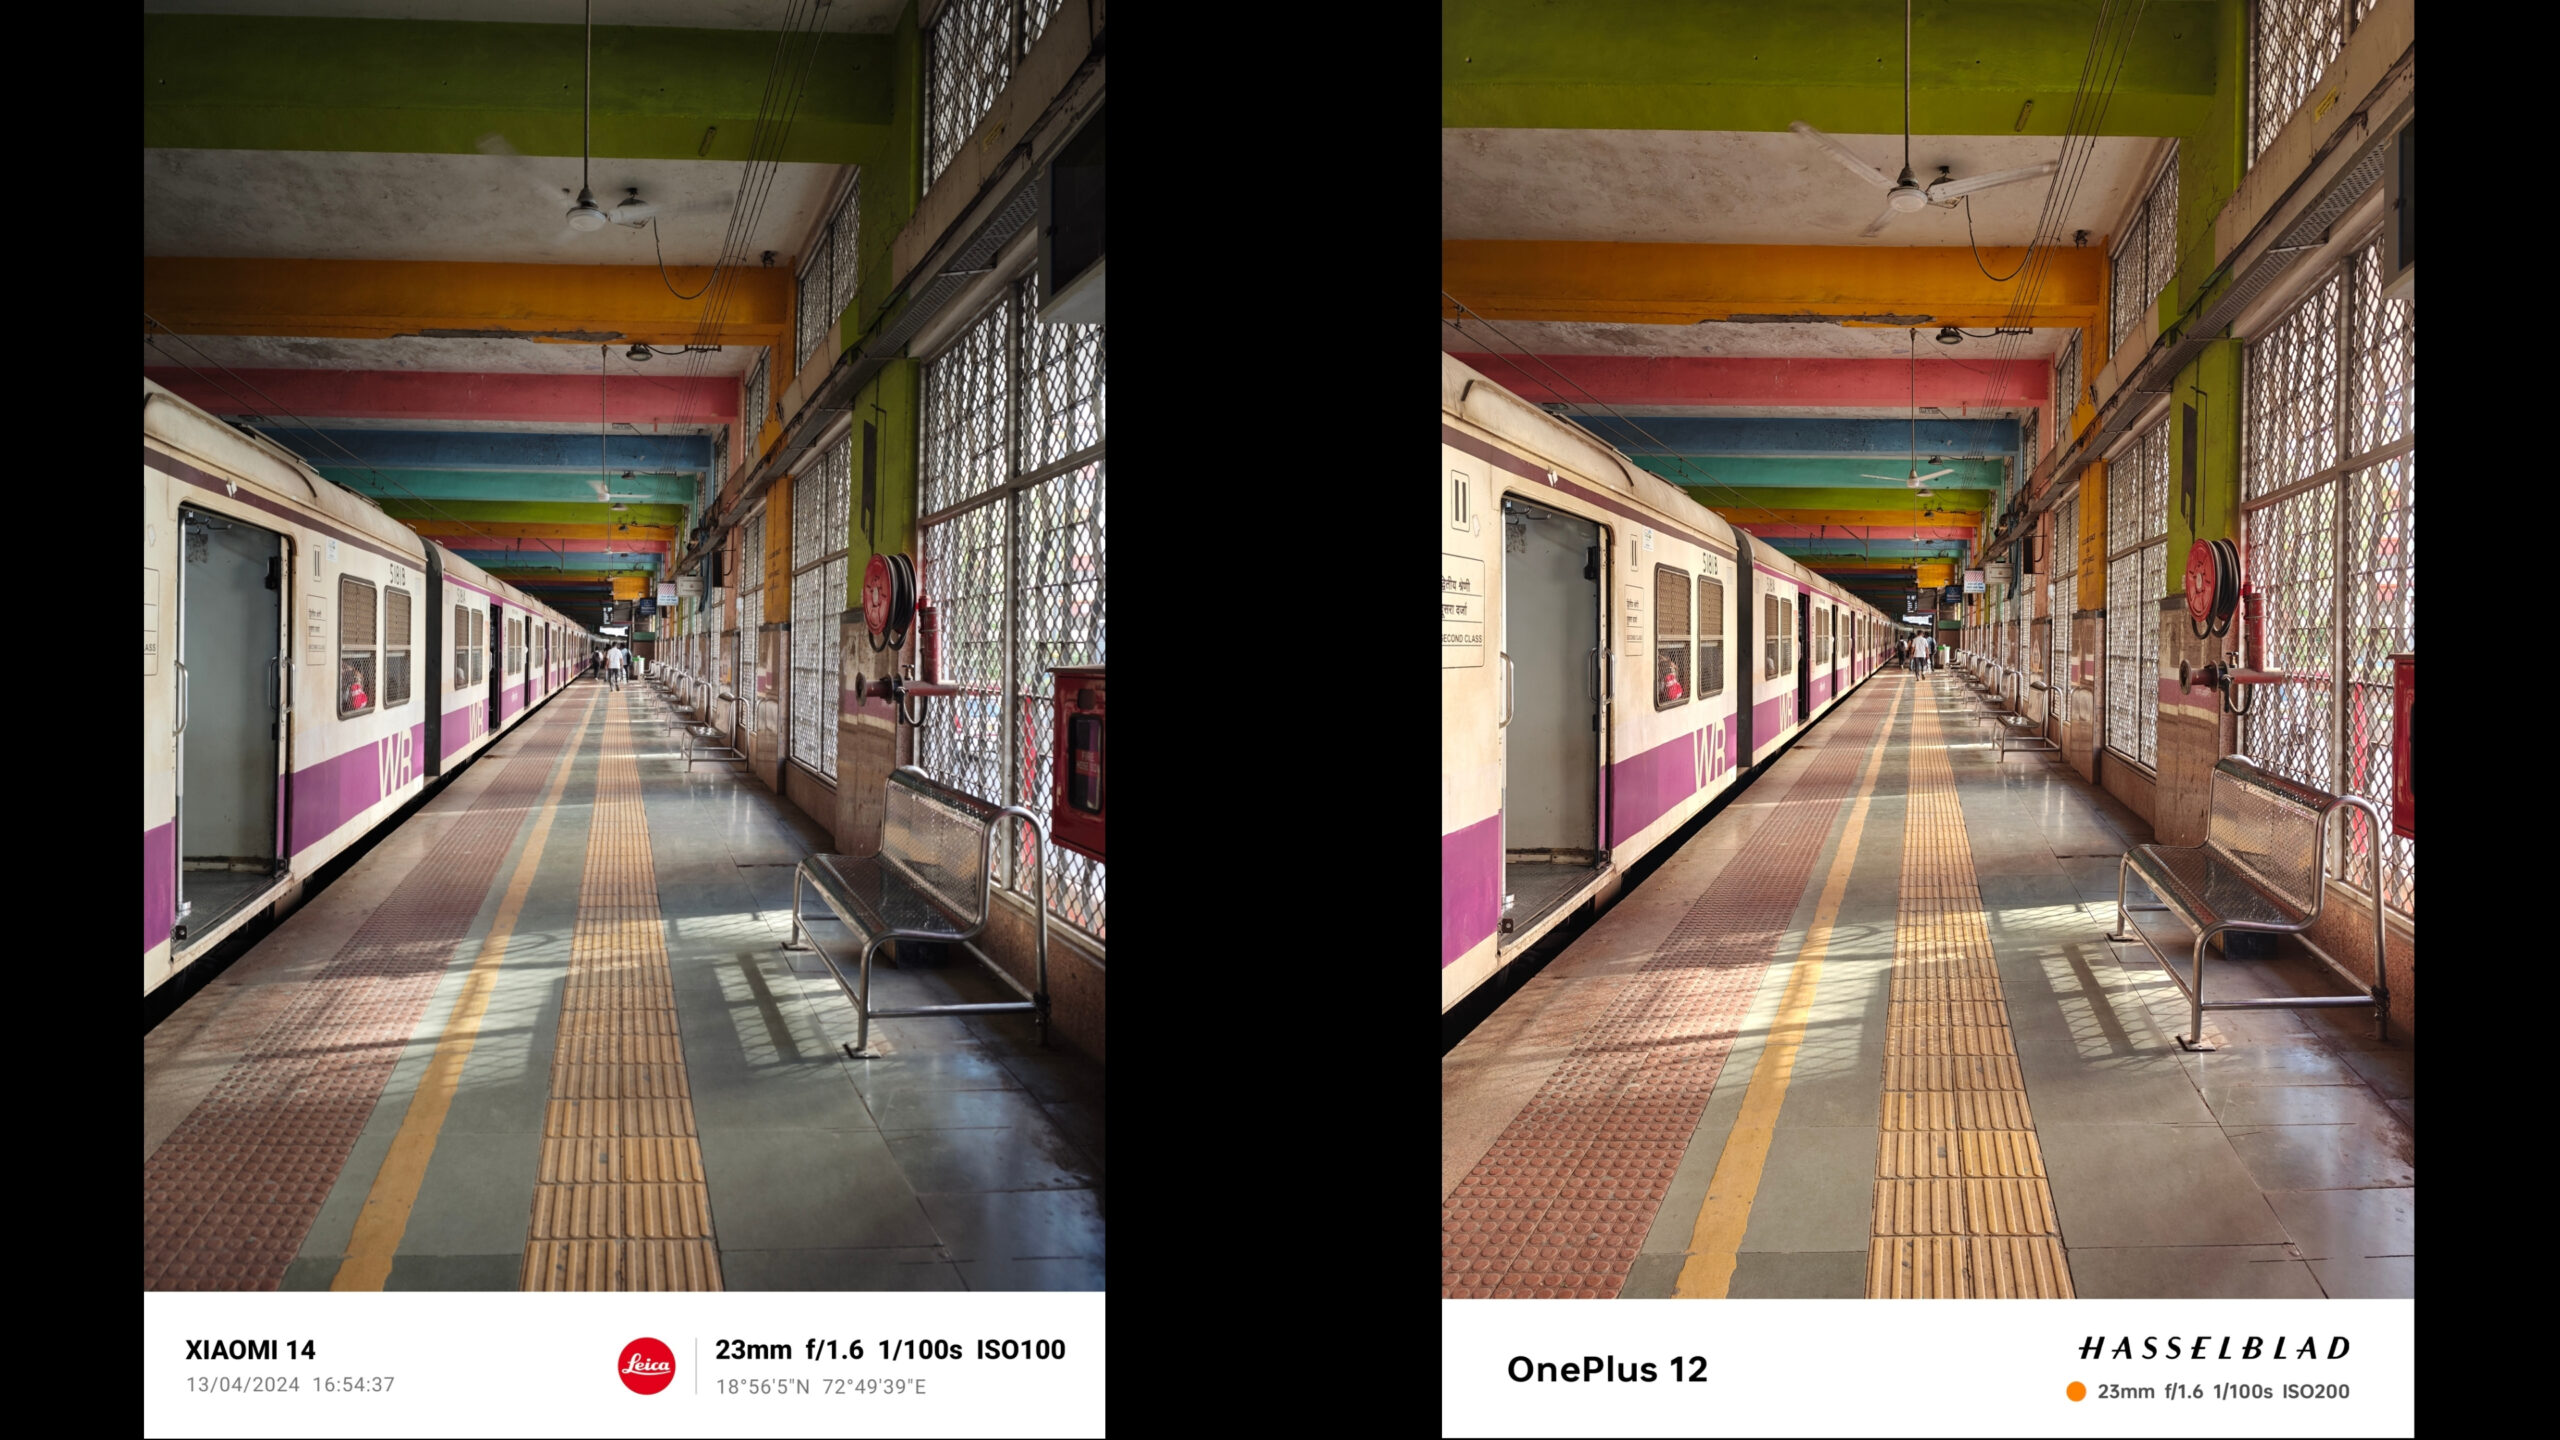
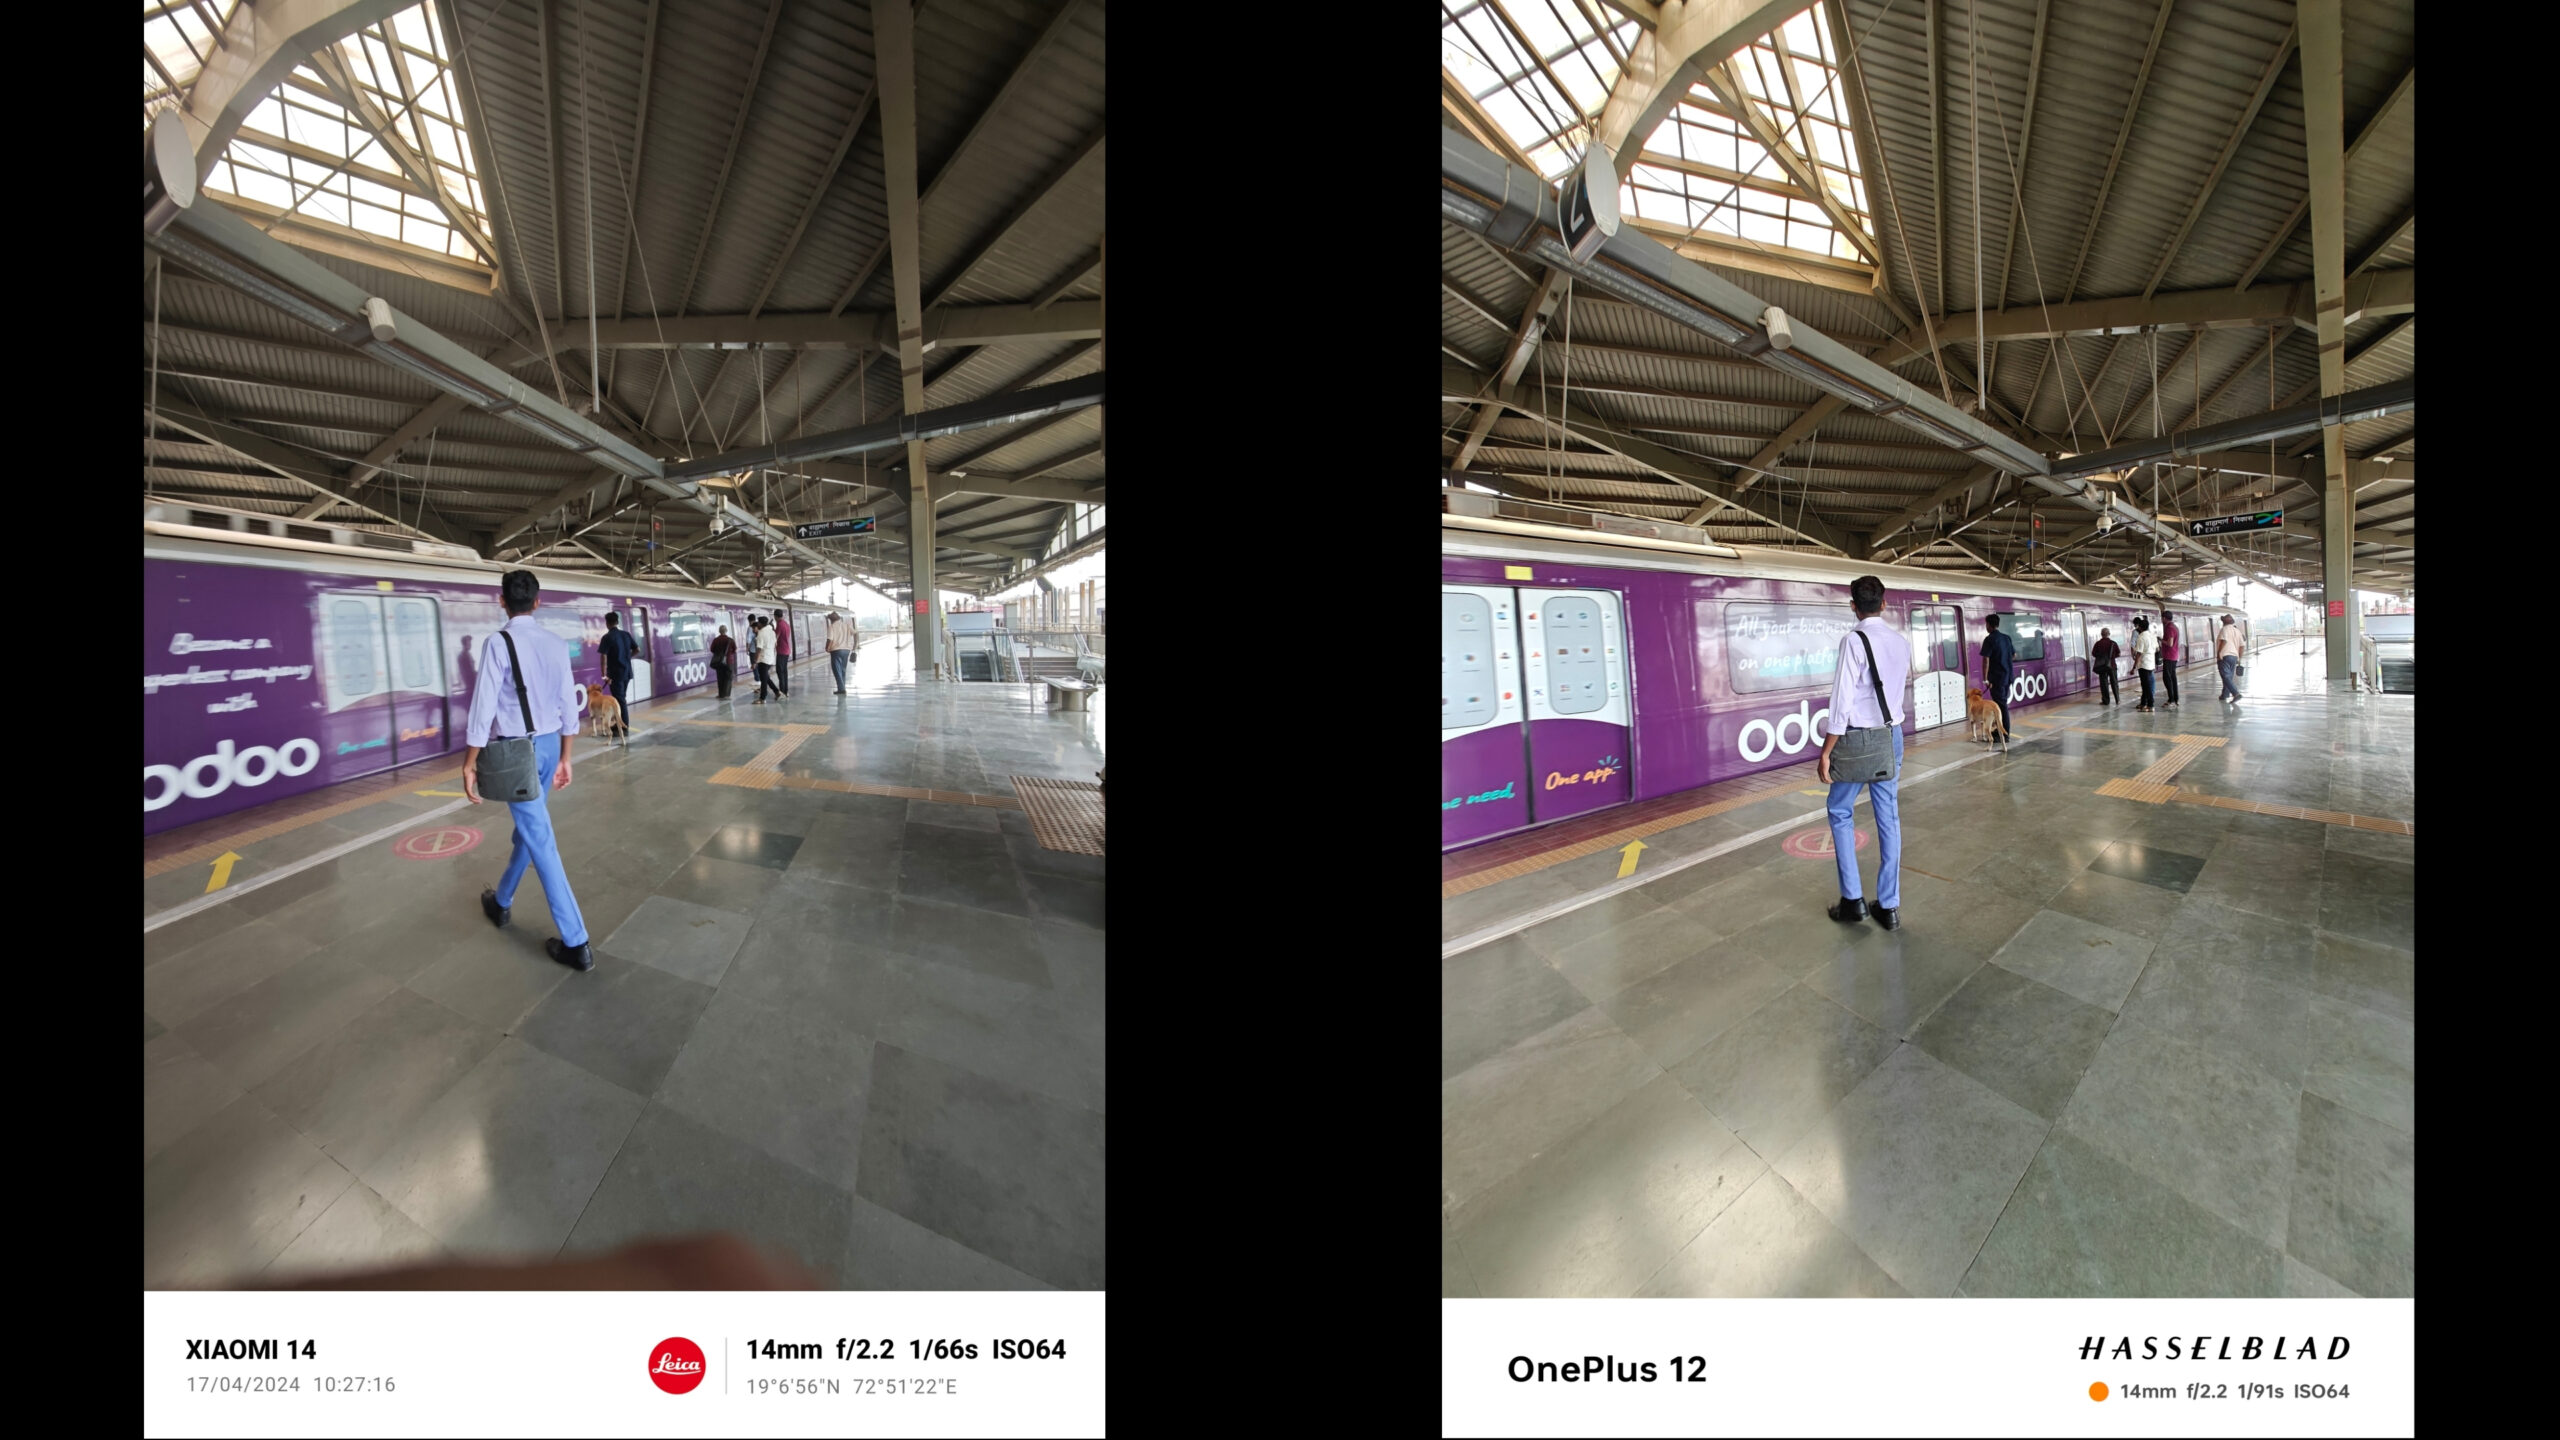
Xiaomi 14 vs OnePlus 12 Camera Comparison Test

The smartphone industry, particularly in the mid-range segment, has become a hotbed for innovation, with camera technology playing a pivotal role. As manufacturers strive to offer premium features at competitive prices, the camera has emerged as a key differentiator for consumers ranging from avid photographers to social media users. We’re examining two new releases priced at ₹69,999 each: The Xiaomi 14, launched in March, and the OnePlus 12, released in January. Positioned below flagship models from Xiaomi and OnePlus, these phones not only compete with each other, but also showcase their prestigious partnerships with iconic camera brands – Xiaomi with Leica and OnePlus with Hasselblad.

In this test, we’ll compare the camera performance of the Xiaomi 14 and OnePlus 12, exploring how these collaborations influence their photographic capabilities. Read the full article to find out which smartphone better suits your photography needs.

Xiaomi 14 Camera Setup

Rear Camera

  • 50 MP, f/1.6, 23mm (wide), 1/1.31″, 1.2µm, dual pixel PDAF, Laser AF, OIS
  • 50 MP, f/2.0, 75mm (telephoto), PDAF (10cm – ∞), OIS, 3.2x optical zoom
  • 50 MP, f/2.2, 14mm, 115˚ (ultra-wide)
  • Leica lens, Dual-LED dual-tone flash, HDR, panorama
  • 8K@24fps (HDR), 4K@24/30/60fps (HDR10+, 10-bit Dolby Vision HDR, 10-bit LOG), 1080p@30/60/120/240/960fps, 720p@1920fps, gyro-EIS

Front Camera

  • 32 MP, f/2.0, 22mm (wide), 0.7µm
  • HDR, panorama
  • 4K@30/60fps, 1080p@30/60fps, gyro-EIS

OnePlus 12 Camera Setup

Rear Camera

  • 50 MP, f/1.6, 23mm (wide), 1/1.43″, 1.12µm, multi-directional PDAF, OIS
  • 64 MP, f/2.6, 70mm (periscope telephoto), 1/2.0″, 0.7µm, PDAF, OIS, 3x optical zoom
  • 48 MP, f/2.2, 14mm, 114˚ (ultra-wide), 1/2.0″, 0.8µm, PDAF
  • Hasselblad Colour Calibration, Dual-LED flash, HDR, panorama
  • 8K@24fps, 4K@30/60fps, 1080p@30/60/240/480fps, Auto HDR, gyro-EIS, Dolby Vision

Front Camera

  • 32 MP, f/2.4, 21mm (wide), 1/2.74″, 0.8µm
  • Auto-HDR, panorama
  • 4K@30fps, 1080p@30fps, gyro-EIS

Daylight Main Camera

In the main camera, both phones are equipped with a 50-MP sensor, but the actual output is what truly matters. In this regard, the OnePlus produces images at 14.3 MP while the Xiaomi 14 delivers slightly lower at 14 MP. However, the Xiaomi 14 might have a slight edge in processing due to its use of the latest Omni Vision sensor, compared to the more established LYTIA sensor in the OnePlus.

When it comes to the quality of pictures, both phones seem to provide good results. The images appear sharp and detailed to the naked eye, making it hard to prefer one over the other. Upon closer inspection, however, the OnePlus photos tend to be slightly more saturated, giving them a reddish tinge. Conversely, the Xiaomi produces images that are more natural and true to the original scene. Additionally, the Xiaomi shows superior performance in handling glare, successfully reducing it in most instances where the OnePlus might display some glare. The handling of highlights and shadows by the Xiaomi is also commendable; thanks to a balanced tonal range, it manages to reveal more details in the images.

Daylight Wide Camera

Regarding the ultra-wide cameras, the OnePlus employs a 48 MP Sony IMX581 sensor, while the Xiaomi 14 uses a Samsung ISOCELL sensor. The actual output from the Xiaomi is approximately 14 MP, and the OnePlus produces an output of 13.2 MP. In this aspect, Xiaomi has a clear advantage.

The difference is also visible in the quality of the images. Xiaomi’s images show more natural whites compared to those from OnePlus. However, despite having a lower megapixel count, OnePlus excels by delivering sharper images upon zooming. This suggests that OnePlus has very effective backend processing, though its images are slightly more contrast, which could be a disadvantage.

In indoor settings, Xiaomi occasionally produces images with slightly more contrast than OnePlus, which was unexpected. Moreover, OnePlus images sometimes appear to have a reddish tinge.

Daylight Telephoto Camera

When it comes to telephoto capabilities, the two phones use different sensors. The Xiaomi is equipped with a Samsung ISOCHELL 50 MP sensor that produces a 14 MP output, whereas the OnePlus has a 64 MP OmniVision sensor with an output of 17.6 MP. Their zoom capabilities also vary. The OnePlus offers a zoom range of 3x and 6x, extending up to 120x, while the Xiaomi provides zoom levels of 3.2x, 5x, and 10x, with a maximum of 60x.

The OnePlus has a higher sensor resolution, which results in sharper images across its entire range. As the zoom level increases, the difference in sharpness between the two phones becomes more apparent. For those who prefer sharper images, the OnePlus would be the better choice. However, when it comes to overall image quality, especially at high zoom levels, there is little to distinguish between the two phones as both generally produce good results. Nonetheless, the OnePlus shows some inconsistency in tonal range as the zoom increases, an issue that is not present in the Xiaomi. The Xiaomi may not capture the sharpest images, but it maintains more consistent quality.

Lowlight Main Camera

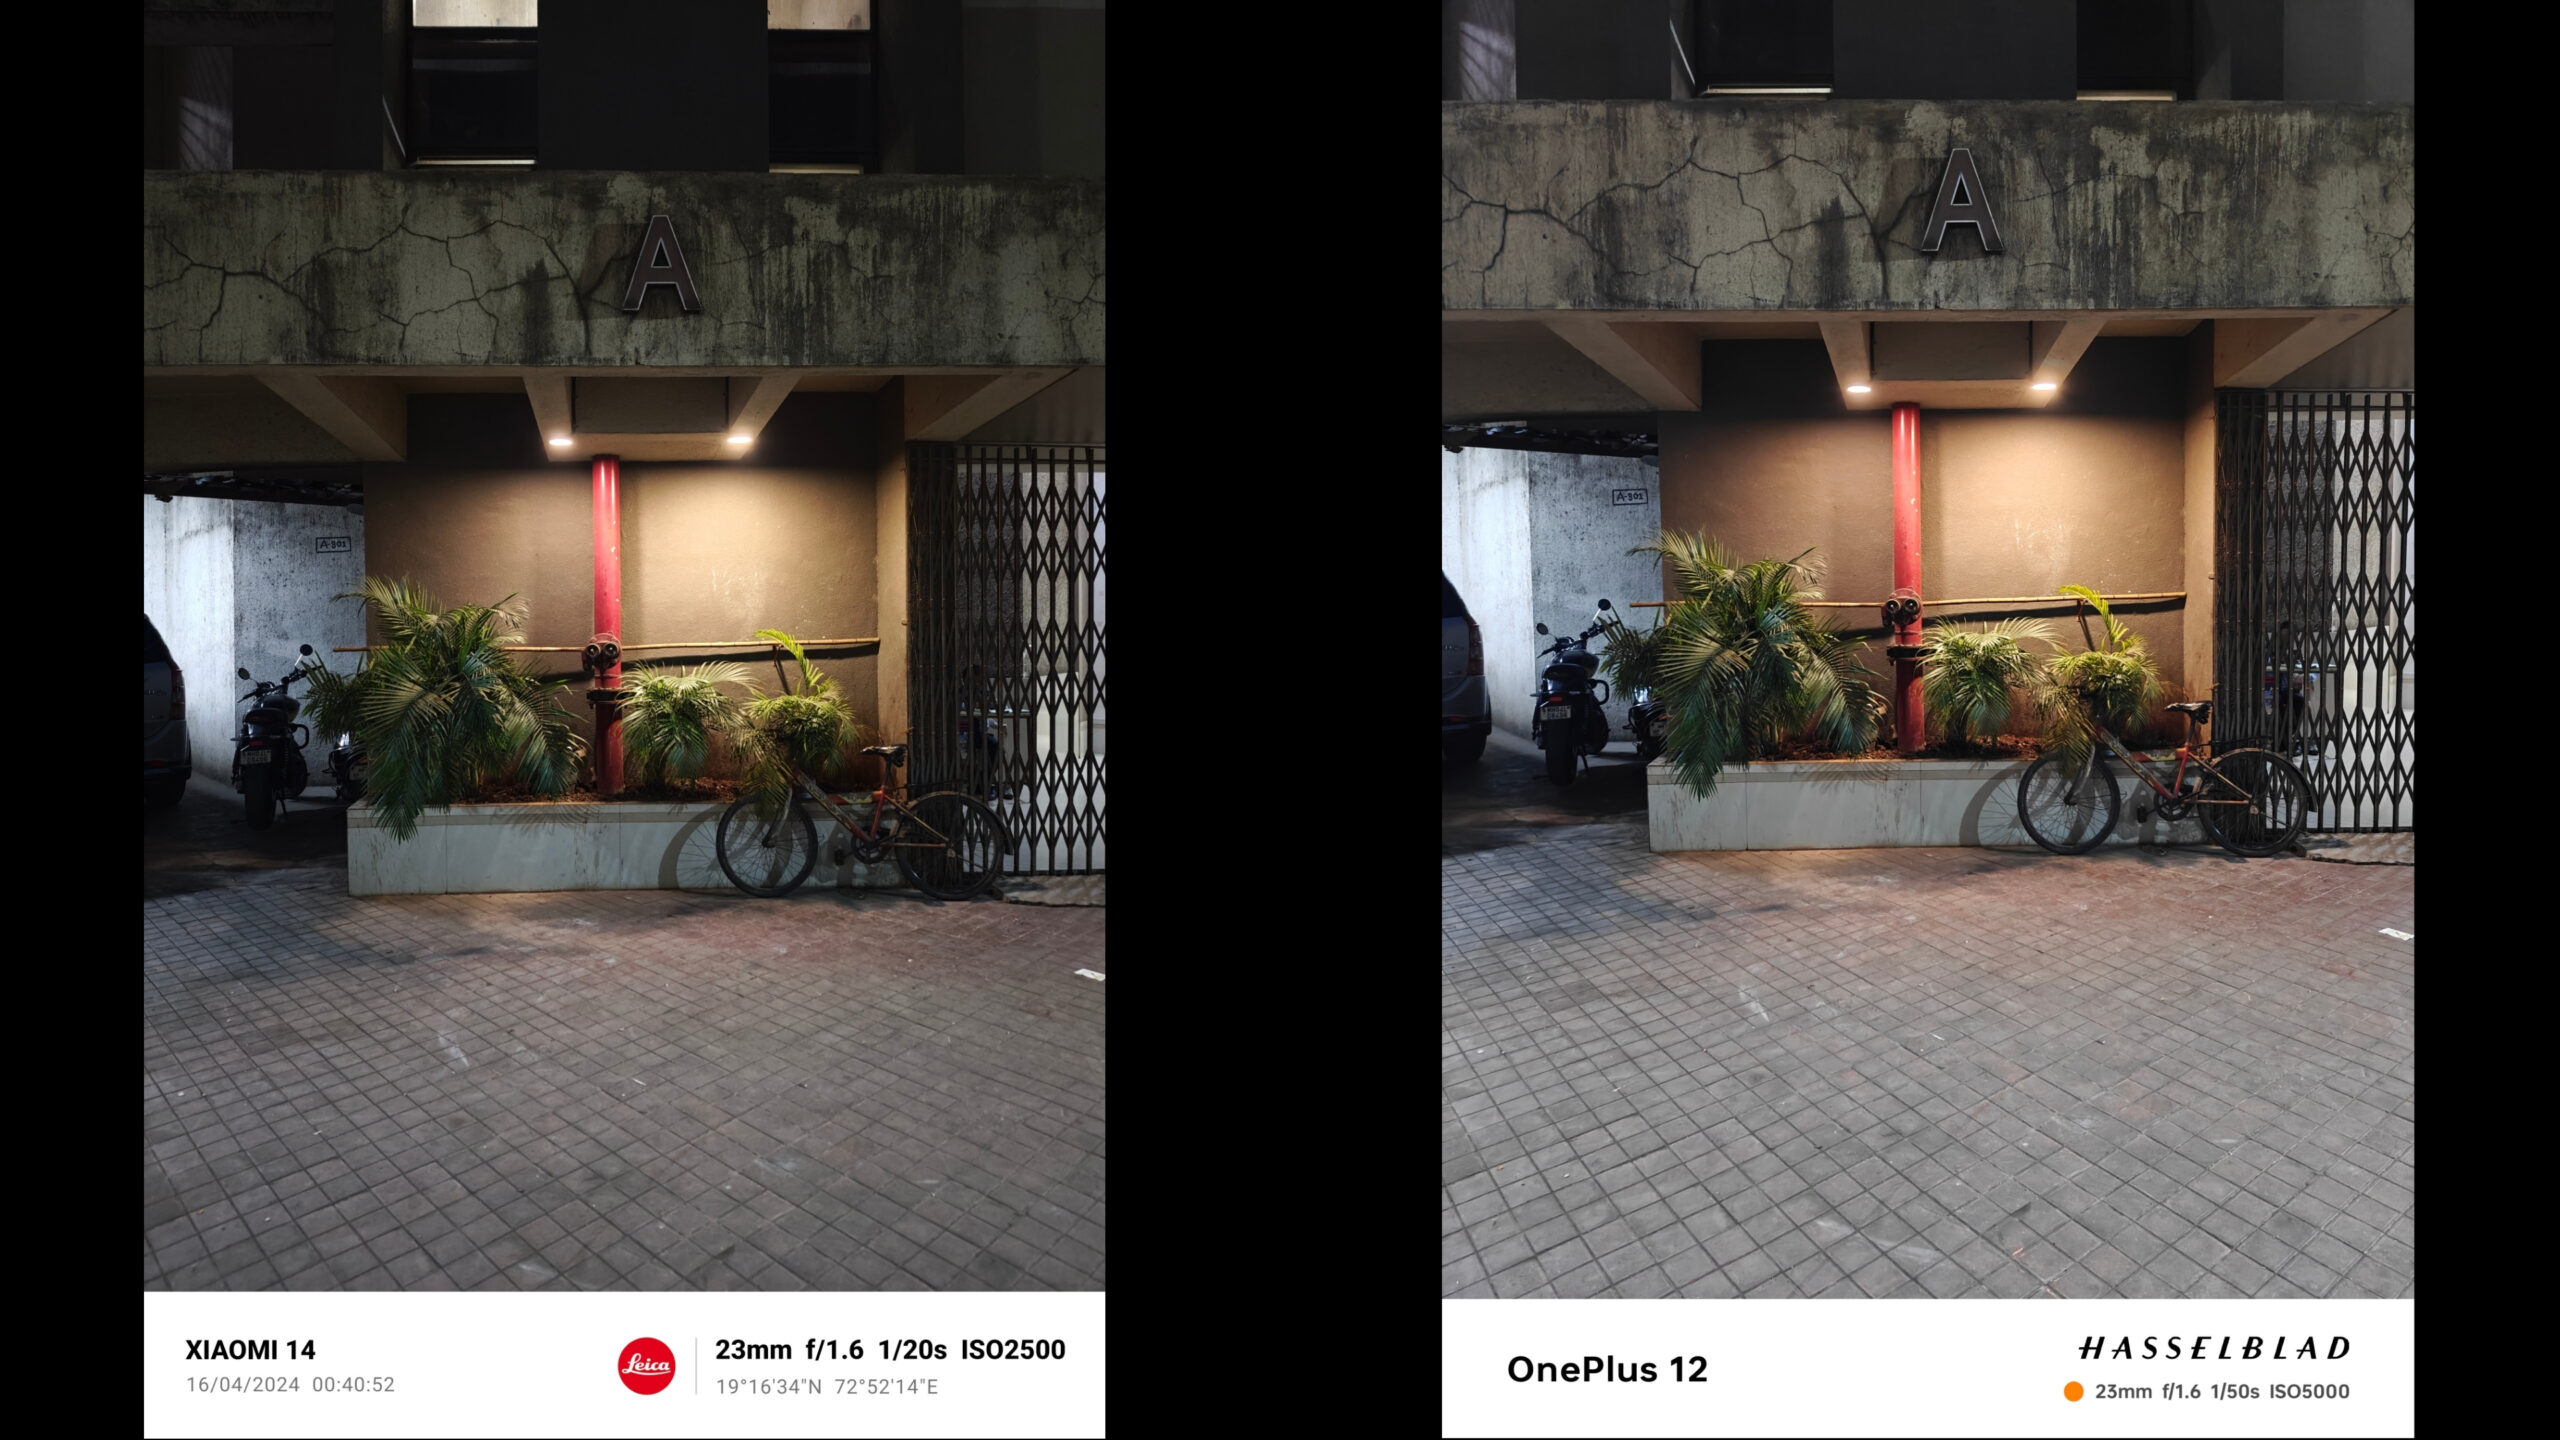
Recently, there has been an increase in people taking pictures in low light settings, such as during dinners and social outings. In these situations, the Xiaomi’s performance is comparable to the iPhone, as it tends to produce more neutral and natural images. On the other hand, the OnePlus tends to saturate the pictures, which might be preferred by some users because it makes the colours more vivid, and many people like such vibrant pictures.

When it comes to details and sharpness, both the Xiaomi and the OnePlus perform similarly, though the OnePlus might have a slight advantage.

Lowlight Wide Camera

In terms of performance in low-light conditions, both cameras are decent. However, the OnePlus tends to oversaturate the pictures more than the Xiaomi, affecting the visibility of shadows and highlights. Despite this, the OnePlus still produces sharper images in this category.

It’s important to note that the overall performance of both phones varied. Sometimes, the Xiaomi’s images were overexposed, while at other times, the OnePlus’ images were underexposed. Therefore, neither phone delivered flawless results in this segment.

Lowlight Telephoto Camera

Much like its performance in daylight telephoto shots, the OnePlus produces a much sharper image. As one zooms in further, this becomes more evident. At the maximum zoom range of each phone, the images tend to be blurry, yet they appear significantly clearer on the OnePlus.

Although it was anticipated that the OnePlus might display varying colour tones in this aspect, the actual performance was surprisingly better than expected.

Portraits

Xiaomi has consistently performed well in portrait photography over the years, and this was also true for the Xiaomi 13 Pro, which received positive reviews. The brand’s portrait mode, although good, takes a unique approach by incorporating Leica filters, which might be confusing to new users who could initially think there are only two shooting options available.

Both Xiaomi and OP deliver high-quality images that are sharp, well-saturated, with good edge detection and bokeh effect. However, Xiaomi’s portraits are particularly appealing, especially in how they handle skin tones, making them appear more natural, saturated, and warm, thus pleasing to the eye. In contrast, OP offers better blur and sharpness, especially at higher focal ranges, but sometimes struggles with inconsistent tonal ranges.

Front Camera

Both phones feature a 32-megapixel front camera; however, the OnePlus offers only a single setting for taking pictures, while the Xiaomi 14 provides options for both wide-angle and standard (1X) shots. An interesting feature of the Xiaomi 14 is that it uses a timer when the volume down button is pressed to take a picture.

In terms of image quality, the OnePlus produces more natural-looking photos, whereas the Xiaomi enhances the exposure to make the images appear more striking. The Xiaomi 14 also has skin smoothing turned on by default, which users may want to disable for a more natural appearance. When capturing portraits, both phones deliver good detail and edge detection, but the Xiaomi slightly outperforms in terms of the sharpness of the details.

Video Performance

Both phones can record video up to 8K at 24 fps, though this feature has not been tested as it is unlikely to be used frequently by most consumers in the near future. When recording in 4K, both devices can shoot up to 60 fps. In this mode, the OnePlus generally produces better videos. Video stabilization is effective on both devices, but the Xiaomi tends to display more contrast, which can make some videos look underexposed. This was observed with HDR turned off as well, and some glare was noticeable in the videos shot with the Xiaomi 14.

In low-light conditions, however, the increased contrast in Xiaomi’s videos results in better visual quality. Additionally, the Xiaomi outperforms the OnePlus in terms of flare handling in these settings. It is also worth mentioning that Xiaomi’s sound recording quality is superior.

Overall, the OnePlus is favoured for its better overall performance.

Conclusion

Which phone has the better camera, the Xiaomi or the OnePlus? In this comparison, the Xiaomi 14 seems to have the advantage. It captures neutral photos under most conditions, which is highly appreciated. Additionally, it produces warmer-looking portraits, which seems to be popular among users. Although it doesn’t perform as well as the OnePlus in video recording, its superior macro capabilities contribute to it having a better camera overall.

The choice might differ if considering the overall quality of the phone, where factors like the operating system, usability, and display come into play. However, it’s worth noting that the Xiaomi 14’s user interface has improved significantly with the introduction of Hyper Touch OS. Expectations are that it will continue to get better with future updates.

April 2024


Cover by Sean Dalton 📷

In this issue read:

~ Voyage From Vision to Discovery – Sean Dalton

~ From Local Trails to Golabl Tales – Ganesh Bagal

~ From Drawing Boards to Composing Frames – Hegde Arun

~ A Comprehensive Guide for Indian Photographers Embarking on International Sojourns

~ A Photographer’s Guide to Cost-Effective Travel in India

~ How to be a Travel Photographer in Your Own City

~ Fujifilm Instax PAL Review

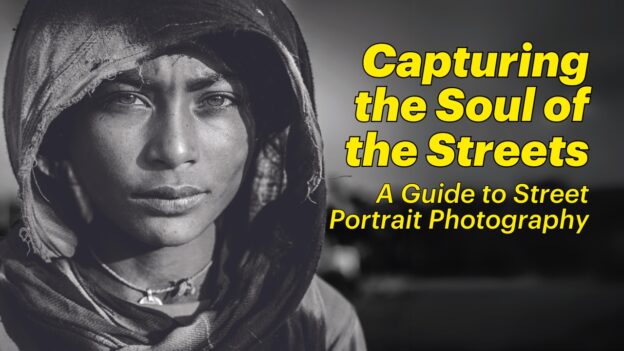
Capturing the Soul of the Streets: A Guide to Street Portrait Photography

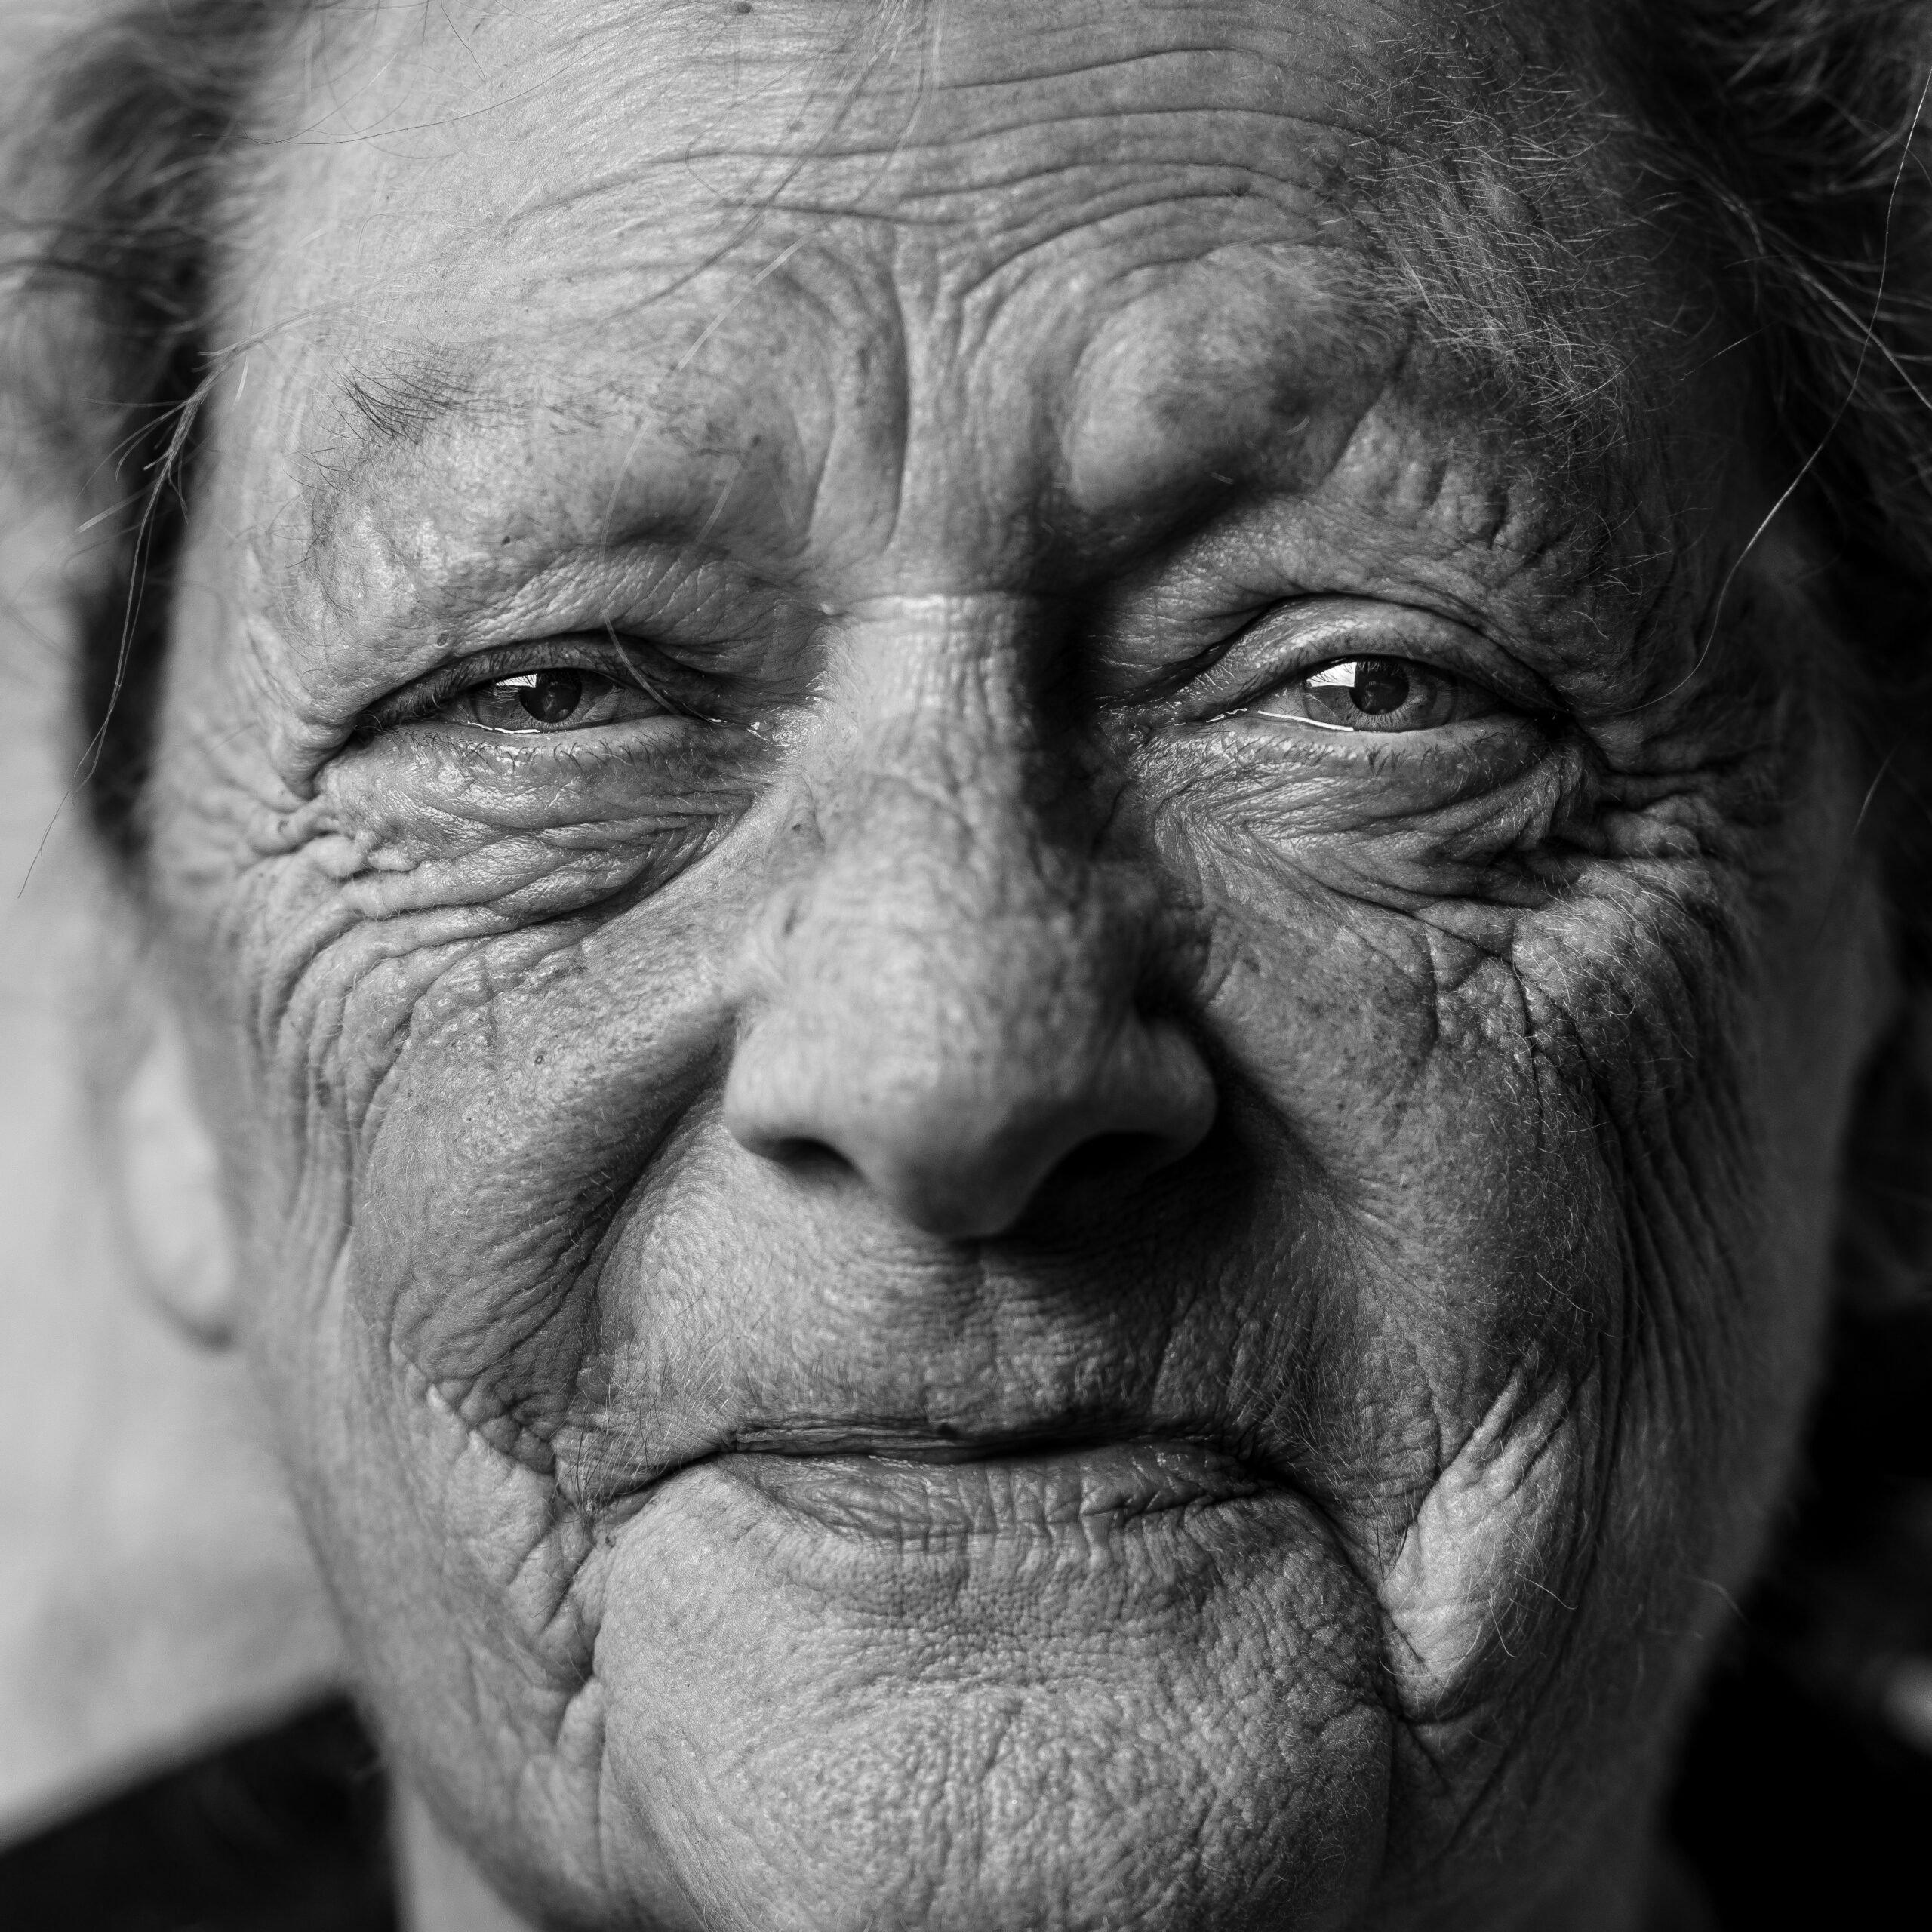
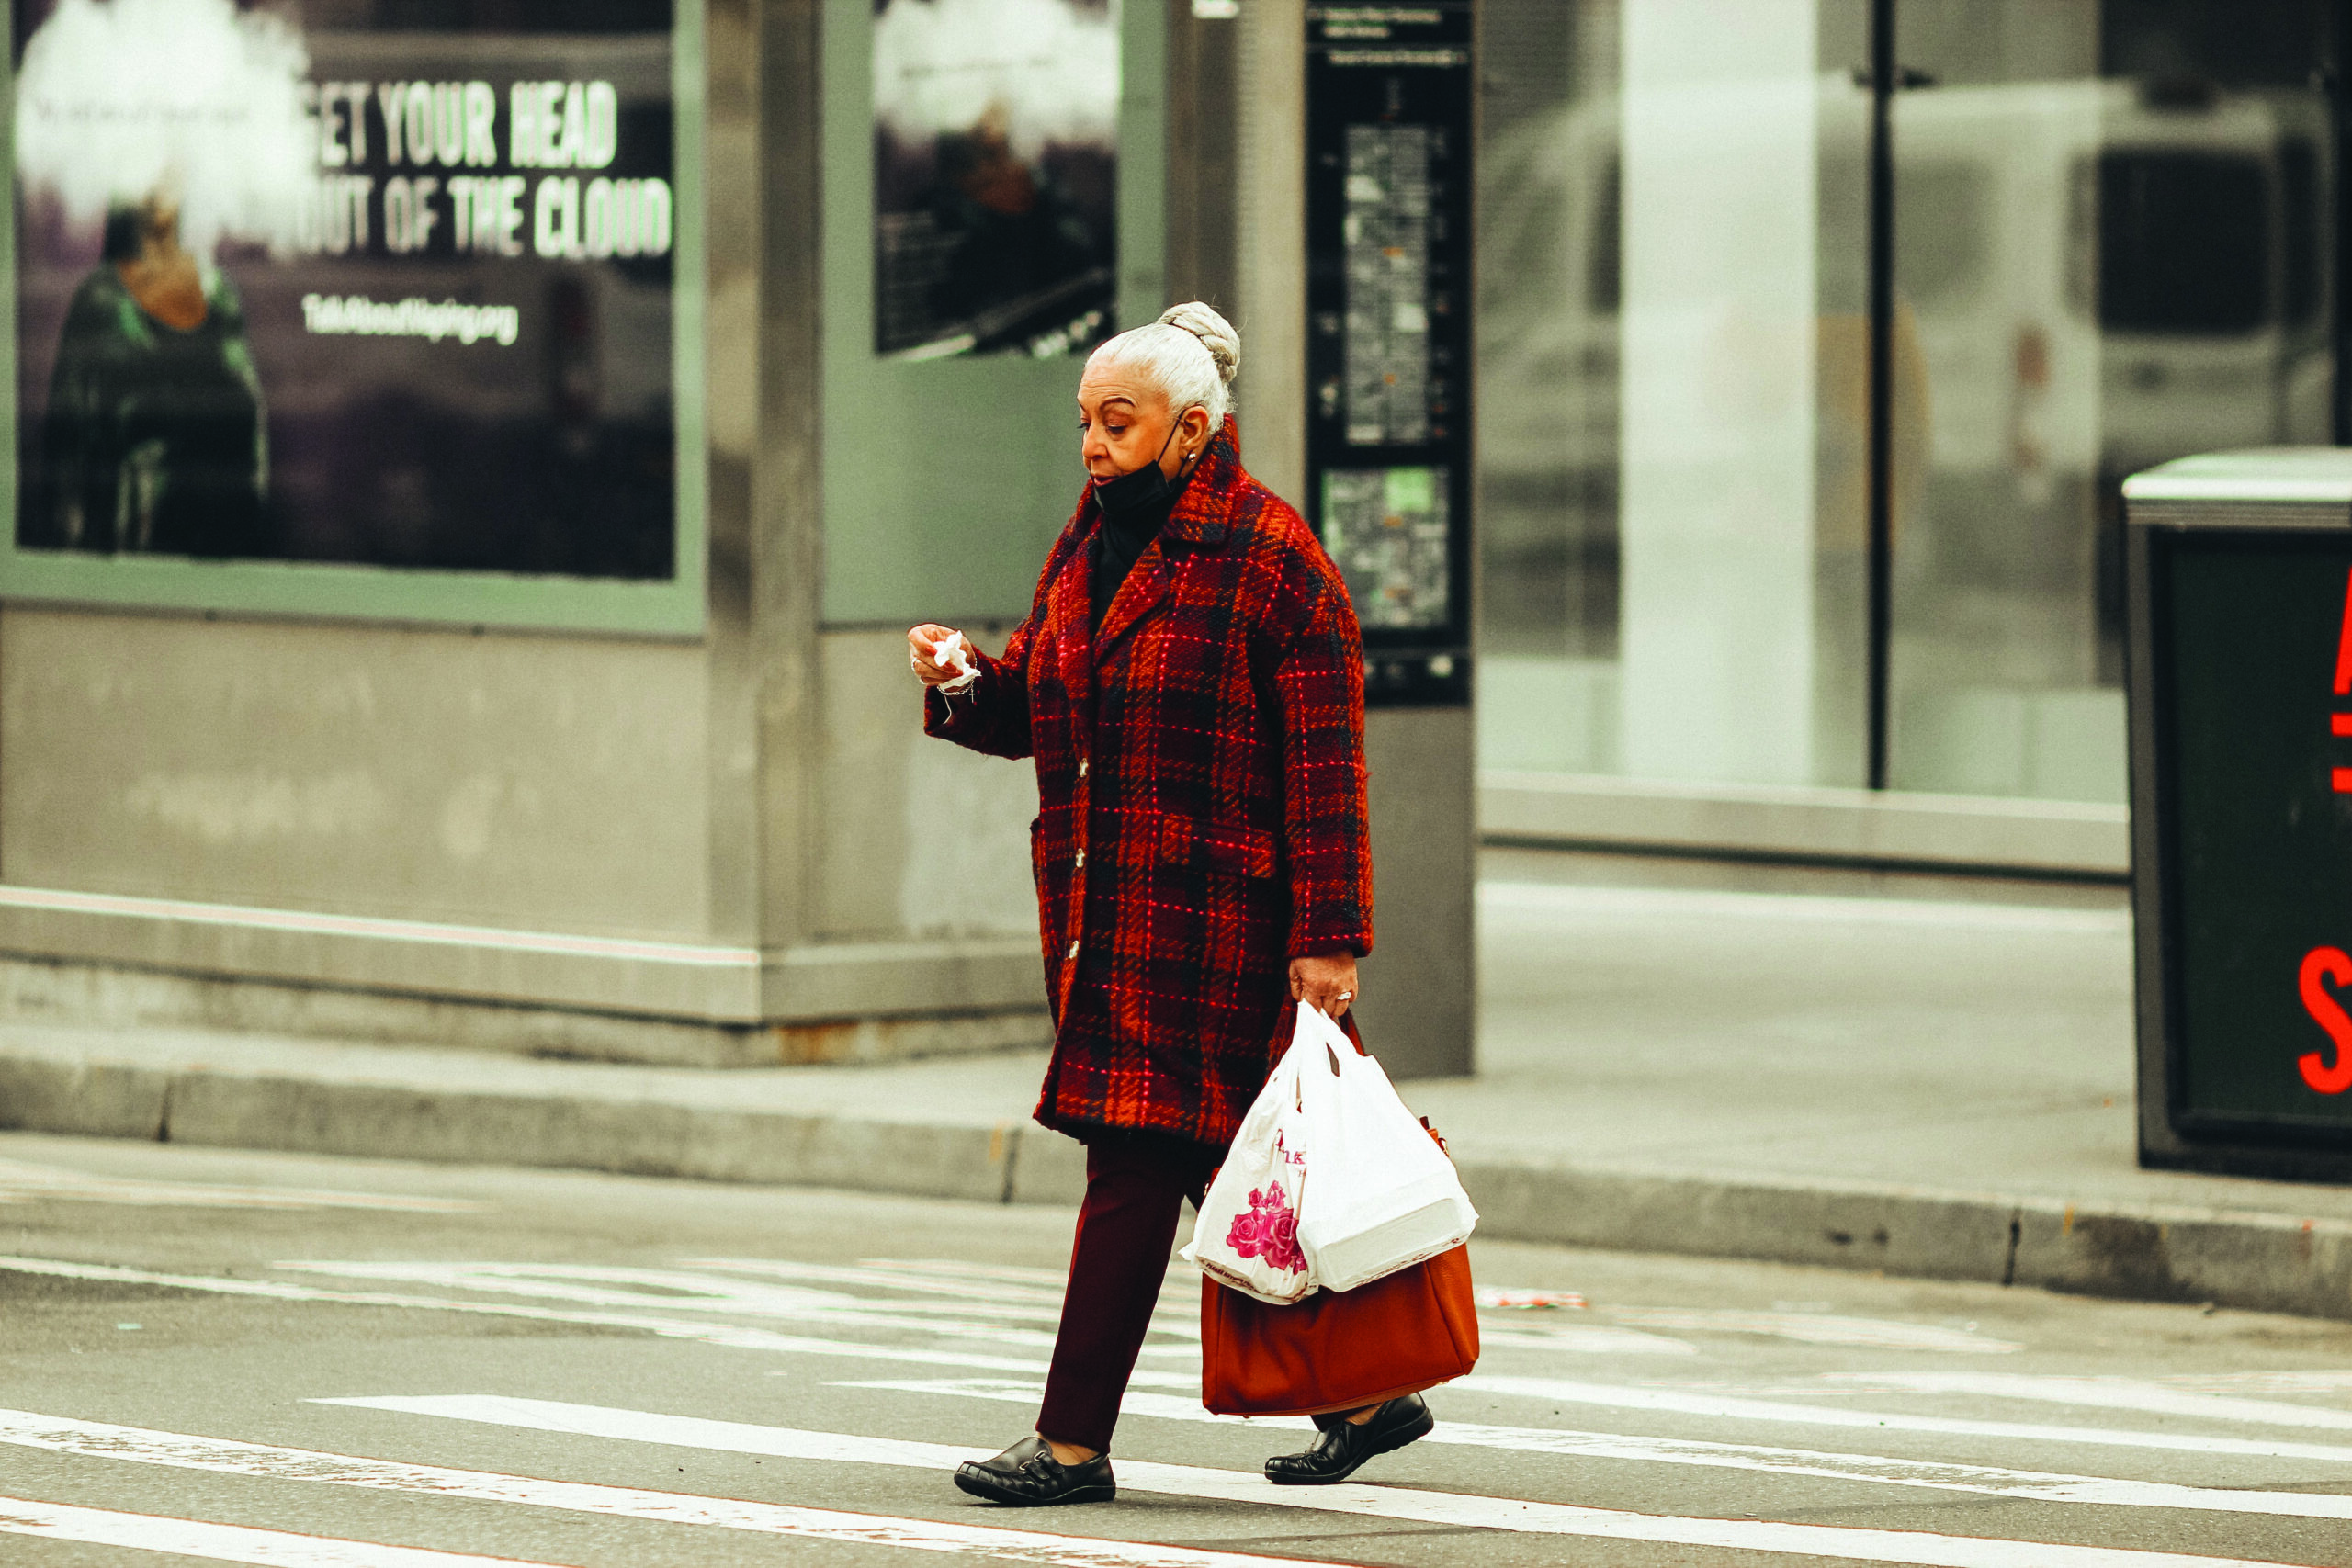
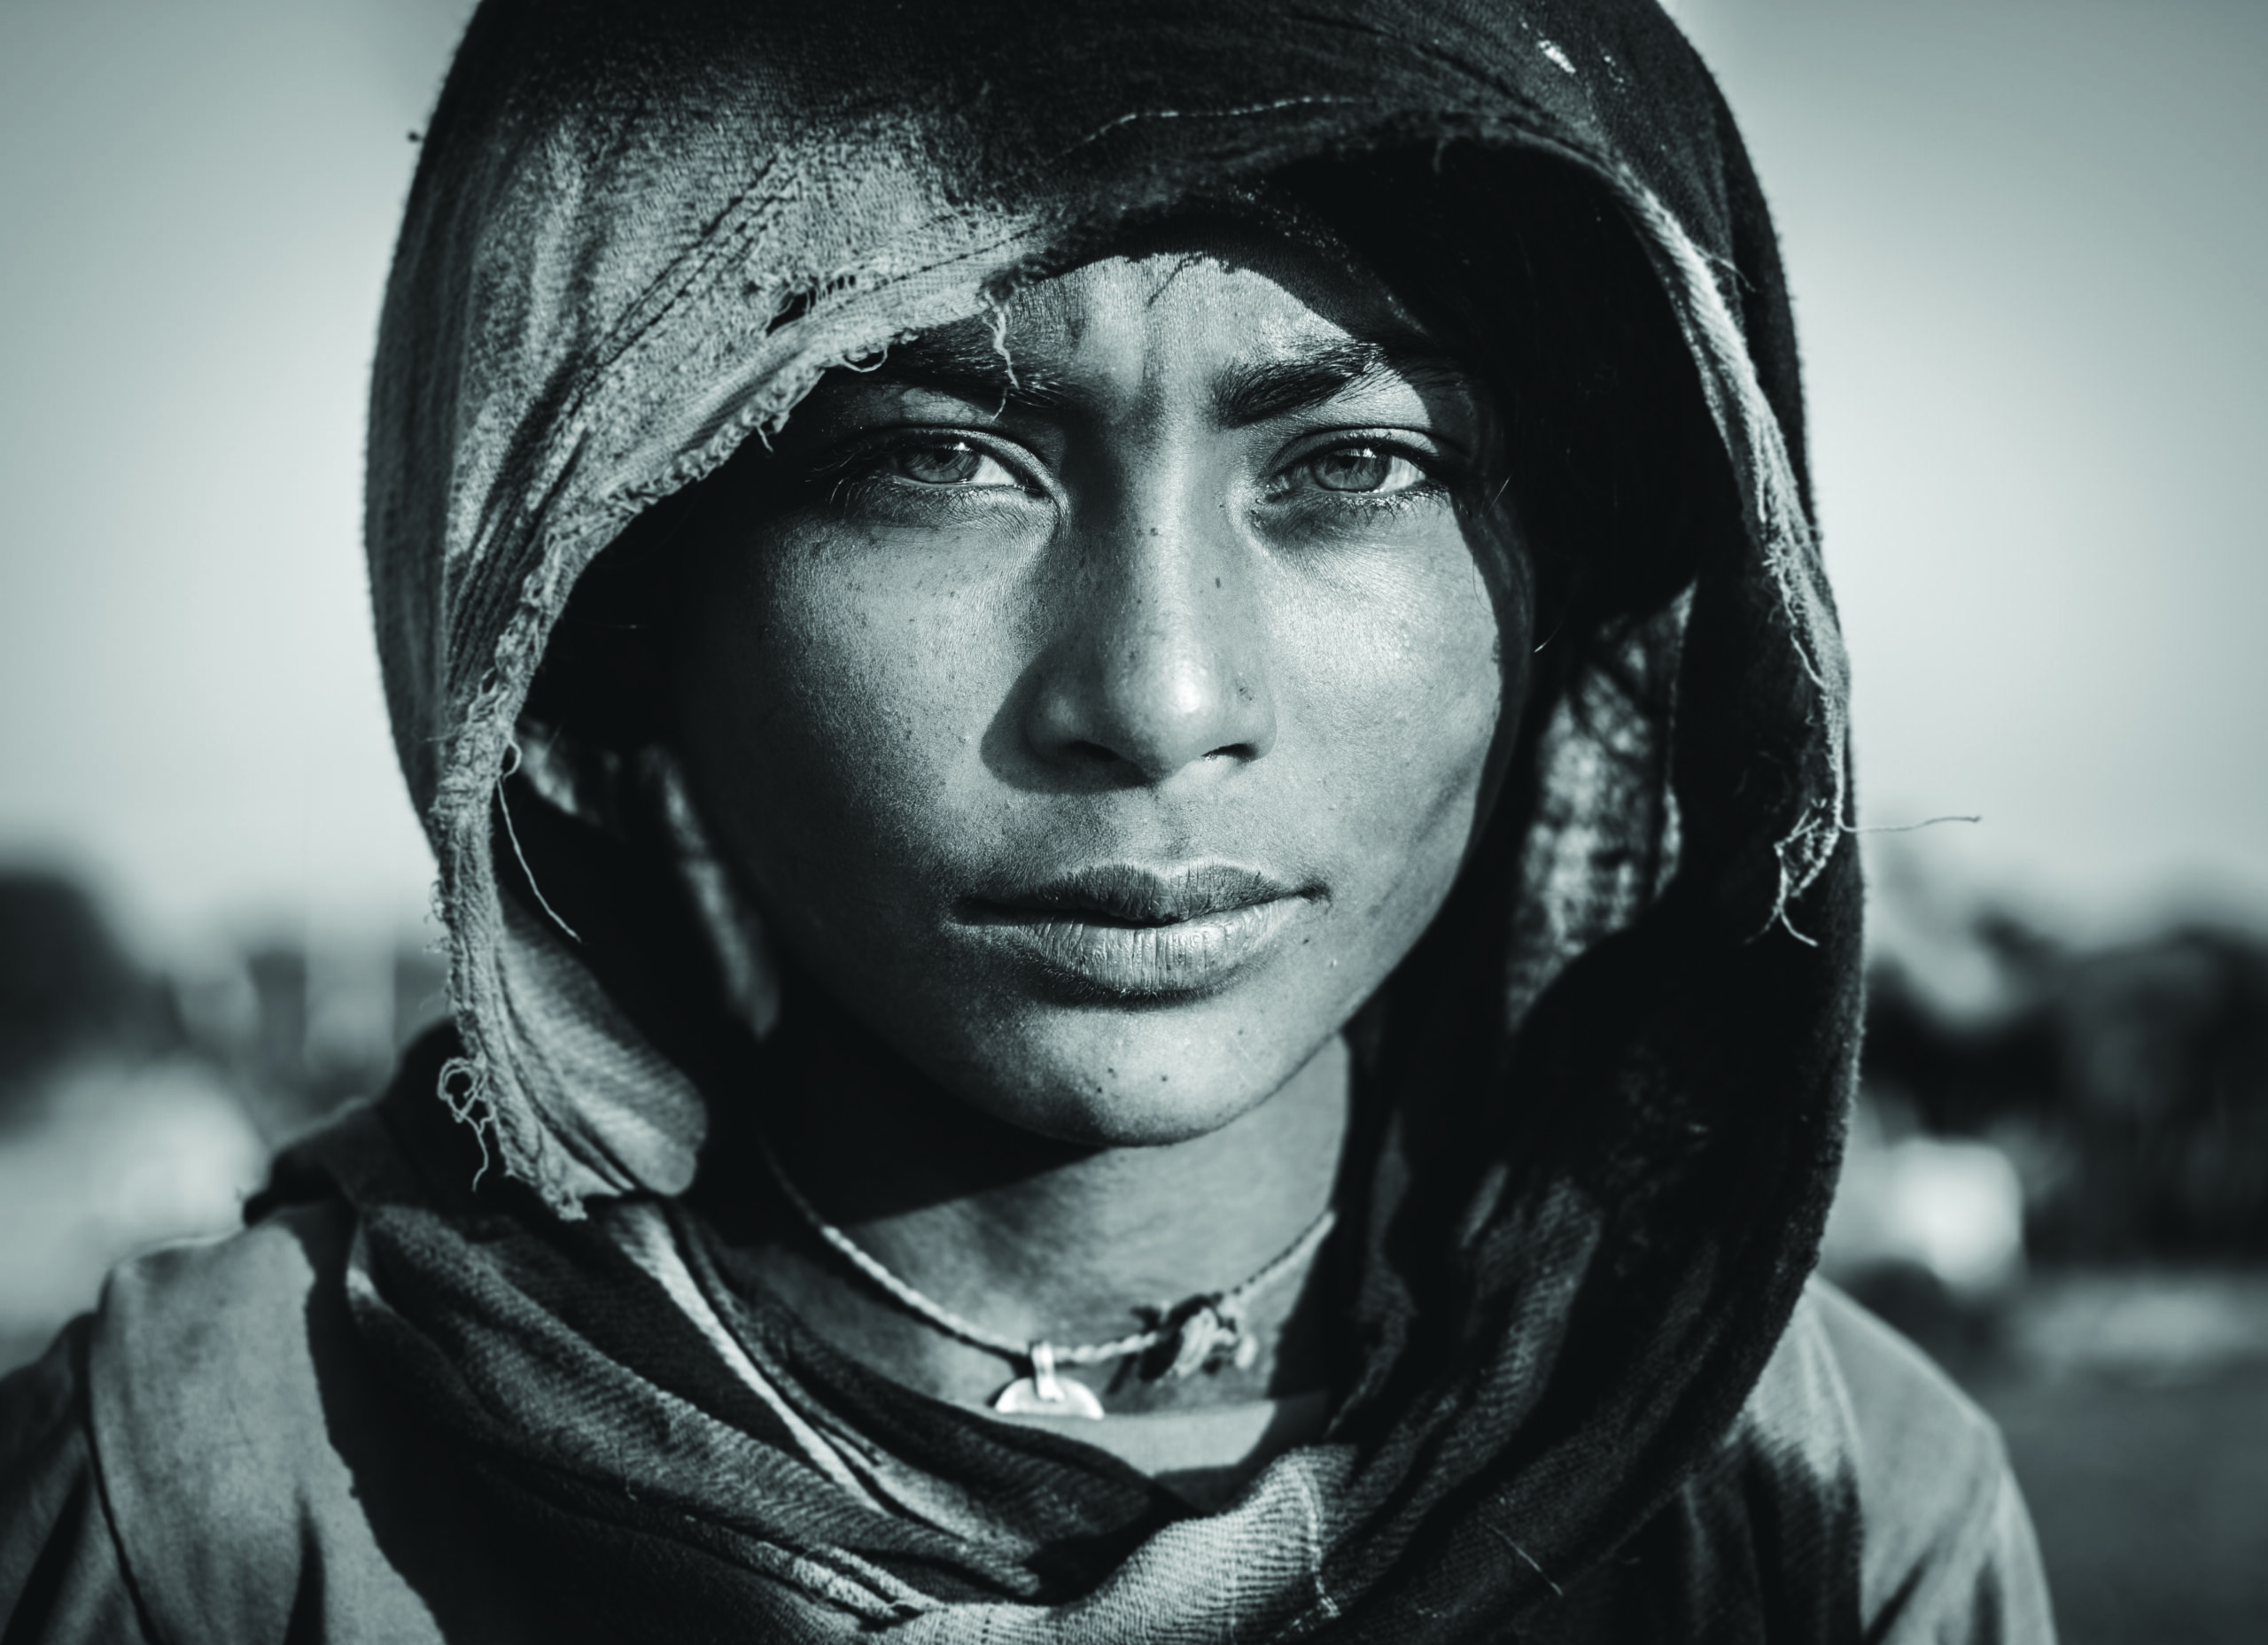
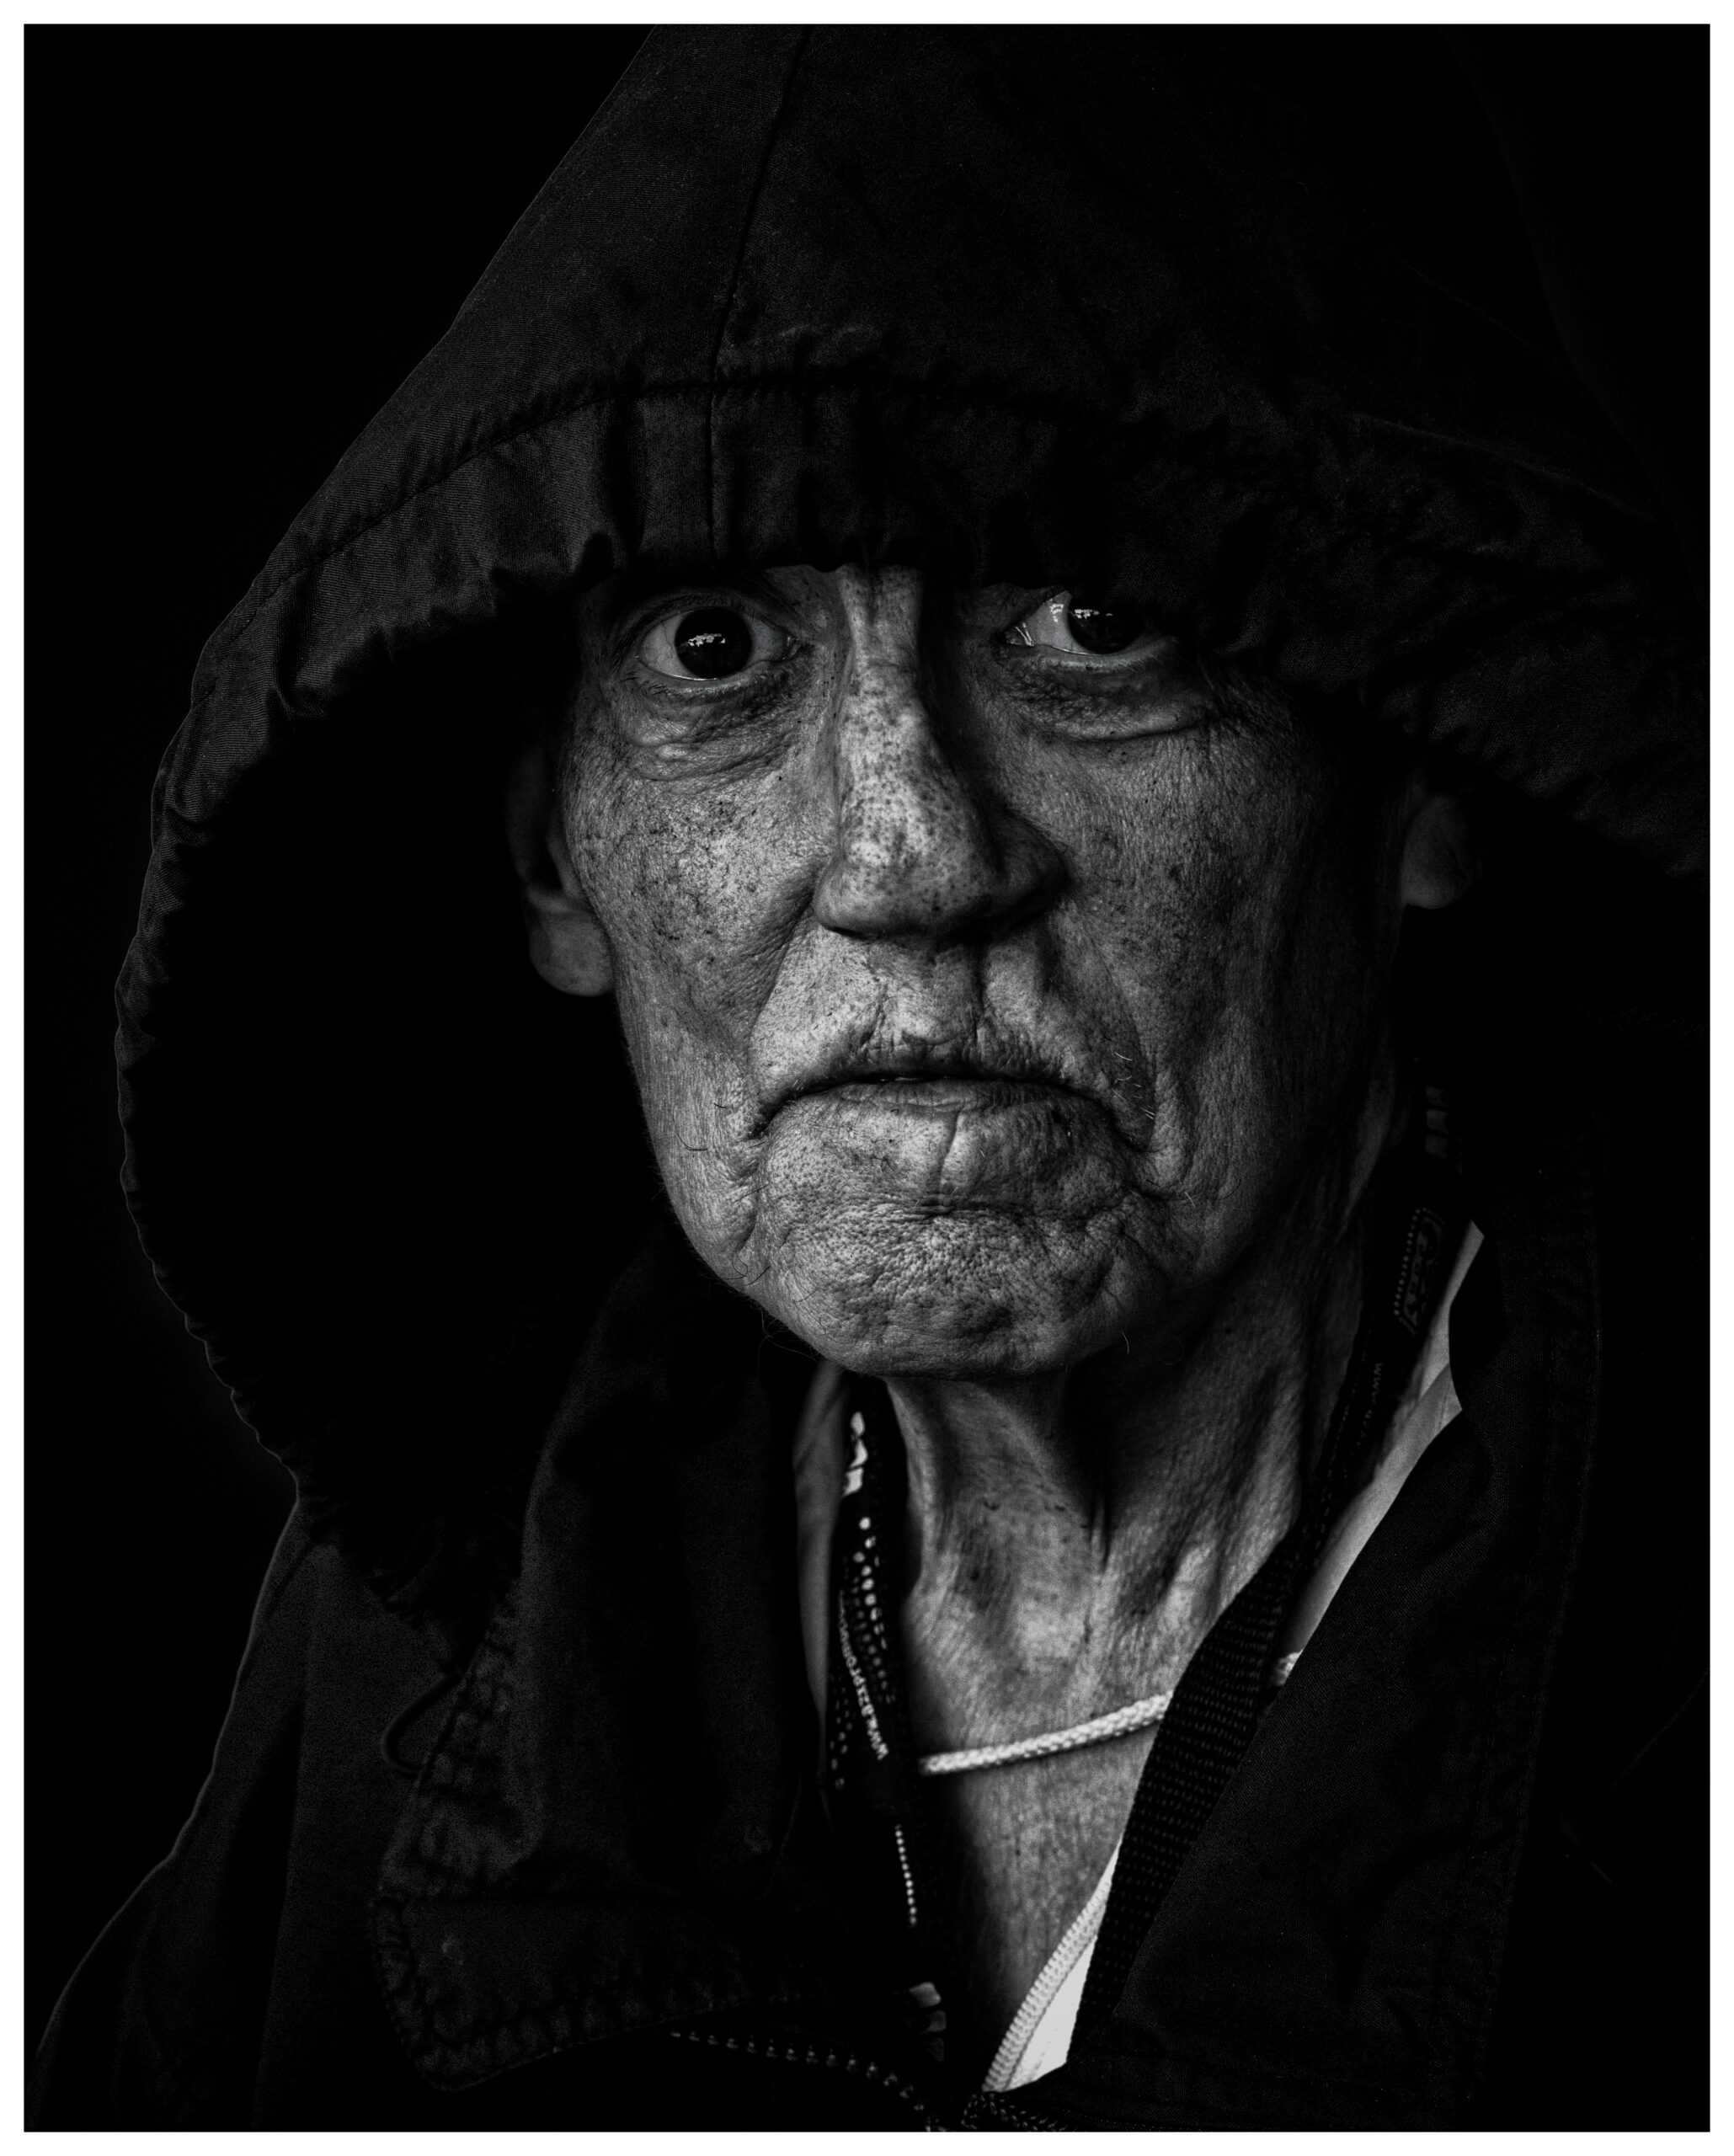
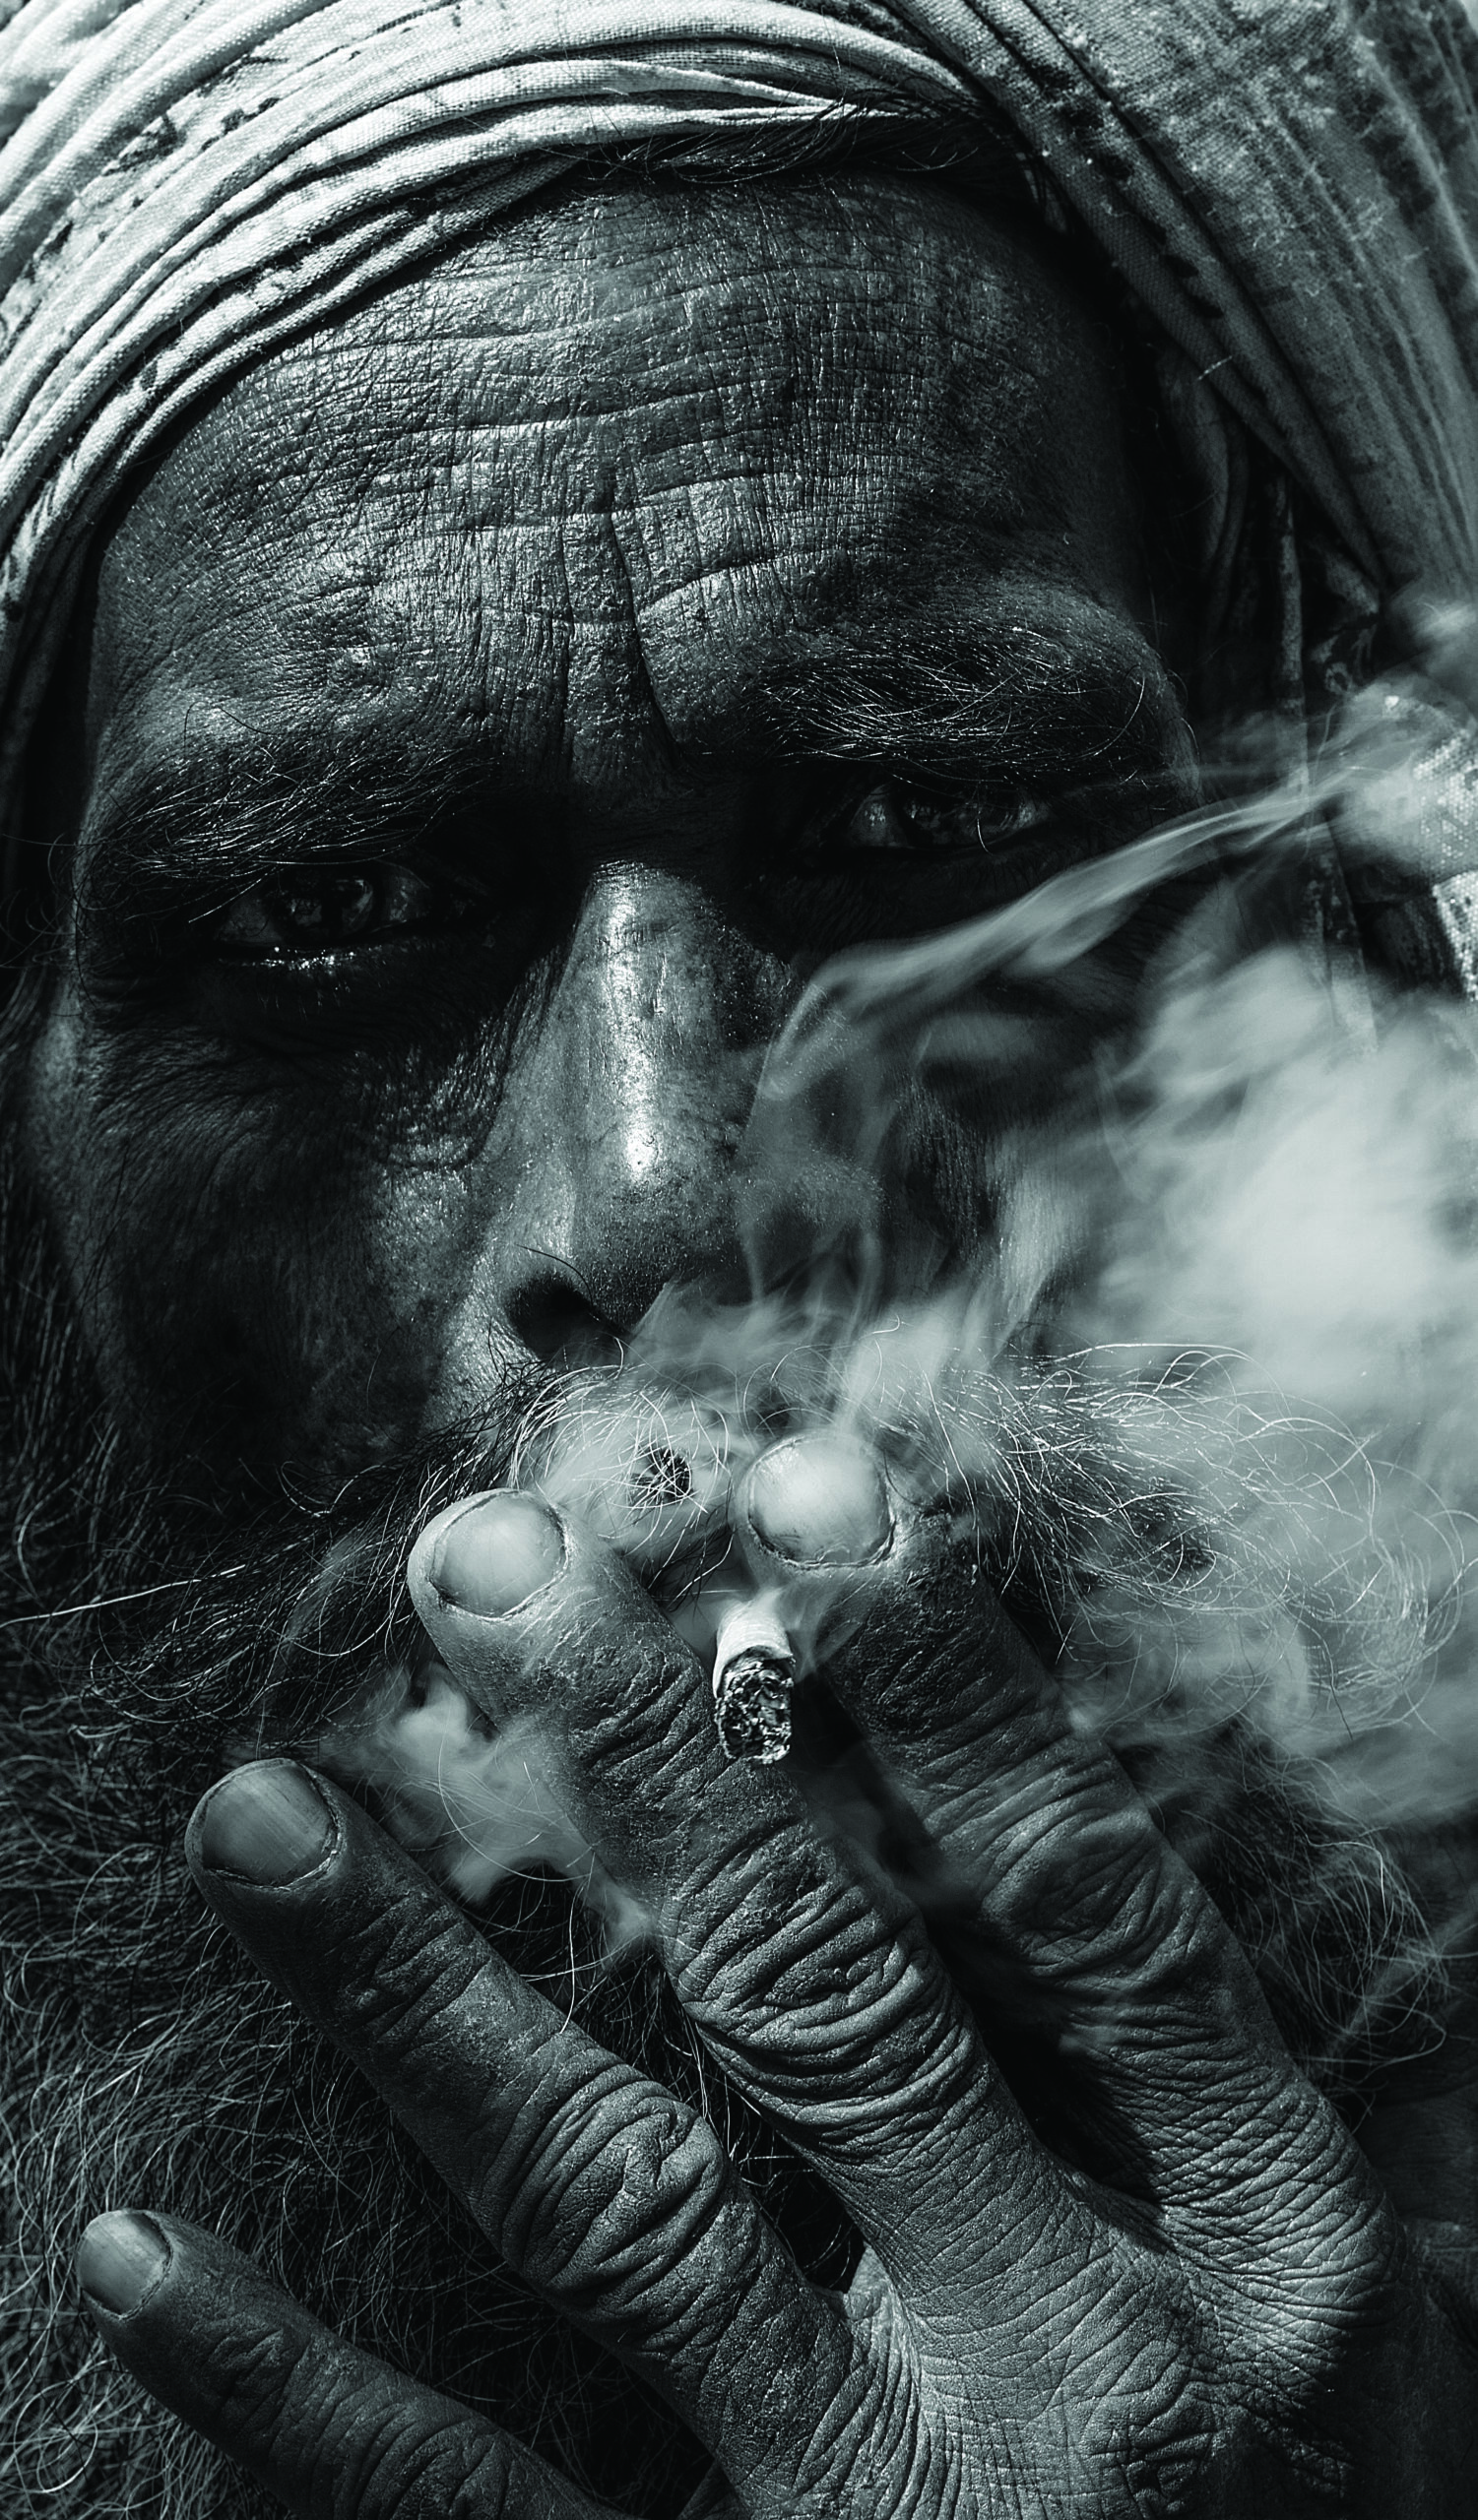
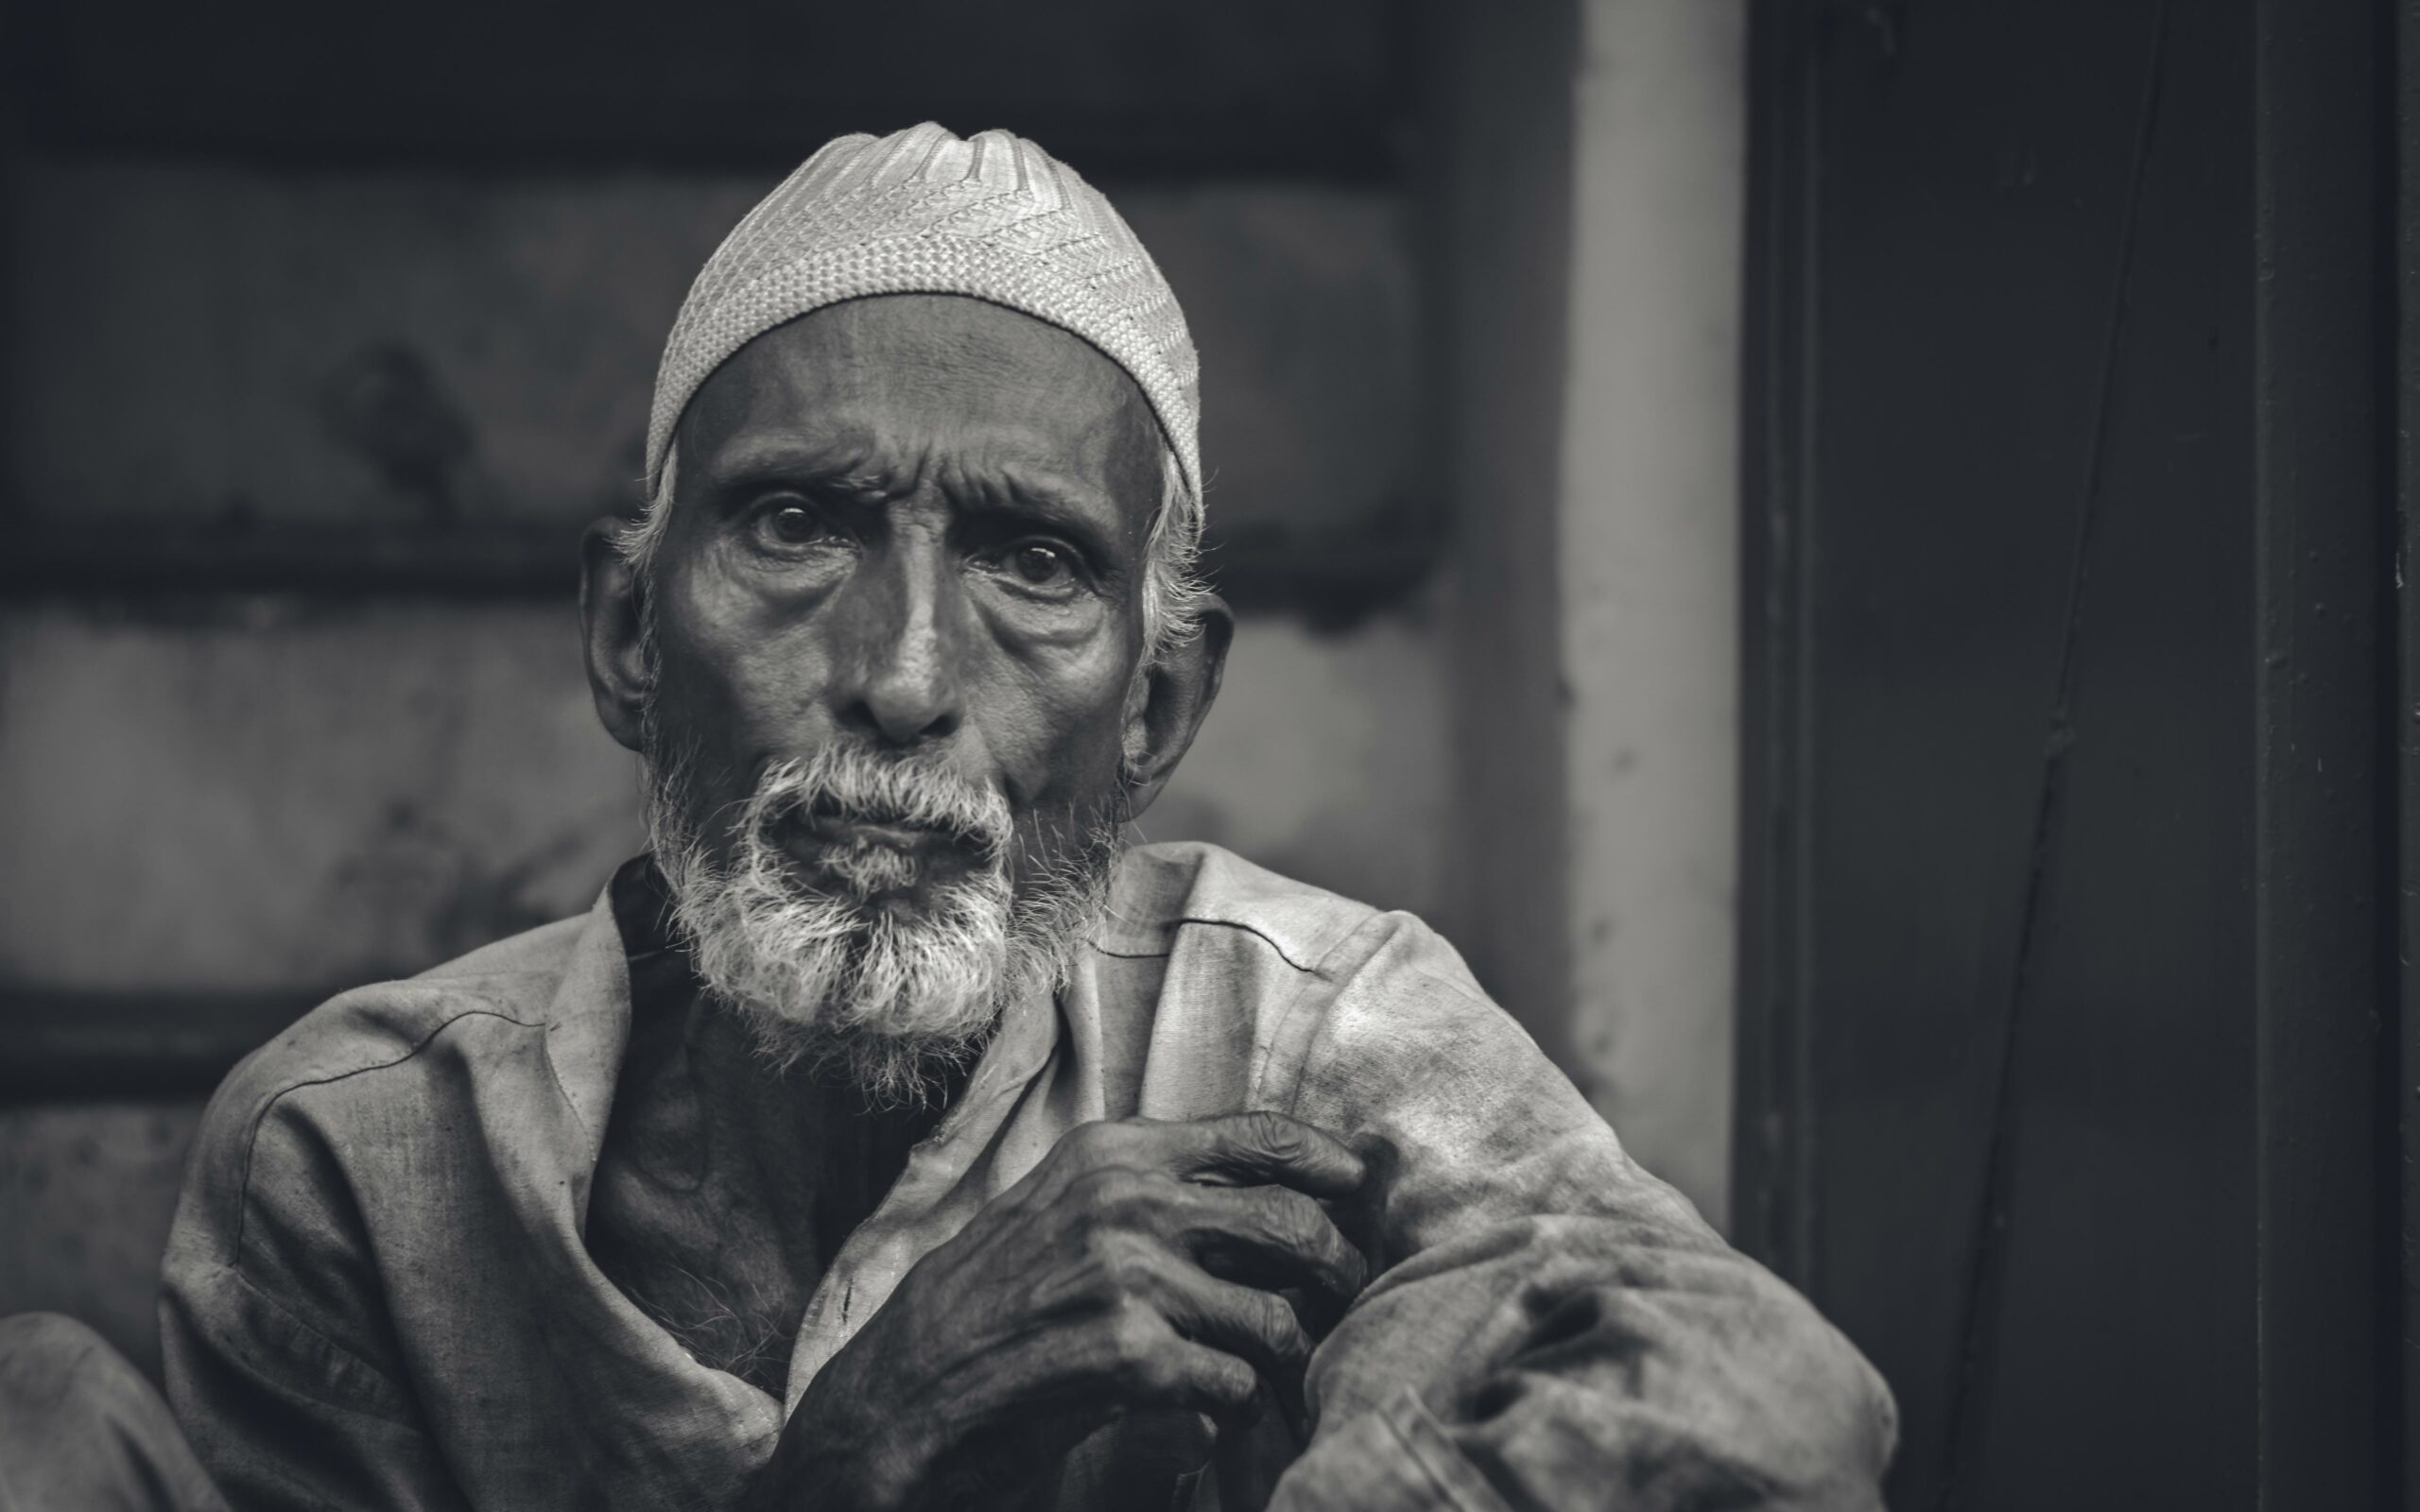
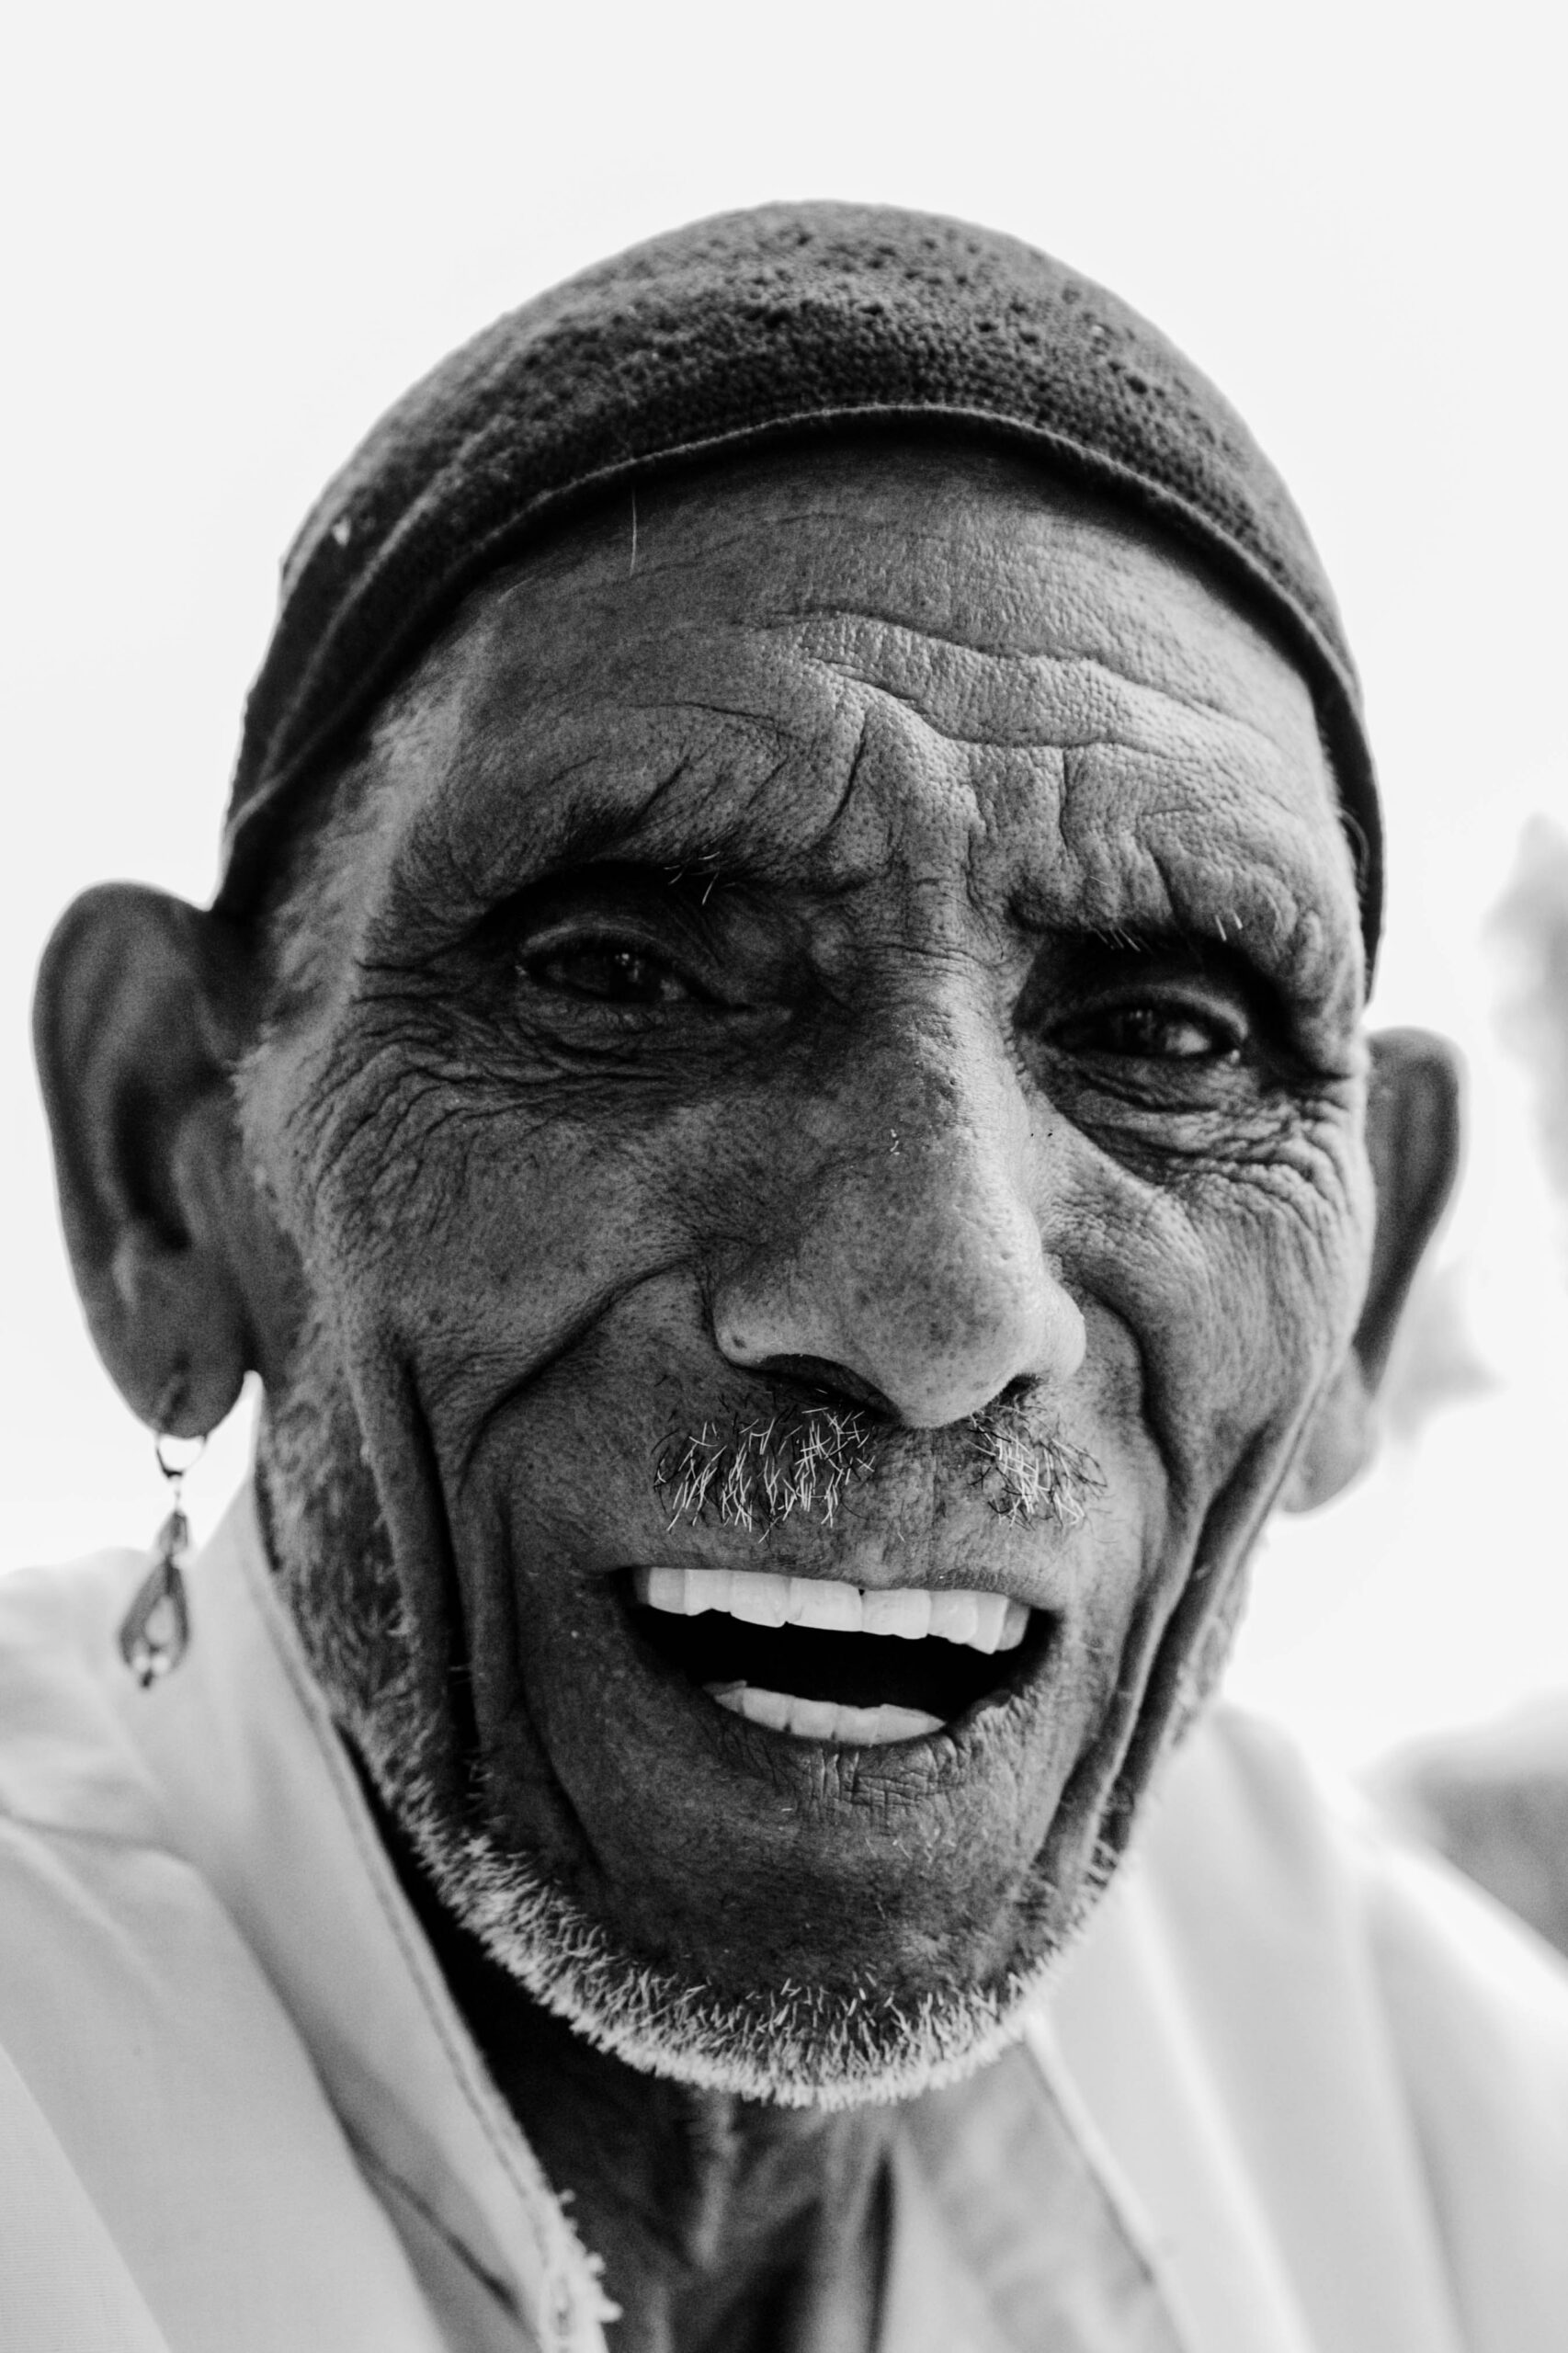
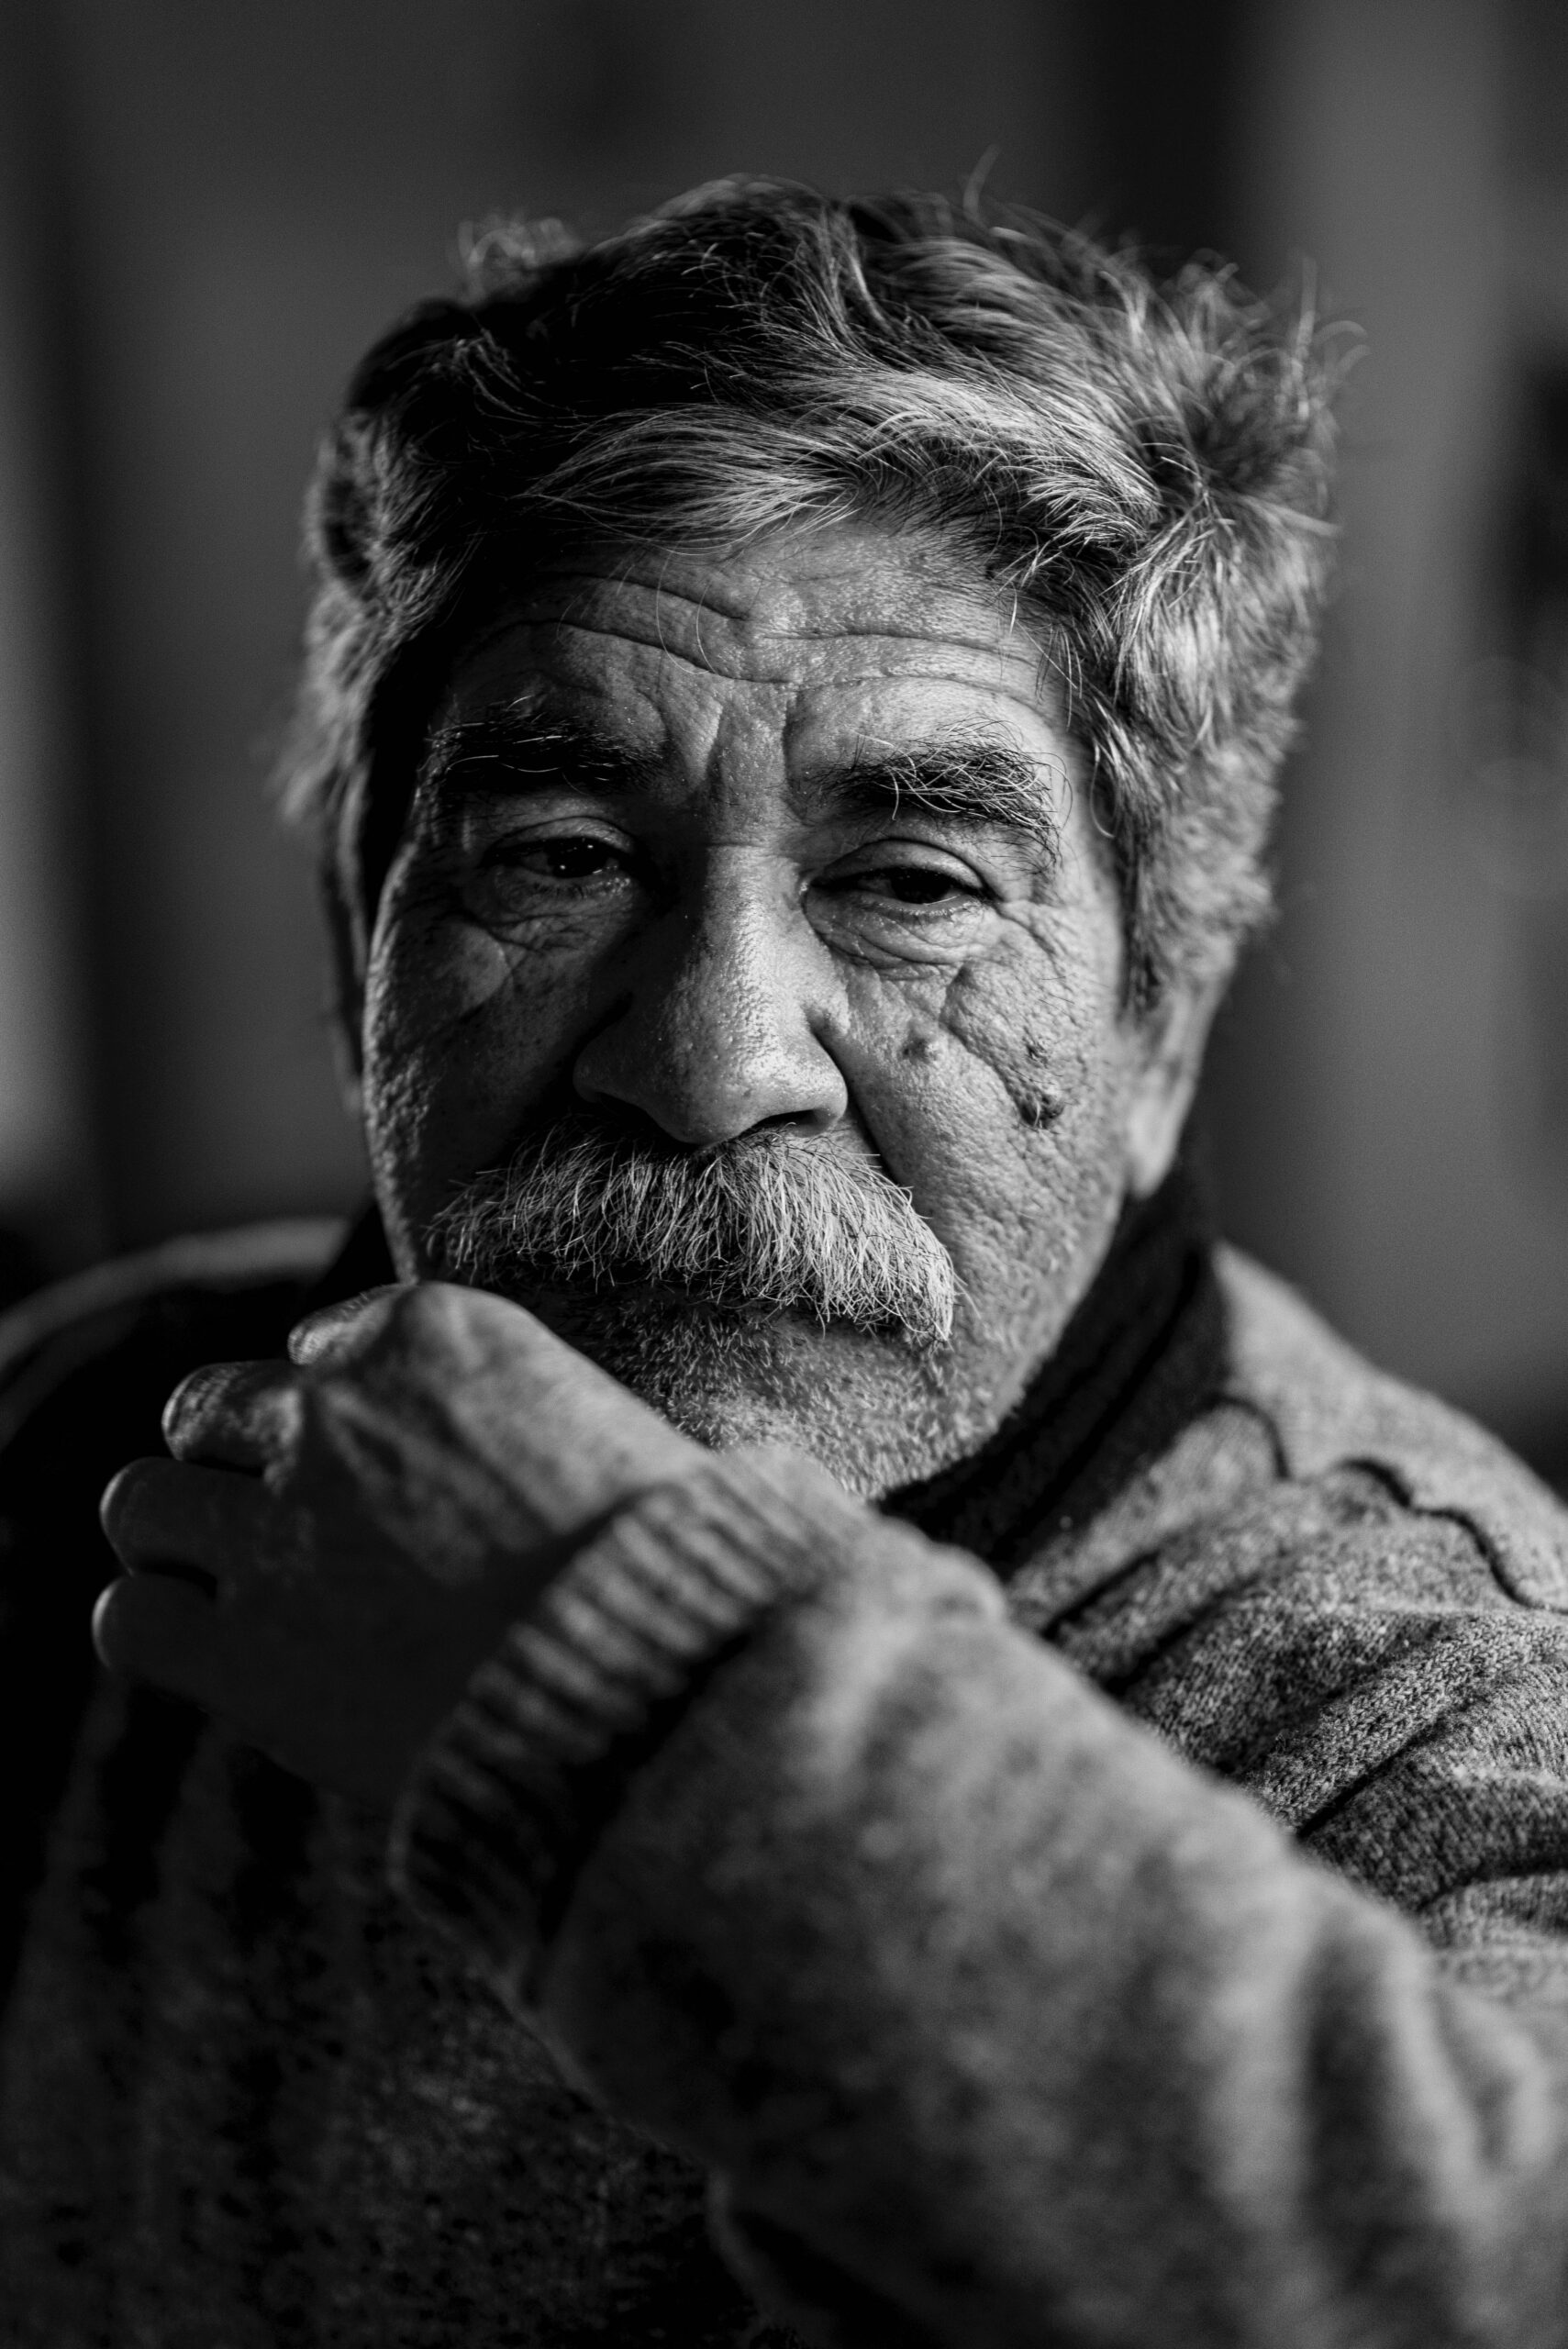
In the dynamic world of photography, street portrait photography stands out as a fascinating and immersive genre. It’s an art form that captures life in its most candid and raw form, portraying the essence of humanity against the backdrop of the bustling streets. This guide is meticulously crafted for both beginner and intermediate photographers who aspire to delve into the captivating world of street portrait photography. Here, we will explore a myriad of tips and tricks that will not only elevate your photography skills, but also enhance your understanding and appreciation of this profound art form.

Understanding Street Portrait Photography

Street portrait photography is more than just taking pictures of people on the streets. It’s about storytelling, capturing emotions, and depicting the vibrant tapestry of urban life through the lens of your camera. Unlike staged portraits, street portraits are spontaneous and authentic, offering a glimpse into the soul of society.

1. Mastering the technical basics

Before diving into the streets, it’s crucial to have a firm grasp of your camera’s settings and the basics of photography. Understanding exposure, aperture, shutter speed, and ISO will allow you to adapt quickly to varying lighting conditions and capture sharp, well-exposed images. Practice shooting in manual mode to gain full control over your photographs.

2. The right gear for the job

While the best camera is the one you have with you, certain gear can make street portrait photography more effective. A versatile lens, such as a 50mm or 35mm prime lens, is ideal for capturing the essence of street life without being too intrusive. These lenses also offer excellent image quality and the ability to shoot in low light conditions. Additionally, a camera with a silent shutter mode can be invaluable for taking candid shots without drawing attention.

3. Building a connection

One of the most significant aspects of street portrait photography is the connection between the photographer and the subject. Whenever possible, engage with your subjects before taking their photograph. A simple smile, nod, or a few words can go a long way in making them feel comfortable and more open to being photographed. This connection often translates into more natural and expressive portraits.

4. The art of composition

Composition plays a pivotal role in the impact of a street portrait. Be mindful of the background and surroundings to avoid clutter that can detract from the subject. Utilise compositional techniques such as the rule of thirds, leading lines, and framing to create more engaging and balanced images. Always be on the lookout for interesting juxtapositions and contrasts that can add depth to your portraits.

5. Capturing emotions and stories

The heart of street portrait photography lies in its ability to convey emotions and stories. Strive to capture the expressions, gestures, and interactions that reveal your subject’s personality and mood. Be patient and observant, waiting for those fleeting moments that can transform a simple photo into a powerful narrative.

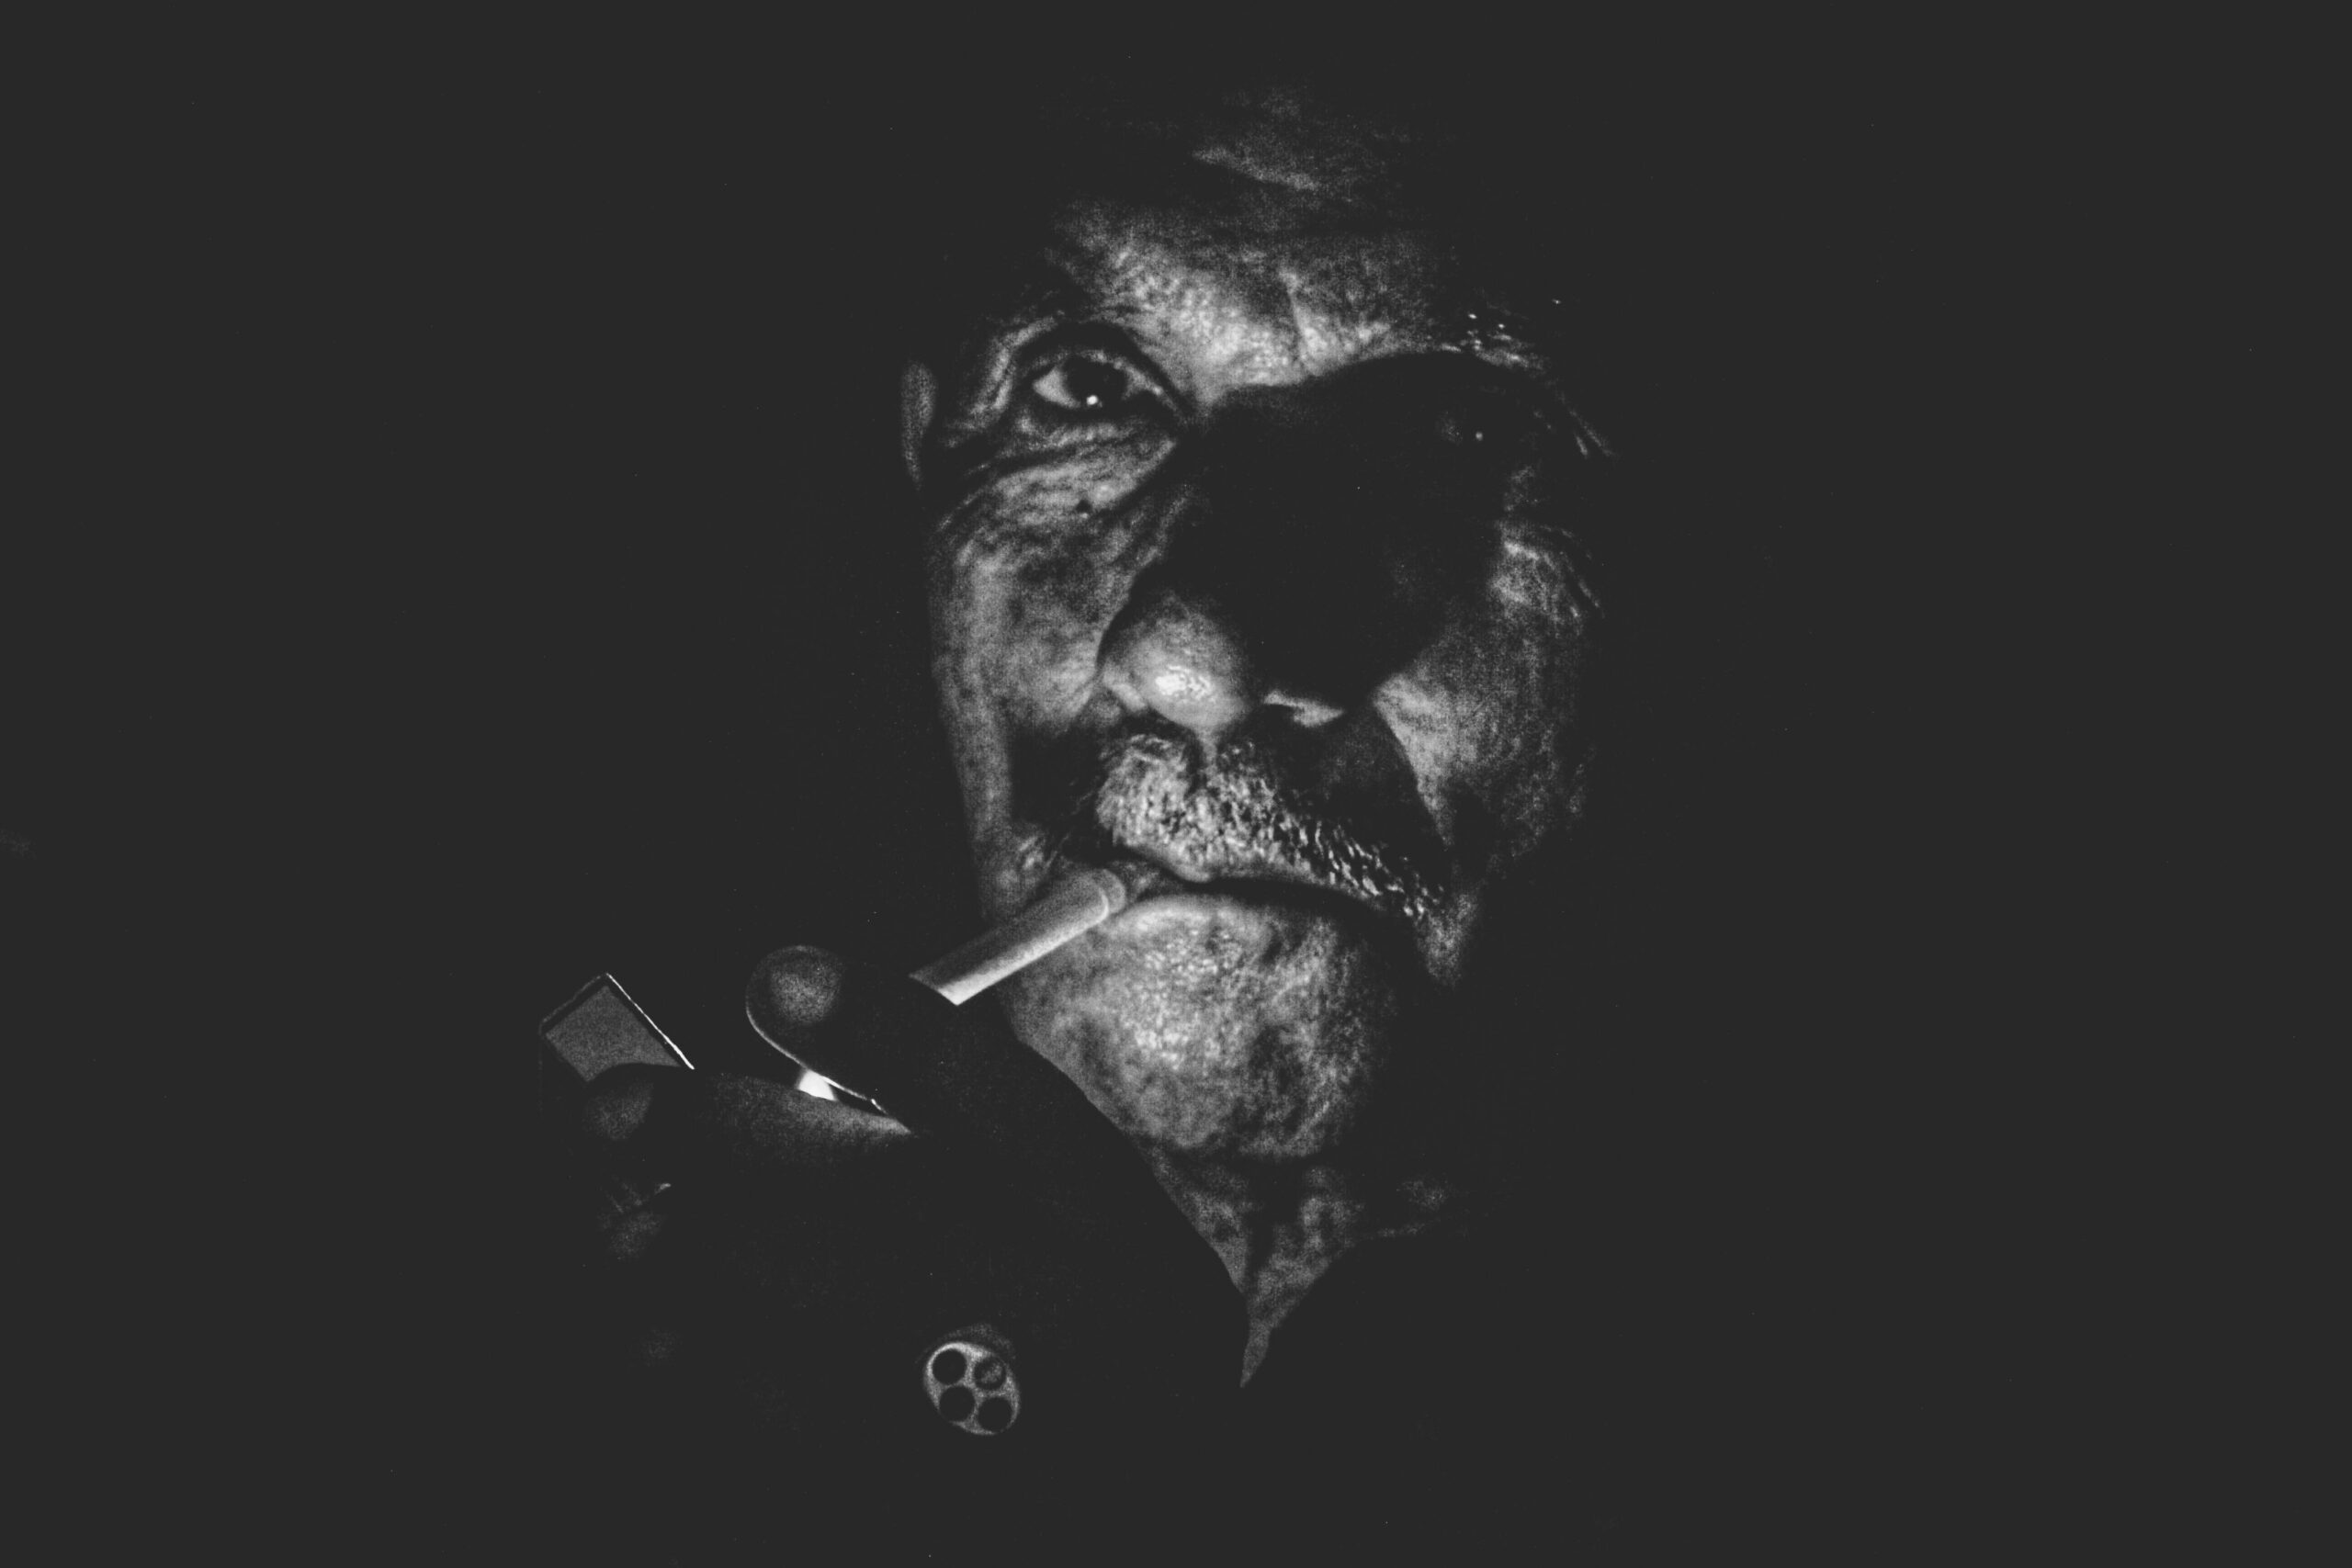
6. Lighting is key

Natural light is a street photographer’s best friend. The golden hours, early in the morning and late in the afternoon, offer soft, flattering light that can enhance the mood of your portraits. However, don’t shy away from the challenges of harsh midday light or the dramatic shadows it can create. Experiment with different lighting conditions to discover unique perspectives and moods.

7. The importance of ethics and respect

Respect and ethics should be the foundation of your street photography practice. Always consider the dignity and privacy of the people you photograph. If someone indicates that they do not wish to be photographed, respect their wishes. Be aware of cultural sensitivities and legal restrictions, especially when travelling to new places.

8. Post-processing techniques

Post-processing is an essential step in realising your vision for a street portrait. Adjusting exposure, contrast, and colour can help to bring out the best in your images. However, strive to keep edits minimal to preserve the authenticity of the moment. Software like Adobe Lightroom and Photoshop offers powerful tools for refining your photos while maintaining their natural feel.

9. Continuously learning and evolving

Street portrait photography is a journey of continuous learning and growth. Seek inspiration from the work of renowned street photographers, participate in workshops, and immerse yourself in photography books and magazines. Most importantly, practice relentlessly. The more you shoot, the more your skills and unique style will develop.

10. Sharing your work

Sharing your photographs with the world is not only rewarding, but also an excellent way to receive feedback and gain exposure. Utilise social media platforms, photography forums, and exhibitions to showcase your work. Engaging with the photography community can provide valuable insights, inspire new ideas, and open doors to exciting opportunities.

11. Embrace spontaneity

Street photography thrives on spontaneity. While it’s good to have a plan or a concept in mind, be open to the unexpected. Sometimes, the most compelling images are born from unplanned moments. Let the rhythm of the streets guide you, and be ready to capture whatever comes your way.

12. Focus on the eyes

In portrait photography, the eyes often hold the most emotion and can draw viewers into the photo. When possible, focus on the eyes of your subject to create a powerful connection between the viewer and the photograph. This simple technique can dramatically increase the impact of your portraits.

13. Experiment with perspectives

Don’t be afraid to experiment with different shooting angles and perspectives. Crouch down, climb up, or shoot from the hip to find unique vantage points that offer fresh takes on everyday scenes. Changing your perspective can also make your subjects feel more at ease, capturing them in a more natural state.

14. Utilise reflections and silhouettes

Reflections in windows, mirrors, and puddles can provide a creative and often abstract dimension to your street portraits. Similarly, silhouettes can create mystery and drama, adding another layer to the narrative of your image. These techniques can help your work stand out and evoke stronger emotional responses.

15. The decisive moment

Henri Cartier-Bresson, a pioneer in street photography, introduced the concept of the “decisive moment”. This is the idea that there exists a perfect instant to capture an image that encapsulates the essence of a scene. Cultivate patience and keen observation to recognise and capture these fleeting moments.

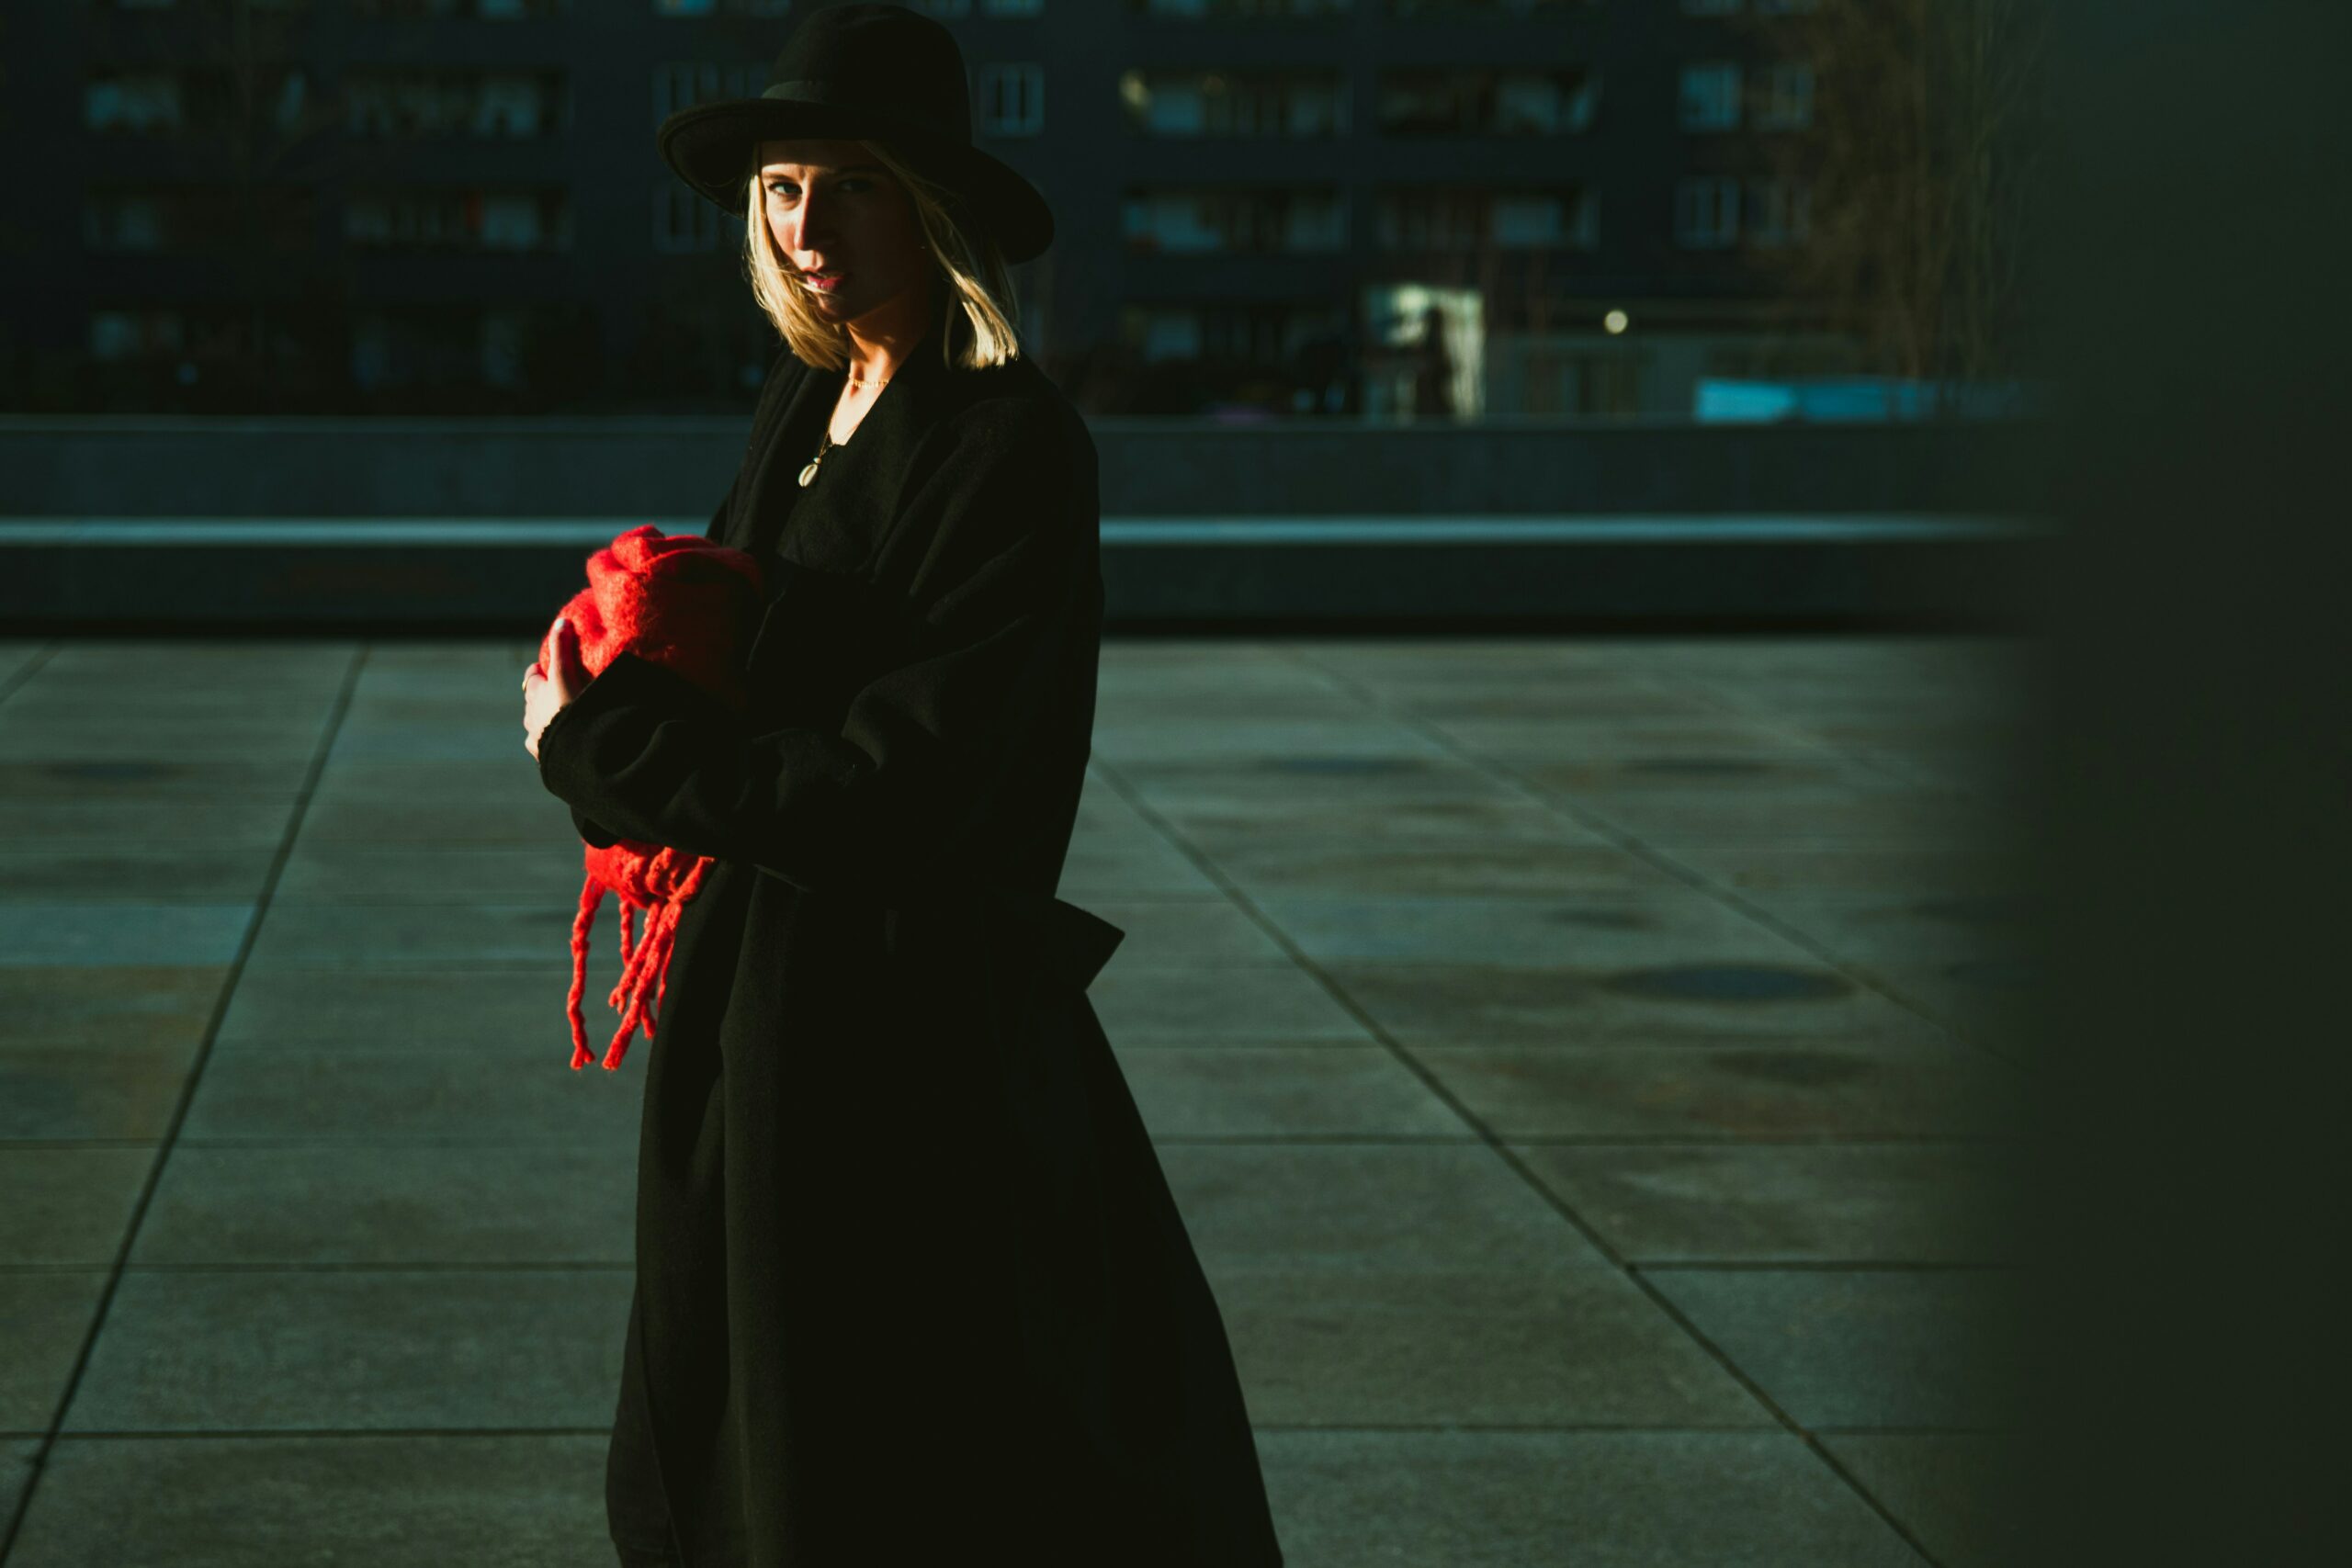
16. Understand the power of colour

Colour can significantly affect the mood and feel of a photograph. Warm colours can evoke feelings of happiness and comfort, while cool colours can convey melancholy or calm. Pay attention to the colours in your scene and consider how they contribute to the story you’re trying to tell.

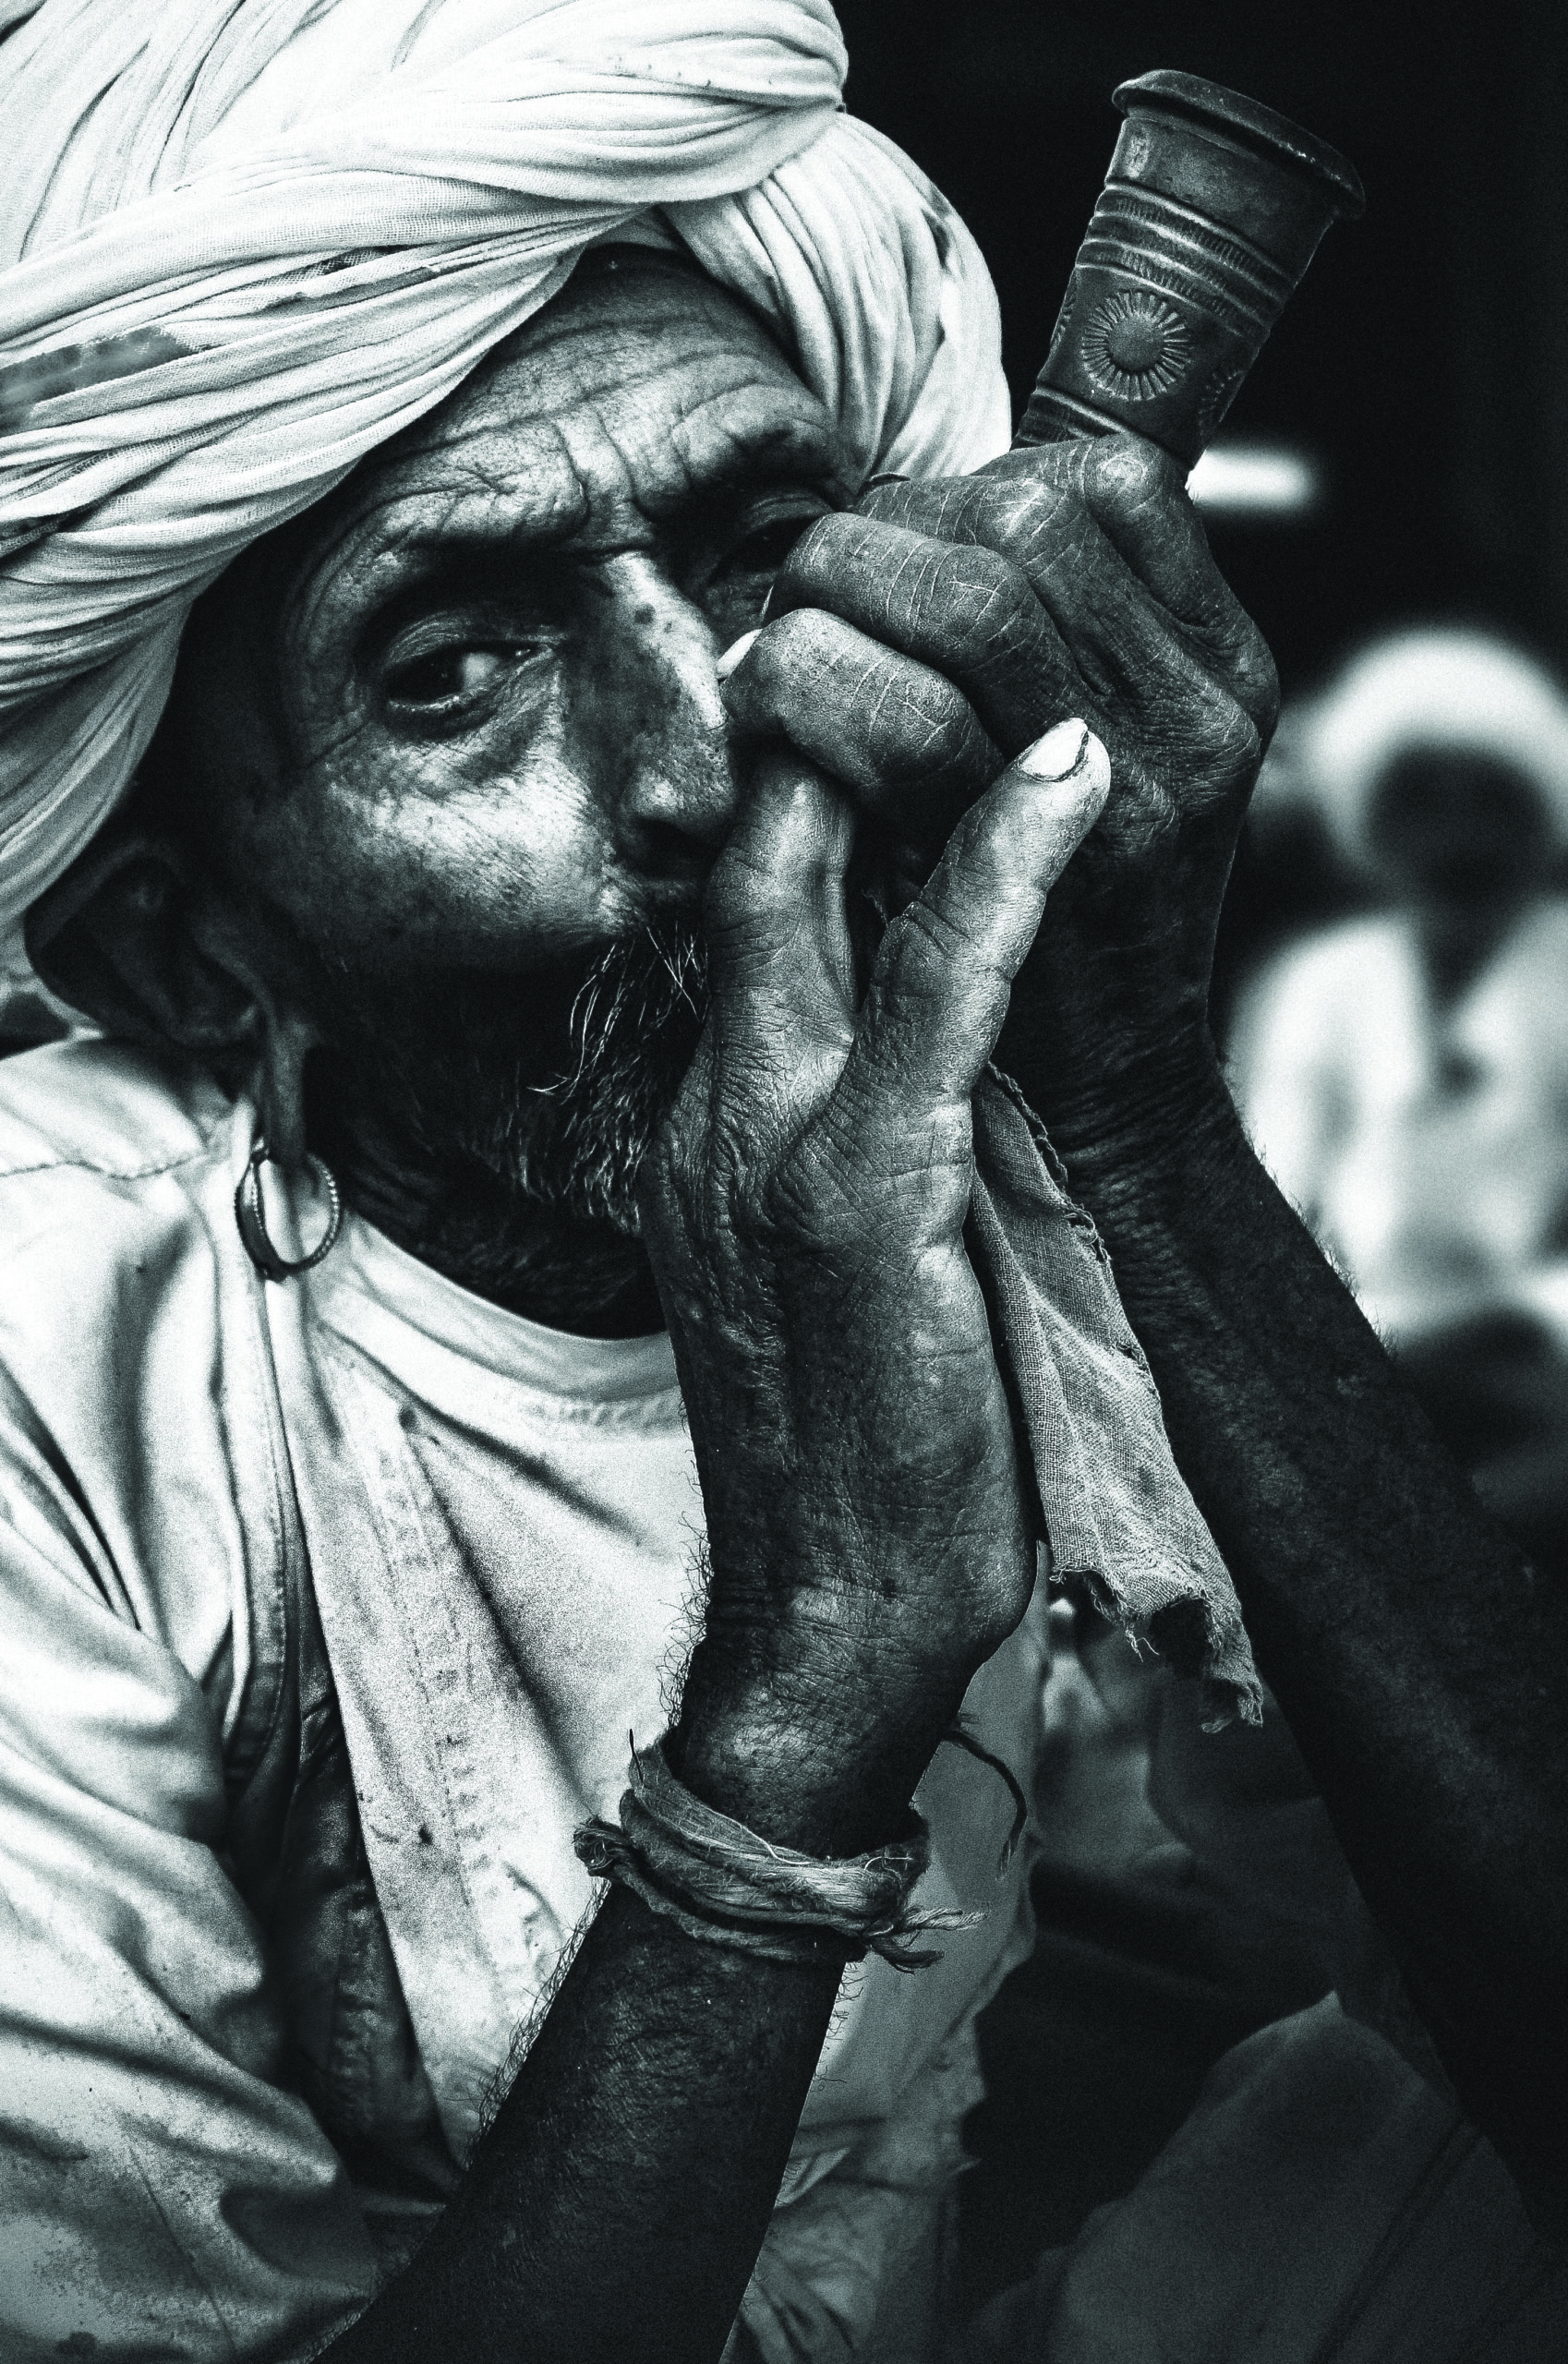
17. The role of Black and White

Black and White photography can strip away distractions and focus the viewer’s attention on the subject, textures, and composition. It can also lend a timeless quality to your images. Experiment with black and white conversions in post-processing to see how it changes the mood and impact of your portraits.

18. Capture the environment

While the focus of portrait photography is often on the individual, the environment can play a crucial role in telling a richer story. Include elements of the surroundings to provide context and depth to your images. This approach can help convey more about the subject’s life and the essence of the location.

19. Learn from critique

Be open to critique from fellow photographers and enthusiasts. Constructive feedback can provide new perspectives on your work and highlight areas for improvement. Learning from critique is essential for growth and development in your photographic journey.

20. Document your progress

Keep a record of your work and review it periodically. This will not only show you how much you’ve grown, but also help you identify consistent themes and subjects in your photography. Understanding your own progress and interests can guide your future development and refine your personal style.

Embarking on your journey

With these additional insights, your toolkit for street portrait photography is now richer and more diverse. Remember, the essence of street photography lies in capturing the beauty of everyday life, the unguarded moments that reveal the depth of human emotion and connection. Each point in this expanded guide is designed to encourage you to explore, experiment, and express your unique vision through the lens of your camera. The streets are a canvas, and you, the photographer, are the artist. Embrace each opportunity, learn from every shot, and continue to share the world through your eyes. The journey of street portrait photography is endless, filled with growth, discovery, and boundless creativity.

– Sanchit Mishra

Photography and Dance: Tips for capturing moments and traditions in India

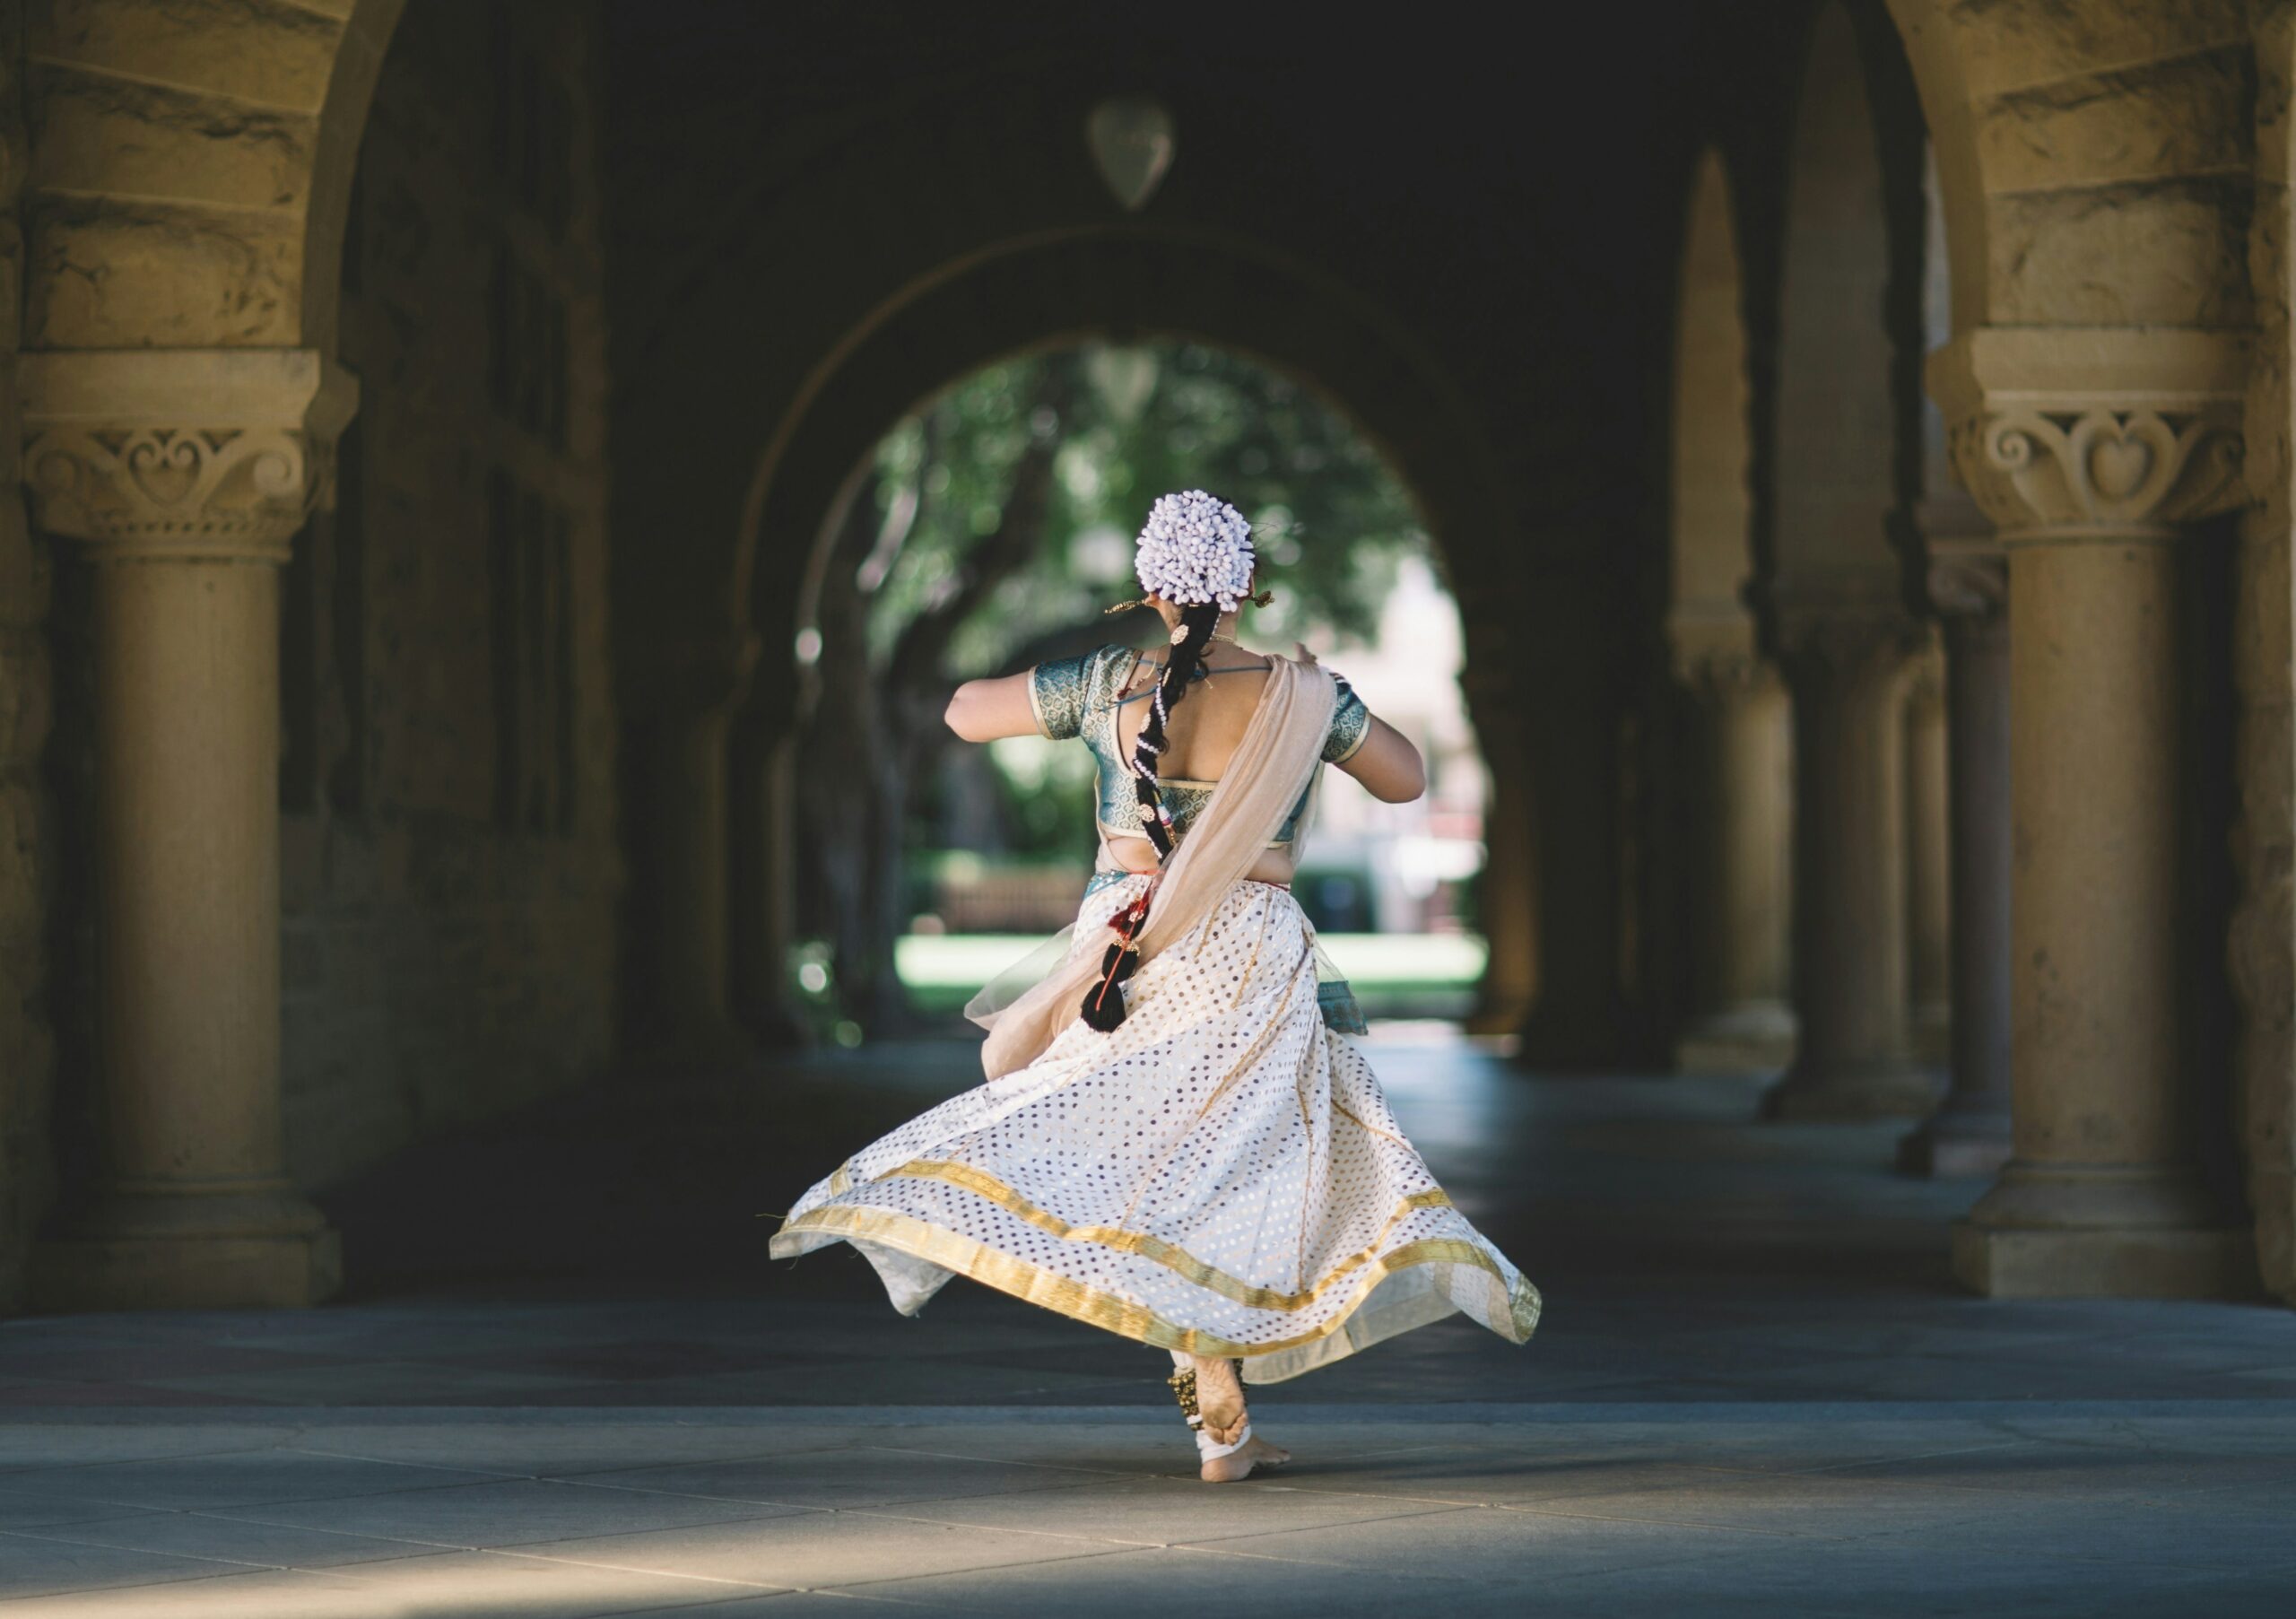
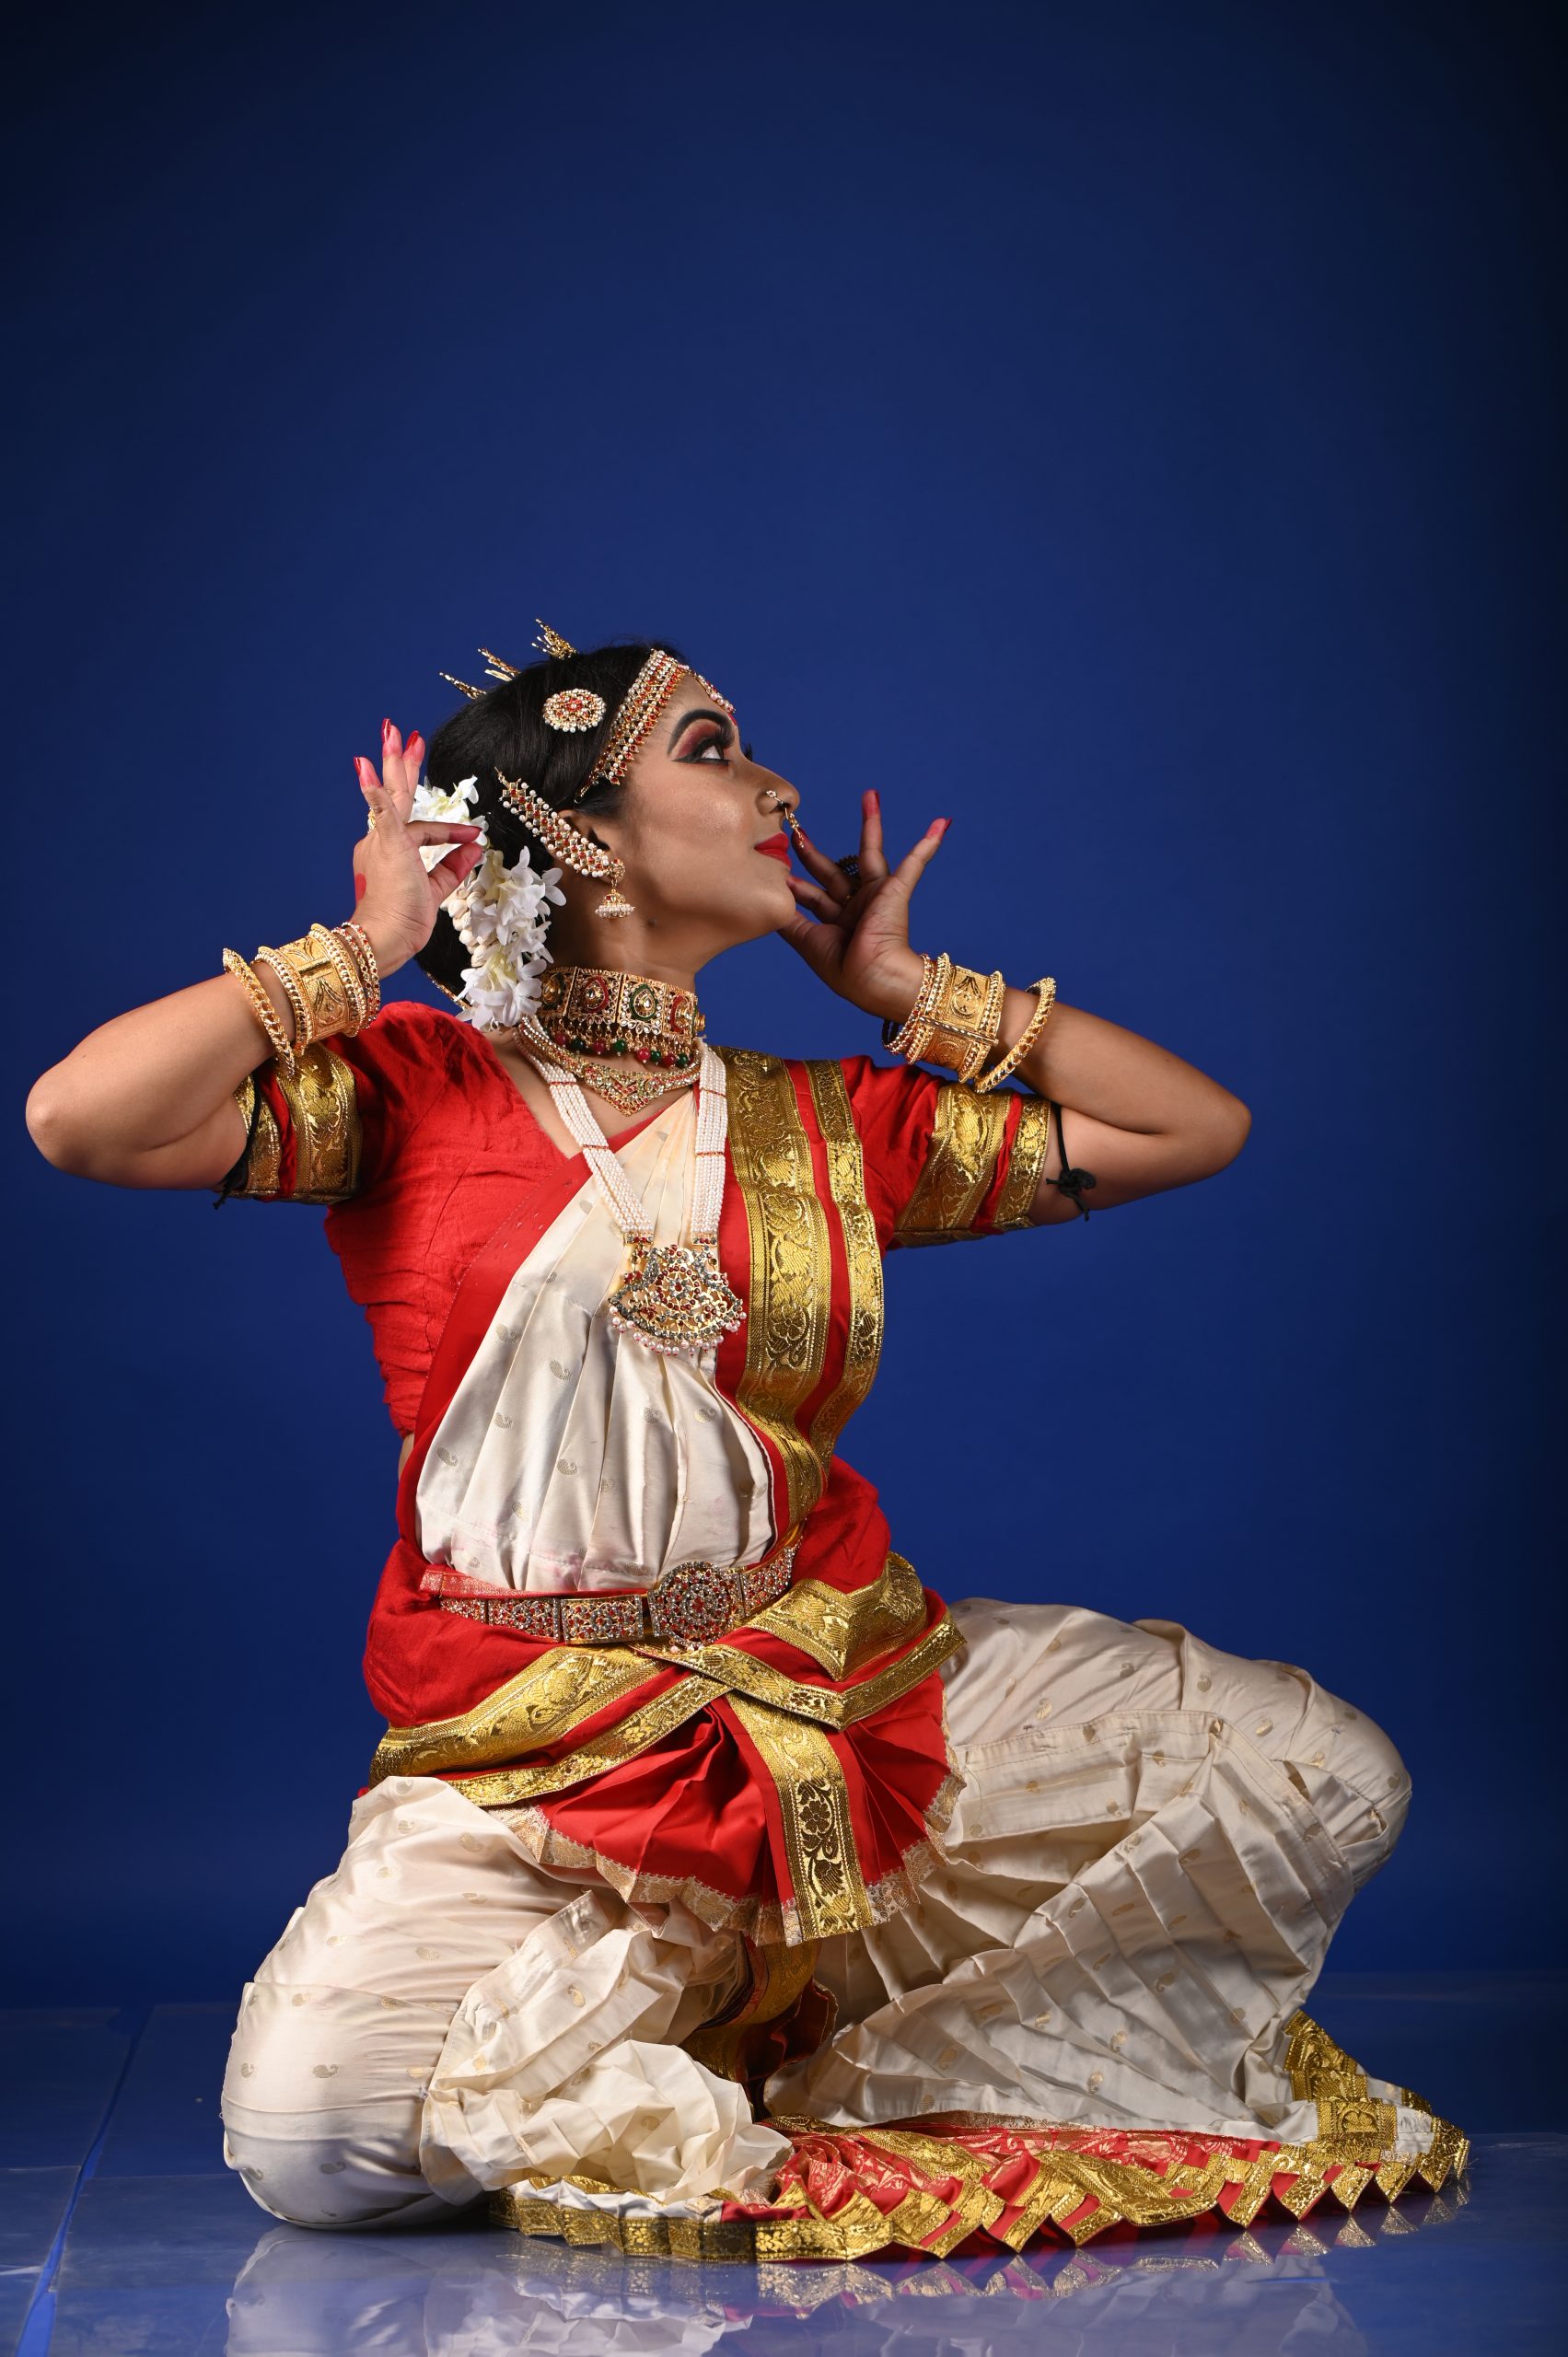
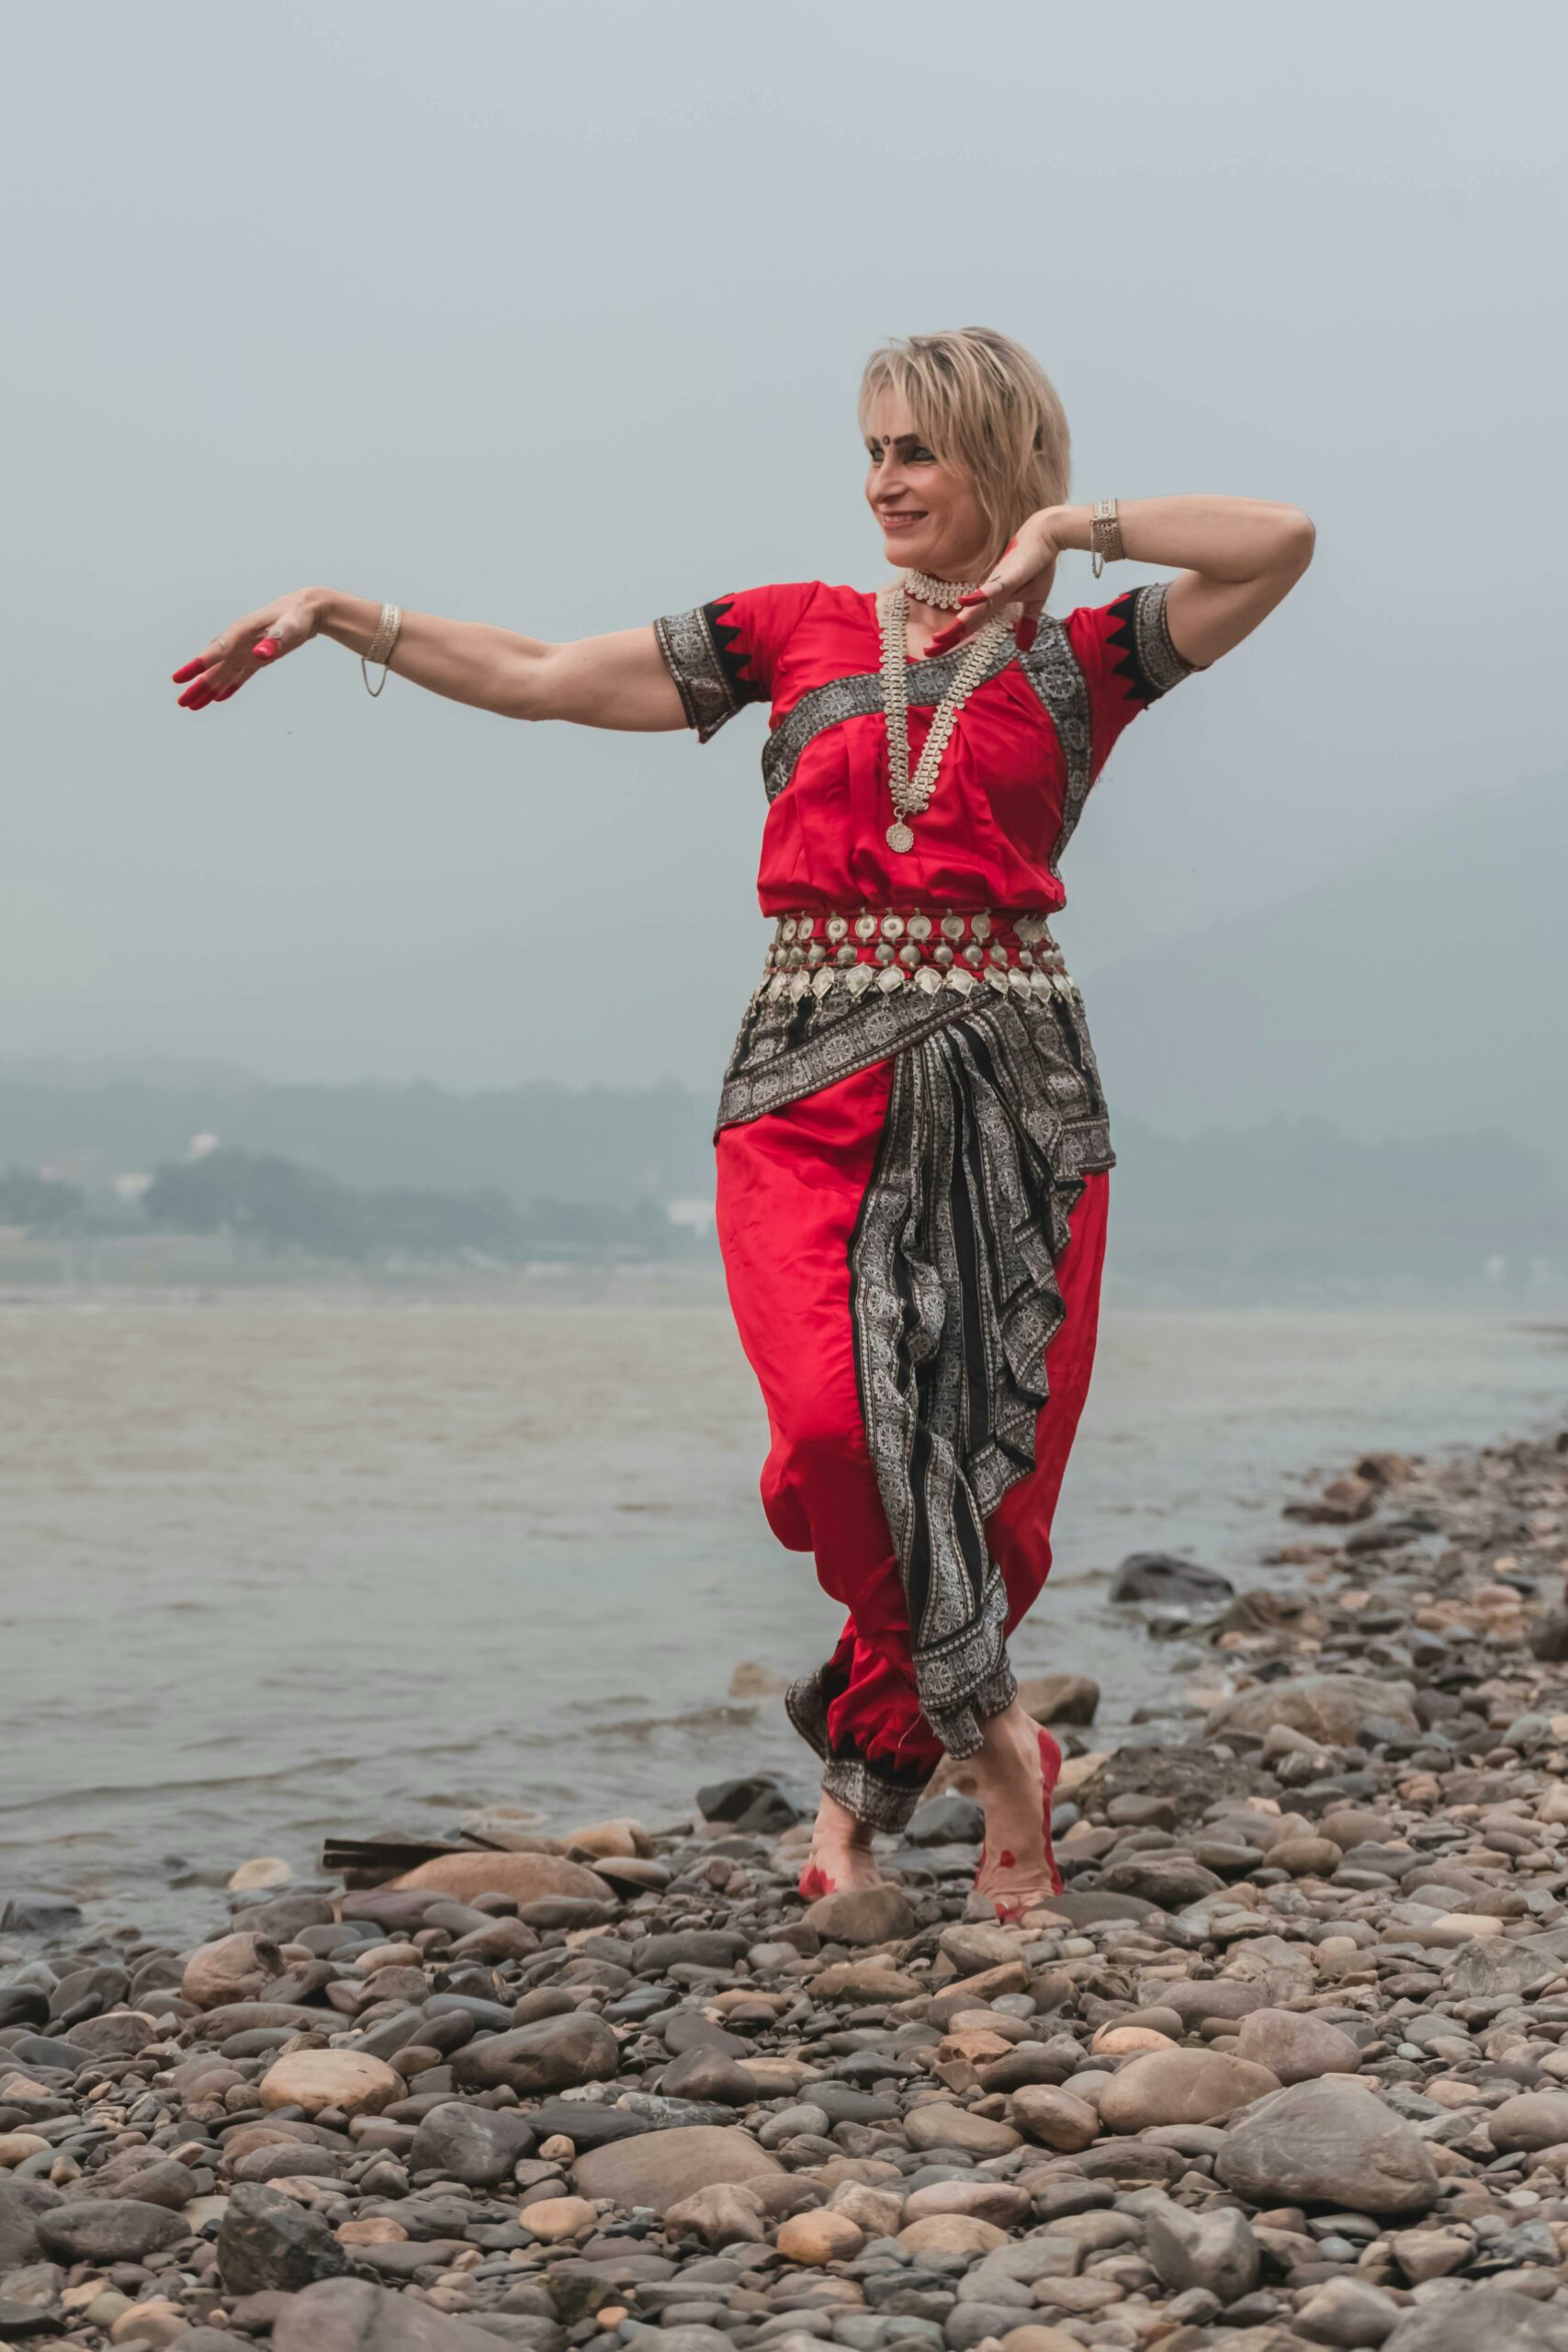
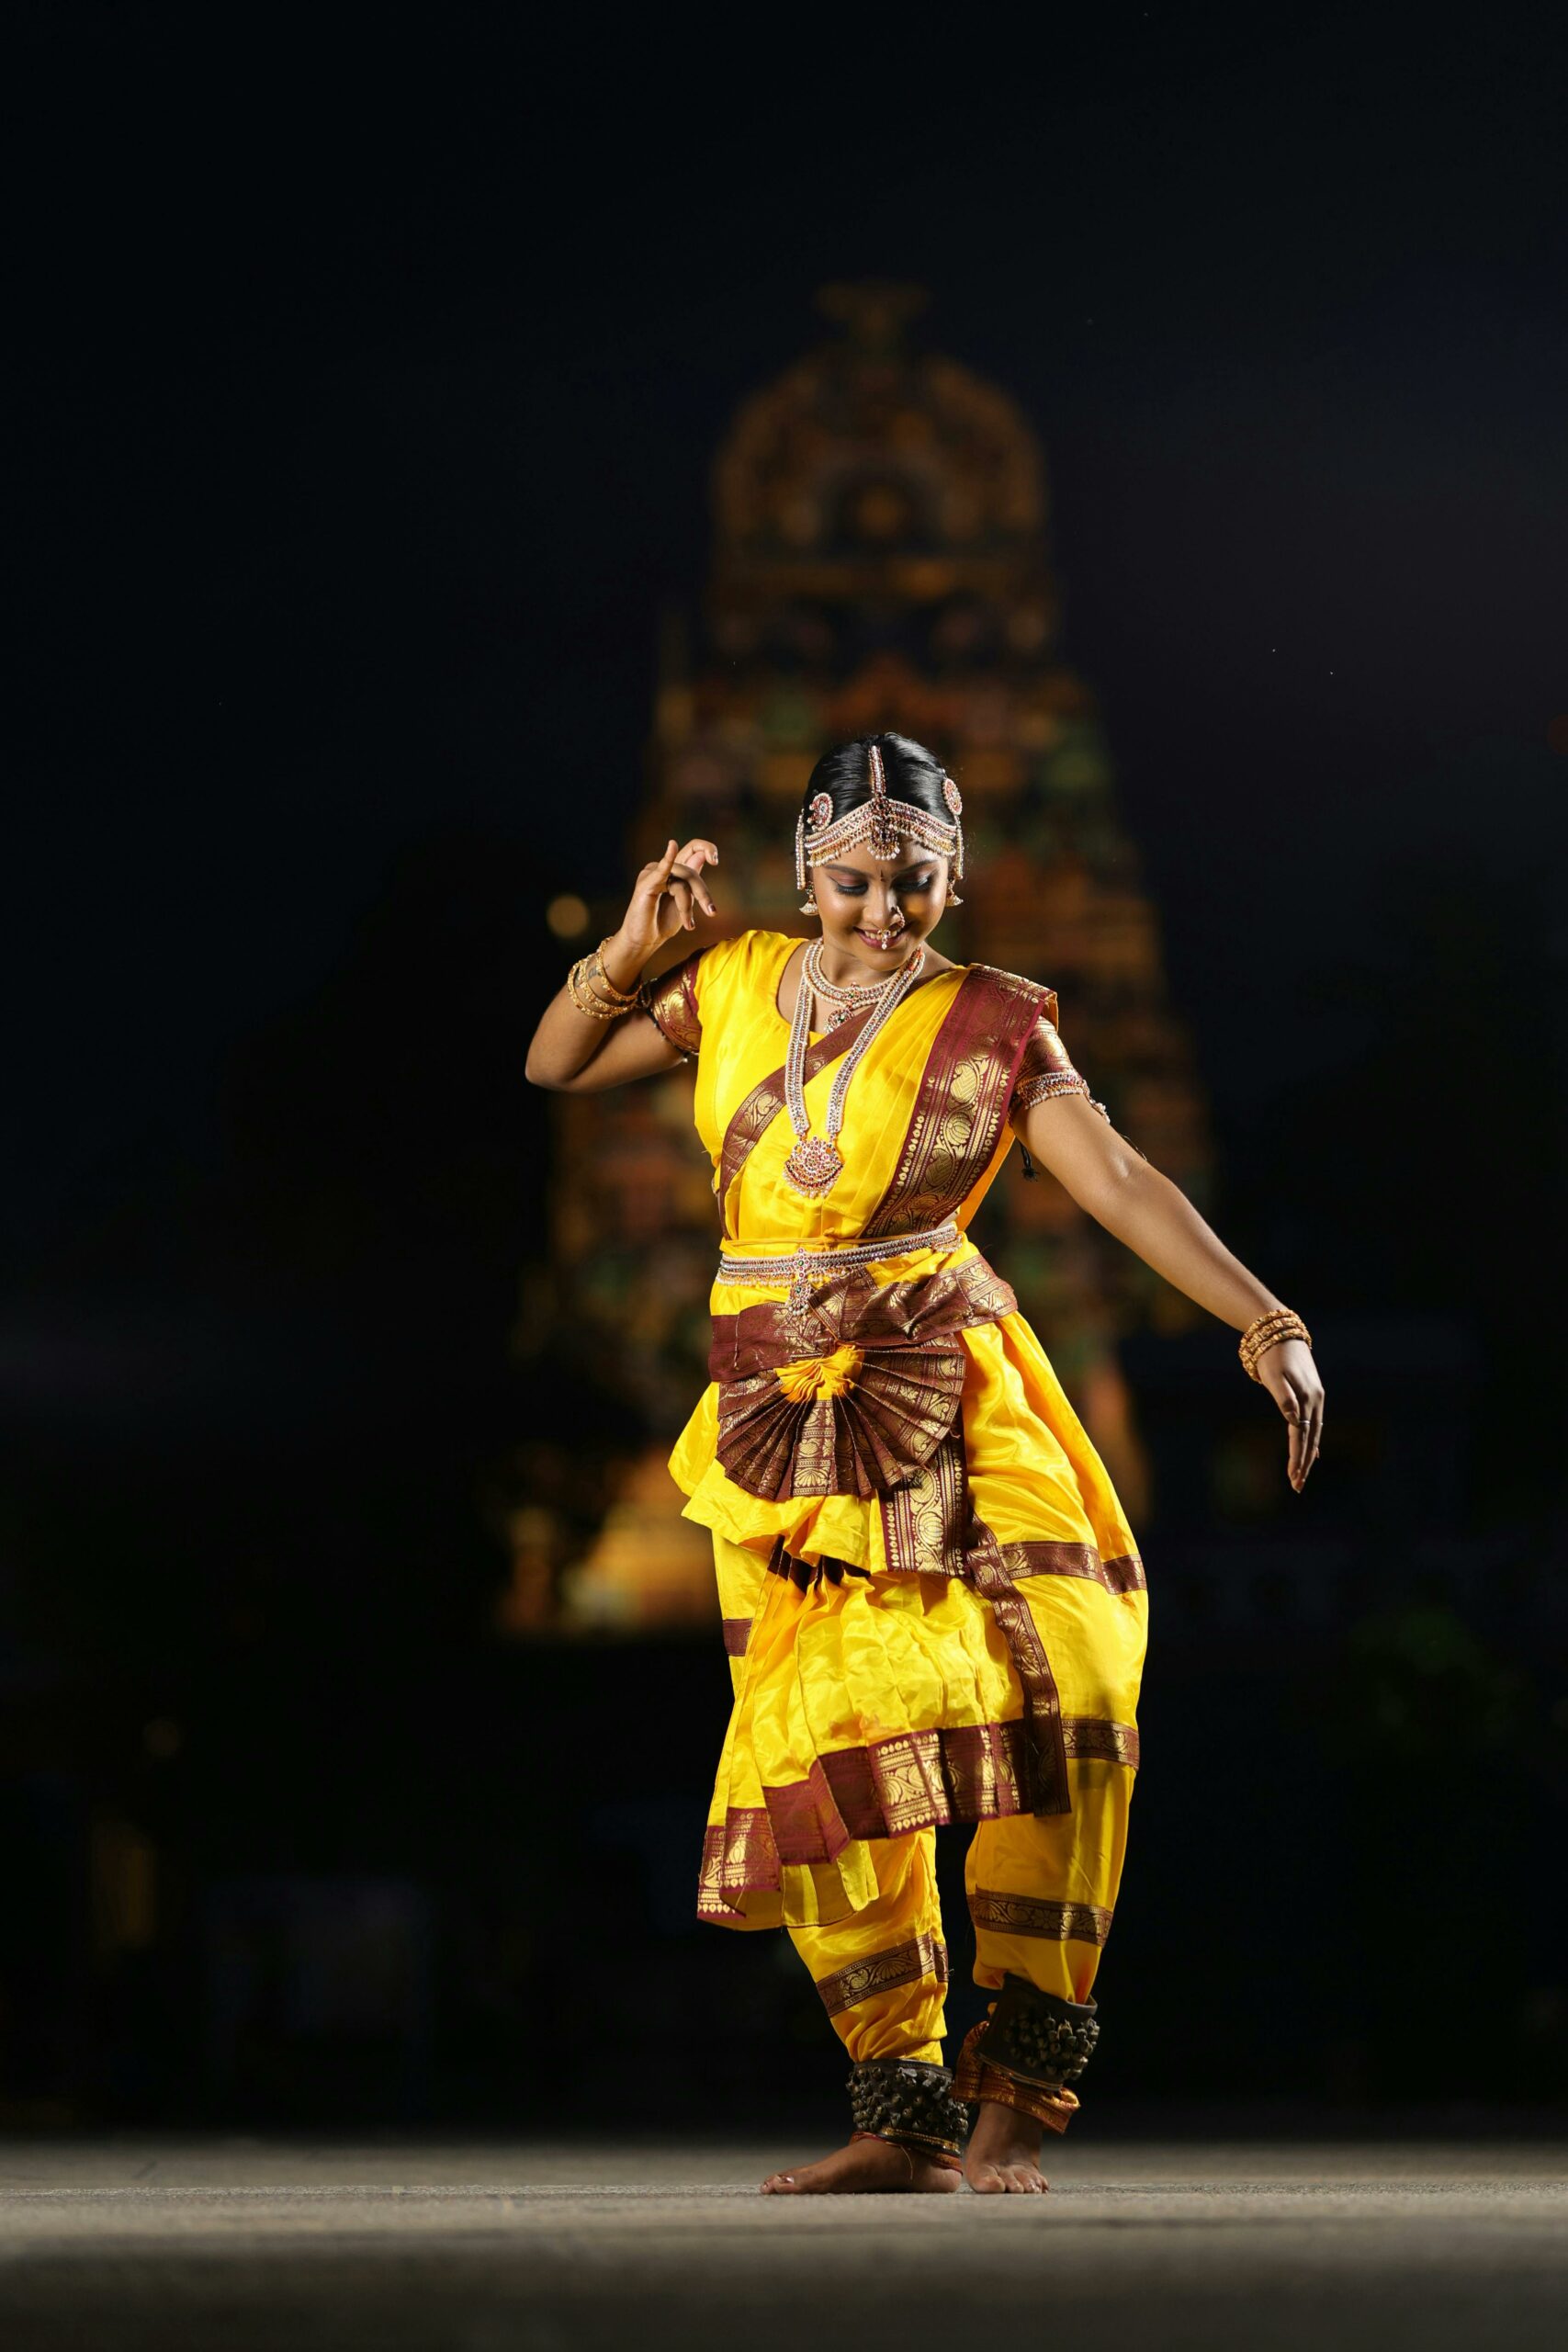
Photography, at its core, is about capturing moments. When those moments involve the dynamic and vibrant movements of dance, especially within the rich cultural tapestry of India, the challenge becomes as thrilling as it is complex. Indian dance is a vivid expression of life, embodying tradition, emotion, and storytelling. As a photographer, whether you’re a beginner or at an intermediate level, capturing the essence of Indian dance requires a blend of technical skill, cultural understanding, and creative vision. This comprehensive guide will take you through essential tips and strategies for photographing dance in India, ensuring you can convey the beauty and energy of these traditions through your lens.

Understanding Indian dance

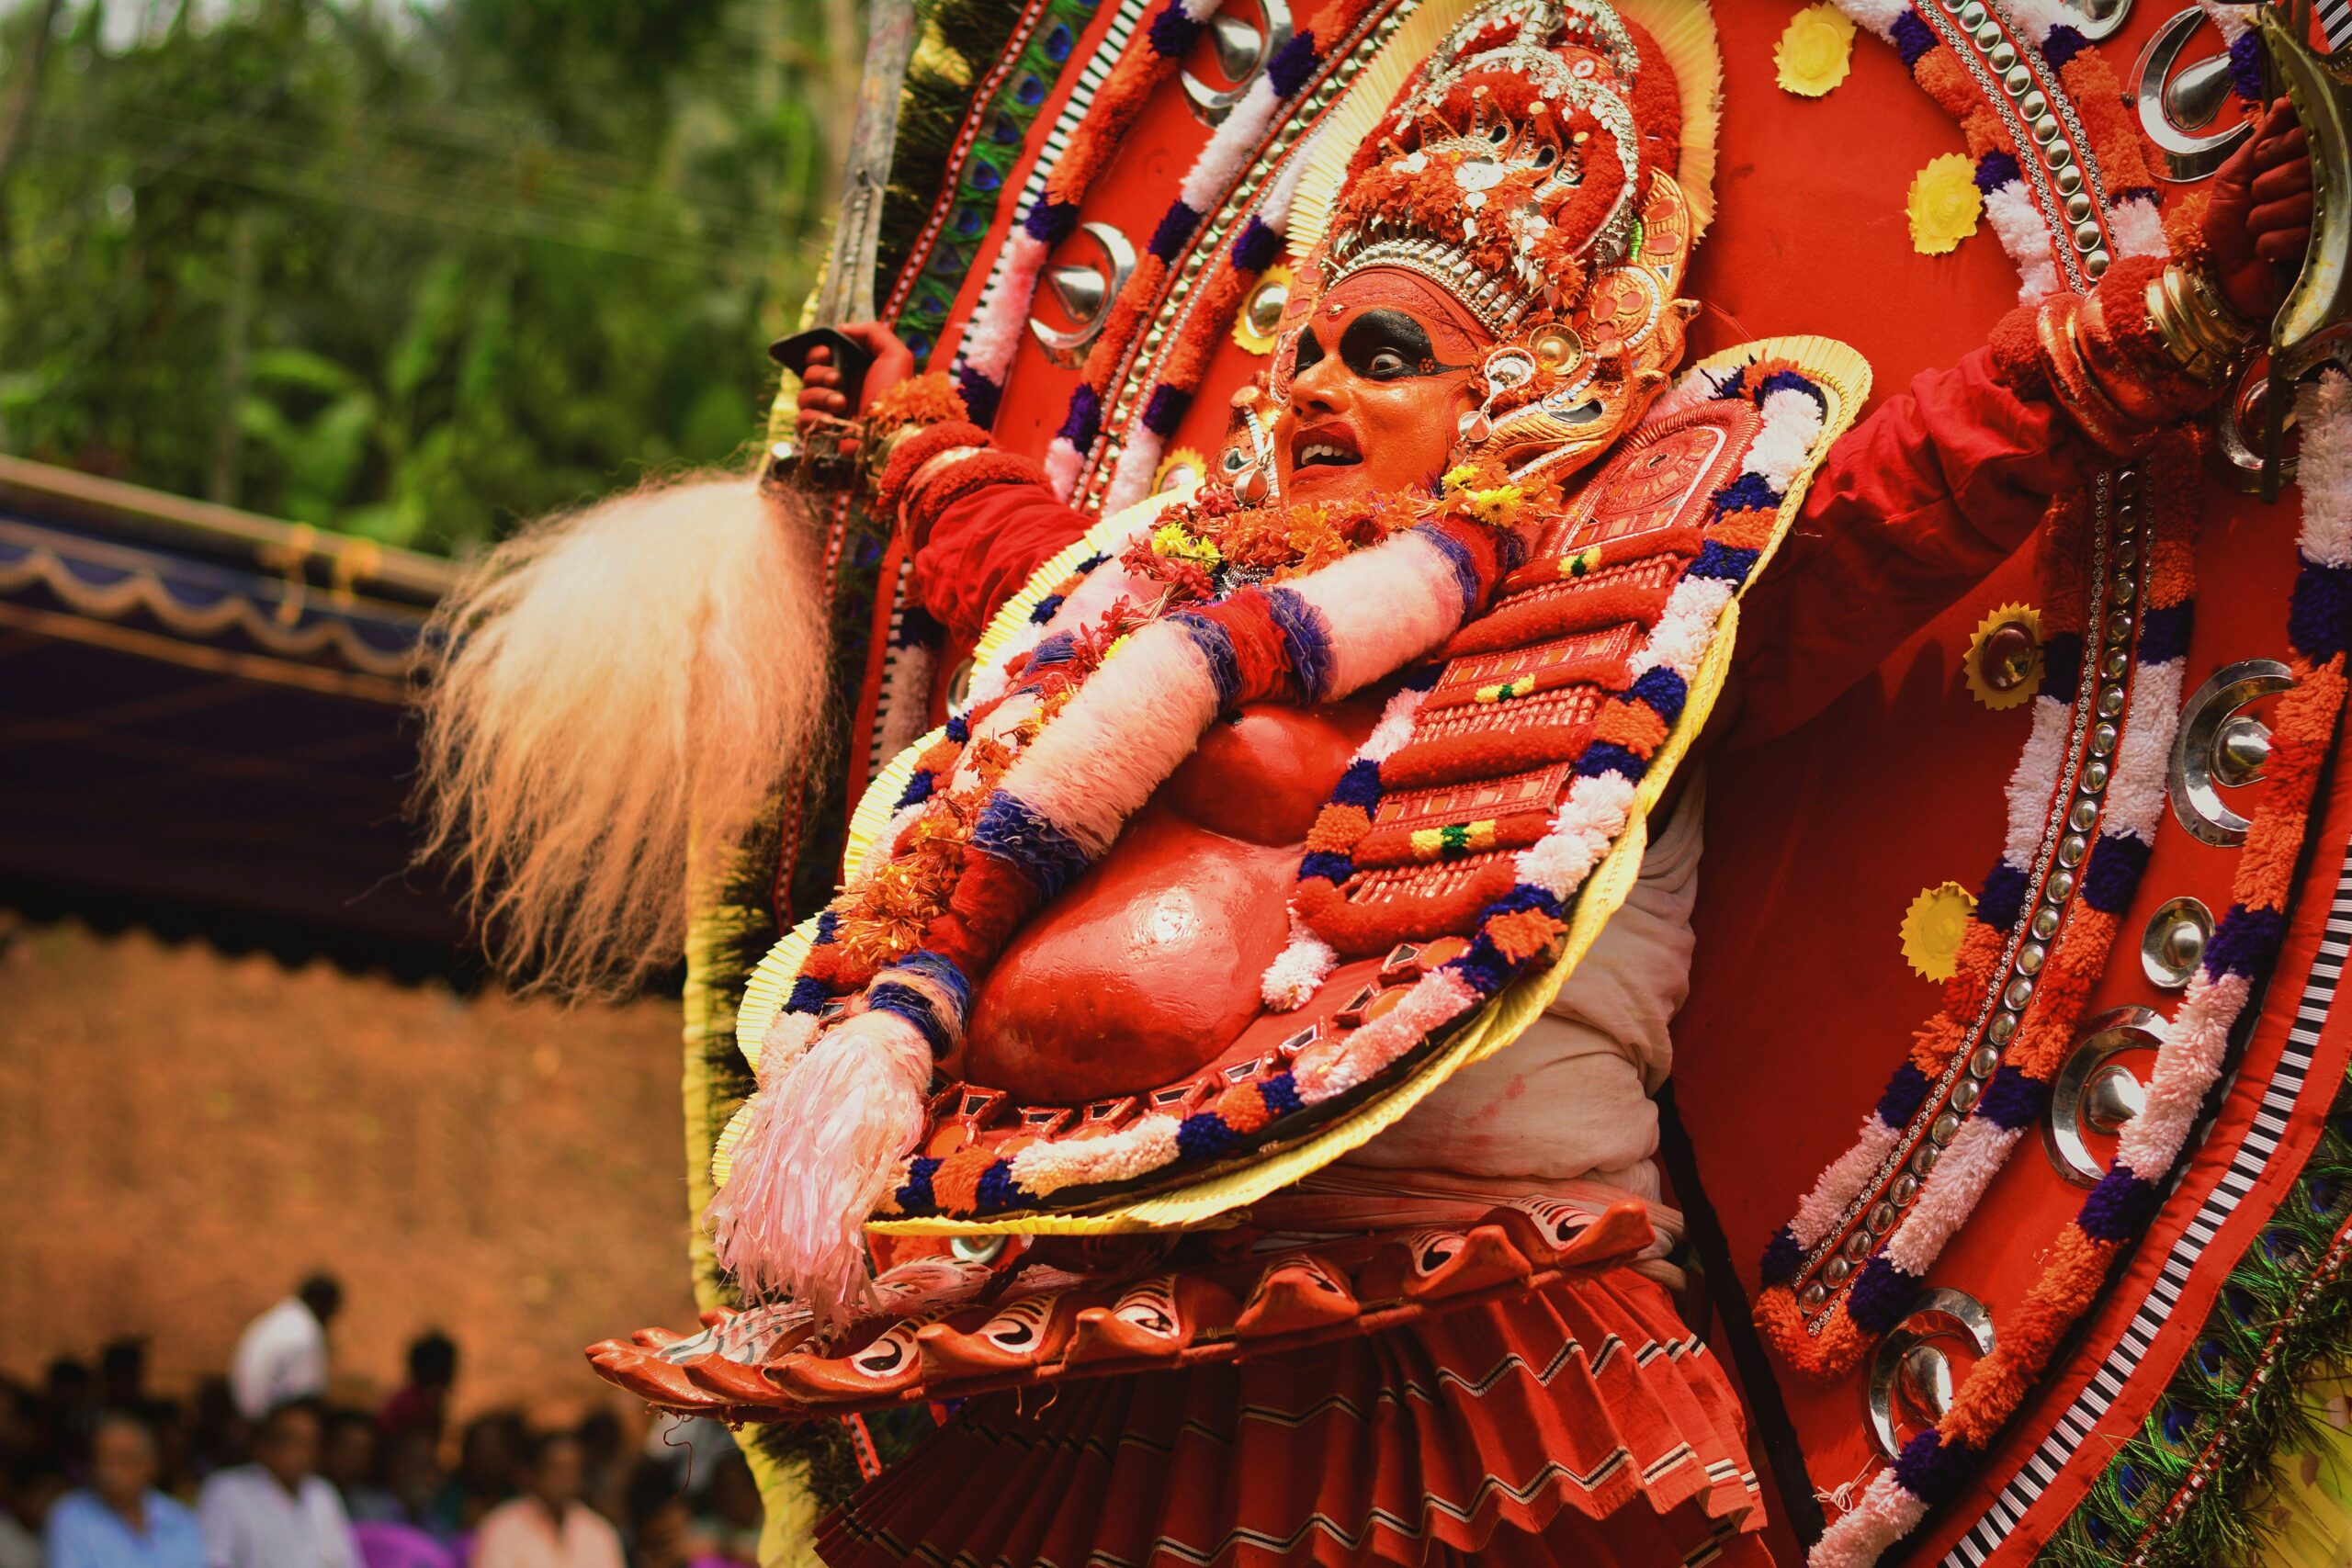
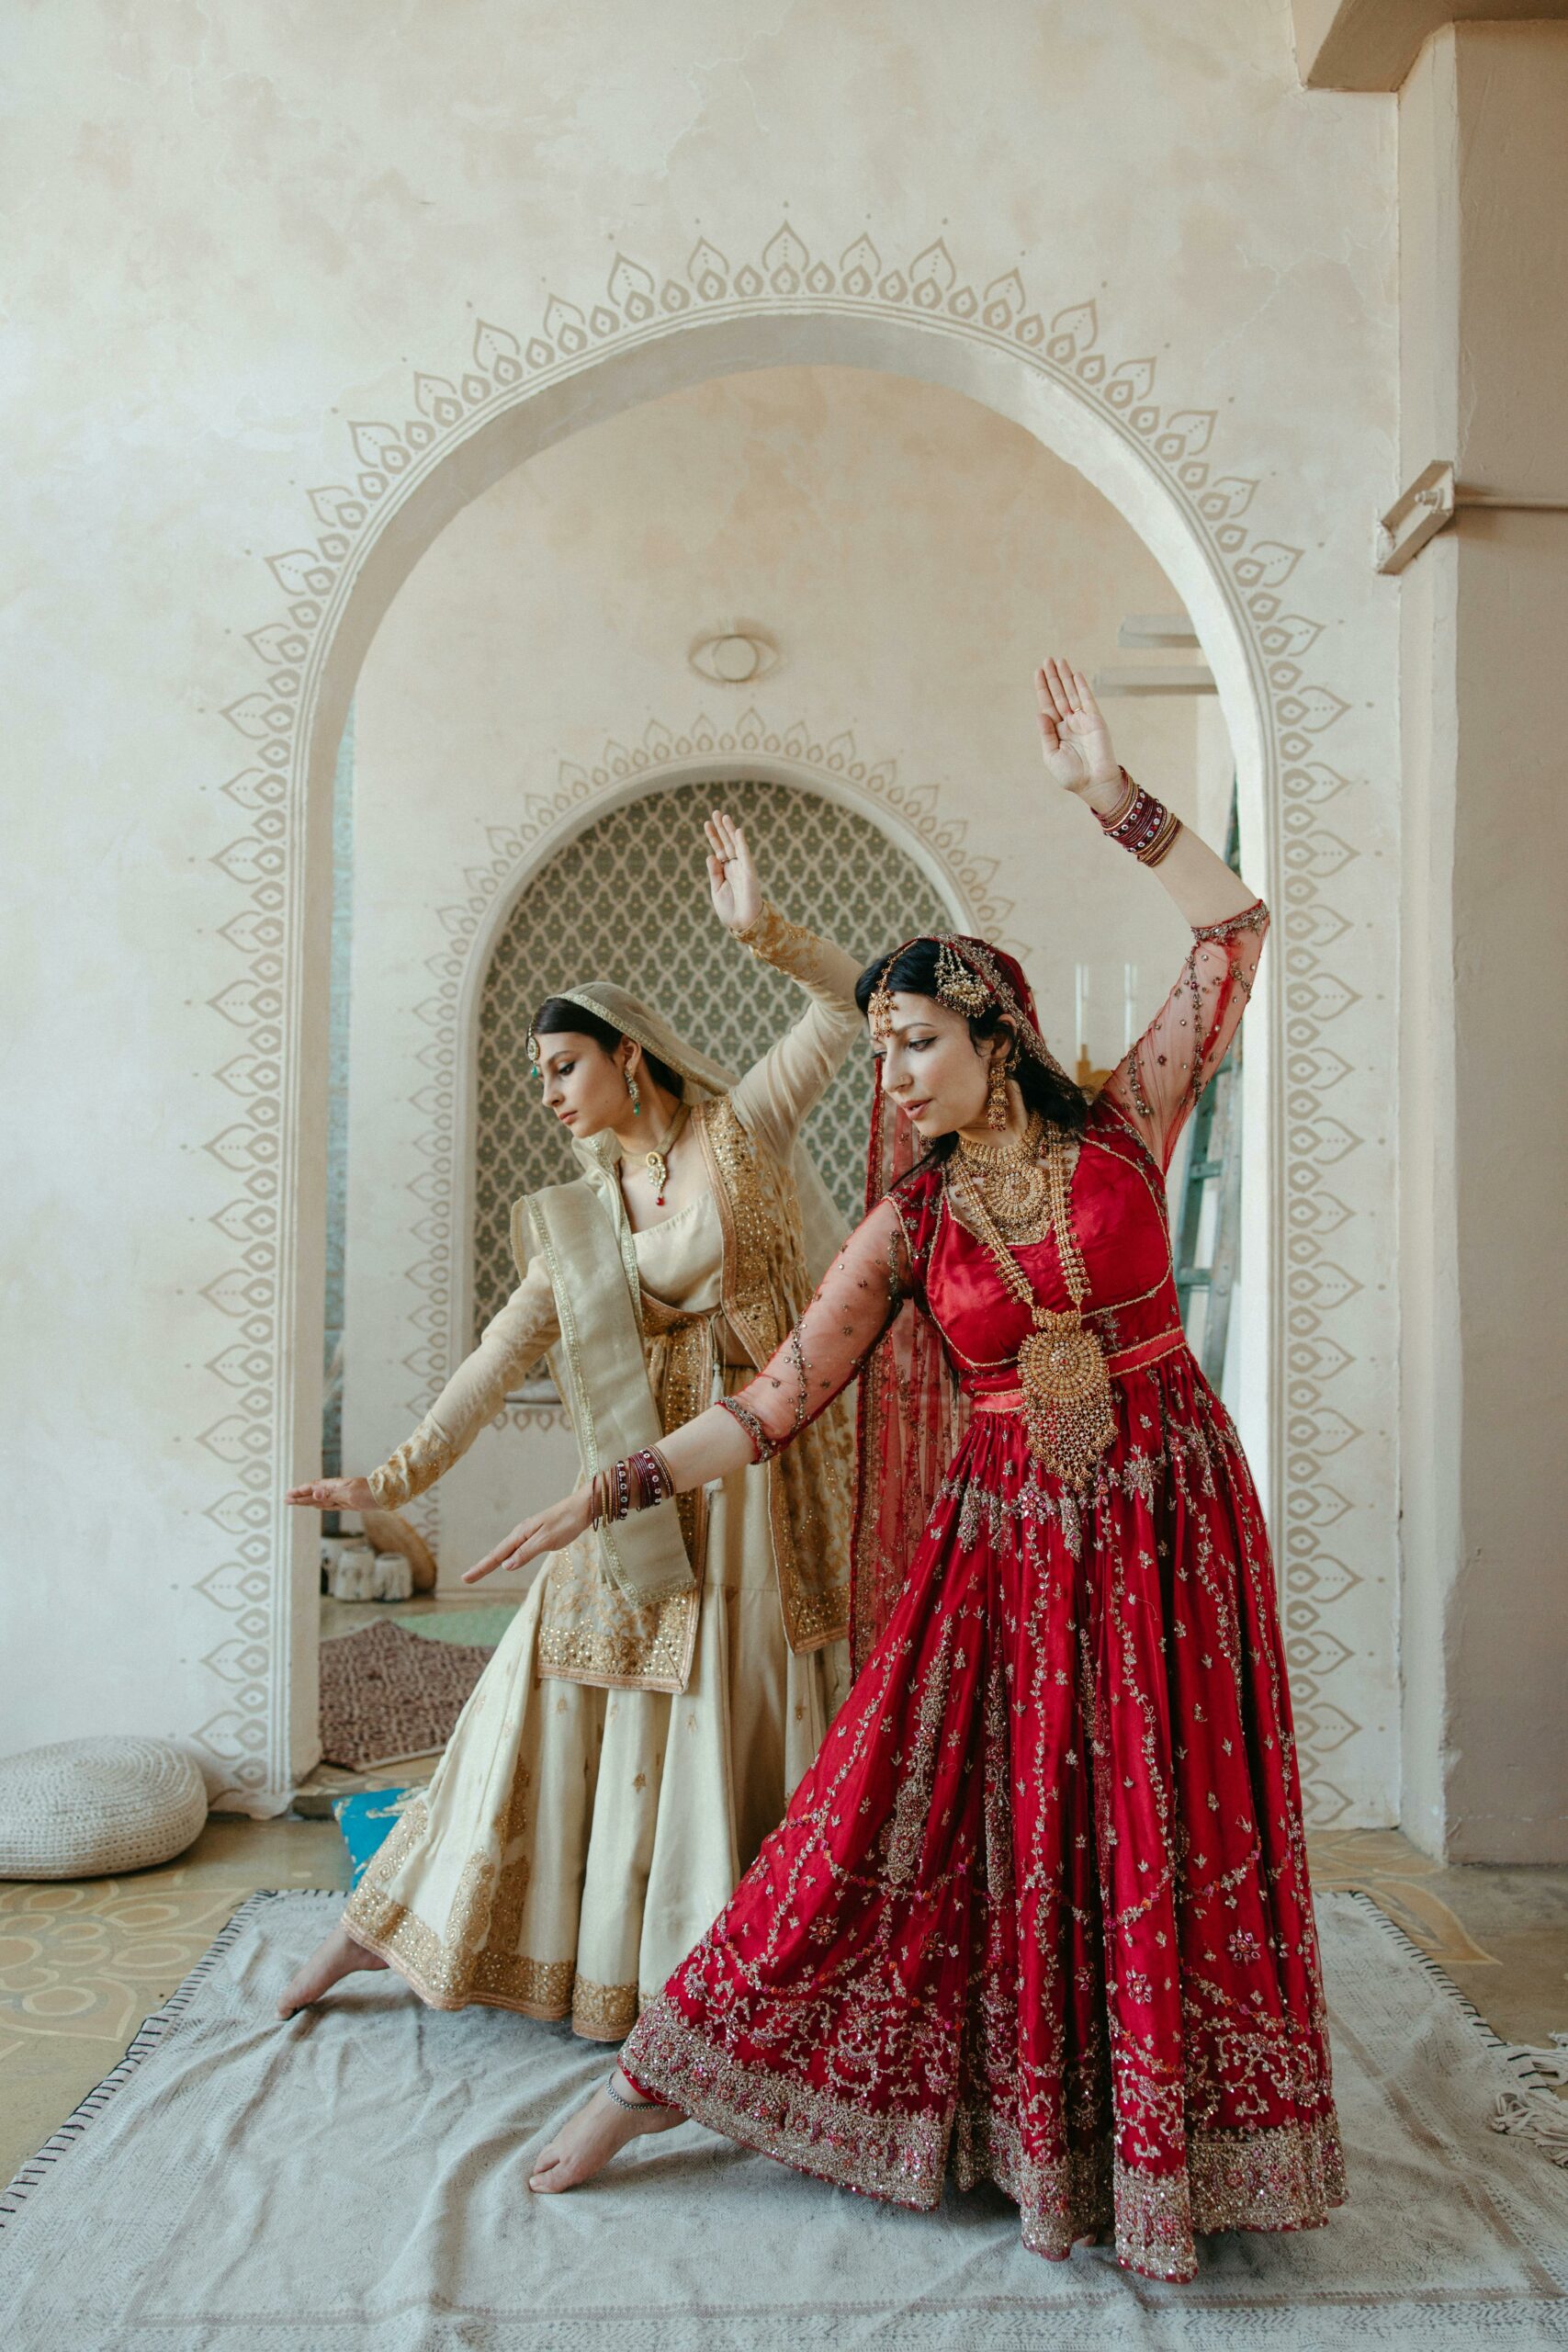
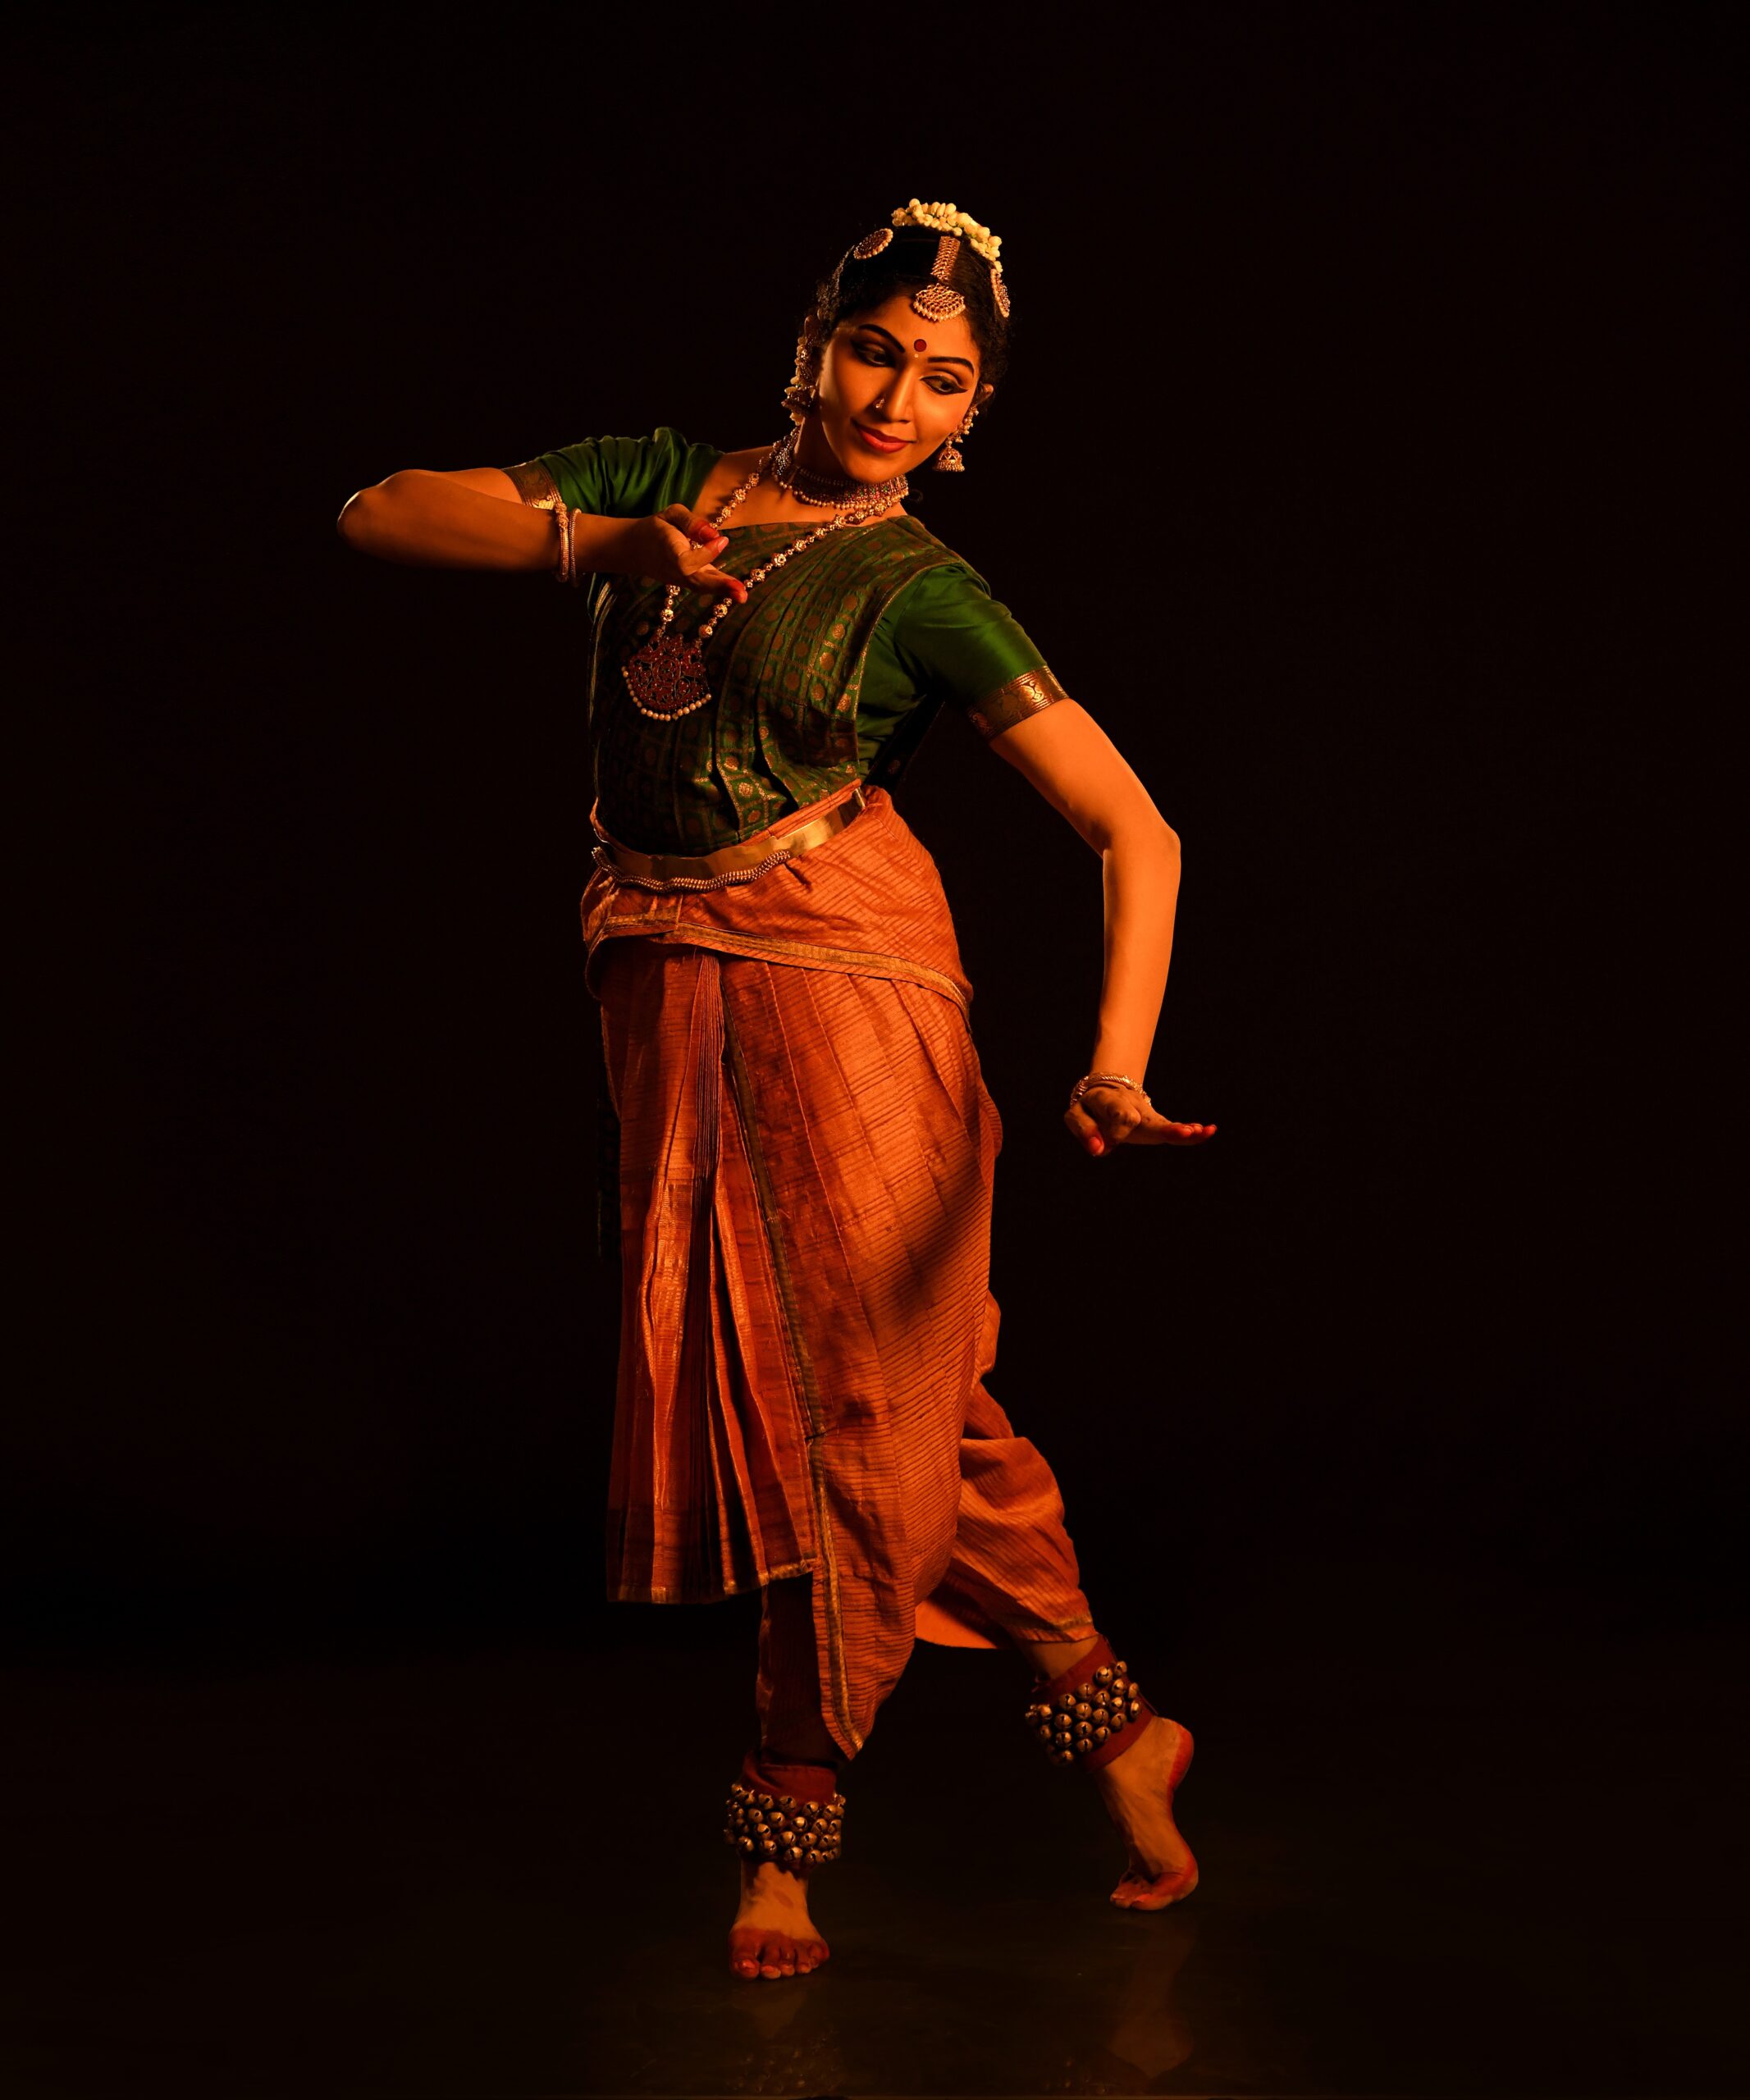
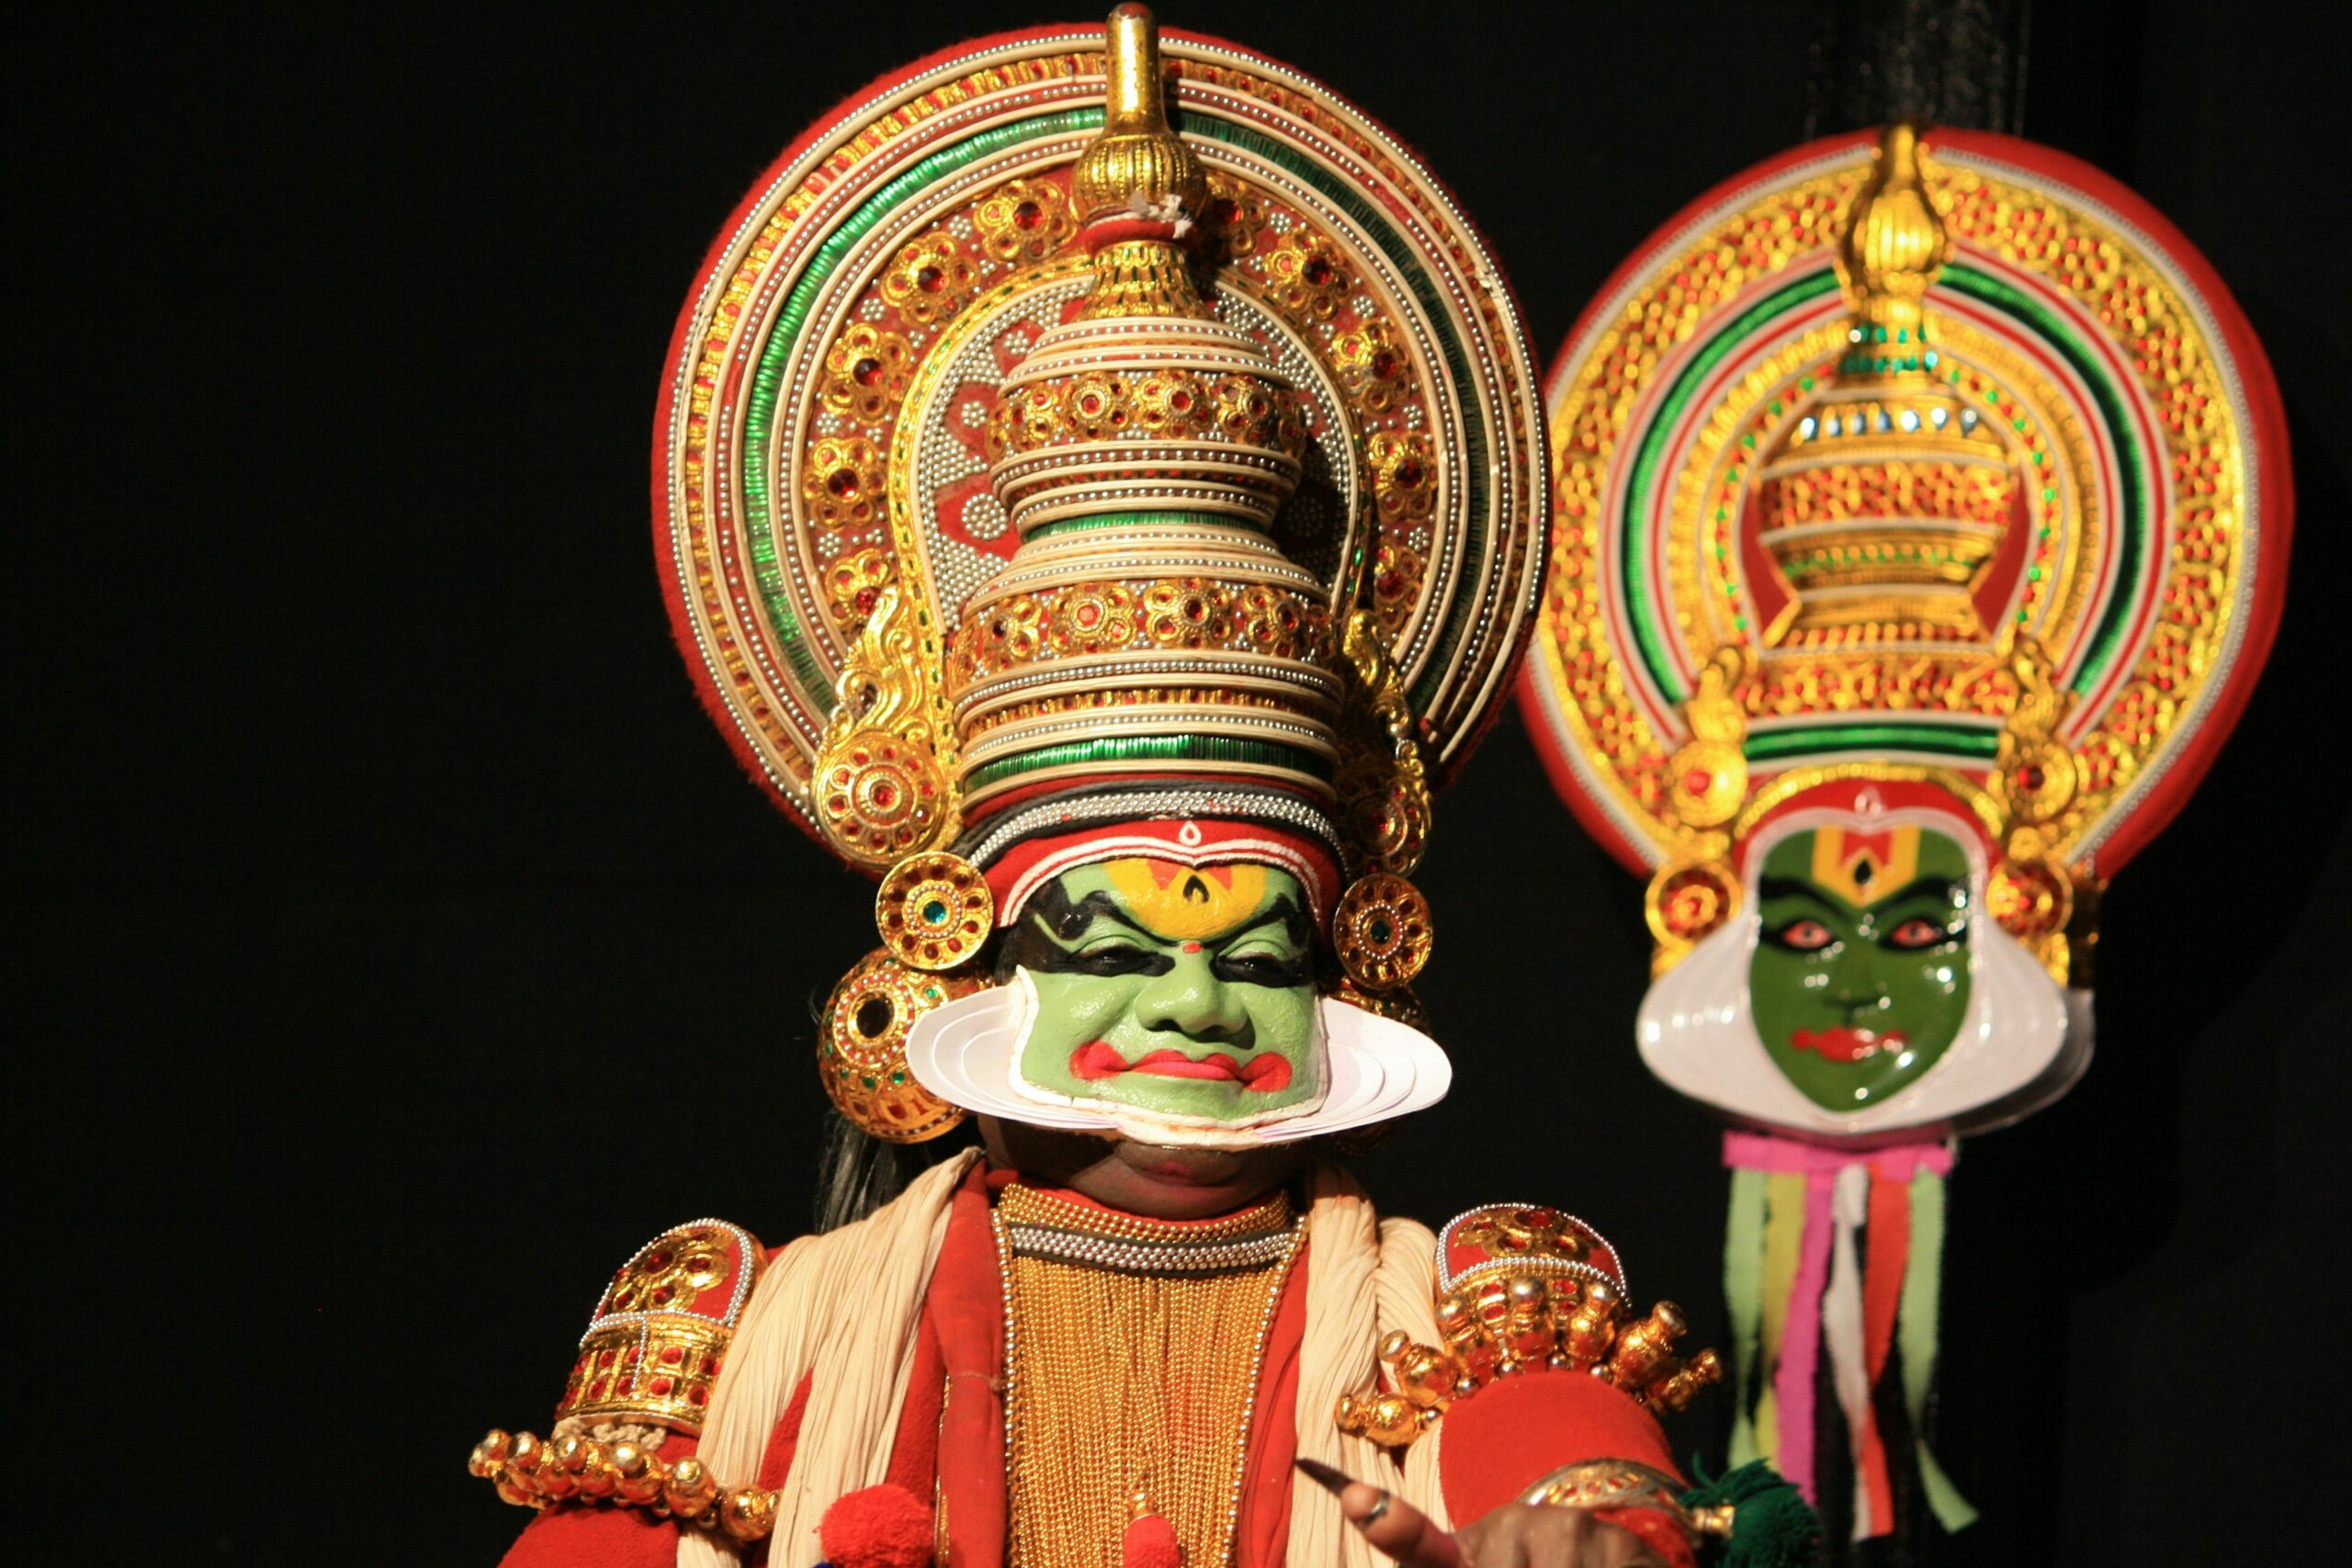
Before diving into the technical aspects of photography, it’s crucial to have a grasp of what you’re capturing. Indian dance is an umbrella term that encompasses a variety of classical and folk dances, each with its own unique style, costumes, and music. The classical forms include Bharatanatyam, Kathak, Kathakali, Manipuri, Odissi, Kuchipudi, and Mohiniyattam, while folk dances feature Bhangra, Garba, Dandiya, and many others. Each dance form tells a story, often rooted in mythology, religion, or social and cultural practices.

1. Research and Respect

Research: Before you photograph any dance form, take the time to understand its origins, significance, and unique elements. This knowledge will not only help you anticipate movements and moments, but also ensure you approach your photography with the respect and sensitivity these cultural expressions deserve.

Respect: Show respect for the dancers and their art. Always ask for permission before photographing rehearsals or performances, especially in more traditional settings. Understanding and adhering to cultural norms and etiquettes is paramount.

2. Technical preparation

Camera Settings: Dance photography often requires fast shutter speeds to freeze motion (1/200th of a second or faster), a higher ISO to compensate for low light conditions without introducing too much noise, and a wide aperture (low f-number) to allow more light into the camera. However, these settings can vary based on the lighting and the effect you want to achieve.

Lenses: A fast lens (f/2.8 or wider) is ideal. A zoom lens (24-70mm or 70-200mm) can be incredibly versatile, allowing you to capture both wide scenes and close-up expressions without intruding on the performance space.

Lighting: Natural light is preferable, but not always available, especially in indoor performances. Understand the lighting conditions of the venue beforehand and plan accordingly. If using artificial lighting, ensure it’s subtle and does not disrupt the performance or audience.

3. Composition and Framing

Capturing movement: Experiment with both freezing movements and using slower shutter speeds to create motion blur, conveying the dynamism of the dance.

Angles and Perspectives: Try different angles to capture the essence of the dance. Low angles can emphasise the grandeur and elevation of the dancers, while high angles can provide an overview of the formations and patterns.

Background and Context: Be mindful of the background. A cluttered background can distract from the subject. If you cannot change your position, use a wider aperture to blur the background. Including elements of the venue or audience can add context and atmosphere to your shots.

4. Emotional connection and Storytelling

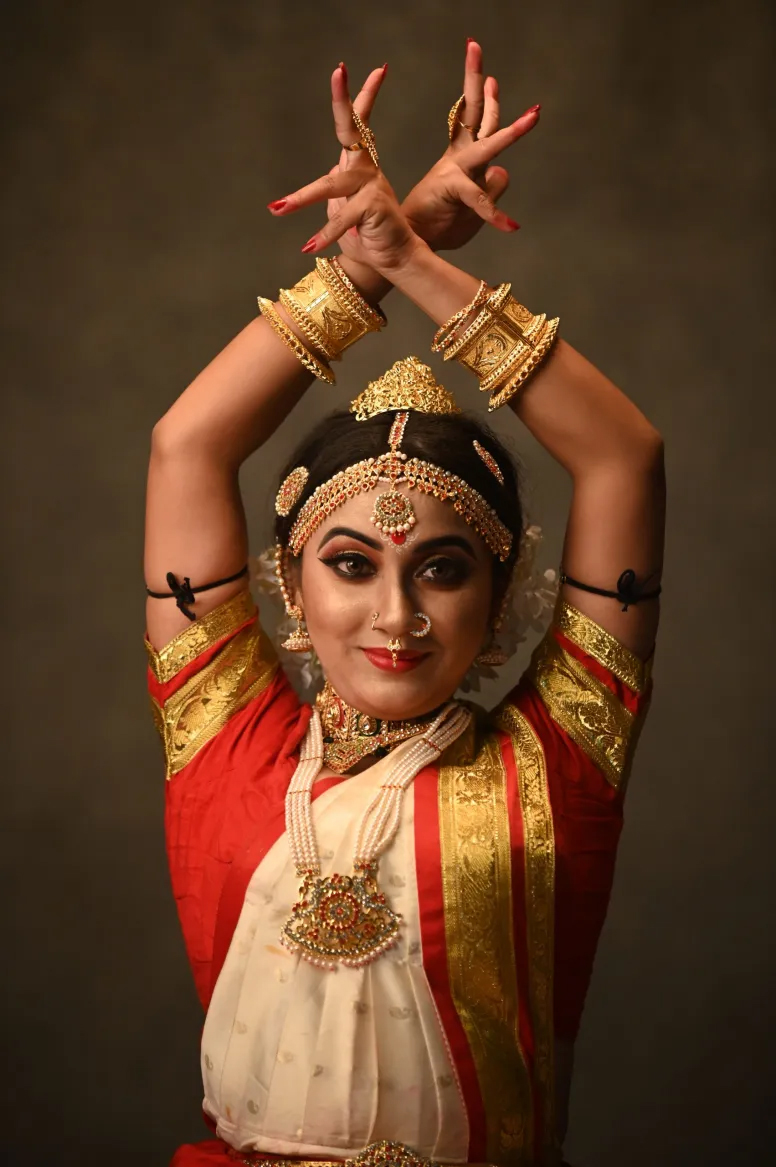
Facial expressions and Emotions: Indian dance is rich in facial expressions that convey the narrative of the dance. Focus on capturing these expressions, as they are key to the story being told.

Moments and Details: Look for the subtle moments – a glance, the tension in a hand, the intricate footwork. These details often tell as much of the story as the broader scene.

5. Cultural sensitivity and Ethical considerations

While capturing the vibrancy and excitement of Indian dance, it’s essential to navigate the space with cultural sensitivity and ethical considerations. Ensure that your presence as a photographer does not disrupt the sanctity of the performance or the experience of the audience. Be mindful of the moments you choose to capture, ensuring they are respectful and accurately represent the art form.

6. Post-Processing

Post-processing is an integral part of dance photography, allowing you to fine-tune the lighting, contrast, and colours of your images. However, maintain the authenticity of the moment and the integrity of the dance form. Avoid over-processing to the point where the image no longer represents the reality of the performance.

7. Engaging with the Community

Engage with the dance community. Share your photos with the dancers and choreographers, and seek feedback. This not only helps build relationships, but also provides insights into how you can better capture their art. Additionally, understanding the stories behind the dances can deepen your appreciation and improve your photographic narrative.

8. Continuous shooting and anticipation

Anticipation: Dance is about rhythm and predictability. By understanding the rhythm of the dance, you can anticipate moments before they happen, positioning yourself and adjusting your settings ahead of time.

Continuous shooting: Use your camera’s continuous shooting mode (burst mode) to capture sequences of movements. This increases your chances of capturing the peak action or the perfect expression, especially in fast-paced performances.

9. Use of Monochrome to highlight emotion

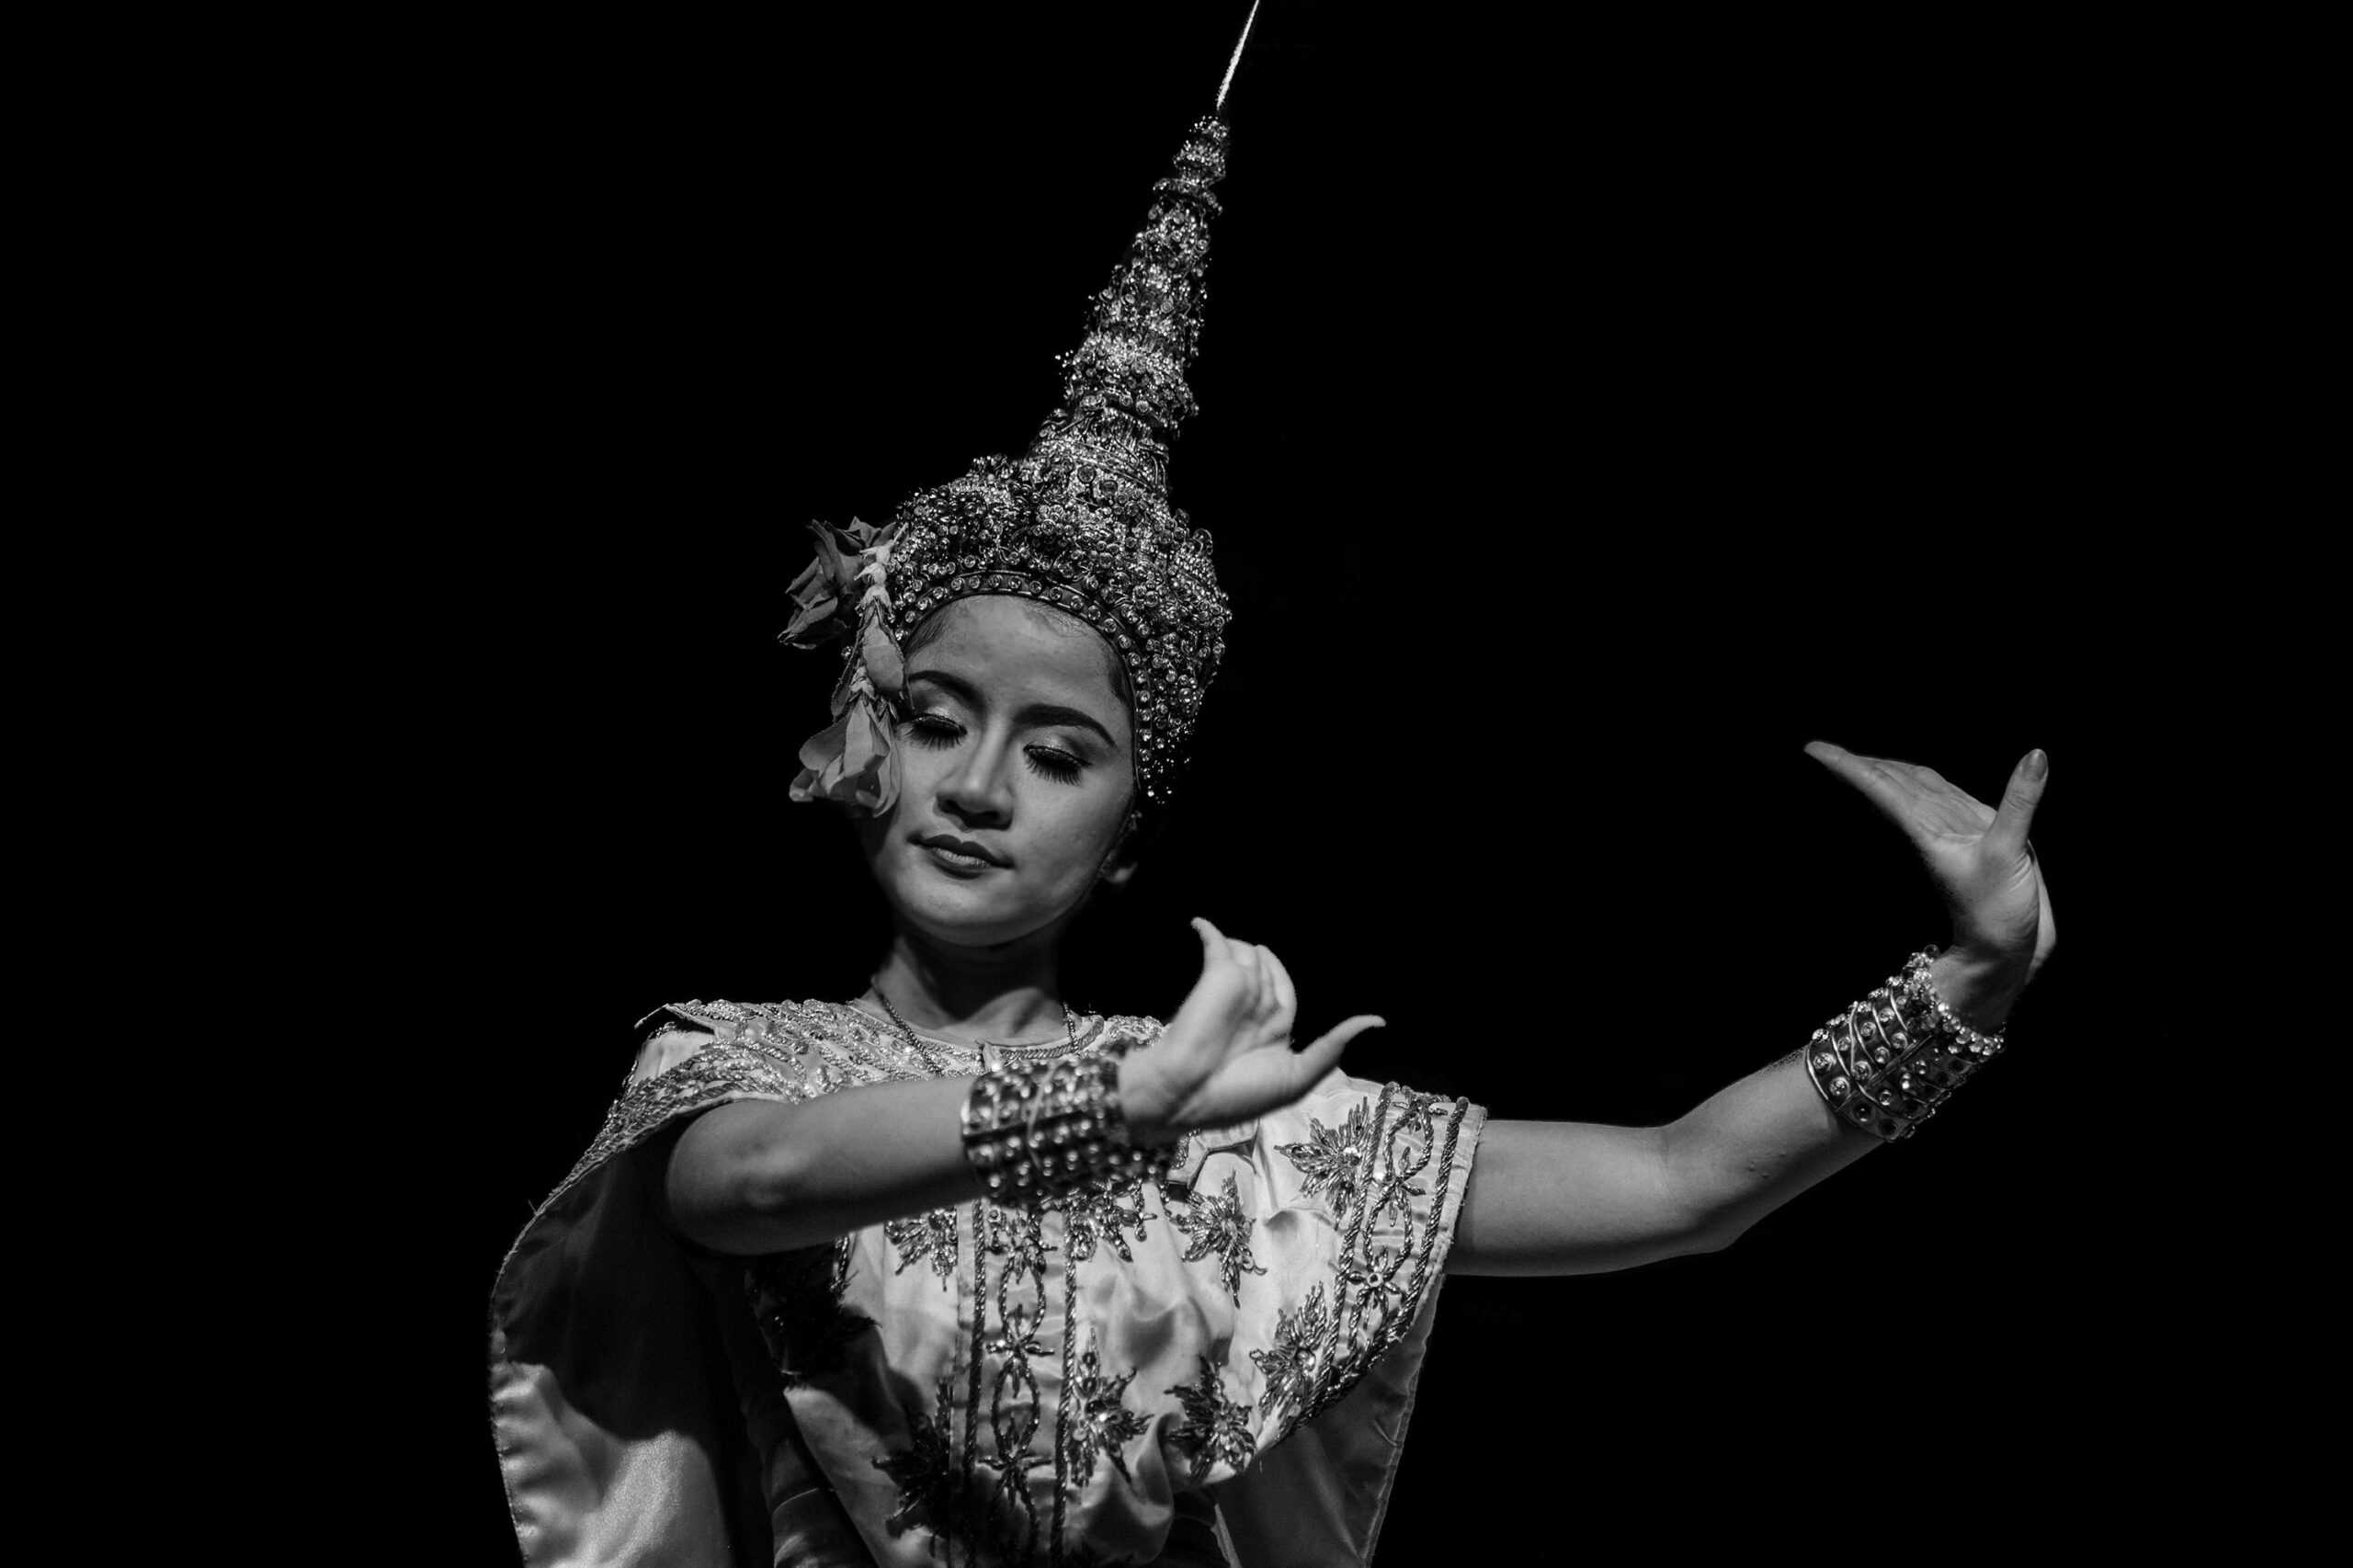
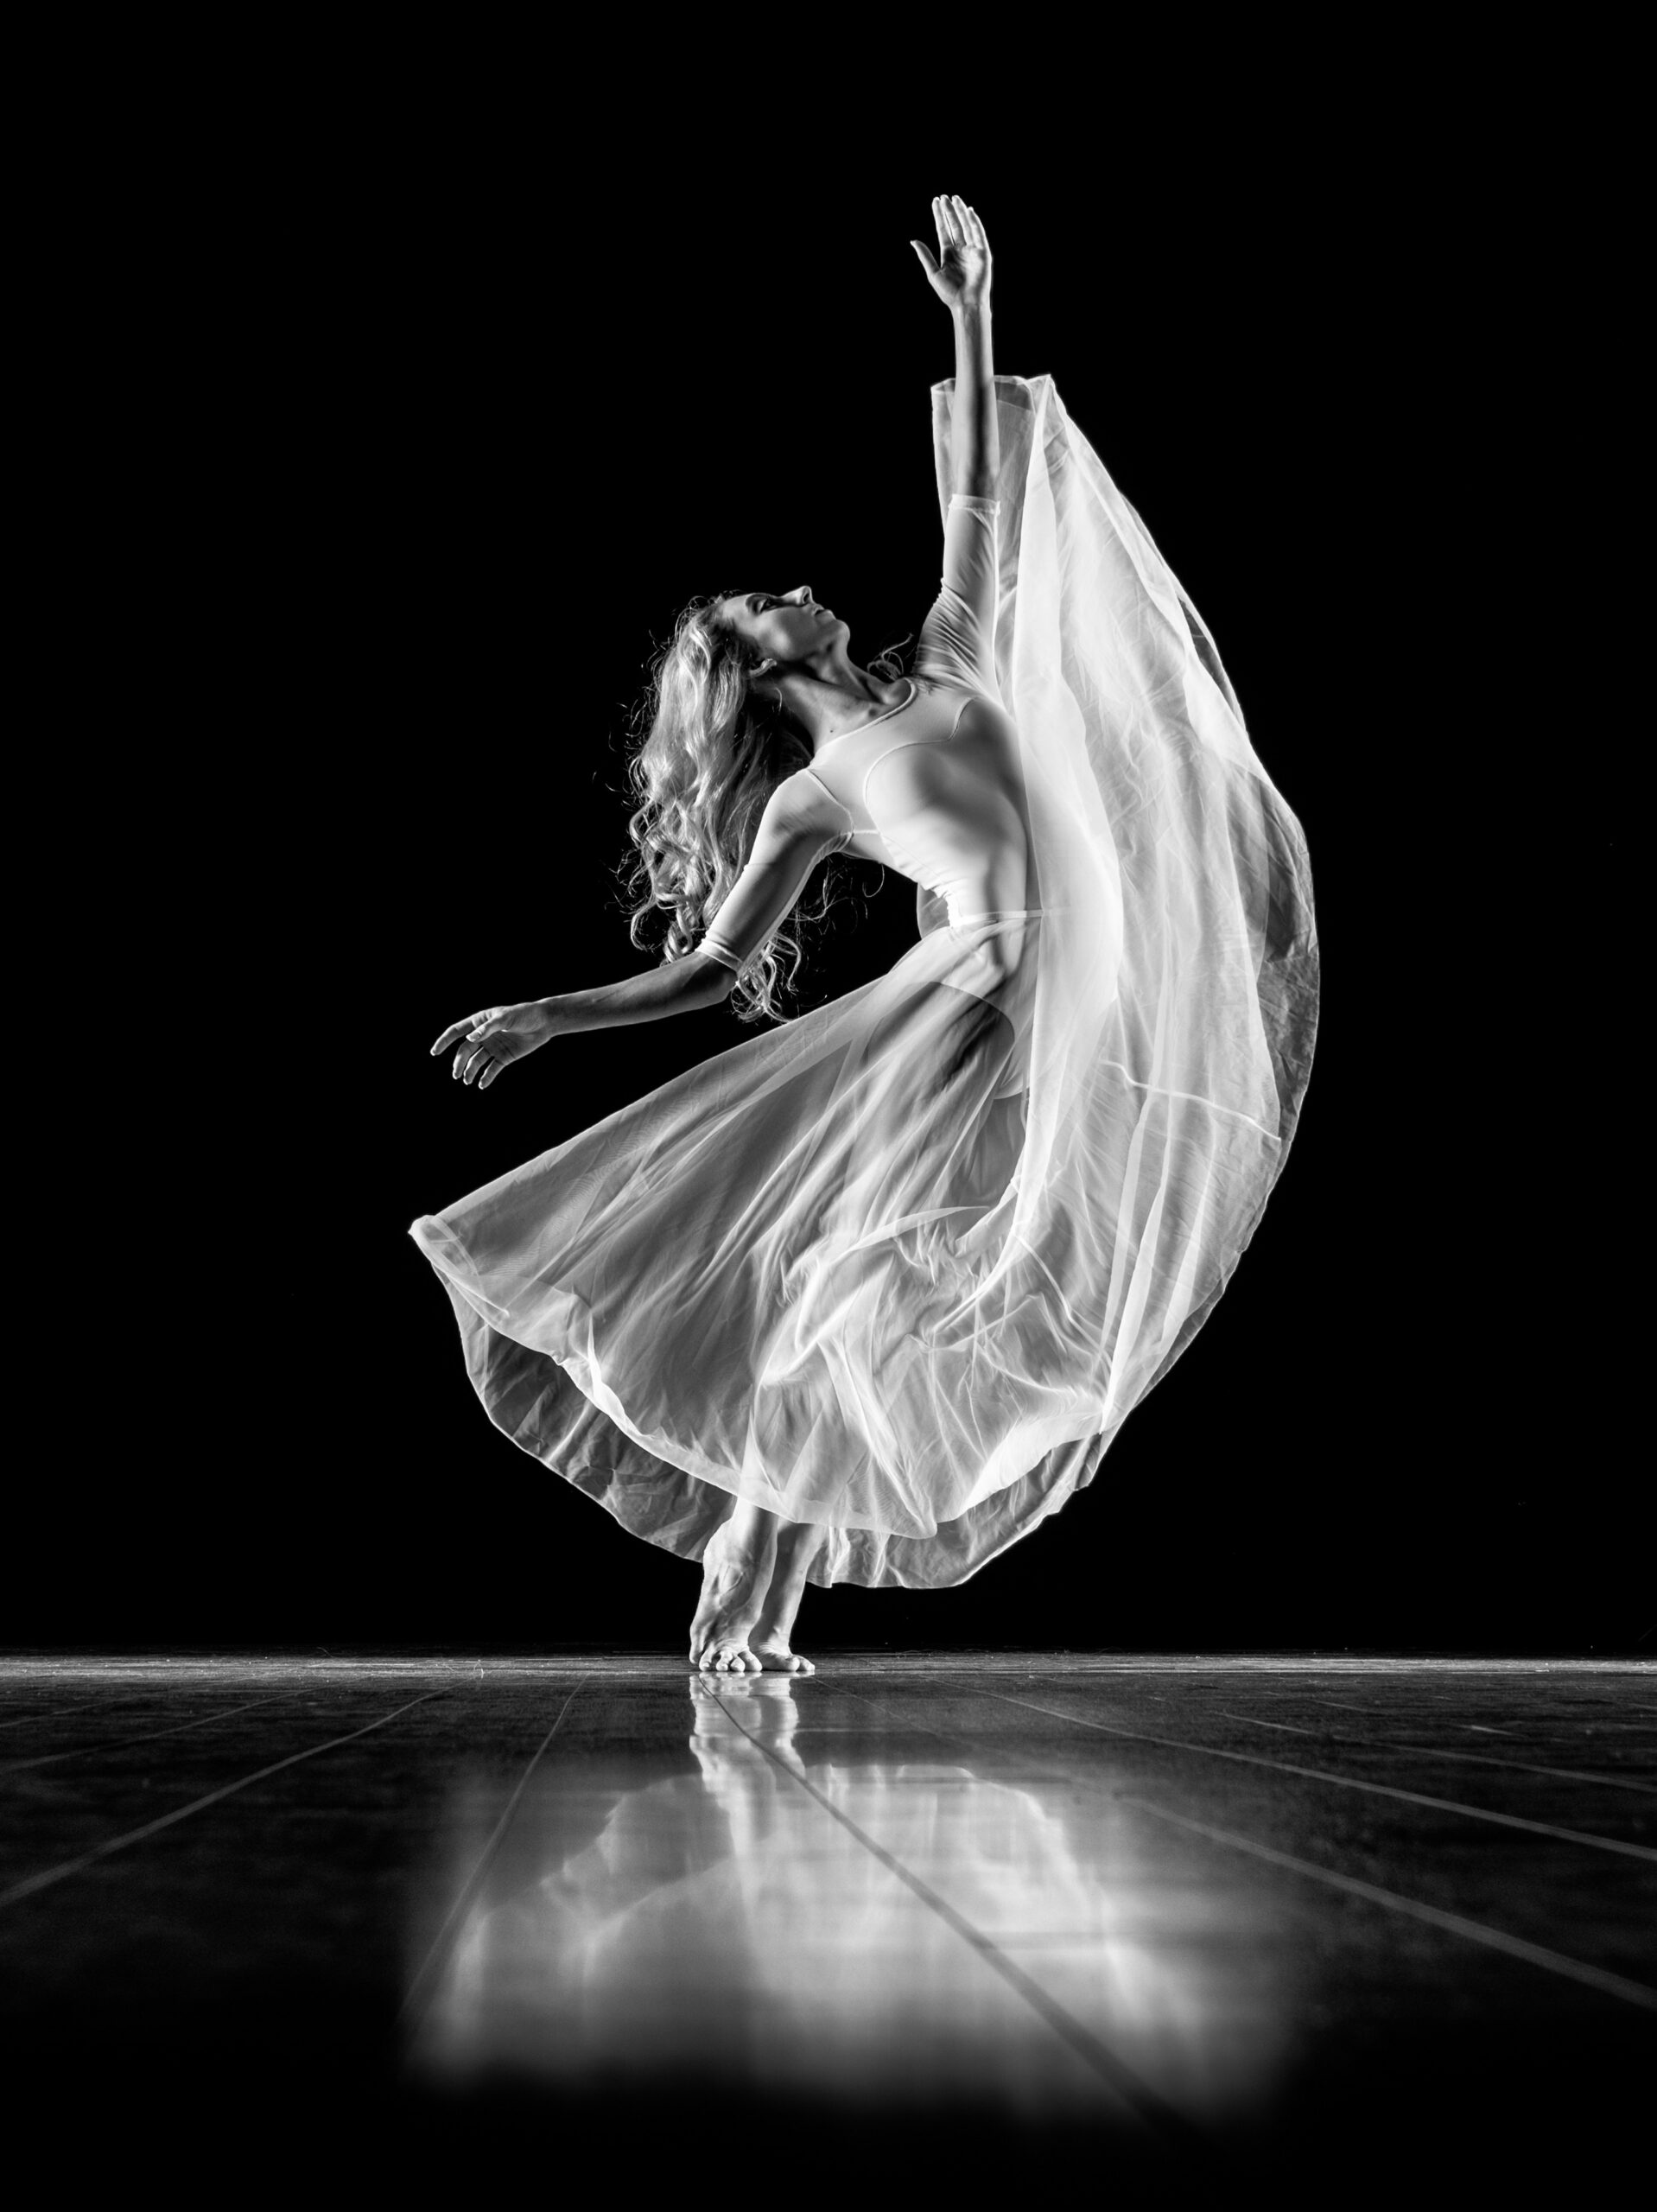
Monochrome Photography: Sometimes, colour can be a distraction, or you may want to emphasise emotion, texture, and contrast. In such cases, consider shooting in black and white. Monochrome can add a timeless quality to your images and focus attention on the subject’s emotion and form.

10. Experimenting with Silhouettes and Shadows

Silhouettes and Shadows: Experiment with backlighting to create silhouettes of dancers, highlighting the shapes and forms of their movements. Shadows cast by dancers can also add an artistic and dramatic element to your photographs, creating a sense of mystery and intrigue.

11. The importance of Rehearsal Photography

Rehearsal Shoots: Attending rehearsals offers a unique opportunity to capture the raw, unpolished moments of dance preparation. It also allows you to experiment with angles, settings, and compositions without the pressure of a live performance. Rehearsal photography can capture the dedication and hard work behind the scenes, adding depth to your dance photography portfolio.

12. Incorporating environmental elements

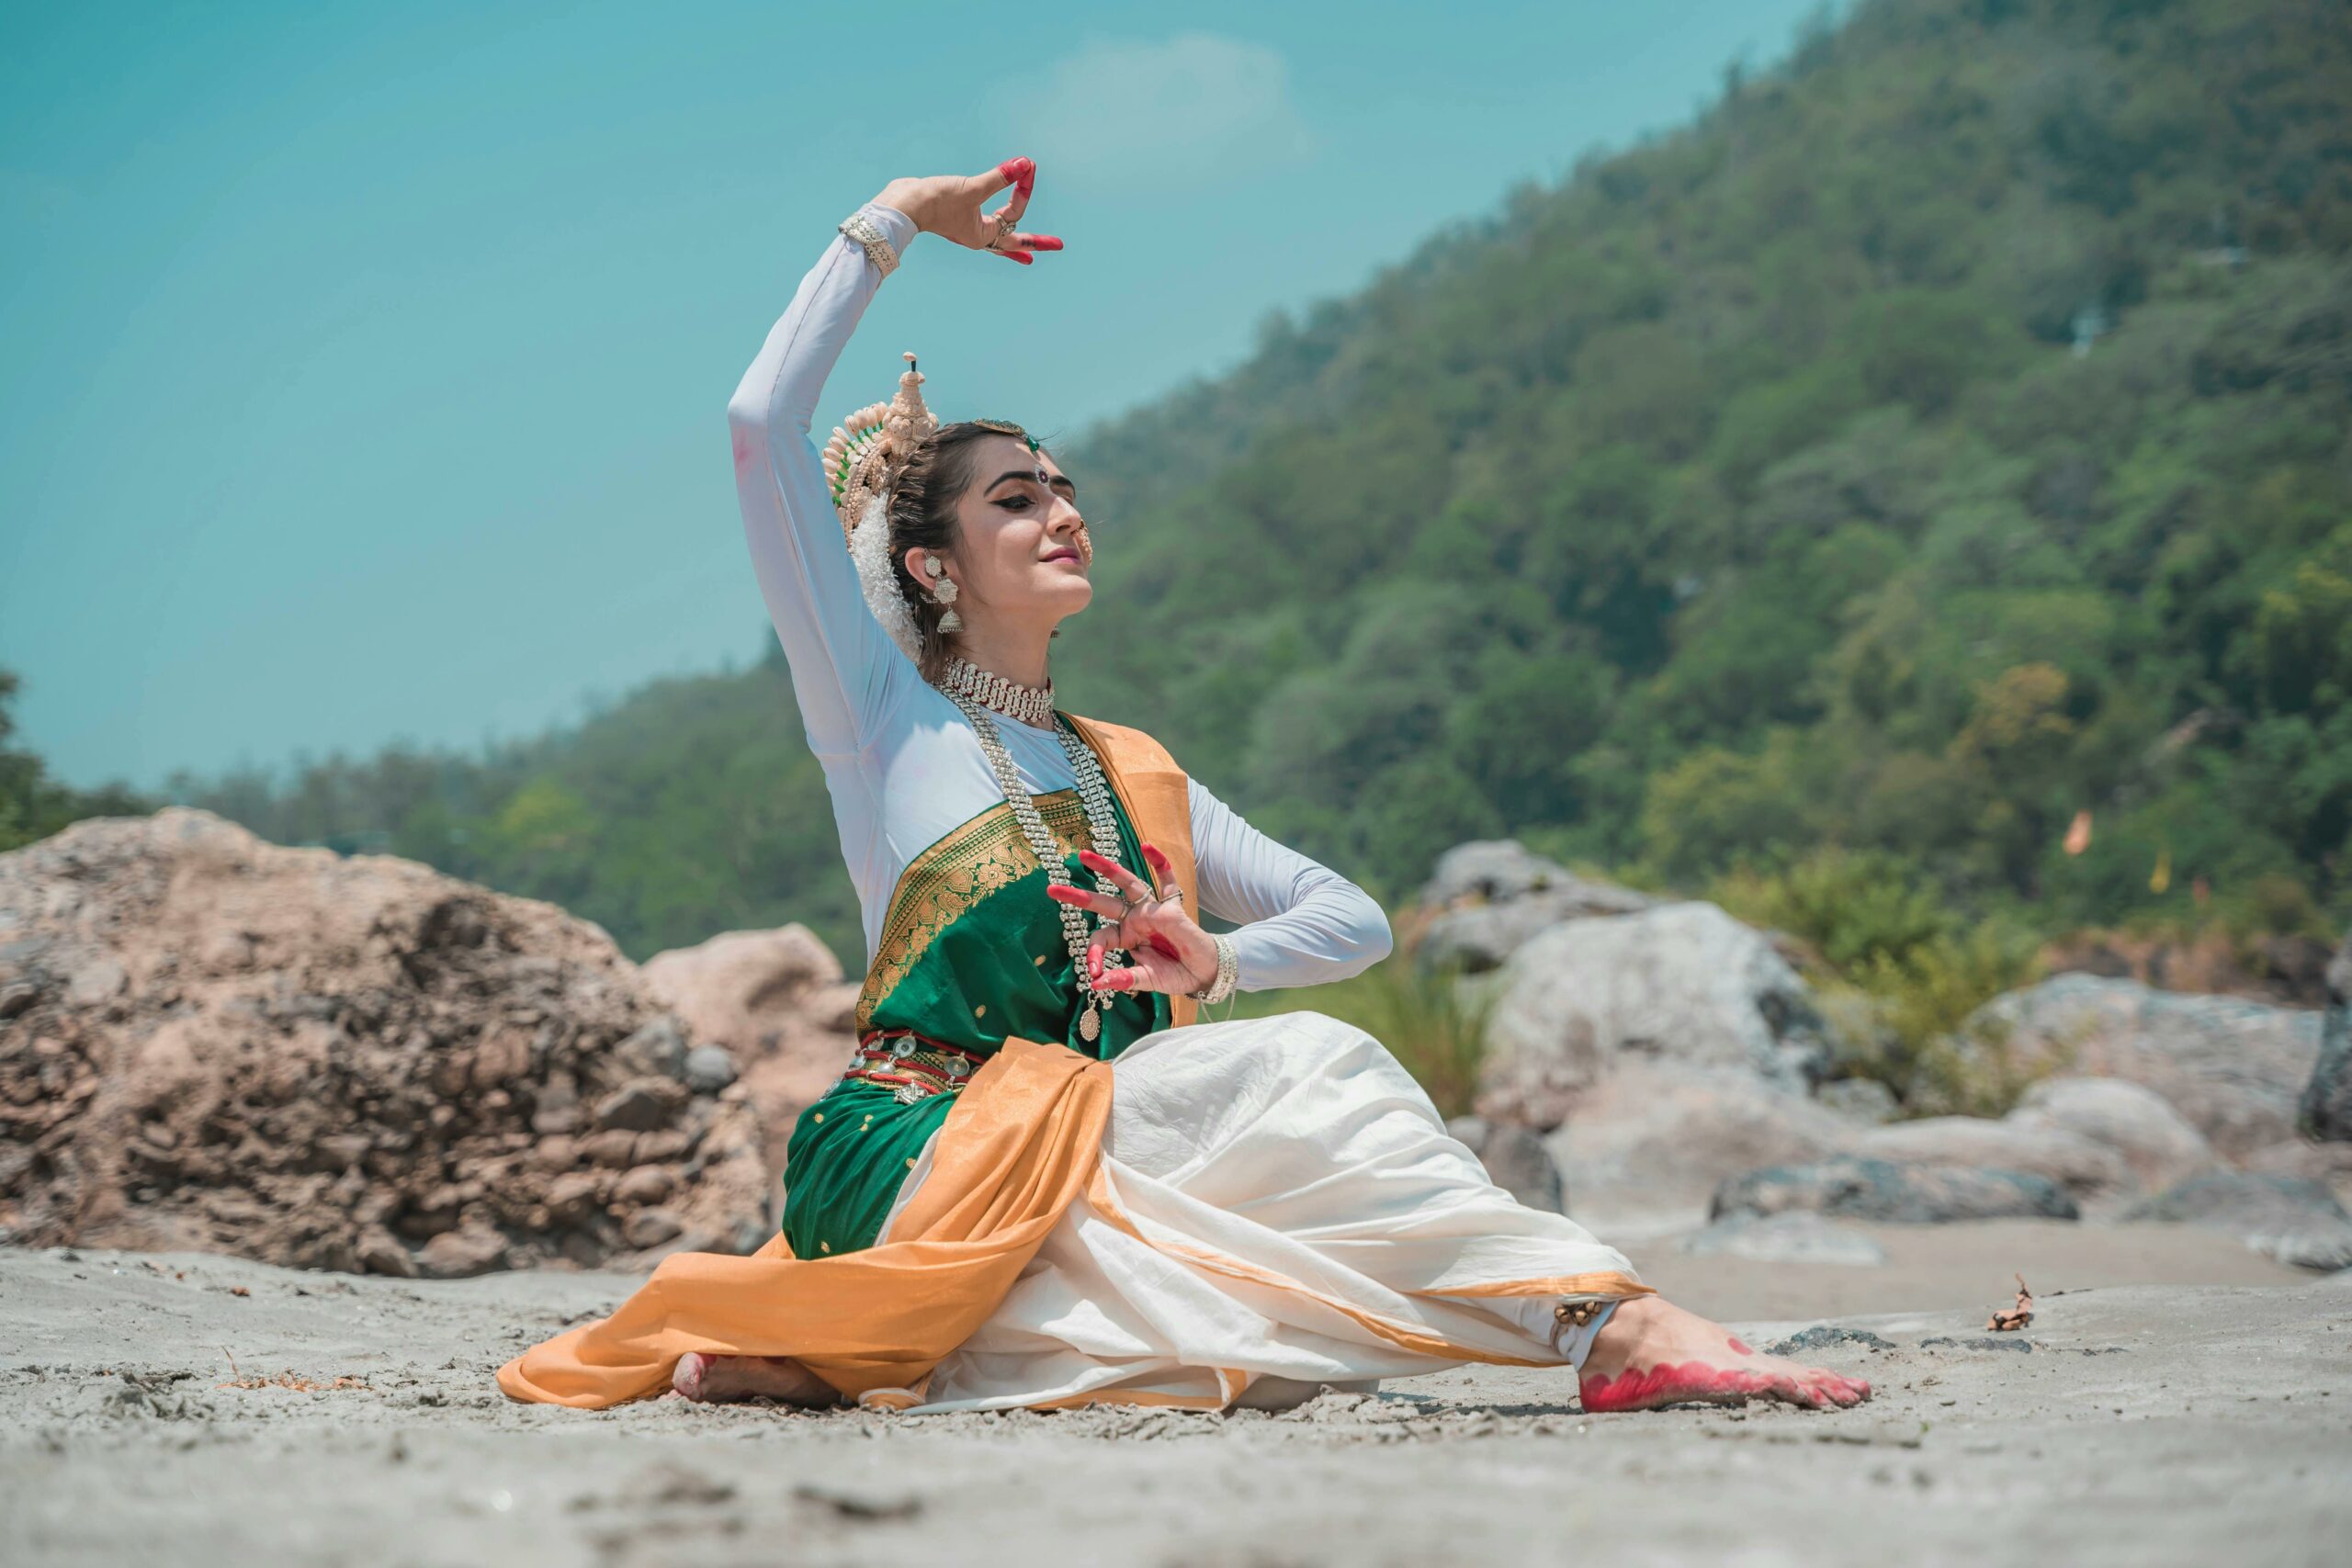
Environmental context: Especially with outdoor performances or in traditional settings, incorporating environmental elements can add context and a sense of place to your photographs. The surroundings can tell a story about the culture, the people, and the origin of the dance form.

13. Focus on costumes and accessories

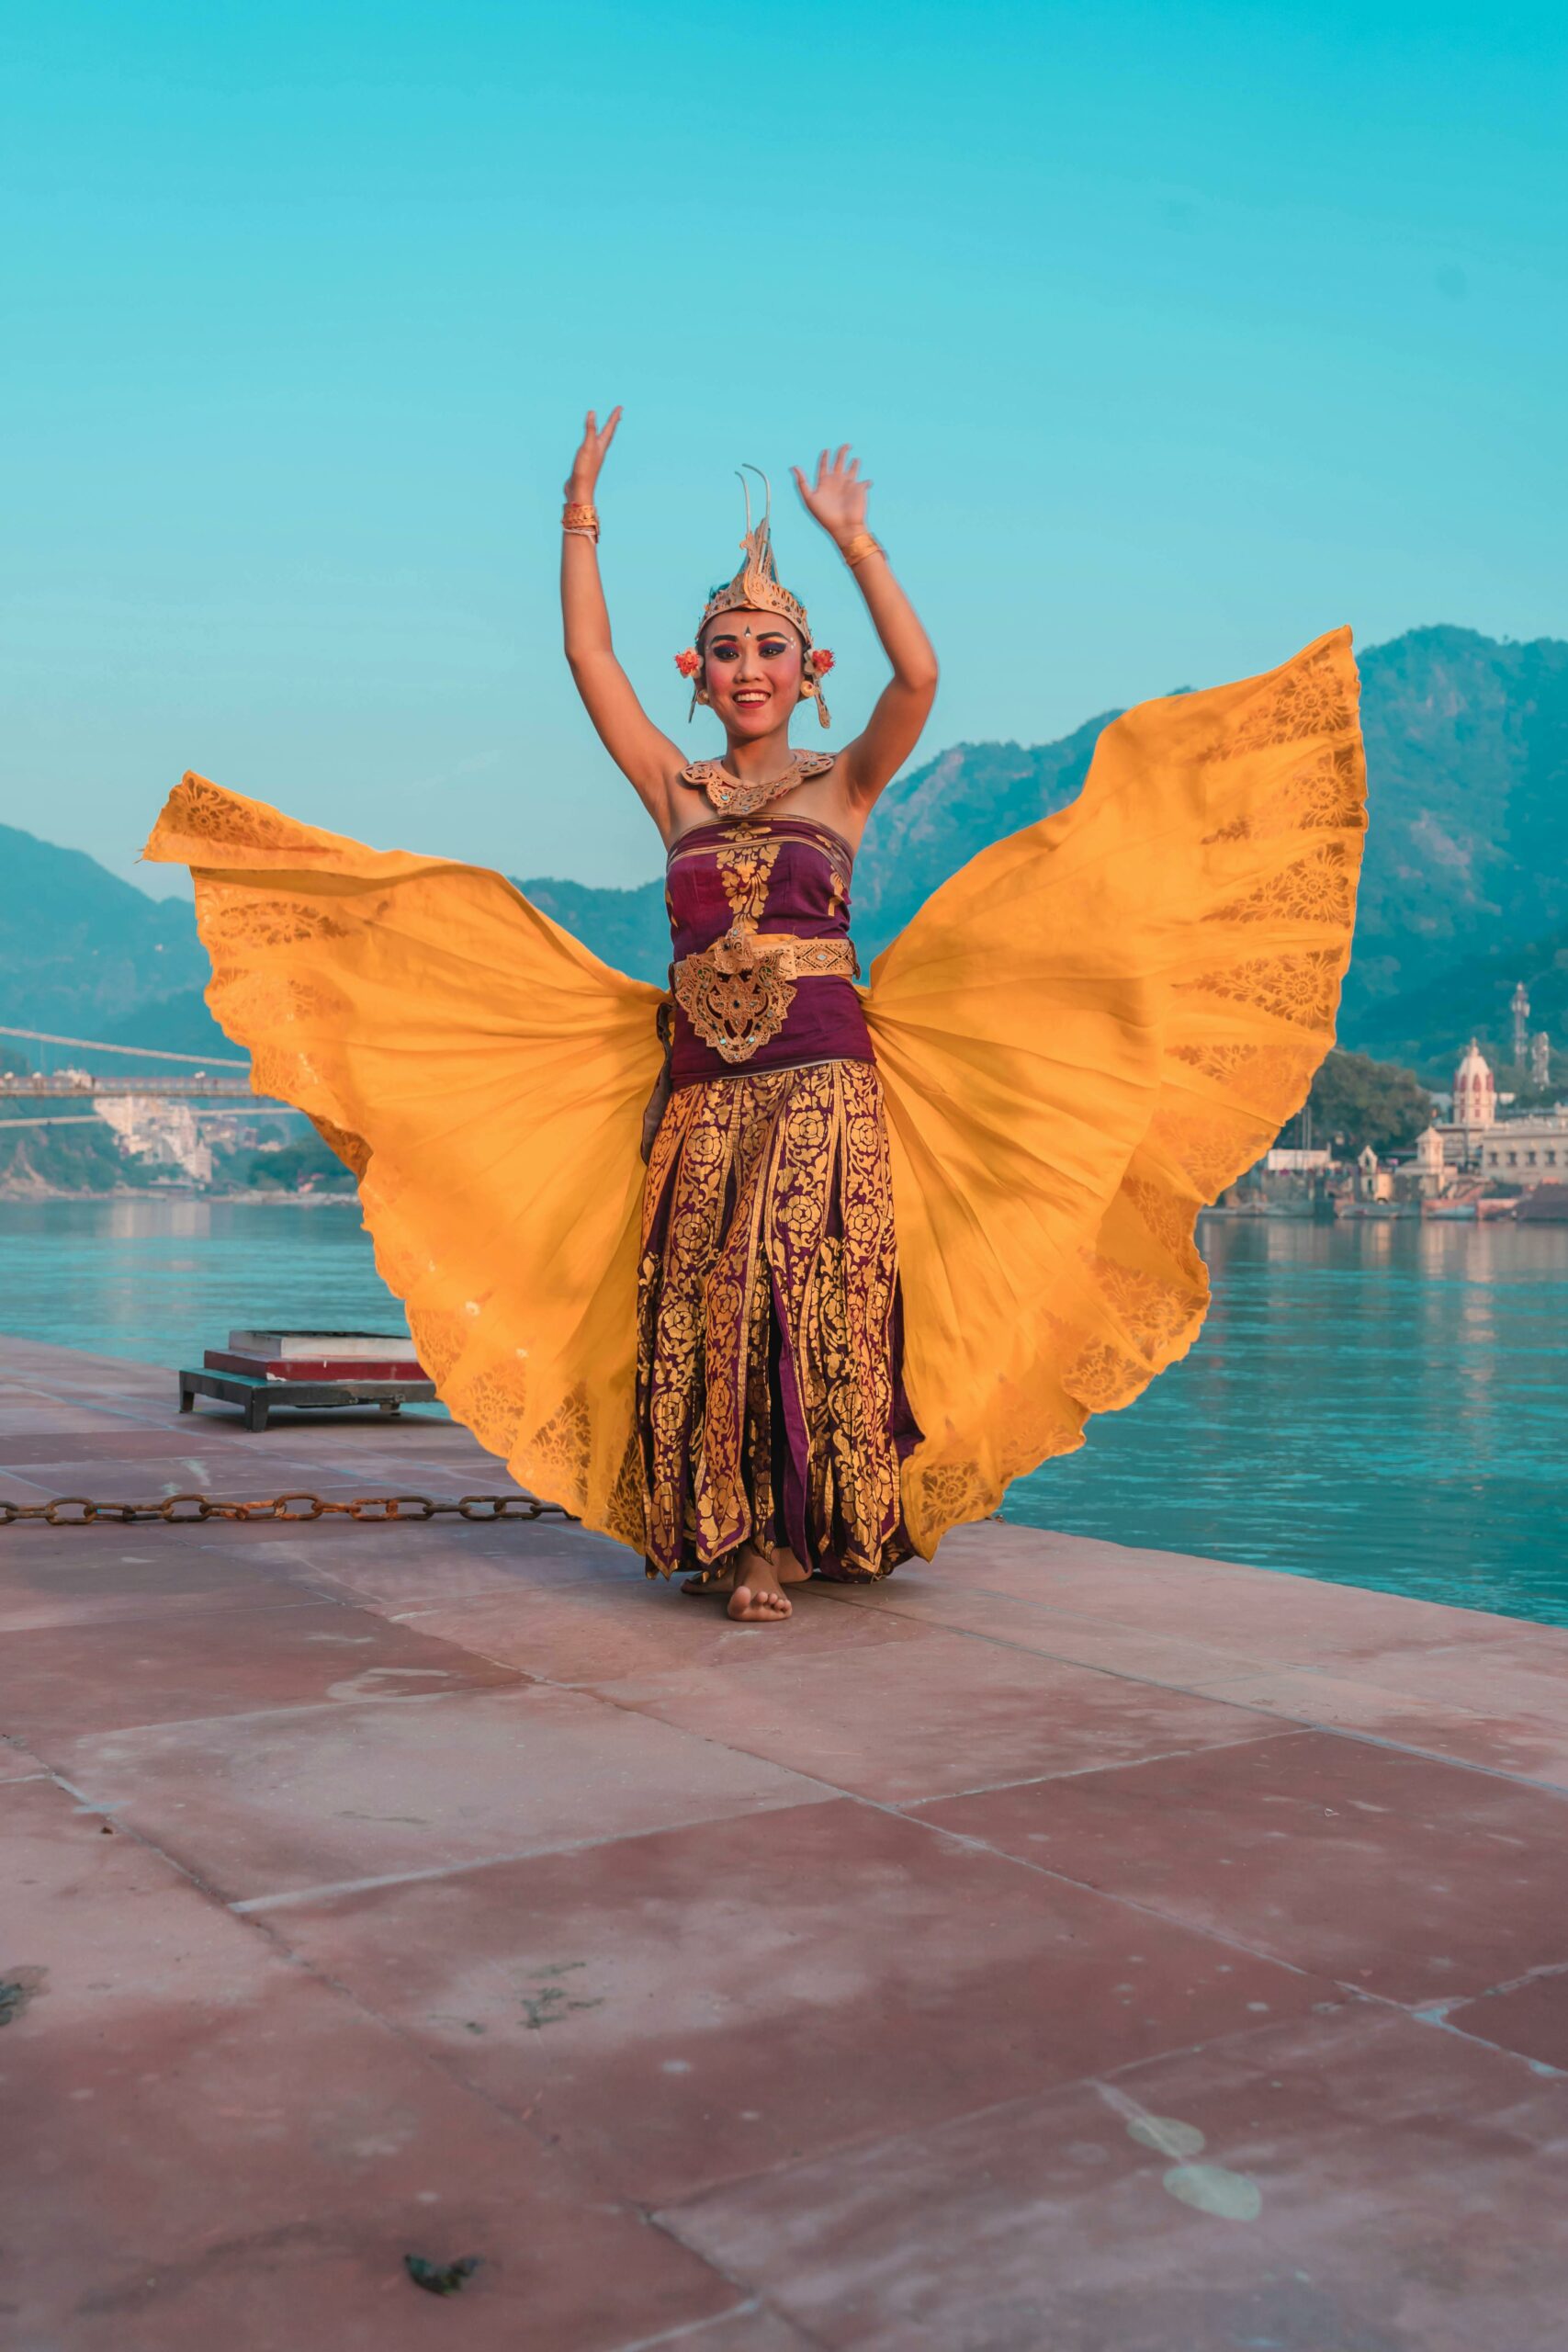
Costumes and Accessories: Indian dance costumes are often vibrant, detailed, and an integral part of the dance narrative. Pay attention to capturing the textures, colours, and movements of costumes and accessories, as they add a significant visual element to your photographs.

14. Legal and Ethical Considerations for Publishing

Permissions and Rights: Before publishing or sharing photographs, especially for commercial use, ensure you have the necessary permissions from the performers and organisers. Be aware of copyright laws and respect the intellectual property rights of the dancers and choreographers.

15. Building a Narrative Series

Narrative Series: Instead of standalone shots, consider building a series of images that together tell a story. This could be the progression of a dance, behind-the-scenes preparations, or a thematic series that explores a particular aspect of the dance tradition. A narrative series can provide a more profound insight into the subject matter and engage your audience on a deeper level.

Mastering the art of dance photography, particularly within the diverse and rich cultural landscape of India, is a journey of continuous learning and adaptation. Each of the points highlighted in this guide serves as a stepping stone towards capturing the essence, emotion, and beauty of Indian dance. As you grow in your craft, remember that the heart of photography lies in observation, connection, and storytelling. Embrace each opportunity to photograph dance as a chance to explore the intricate blend of movement, tradition, and culture, always striving to do justice to the art form and its practitioners.

– Sanchit Mishra

Instax PAL Review

Instant printing cameras offer a unique blend of nostalgia and modern technology, allowing users to capture and print photos instantly. These devices cater to a wide range of consumers, from photography enthusiasts who appreciate the tangible feel of printed photos to younger generations seeking the novelty and immediacy that these cameras provide. The new Instax PAL from Fujifilm is interesting because it’s different from other instant cameras. It costs ₹10,999 but doesn’t print photos by itself. You need to buy a separate printer called the Square link for another ₹15,000. If you want the camera, printer, and 100 films, it’s all ₹22,000 together. The camera is really small and has a 5MP camera inside. This setup makes you wonder if it’s really worth buying because it’s quite expensive and you need to buy extra things to get it to work fully. This review looks into the Instax PAL to see if it’s a good deal. It’s not common for an instant camera to need a separate printer, so we’ll see if this camera is still a good choice despite the extra cost and effort.

The PAL is packaged in a small, strong box that even includes a neat little void spot for the warranty. Setting it up with other devices is quick and easy, usually done in just a few minutes. The black colour option looks sleek and stylish, though it can be a bit hard to read because of this. Despite worries about it getting scratched, it holds up well, although it does attract a lot of fingerprints.

Here are three key points to understand about this device:

  1. It comes with a small 1/5-inch sensor and isn’t protected against weather conditions.
  2. On the top, you’ll find buttons for turning it on/off and selecting modes, and at the bottom we have a Link/Fun button that lets you print photos directly to a printer.
  3. The device can be charged with a USB Type C cable, has a spot for attaching to a tripod, and can use a micro SD card for extra storage. It can also hold 50 photos in its built-in memory. 

The best part about the PAL is how easy it is to use; it’s practically fool proof. For example, when set in Link mode, it prints straight to the printer without any complicated steps. There’s also a Fun mode for other features. The printing process is straightforward – just a simple action.

Fujifilm has made the PAL more enjoyable by adding small, fun details like custom sounds for capturing photos, and when turning the camera on or off. These little additions are aimed at making the camera more appealing to its target audience, and they do add a charming touch. However, there are a few downsides. The remote display on the phone is of very low quality, though the actual printouts look much better. The printer’s charging port can be tricky to open, and because the camera is point-and-shoot, it’s hard to know exactly what you’re capturing. This can lead to wasting film if you print directly without checking.

Apps

Fujifilm has made a great app for the Instax PAL camera, making it easy and fast to connect. Unlike other apps that can be complicated and put people off, this one is simple and lets you do a lot, like editing photos and making animations. However, you need to download two different apps – one for the camera and another for the printer, which is a bit inconvenient. It would be better if just one app could handle everything. Even though you can print directly from the camera using a special mode, the process involves switching to the printer app to print. This feature could be fun for events like kids’ birthday parties where you want to make special keepsakes for guests. Just remember, transferring a photo from the camera to your phone takes about 15 seconds, and it can take a while if you’re moving a lot of pictures at once.

Results

But what about the photo quality? With a 1.5 MP sensor, don’t expect stunning images. However, using the camera is quite fun. Watching the photo print and slide out brings a unique joy. The picture quality is decent enough for snapshots of family, vacations, pets, etc., perfect for decorating fridges or desks. It’s unclear, though, how often people will use it, considering the cost of paper and media.

A quick tip: After taking a photo and it starts printing, give it a few minutes to fully develop. The photo might not look great right away, but with a little patience, it will improve. Don’t toss it out too soon thinking it didn’t work.

Conclusion

The Instax PAL, priced at 11k, raises the question: Who would buy this, especially when you can get an action camera that’s also small but does more for a similar price? Considering you need to spend an extra 15k for the printer and cartridge, it seems pricey.

However, for those who already own an Instax printer, the PAL could be a great addition. It’s a small, easy-to-carry camera that lets you print photos on your existing printer, meaning you don’t have to carry a big camera on trips.

It seems like the Instax PAL is more appealing to people who are already part of the Instax world. For newcomers, the total cost might not seem worth it just for the experience. But, it’s hard to ignore that this camera is fun and unique to use.

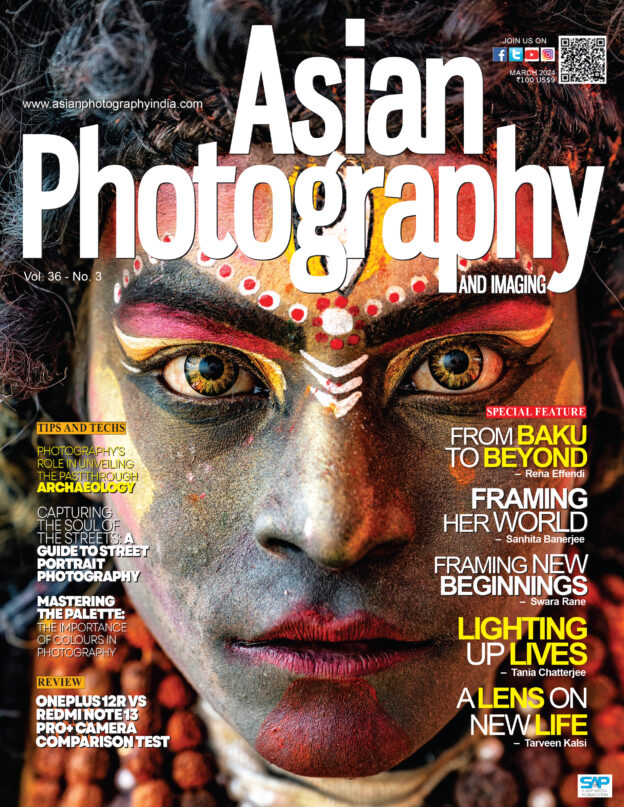
March 2024 – Celebrating Women Photographers

In the world of photography, we still see a lot fewer women photographers than men, even though a
lot of women study photography. This makes us wonder why, in a time when people are talking a lot
about making things equal for everyone, women still have a hard time being recognized in photography.
Women face challenges in getting their work shown, published, or even getting certain jobs.
Throughout history, there have been some amazing women photographers who have done great work
and changed the industry. But still, women are not as common in photography as men.
Since March is when we celebrate International Women’s Day, we decided to focus on some incredible
women photographers from all over the world in this Asian Photography Magazine issue. We want to
show you their amazing work, talk about what they have added to photography, the challenges they
faced, and how they succeeded. We hope their stories inspire girls and women who love photography.
We also want everyone else to support and recognise the achievements of women in photography.

  • From Baku to Beyond – Rena Effendi
  • Framing Her World – Sanhita Banerjee
  • Framing New Beginnings – Swara Rane
  • Lighting Up Lives – Tania Chatterjee
  • A Lens On New Life – Tarveen Kalsi
  • Photography’s Role in Unveiling the Past Through Archaeology
  • A Guide to Street Portrait Photography
  • The Importance of Colours in Photography
  • OnePlus 12R vs Redmi Note 13 Pro+ Camera Comparison Test
  • OnePlus Buds 3 Review