In an era where wild paint jobs, neon under glows, and eye-popping wraps flood the automotive scene, there’s something undeniably bold about dialling it all back. Monochrome—especially black-and-white—cuts through the noise. It’s not just a colour scheme. It’s a philosophy. Whether you’re restoring a classic, customising a street machine, or designing a next-gen EV, going black-and-white can elevate a vehicle’s presence, simplify maintenance, and sharpen its personality.
This article breaks down when—and why—monochrome matters in automotive work, diving into aesthetics, utility, and the deeper psychology of colour.
1. The Aesthetic Power of Monochrome
From the shadowy silhouette of a blacked-out Range Rover to the clinical sharpness of a white Porsche Taycan, monochrome commands attention without screaming for it. Here’s why it works:

a. Timelessness Over Trend
Fads fade. Black and white don’t. These colours transcend eras, making them a smart choice for vehicles that aim to look relevant today, tomorrow, and ten years from now. The enduring elegance of a black Rolls-Royce or a white Lamborghini Aventador proves the point—style anchored in simplicity never ages.
b. Clean, Modern, Minimal
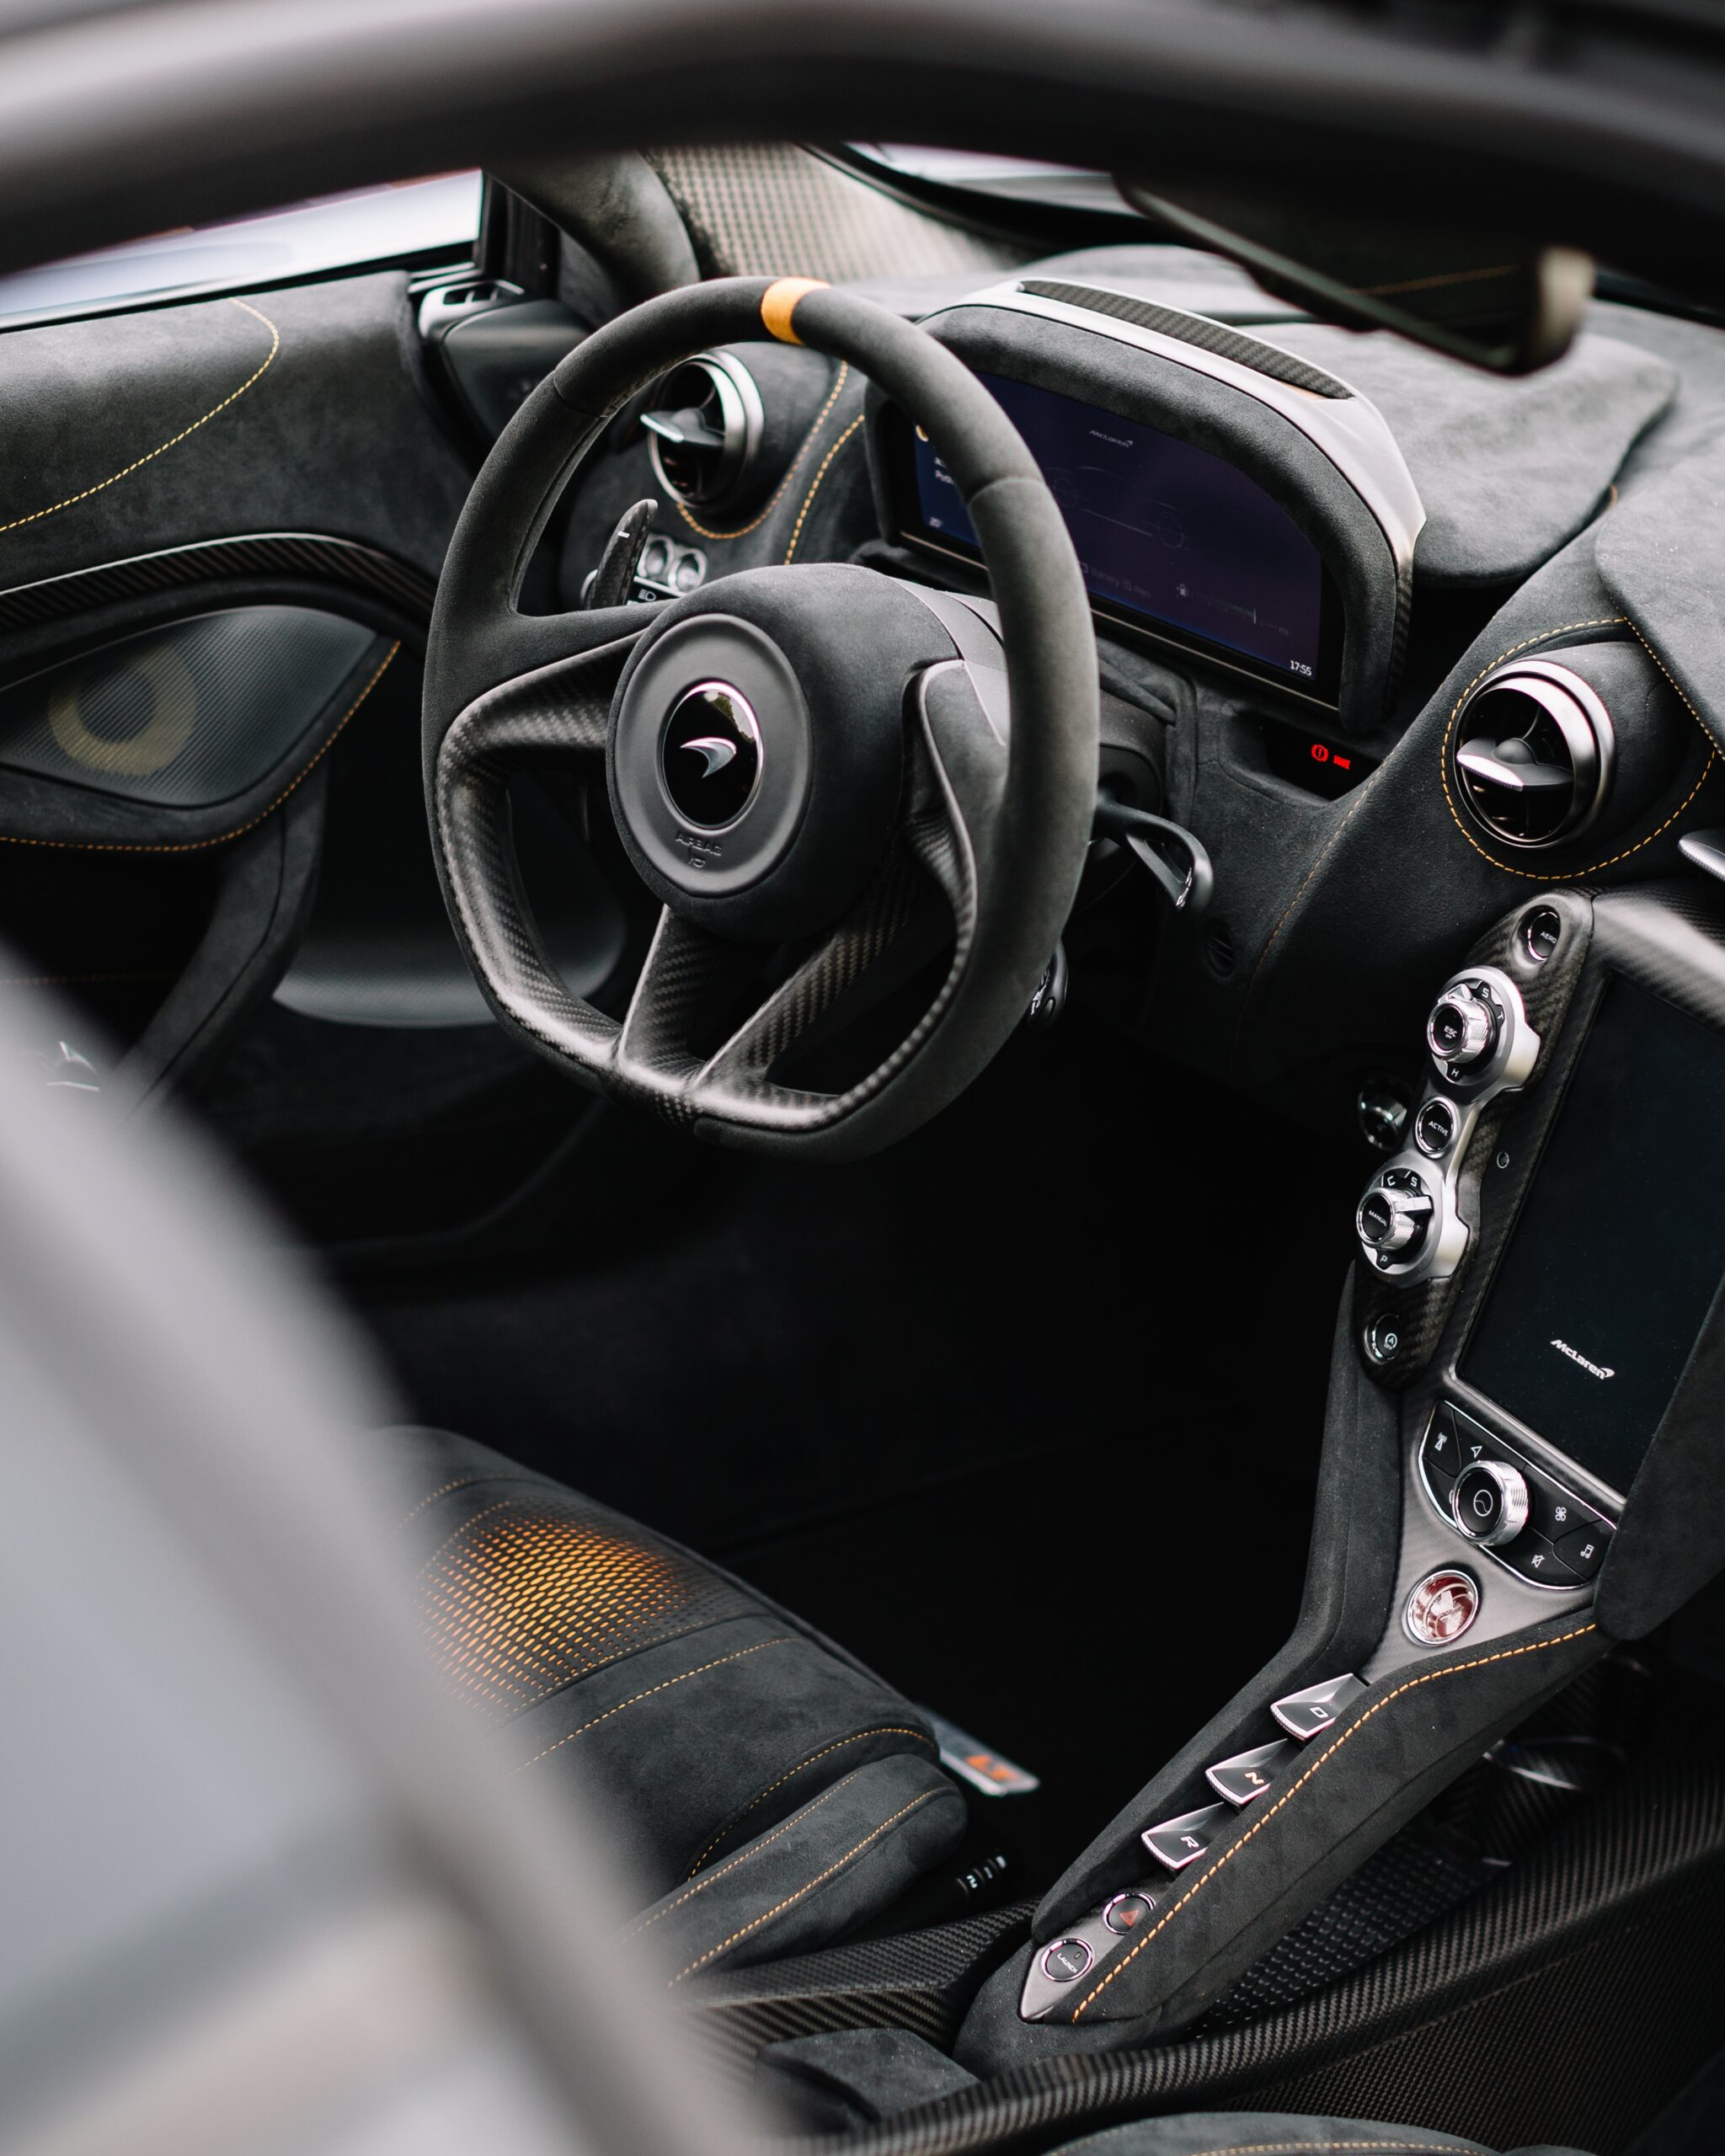
As car design leans toward simplicity—fewer lines, smoother surfaces, less clutter—monochrome fits right in. High-end concept cars often opt for black, white, or silver to spotlight form and function without visual noise. It’s a visual cue that says “future-forward”.
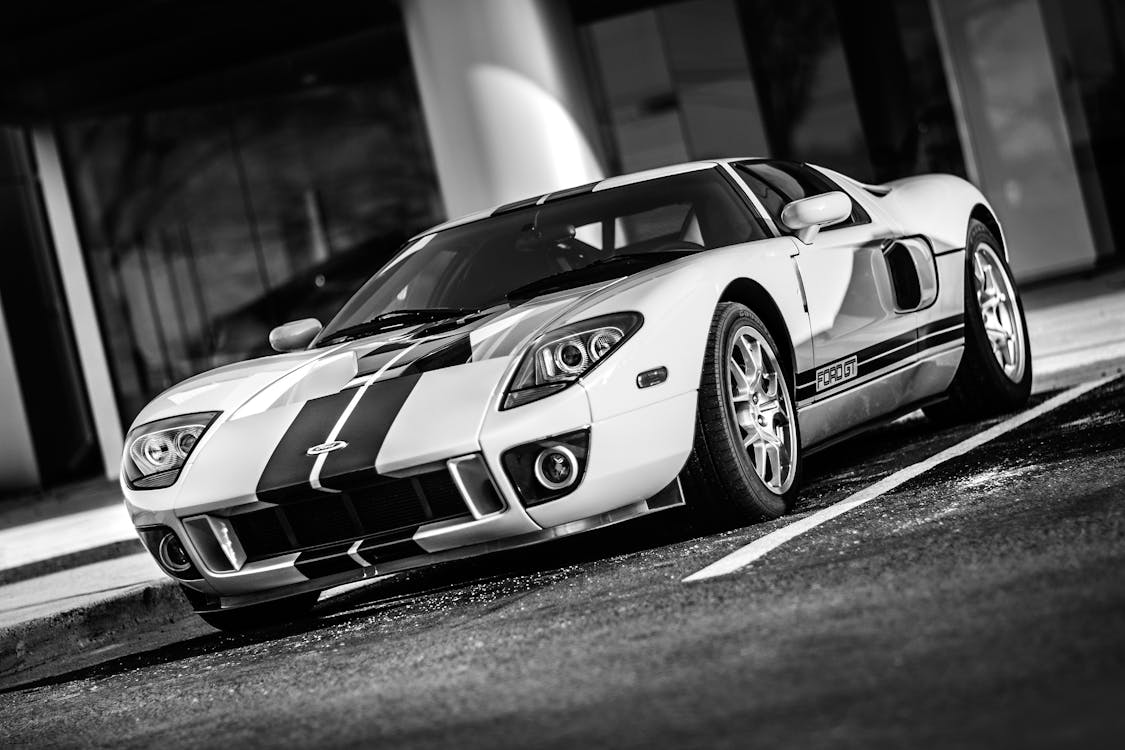
c. High-Contrast, High-Impact
Black and white used in tandem—think racing stripes, police interceptors, or retro liveries—emphasise geometry, contours, and aggression. The stark contrast gives vehicles a sharp, sculpted, muscular appearance. It’s motion, even at a standstill.
2. Practical Perks of Going Monochrome
It’s not just about looks. Black-and-white schemes can offer serious advantages in daily use, resale, and even technology integration.
a. Hides Wear, Handles Heat
Matte black can disguise minor scratches, road grime, and swirl marks better than bold hues. White cars, on the other hand, reflect sunlight—key in hot climates and important for thermal management in EVs. Both colours are low-key workhorses when it comes to upkeep.
b. Resale-Friendly Neutrals
Monochrome cars—especially black, white, and silver—tend to hold their value better than trendier colours. They appeal to a wider market and are less likely to be seen as polarising. If you’re restoring or flipping a classic, going black or white boosts your chances at a quick, profitable sale.
c. Psychological Punch
Colours affect perception. Black radiates authority, mystery, and prestige—it’s the choice for executives and those chasing power aesthetics. White signals purity, precision, and modernity—favoured in sports and tech-forward vehicles. For many buyers, these associations aren’t just preferences; they’re selling points.
3. Strategic Use of Monochrome in Builds and Restorations
Monochrome isn’t a one-size-fits-all approach. But when it fits, it fits hard.
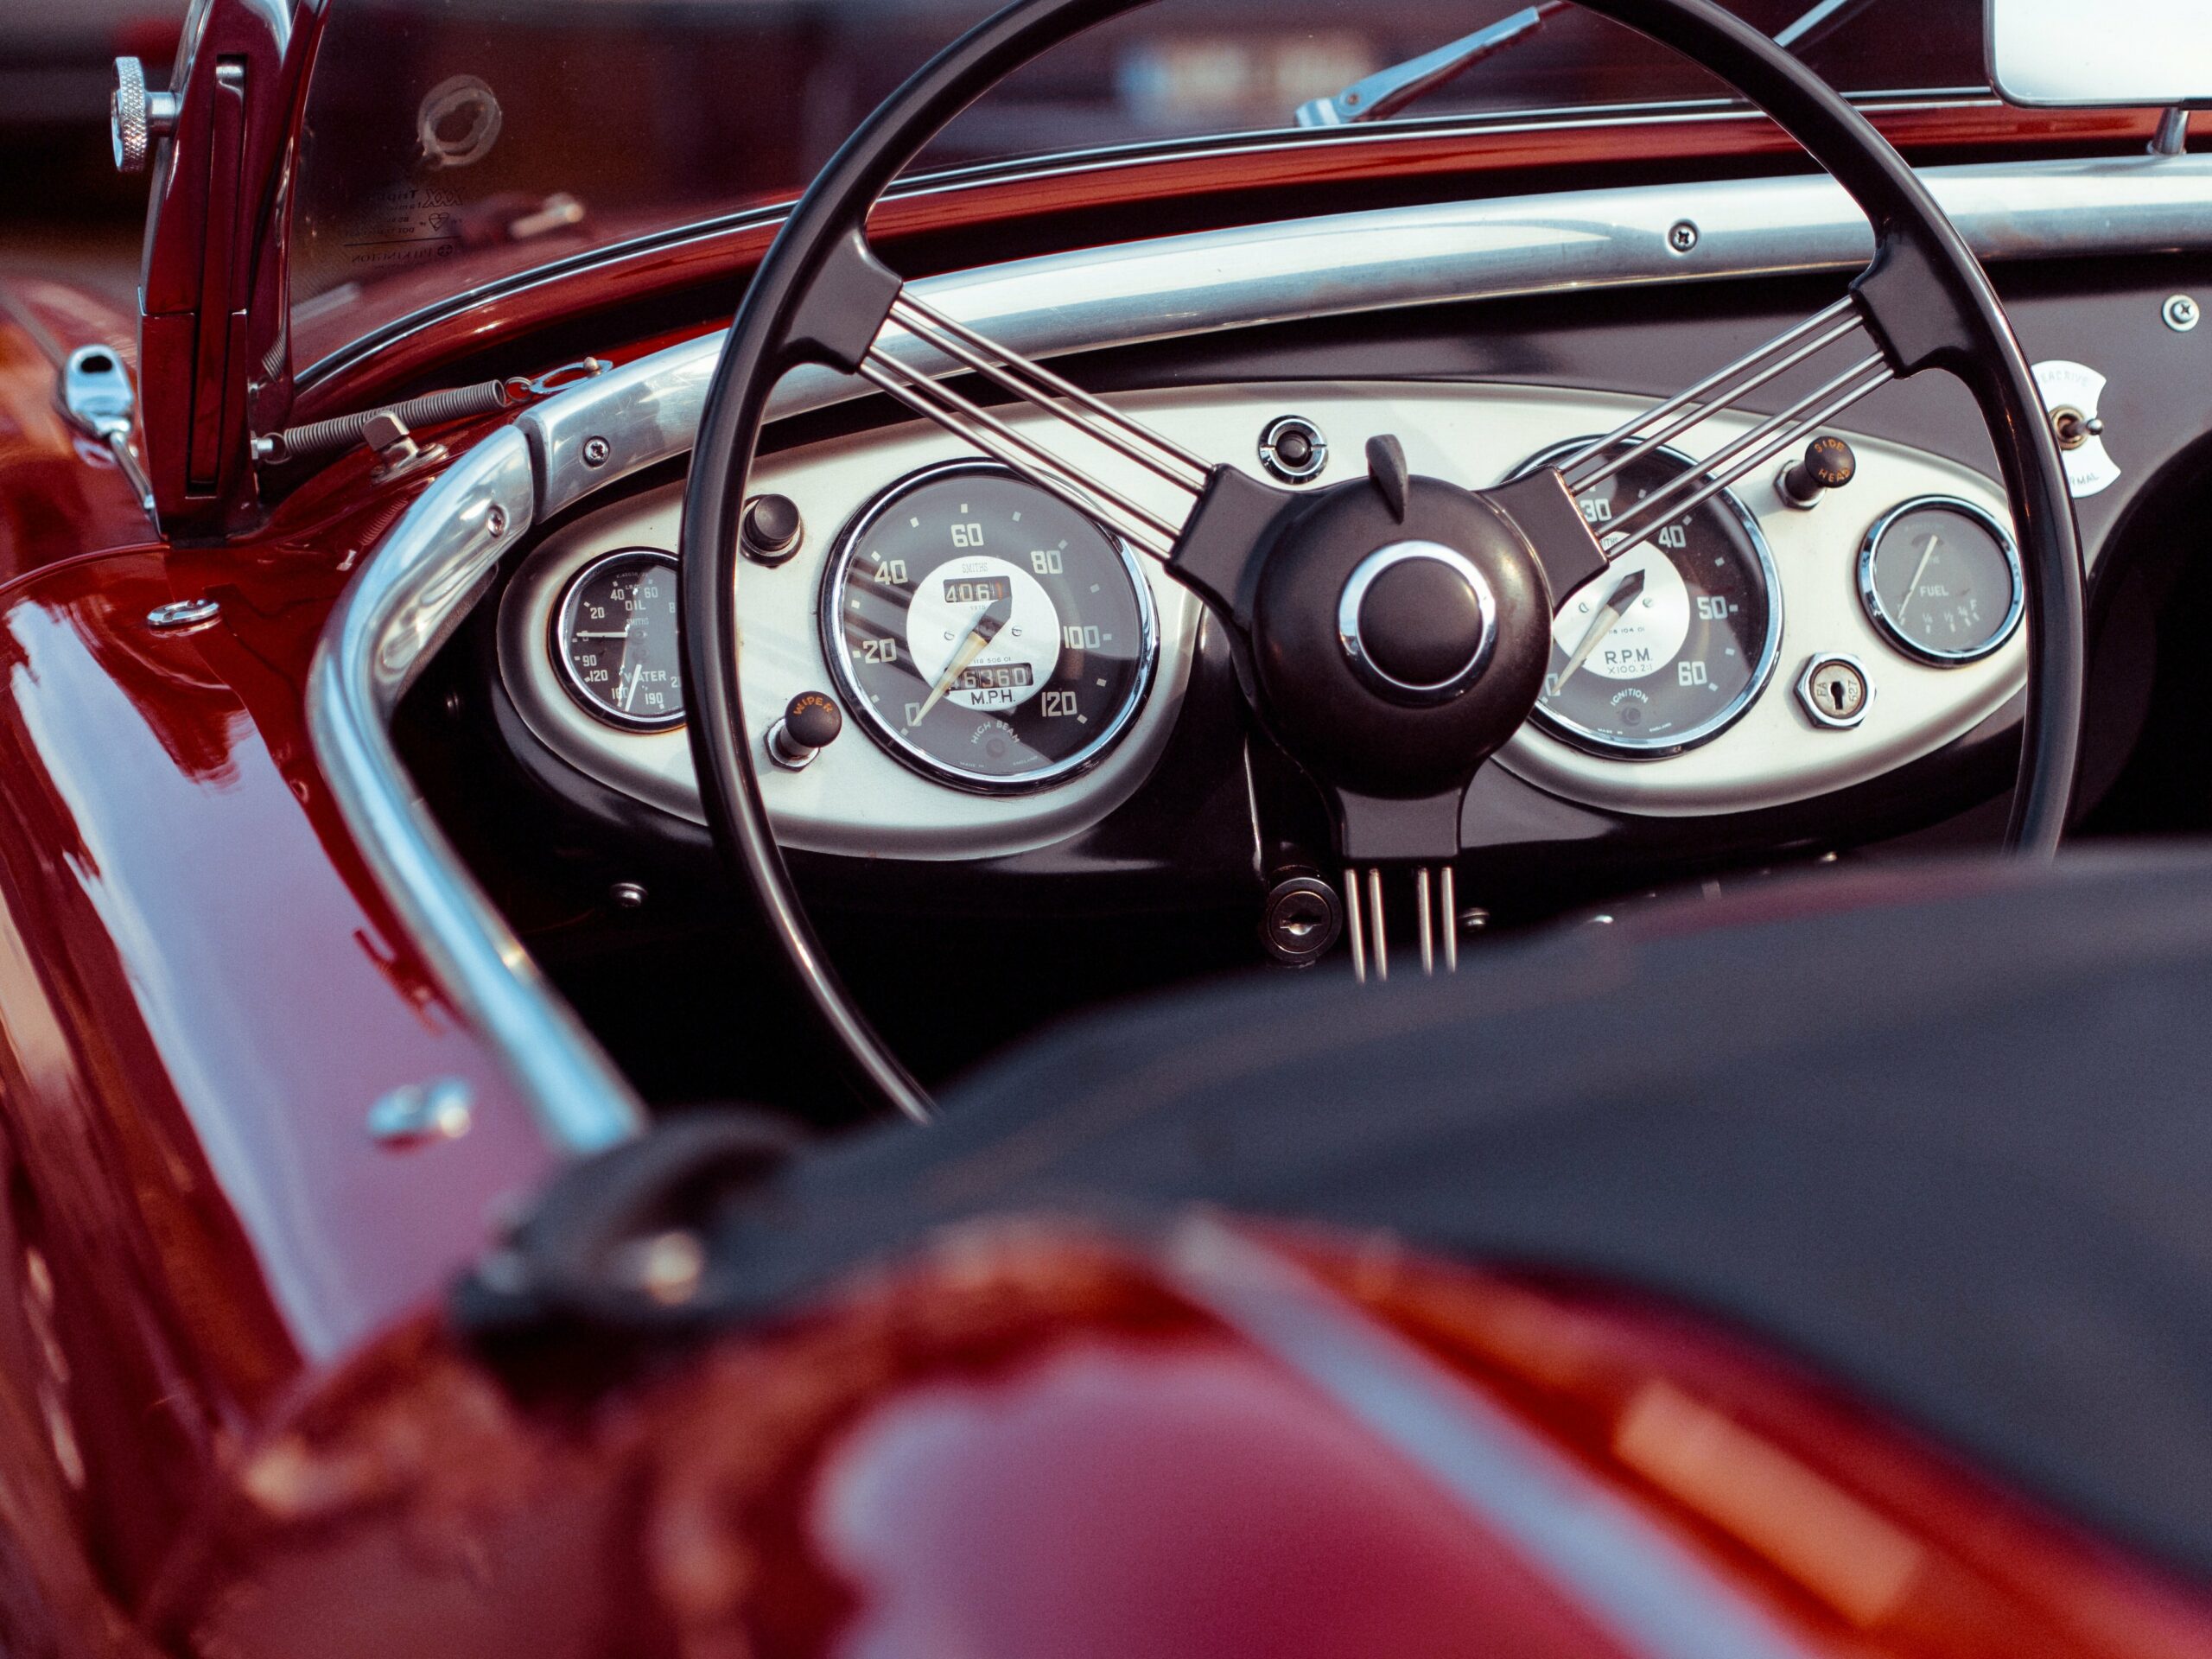
a. Classic Restorations
For vintage icons like the Ford Model T (famously “any colour as long as it’s black”) or early Porsches, going black or white honours the vehicle’s roots. You maintain historical accuracy while adding a polished, showroom-ready finish that collectors respect.
b. Executive and Luxury Builds
Black has long been the default for sedans and limos that need to project discretion, power, and class. White, especially in pearl or satin, is increasingly popular in the luxury SUV and sports car segments. Both elevate the car without overshadowing it.
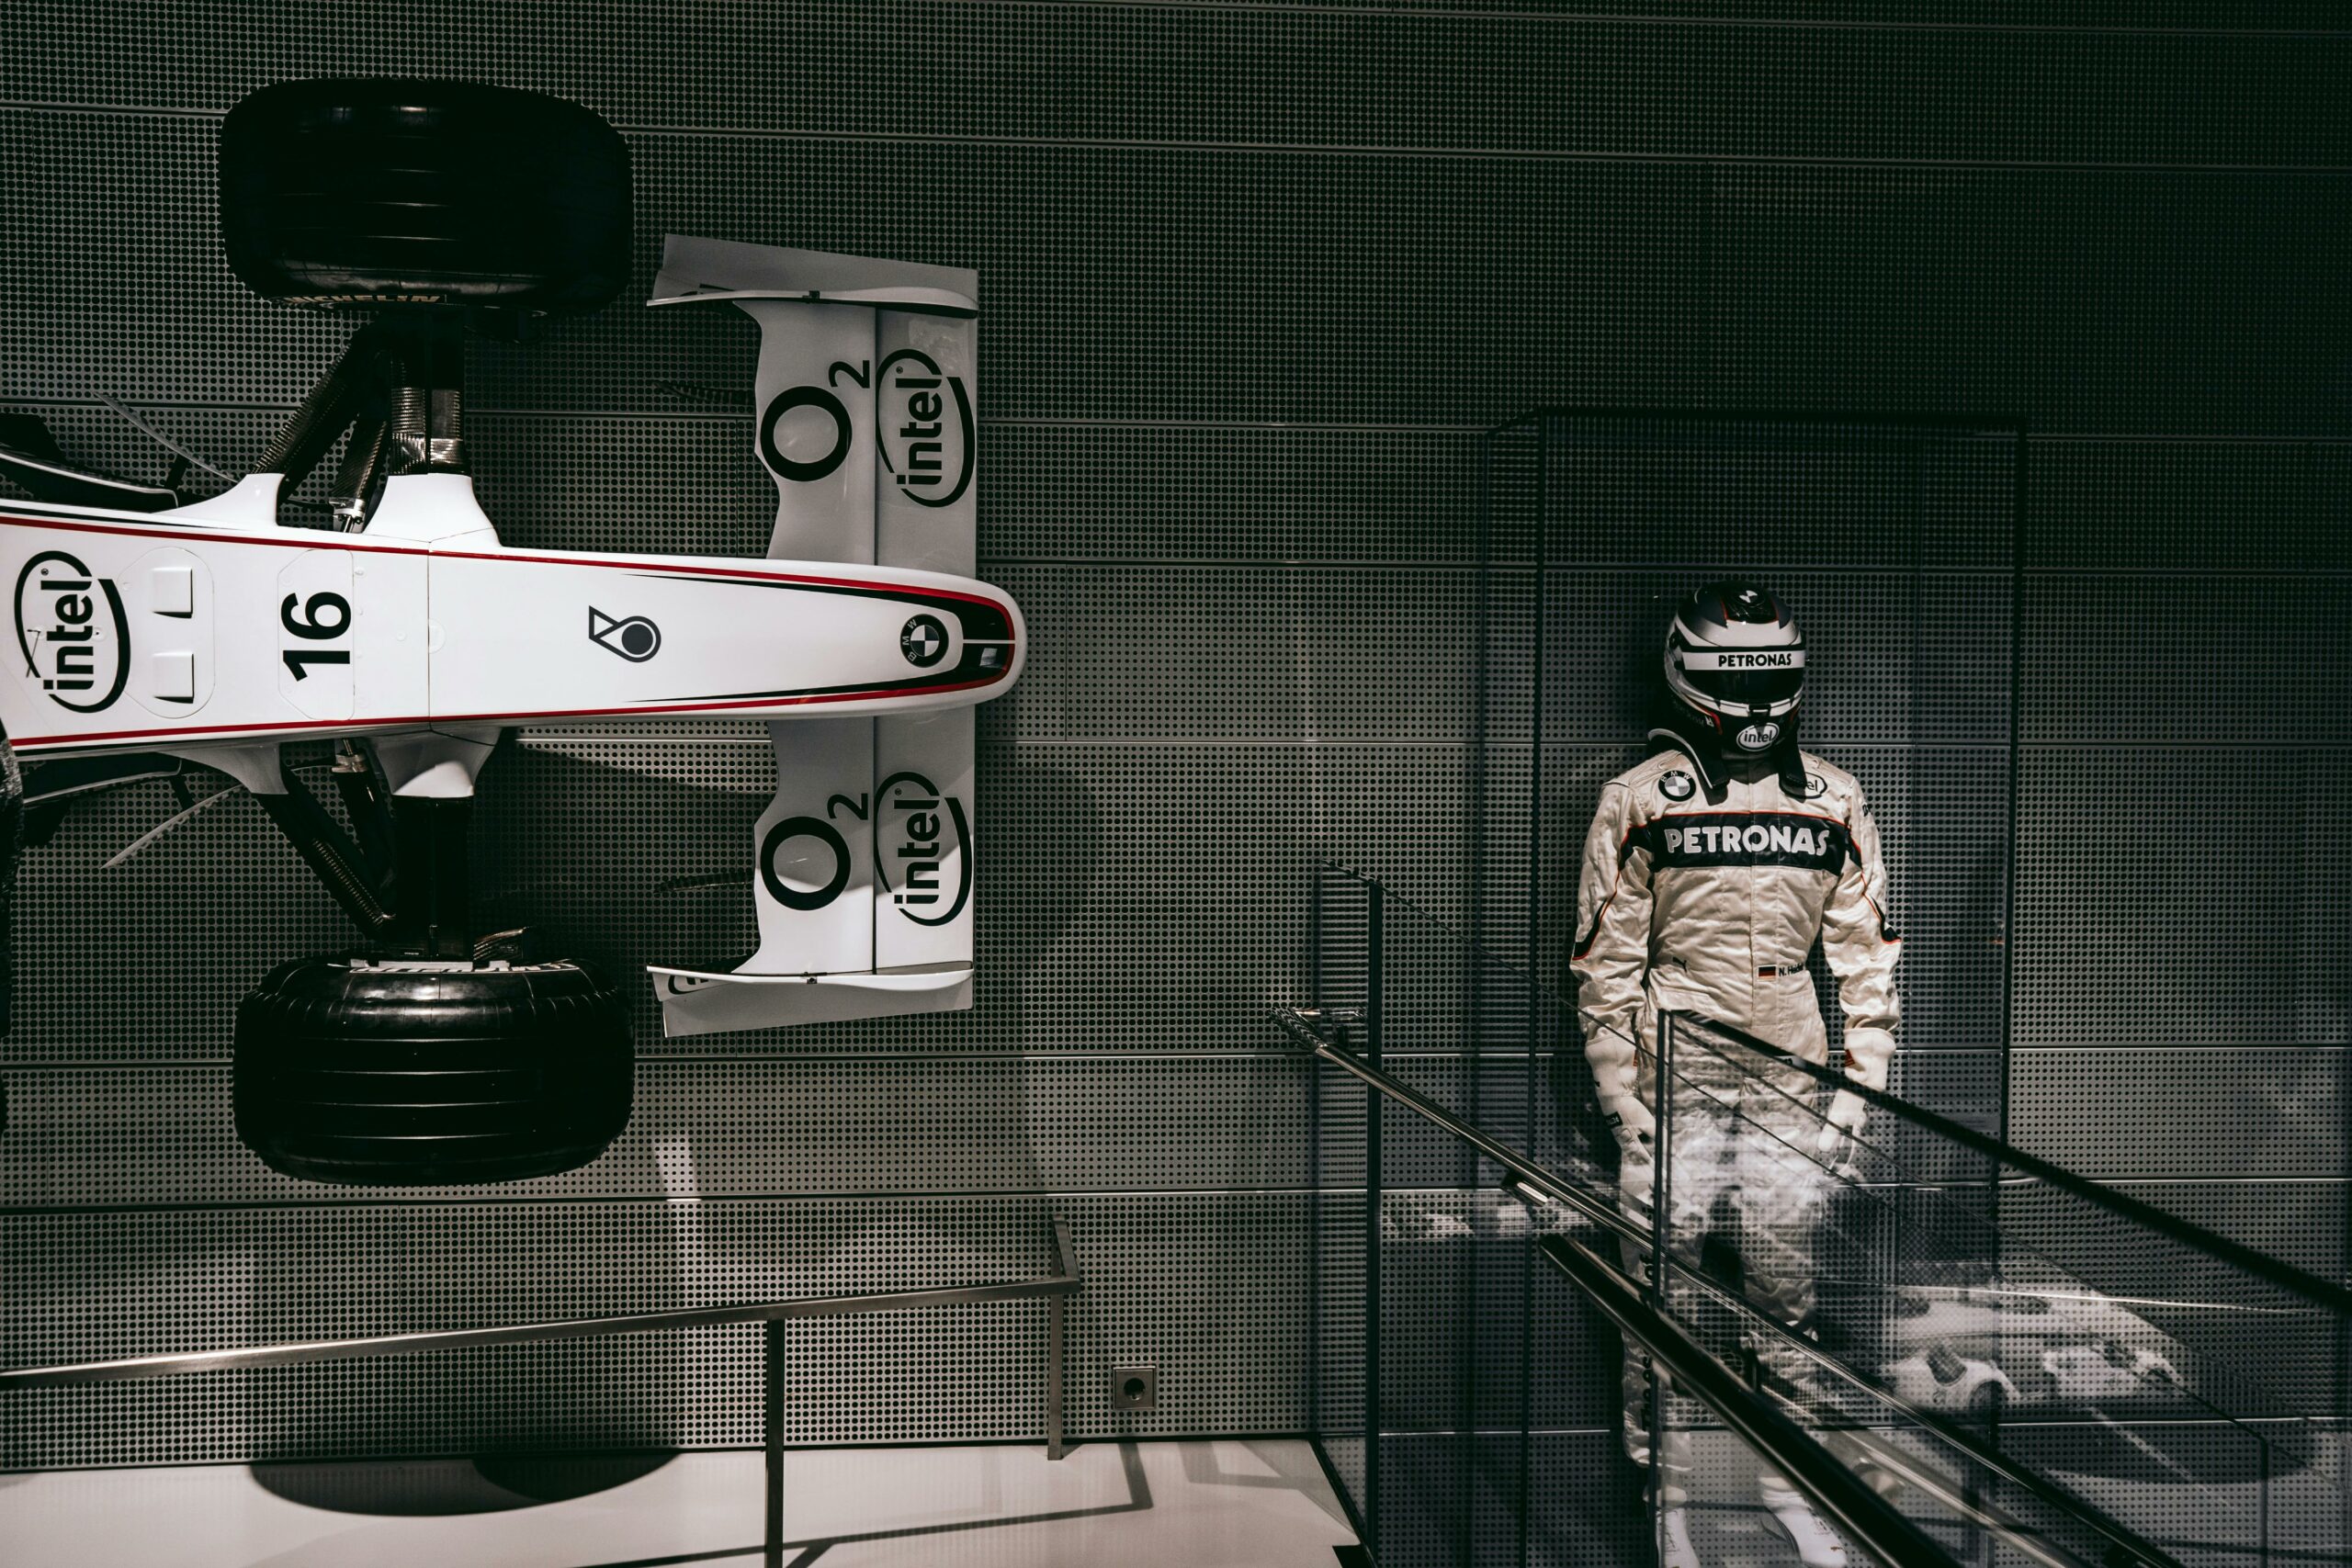
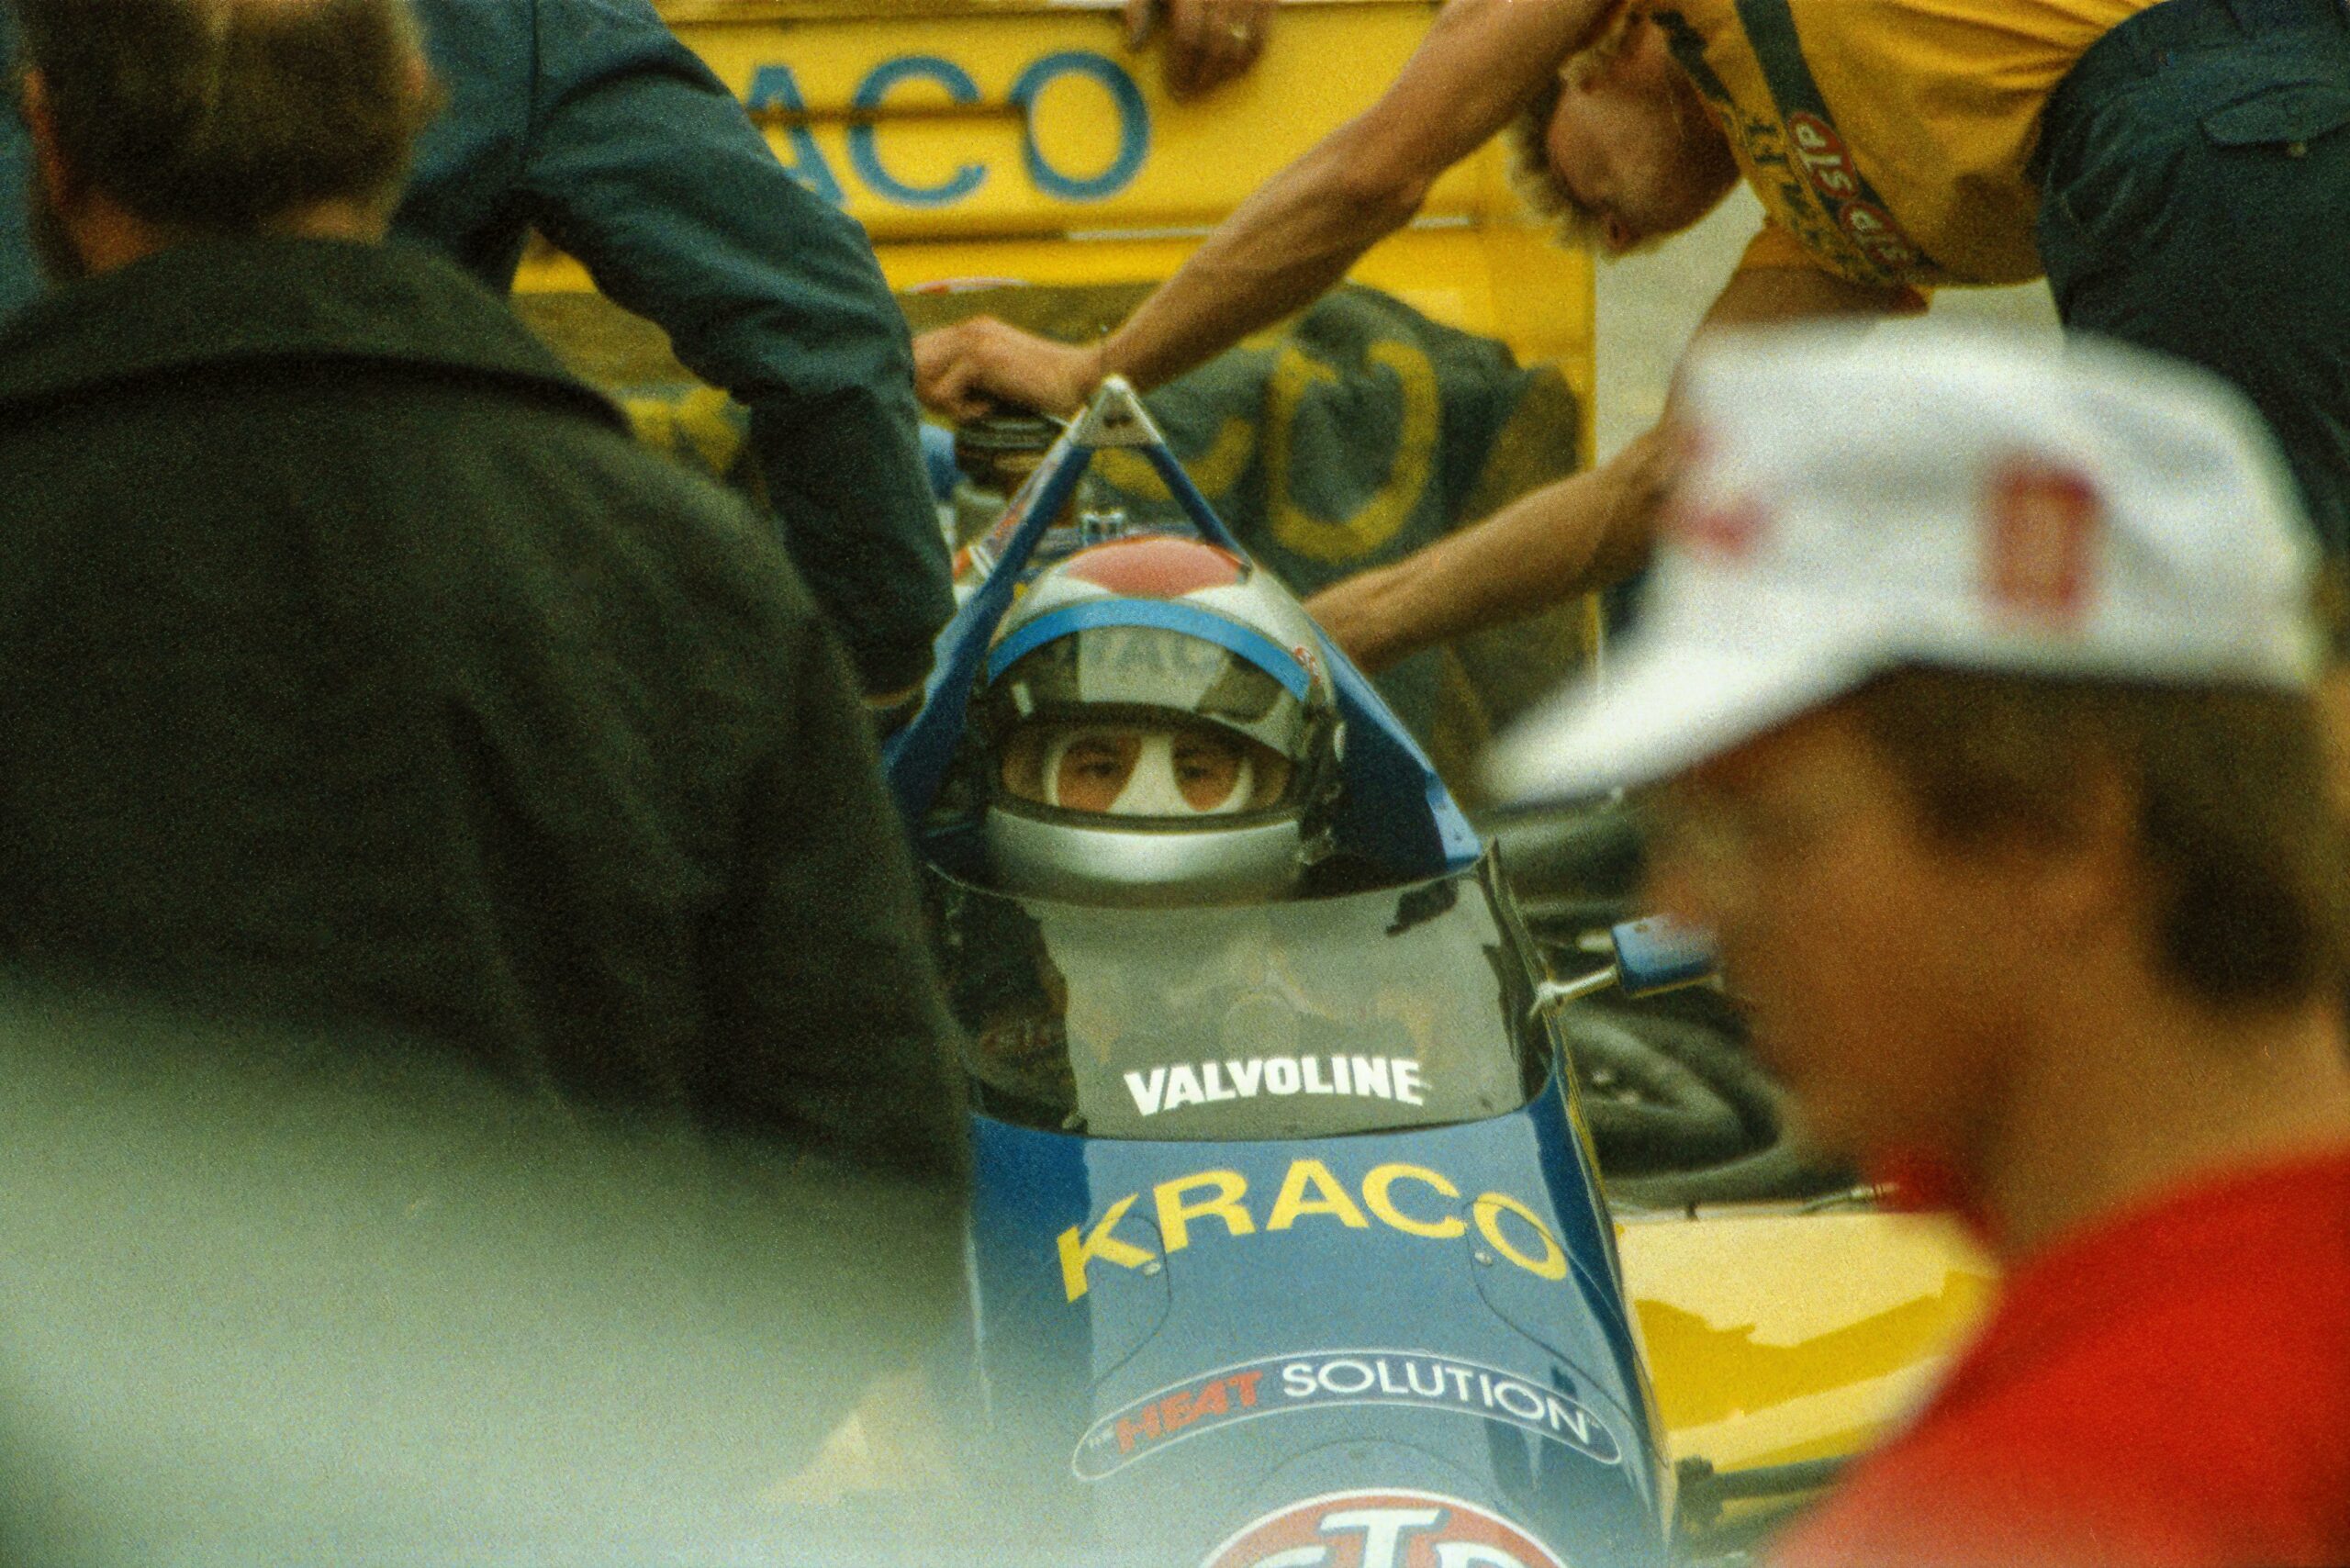
c. Performance-Oriented Projects
Track cars, drift builds, and tuner machines often go for stark, high-contrast schemes. A black body with white accents—or vice versa—not only showcases bodywork and aero mods, it makes the car visually faster. In motorsports, perception is performance.
4. Monochrome in the Future of Automotive Design
Black and white are becoming more than classic choices—they’re part of a larger movement in automotive evolution.
a. Simplification Meets Sustainability
White finishes reduce heat absorption, improving thermal efficiency for EVs. Black matte paints, often made with fewer harsh chemicals, are gaining traction among eco-conscious manufacturers. Fewer pigments, fewer complications.
b. Tech-Ready Design
High-contrast surfaces improve visibility for cameras, LiDAR, and other autonomous vehicle tech. Tesla and other EV makers often lean toward minimalist, monochrome interiors and exteriors to reflect the seamless integration of hardware and software.
c. Branding and Identity
For brands, going black-and-white can send a powerful message. Think of Bugatti’s two-tone Veyrons or Singer Vehicle Design’s subtle, bespoke Porsche builds. A refined colour scheme is typically the mark of confidence—a brand that doesn’t need to shout.
Conclusion: When Less is Everything
Choosing black-and-white for automotive work isn’t a lack of imagination—it’s a strategic decision that leans into clarity, contrast, and class. It’s a look that never expires, adapts across genres, and adds value whether you’re racing, restoring, or redefining what a car can be.

Ultimately, monochrome isn’t just a colour palette—it’s a mindset. So the next time you’re building or buying, ask yourself: Do I want my car to blend in or stand tall without saying a word?
Because when it comes to making a lasting impression, sometimes the sharpest statement is black and white.