Sara Sganga is among a few photographers who manage to capture the poetry of love in a cinematic but also deeply intimate and human way. An internationally acclaimed and award-winning wedding photographer based in Italy, her work is a masterclass in emotion, light, and storytelling, transcending traditional wedding documentation. With a background steeped in fine art and an eye for authentic moments, she has photographed celebrations across continents, bringing an unmistakable blend of Italian elegance and emotional honesty to every frame.
Asian Photography spoke to her about blending cinematic & journalistic styles, the future and more. Excerpts:
What’s your strategy for capturing the emotions of the day while still keeping things visually polished and editorial-worthy?
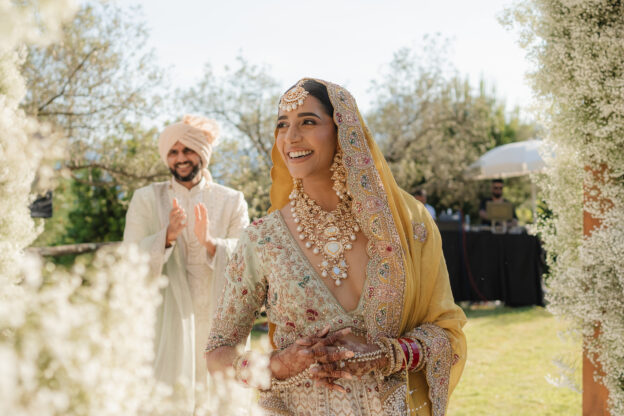
Emotion is the heart of every wedding. My style blends documentary and editorial photography. I observe attentively and gently guide my subjects, creating a serene atmosphere where every gesture, glance, and smile can unfold naturally. In this delicate balance between spontaneity and direction, images are born that are both authentic and refined, infused with emotion and meaning.
My focus lies in the interplay of light, composition, and atmosphere and I love to transform genuine moments into photographs that speak an editorial and cinematic language. My goal is that each frame can tell the story of the day with elegance and harmony, celebrating details, emotions, and human connection.
The result is a visual narrative that honours love in all its nuances, where spontaneity and sophistication coexist effortlessly. Every image reflects the couple’s personality, style, and bonds, and obviously captures precious moments, turning them into unforgettable memories.
In your work we see a vibrant use of natural light and colour. How much of your style is determined in-camera, and how much comes from post-production?
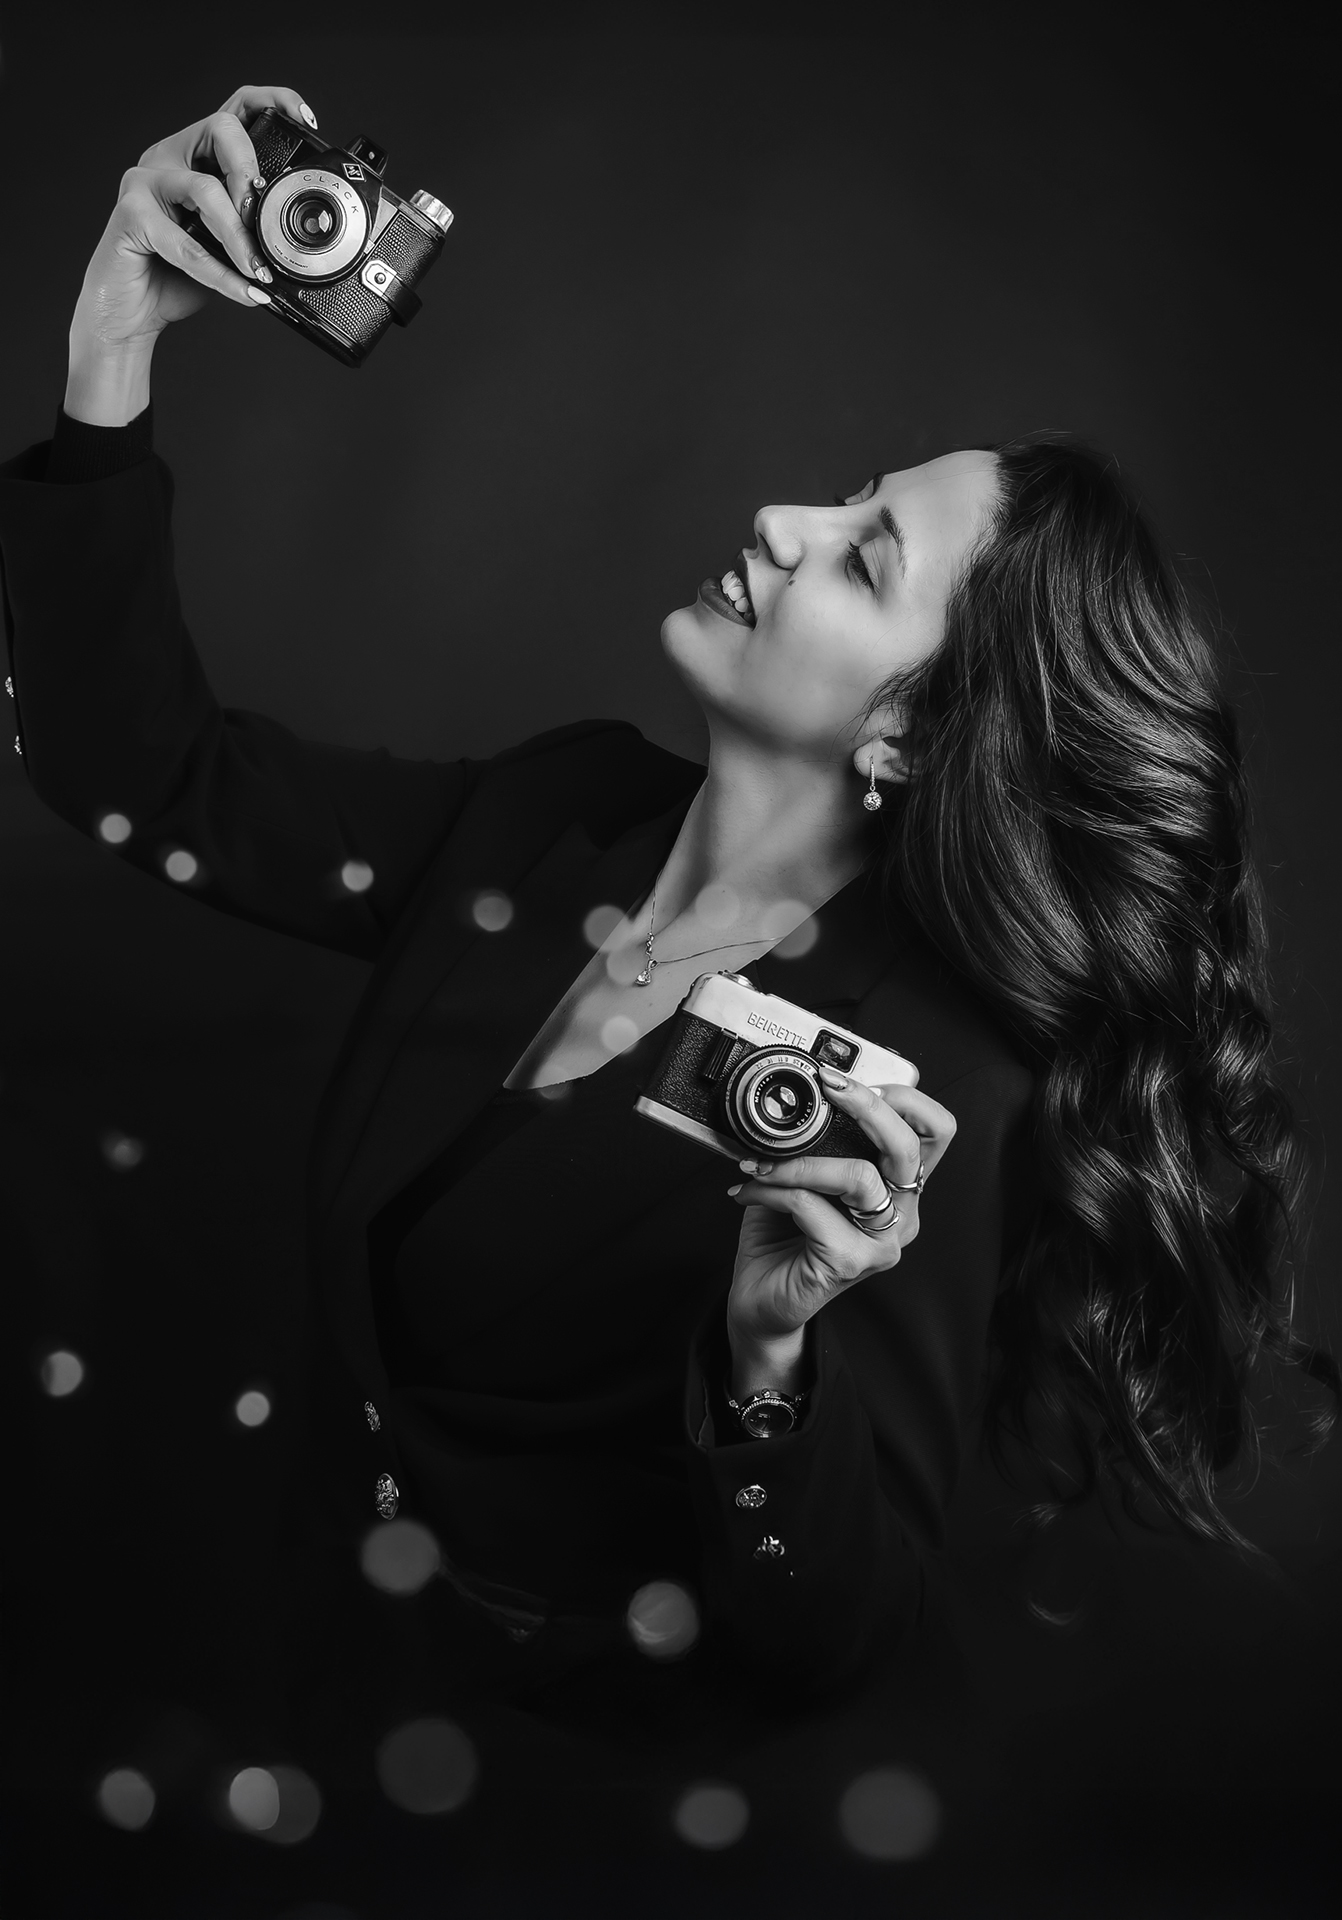
Light is the heartbeat of my work. I strive to capture each moment, glance, and gesture directly in-camera, following how the light embraces people, caresses architecture, and transforms its surroundings. Growing up in Italy, I studied the great Renaissance and Baroque masters—particularly Caravaggio—whose extraordinary use of chiaroscuro taught me to shape light and shadow to evoke depth, emotion, and poetry. That lesson continues to guide every frame I take, transforming reality into something almost painterly. I also embrace artificial light, often using flash creatively—as a subtle fill, a striking backlight, or a way to enhance contrast and make colours come alive with greater intensity and drama.
Post-production plays only a subtle role—enhancing tones, colours, and atmosphere without ever betraying the authenticity of the moment. My style is “true to tone” and emerges from this living dialogue between natural light and editorial refinement, and a true to tone image never gets old and goes beyond trends. It’s timeless.
Looking at your portfolio we can sense a consistency in mood. How has your signature style evolved since you began shooting weddings, and what drives that evolution today?
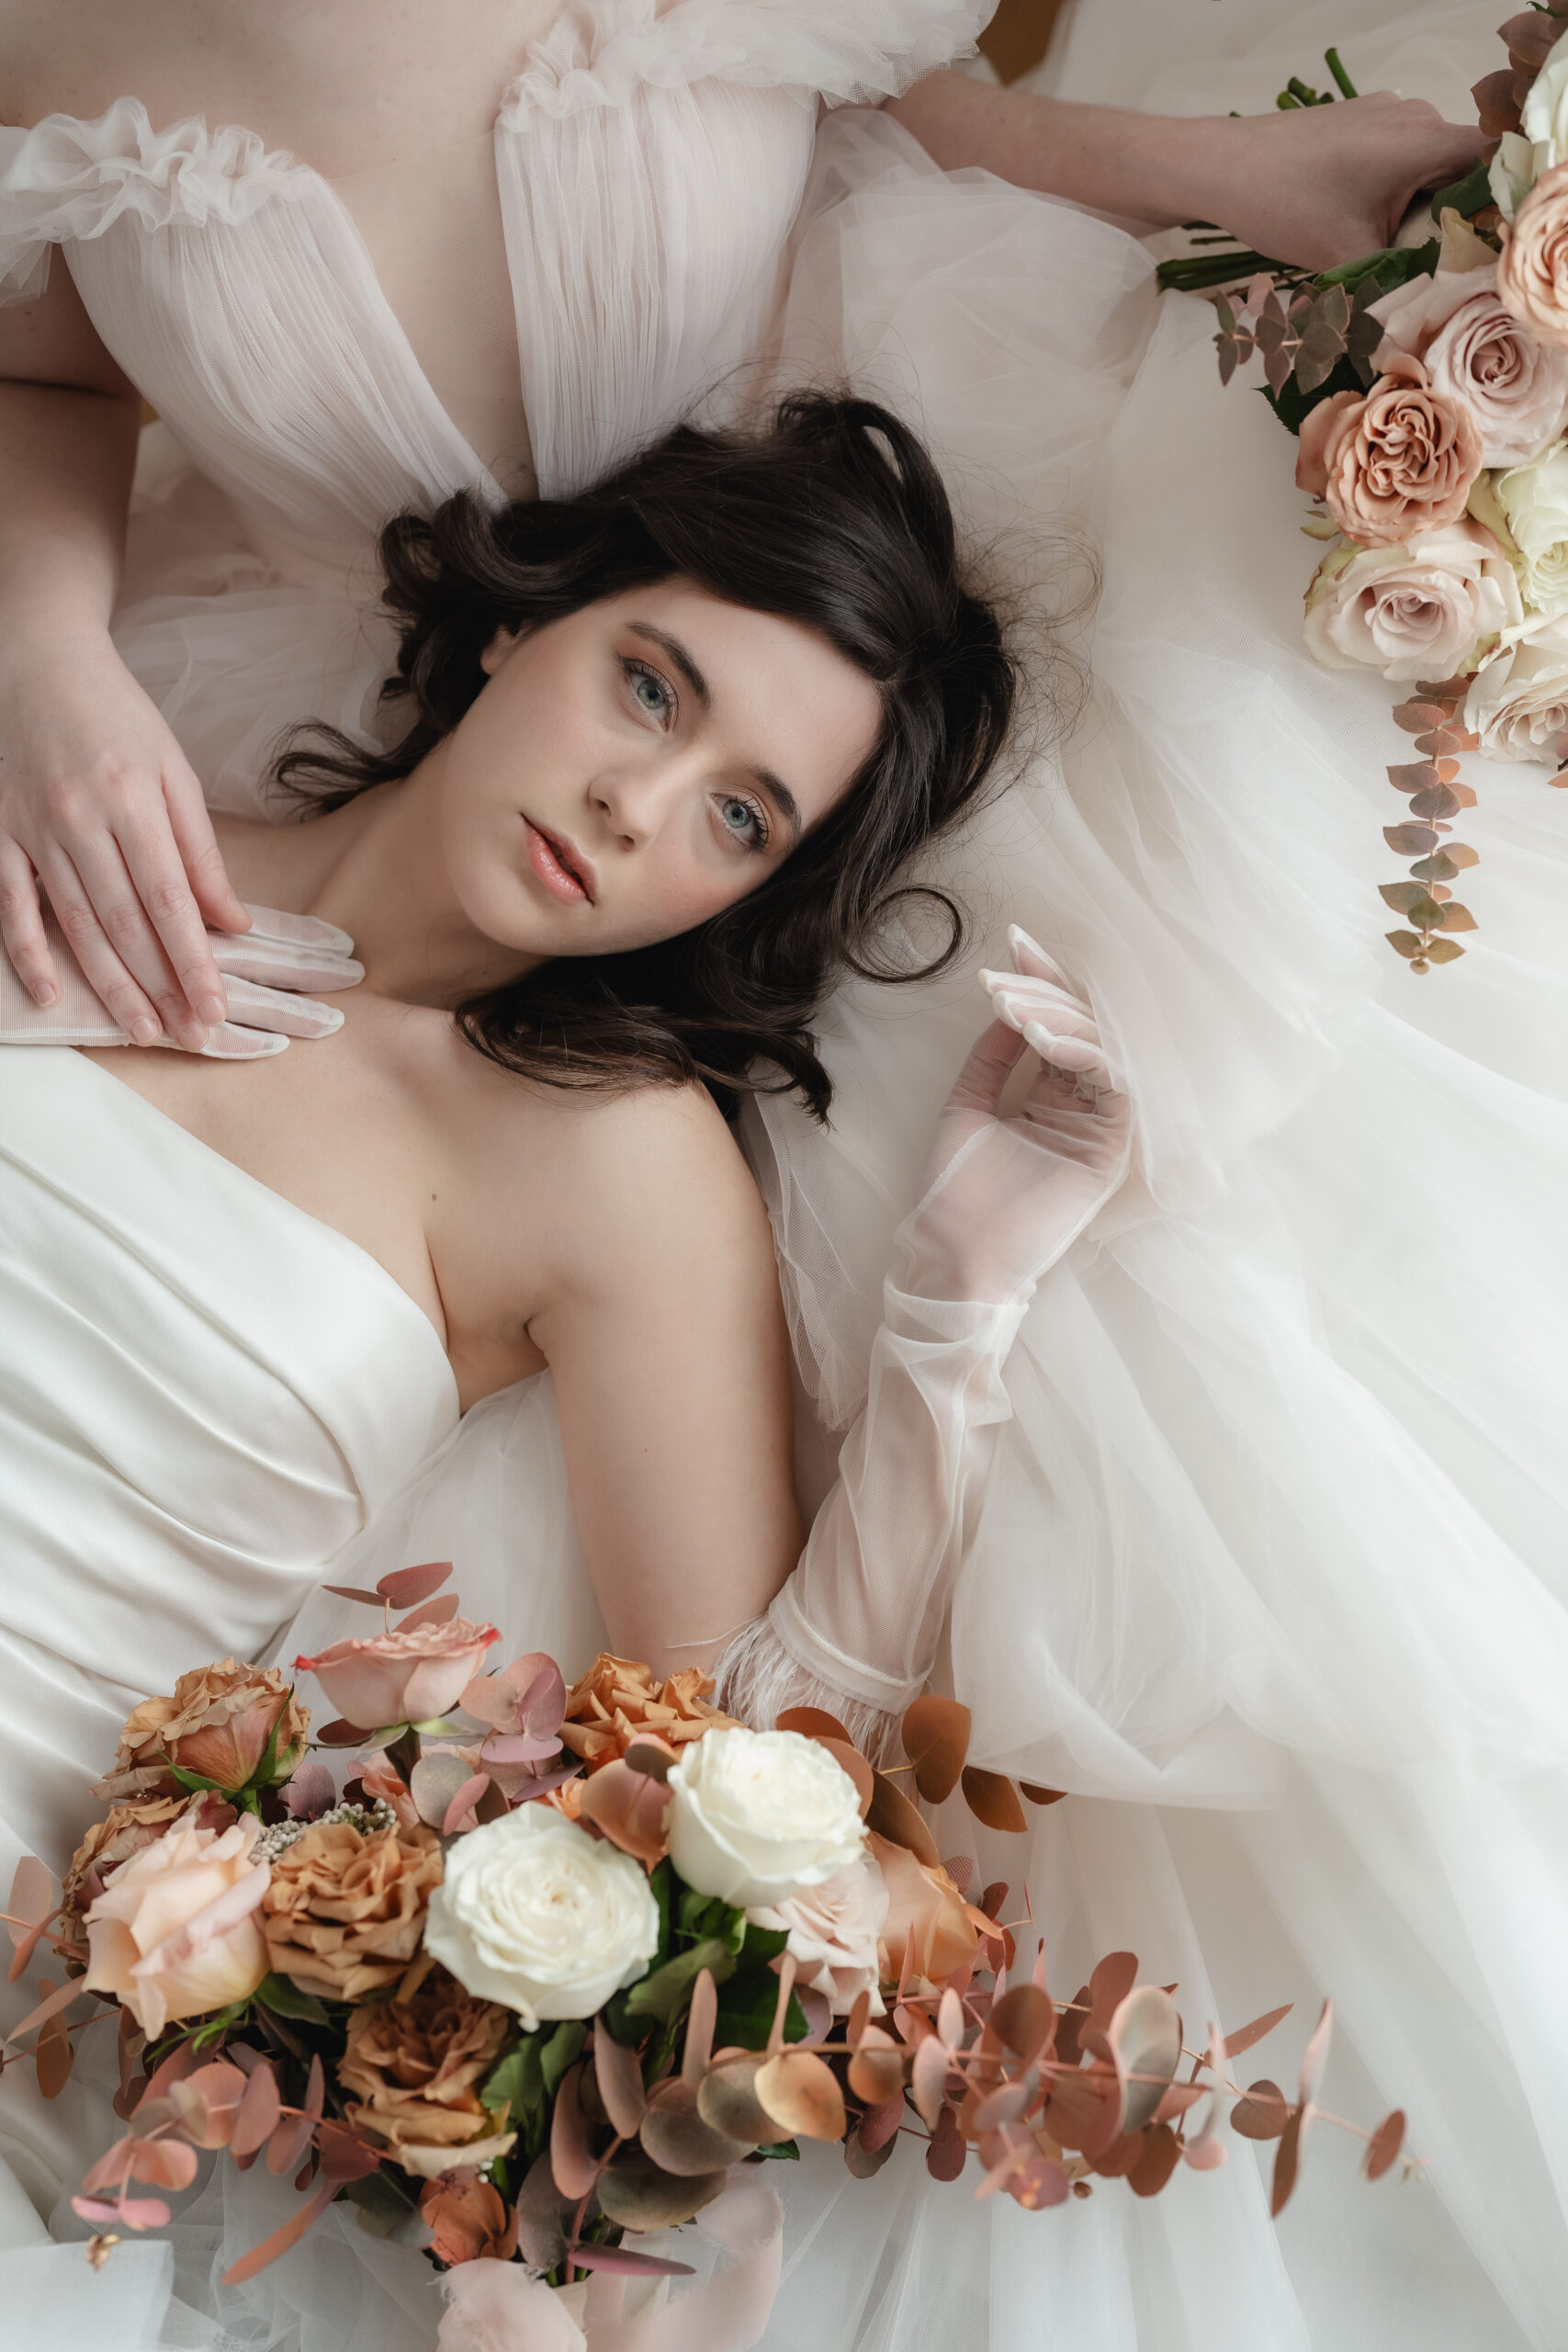
My photography has always been rooted in emotion—in the desire to tell stories of genuine connection and authenticity. My style at the beginning was totally documentary and my approach was to be in silence and let the moments happen. Over time, that emotional foundation has evolved through a deep pursuit of aesthetic balance and visual harmony. Now my photography blends documentary-style (because I love real, candid moments) and the research of the Great Beauty. Even in reportage, nothing is left to chance: every tone, line, and composition arises from a passionate study of light, form, and colour.
I believe the strength of an image lies in the harmony between emotion and intention. Each photograph is a dialogue with my subjects, between sensitivity and structure, spontaneity and precision. Even the presentation of my work—from my portfolio to my social presence—reflects this vision. Everything is thoughtfully designed to convey a sense of identity and coherence. The same moment can be photographed by many, but what makes it personal is our own vision.

Do you have an image you’ve shot that you feel is your magnum opus?
I’m highly self-critical and truly believe that my most beautiful photograph has yet to be taken. That awareness keeps me searching for a more honest light, a truer gesture, a deeper emotion. Every wedding is an opportunity to grow, to refine my sensitivity, and to get closer to that ideal image I carry within me.
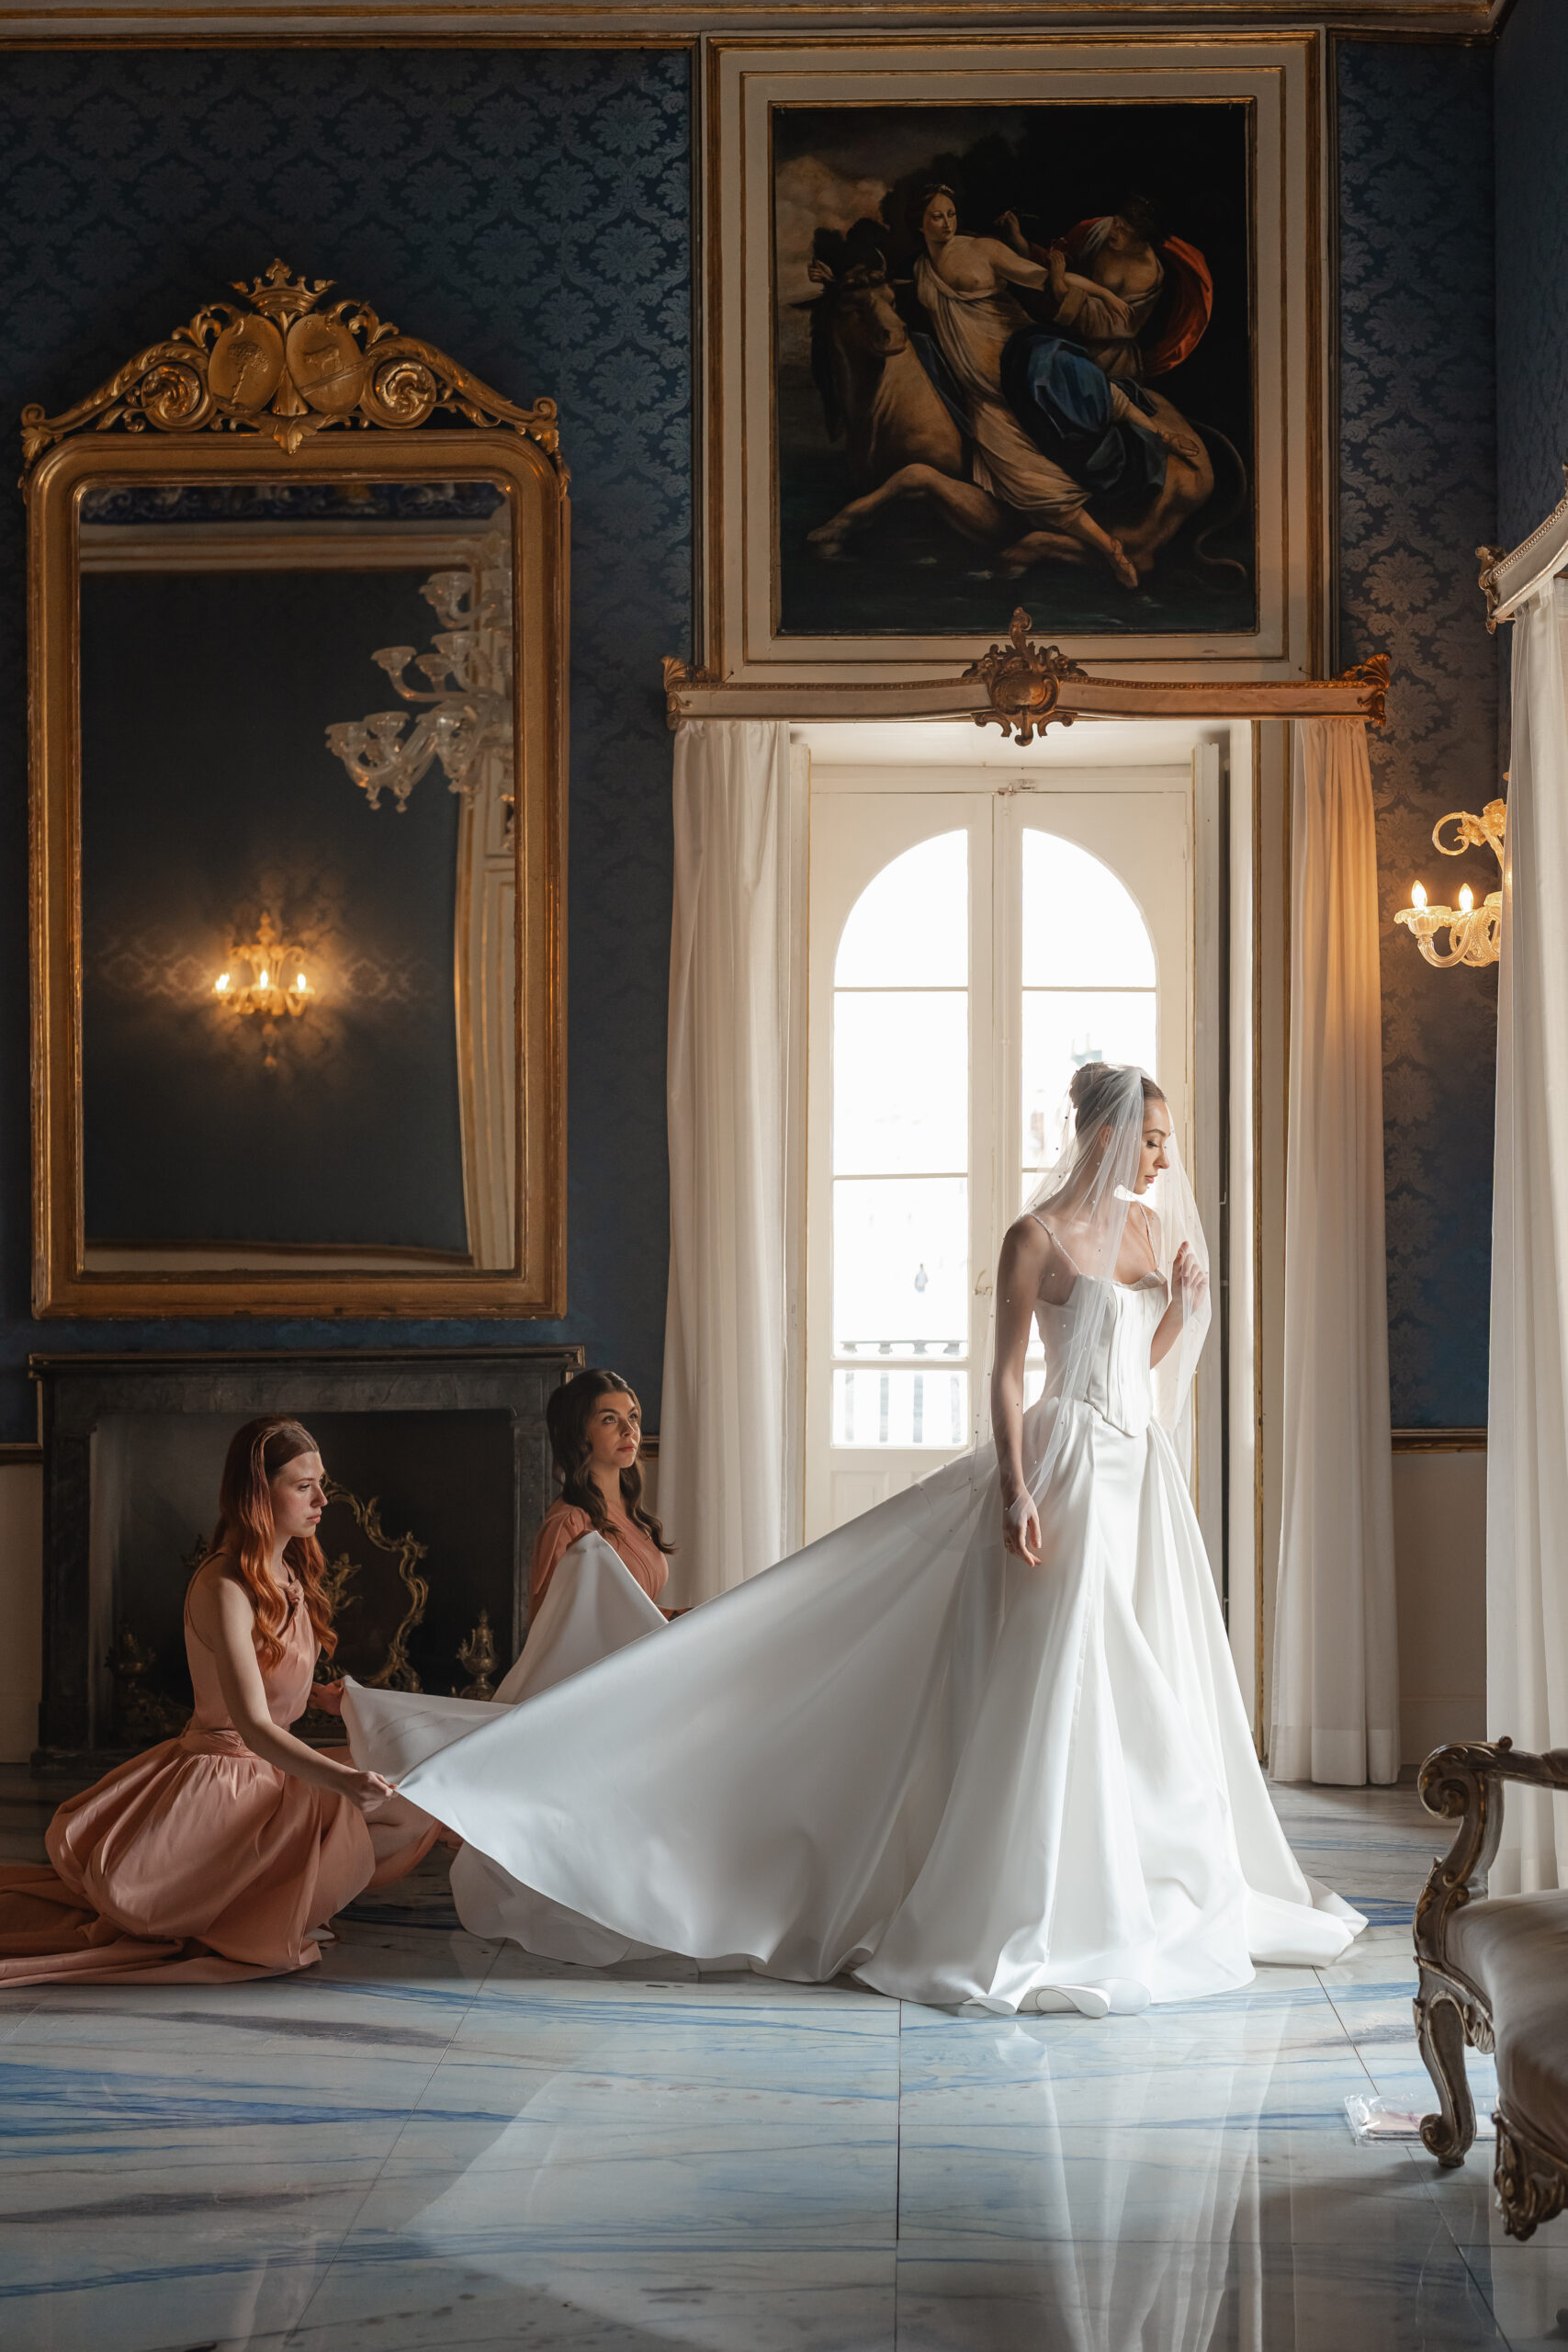
Some photographs capture the perfect union of light, timing, and emotion, but I never see them as definitive. I believe the beauty of photography lies in its constant evolution—in the desire to go beyond, to tell the essence of someone even more truthfully. This endless pursuit keeps my inspiration alive and turns every image into a step toward my next, possible, most beautiful photograph.
How do you see your work evolving over the next few years? Any new styles/ techniques/creative directions you’re excited to explore?
I started in this world at 16 years old, and now I am 33. Photography, like people and every art form, is in constant evolution. It is a living language that changes with us, with our experiences, and with the sensitivity we develop over time. I deeply believe in the need to challenge one’s limits, to question oneself, and to continually seek new perspectives from which to observe beauty.
In the years ahead, I want to keep studying, experimenting, and letting myself be inspired by people, light, movement, and genuine emotion. I’m especially drawn to deepening the dialogue between fashion photography and the art of weddings, to create imagery that feels ever more narrative, refined, and contemporary.
My evolution will continue to be guided by curiosity, discipline, and passion—the forces that drive me not to chase perfection, but to seek essence: that quality which makes every image alive, resonant, and capable of standing the test of time.